目的
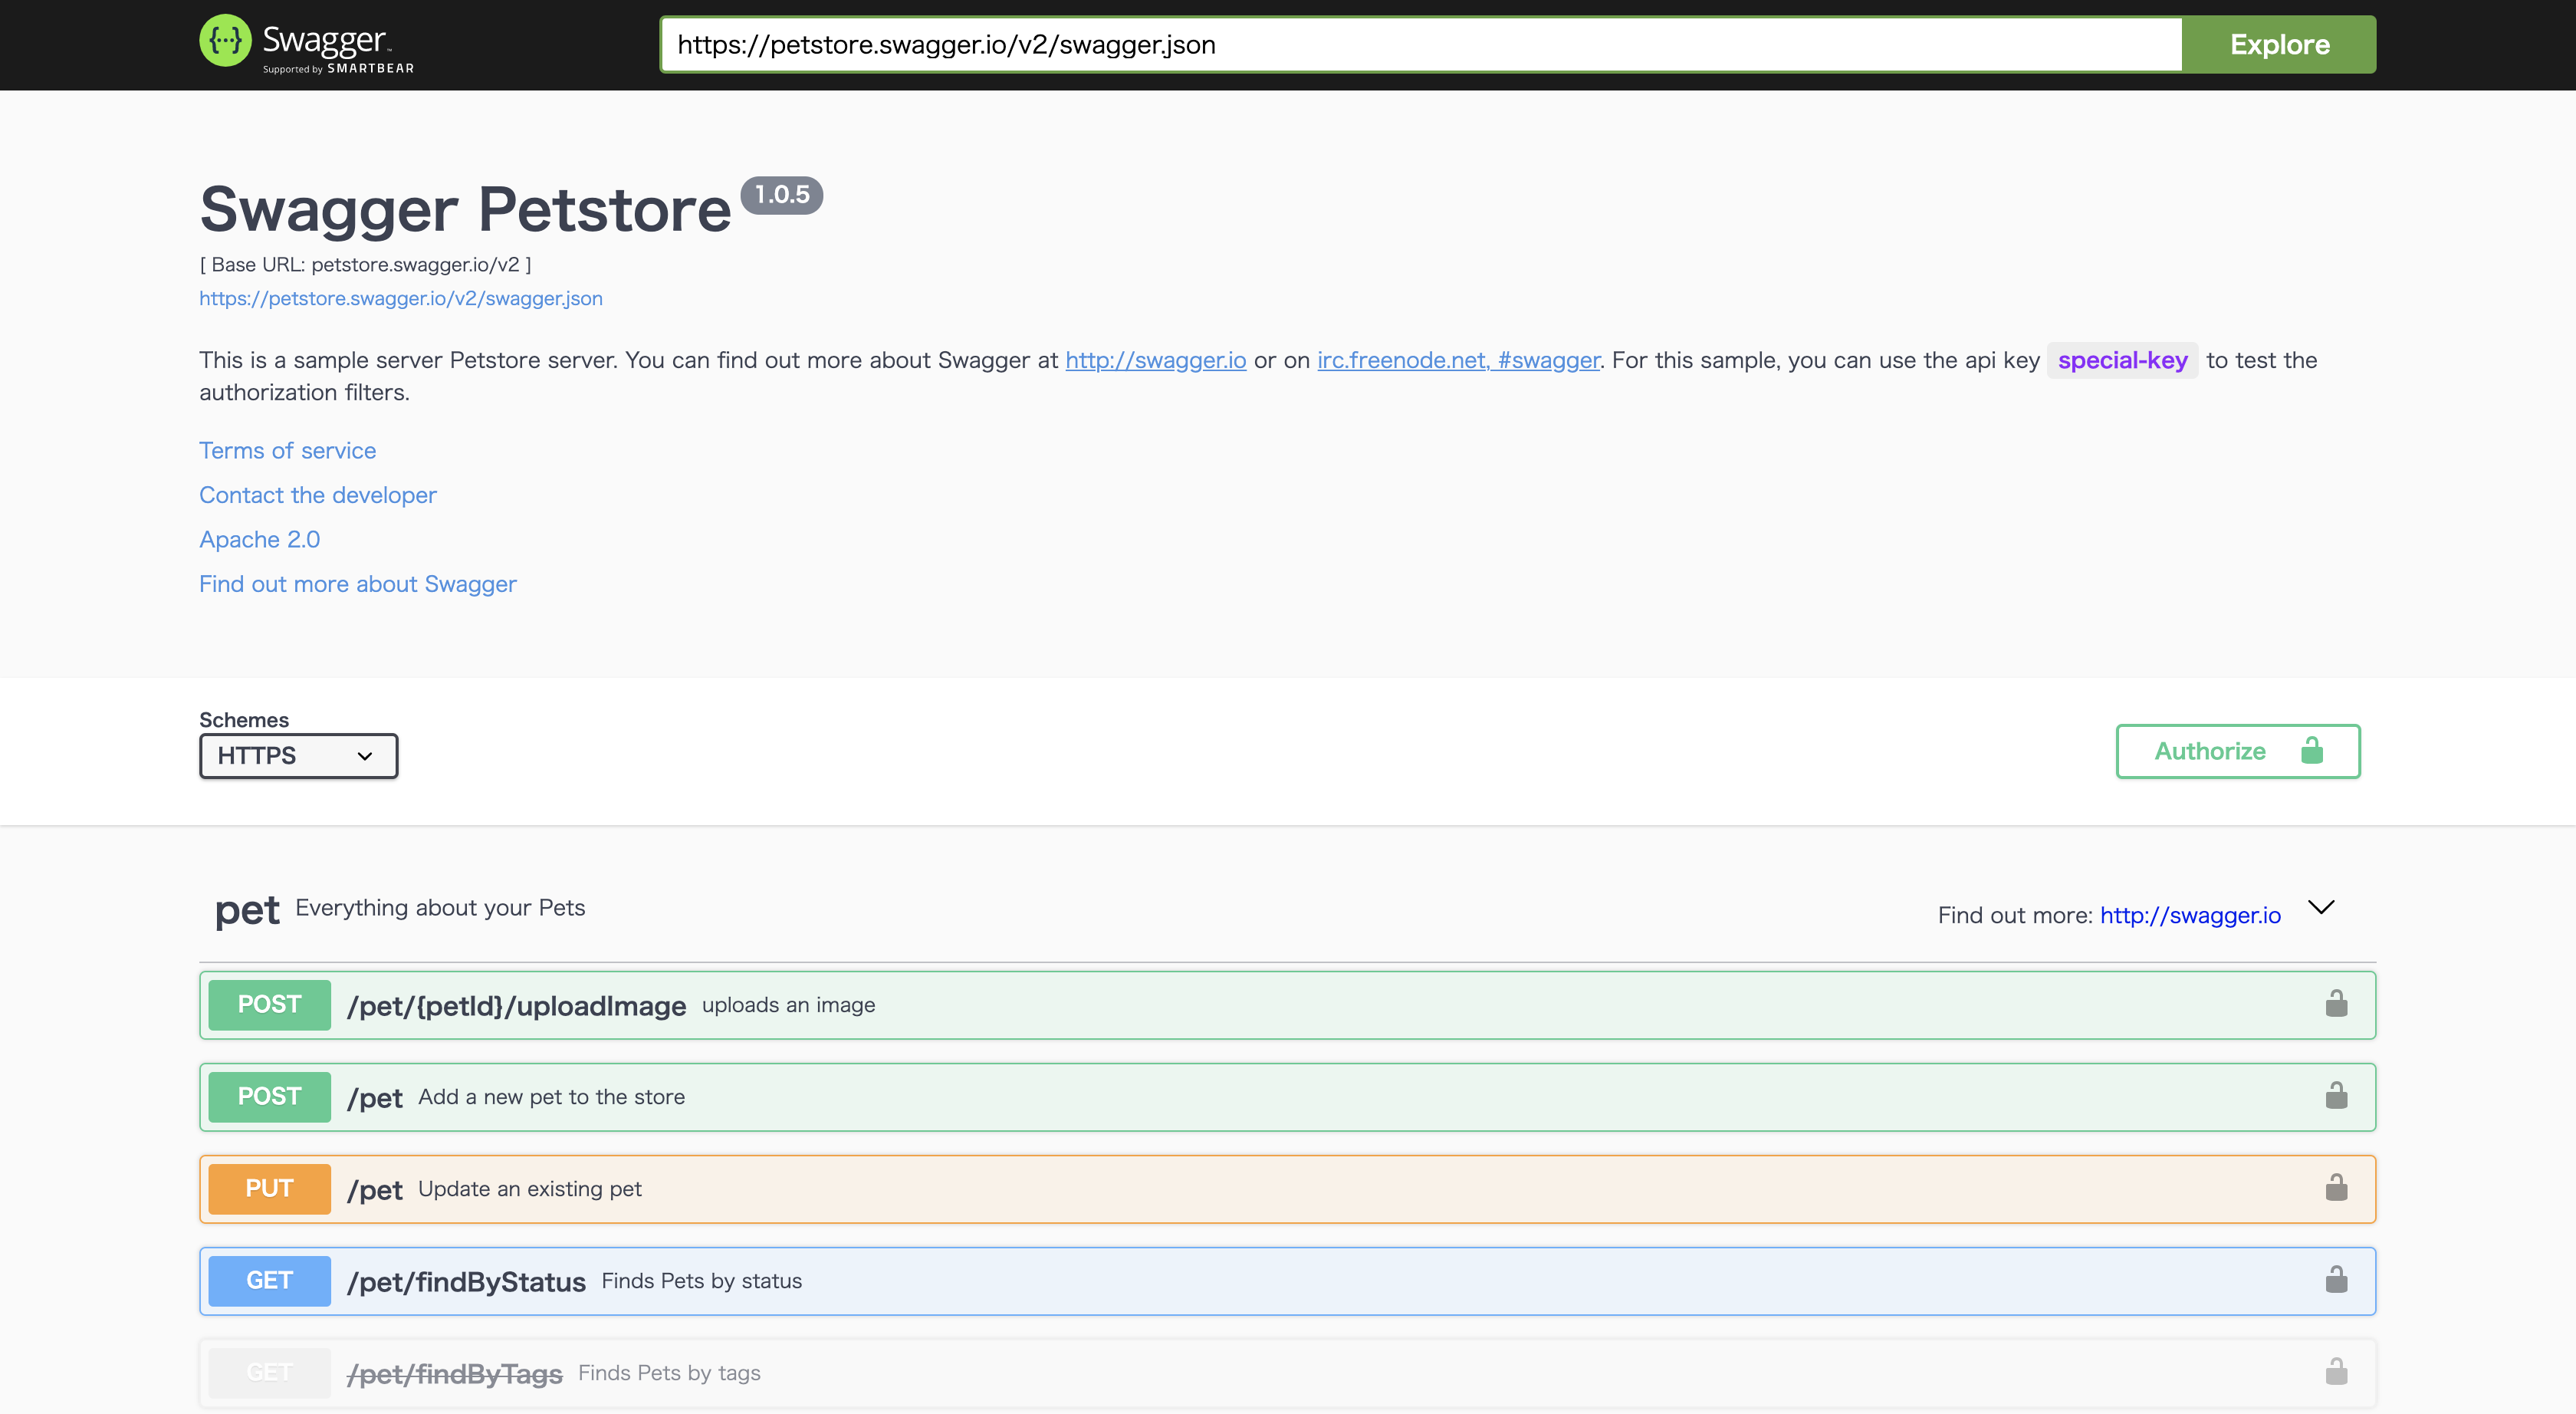
Swagger-uiを導入すると、初めは下記画像のようにペットショップのファイルが自動で読み込まれます。
今回は、swagger-uiに任意のファイルを読み込ませる方法を書きます。
AWS/EC2を使用しますが、ローカルでも同じ方法で変更できると思います。
前提条件
- AWS/EC2作成済み・SSH接続可能
- nginxをインストール済
- swagger-uiを利用可能(Docker)
1の設定がまだの方は、こちら。
2の設定がまだの方は、こちら。
3の設定がまだの方は、こちら。
1.任意のyamlファイルを置くディレクトリを作成する。
今回、私はec2上に**/home/ec2-user/www**のディレクトリを作成します。
sudo mkdir /home/ec2-user/www
2.読み込ませたいファイルを作成
先ほど作成したディレクトリ直下に好きなyamlファイルを作成しましょう。
今回は、こちらの記事に載っていたyamlファイルを使用させていただきます。
openapi: 3.0.0
info:
  version: 1.0.0
  title: ペットストア(変更後)
  license:
    name: MIT
servers:
  - url: http://petstore.swagger.io/
paths:
  /pets:
    get:
      summary: List all pets
      operationId: listPets
      tags:
        - pets
      parameters:
        - name: limit
          in: query
          description: How many items to return at one time (max 100)
          required: false
          schema:
            type: integer
            format: int32
      responses:
        '200':
          description: A paged array of pets
          headers:
            x-next:
              description: A link to the next page of responses
              schema:
                type: string
          content:
            application/json:
              schema:
                $ref: "#/components/schemas/Pets"
        default:
          description: unexpected error
          content:
            application/json:
              schema:
                $ref: "#/components/schemas/Error"
components:
  schemas:
    Pet:
      required:
        - id
        - name
      properties:
        id:
          type: integer
          format: int64
          example: 1
        name:
          type: string
          example: "pochi"
        tag:
          type: string
          example: "dog"
    Pets:
      type: array
      items:
        $ref: "#/components/schemas/Pet"
    Error:
      required:
        - code
        - message
      properties:
        code:
          type: integer
          format: int32
        message:
          type: string
3.swagger-uiを起動する
swagger-uiを任意のファイルを読み込むように設定して、起動します。
sudo docker run -d -p 8001:8080 -e SWAGGER_JSON=/tmp/pet.yaml -v /home/ec2-user/www:/tmp swaggerapi/swagger-ui
4.swagger-uiを確認する
nginx.confで指定したswagger-uiのURLにアクセスする
nginx.confの設定がまだの方は、こちら
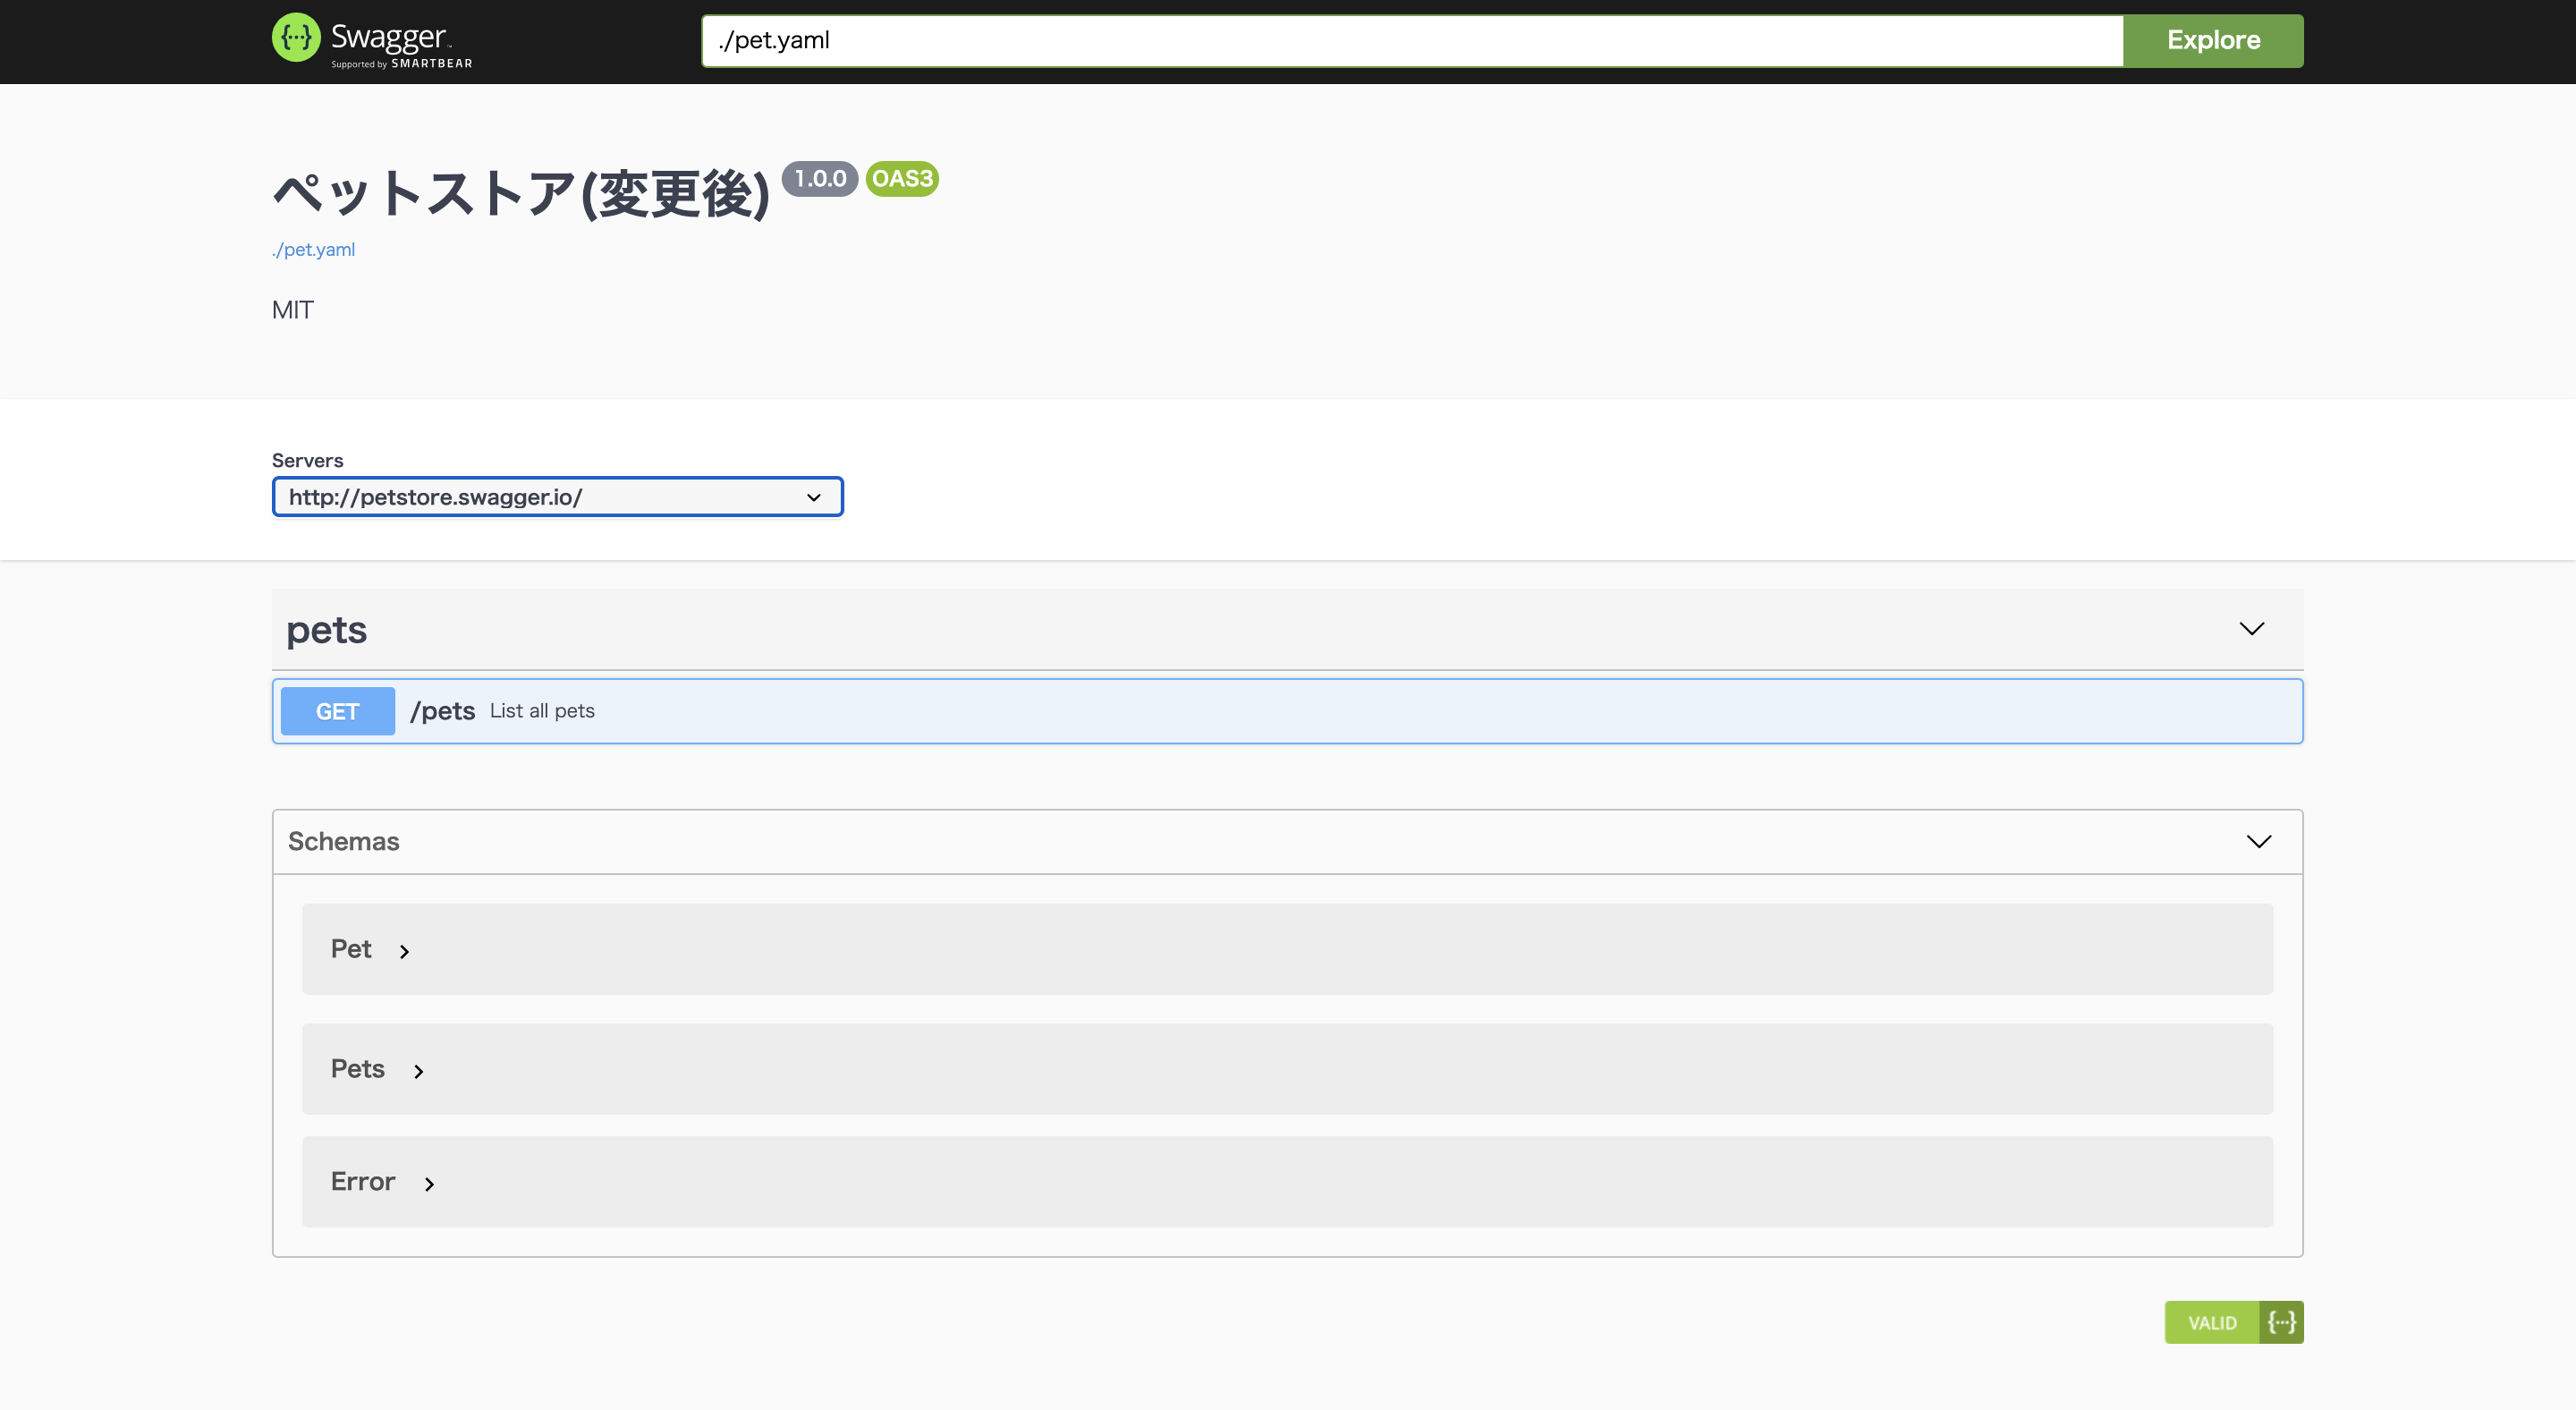
すると、下記画像のように、最初のペットショップのファイルから、今回用意したyamlファイルに変更されているはずです。
注意点
①すでにswagger-uiをDocker runしている場合は、一度停止してから再度起動してください。
起動中のコンテナ検索
sudo docker ps
コンテナ停止
sudo docker stop (コンテナ名)
②SWAGGER_JSONの指定の仕方
ボリュームを作成する
Dockerにはボリュームと呼ばれるデータを保存できる場所があります。
そのボリュームから、任意のyamlファイルを指定して、swagger-uiに読み込ませる必要があります。
しかし、ボリュームは最初から自動的には使えません。
下記オプションを使って、自分で用意する必要があります。
-v /home/ec2-user/www:/tmp
この**「-v」** のオプションが、ボリュームを作成しますよという合図です。
簡単に説明すると、ec2上の**/home/ec2-user/www**のディレクトリ内にあるファイルを、
/tmpというボリュームにコピーして使えるようにしますよということです。
今回でいうと、/home/ec2-user/www直下には、**yamlファイル(pet.yaml)が1つ作成されているので、/tmp直下(ボリューム内)にも同じyamlファイル(pet.yaml)**が1つ作成されています。
SWAGGER_JSONにボリューム内のファイルを指定
SWAGGER_JSON=/tmp/pet.yaml
ちなみに、/home/ec2-user/www や /tmp は自分が好きなディレクトリを指定することができます。
最後に
以上が、Dockerを使用したswagger-uiの読み込みファイルの変更方法です。
不明点、質問などあれば、気軽にコメントをお願い致します。

