はじめに
最近触る機会少なかったZabbixが進化して新しくなっていたので最新バージョンの5.0 LTSをCentOS7にインストールすることにしました。
環境
CentOS7.8
※インストール初期状態で準備しました
# cat /etc/redhat-release
CentOS Linux release 7.8.2003 (Core)
ざっくりと必要なものは
・Zabbix-Server
・Zabbix-Agent
・MySQL >>> MariaDB
・PHP
やっていこう
1. MariaDBのインストール
PHPはZabbixのインストール過程で勝手に準備されるのでデータベースだけ準備しときます。
# yum install mariadb mariadb-server
# systemctl start mariadb
# systemctl status mariadb
2. MariaDBの初期設定
mysql_secure_installationを利用して初期設定を行います。
とりあえずrootのパスワードだけ設定していればOKです。
# mysql_secure_installation

NOTE: RUNNING ALL PARTS OF THIS SCRIPT IS RECOMMENDED FOR ALL MariaDB
      SERVERS IN PRODUCTION USE!  PLEASE READ EACH STEP CAREFULLY!

In order to log into MariaDB to secure it, we'll need the current
password for the root user.  If you've just installed MariaDB, and
you haven't set the root password yet, the password will be blank,
so you should just press enter here.

Enter current password for root (enter for none):
OK, successfully used password, moving on...

Setting the root password ensures that nobody can log into the MariaDB
root user without the proper authorisation.

Set root password? [Y/n] y
New password:
Re-enter new password:
Password updated successfully!
Reloading privilege tables..
 ... Success!


By default, a MariaDB installation has an anonymous user, allowing anyone
to log into MariaDB without having to have a user account created for
them.  This is intended only for testing, and to make the installation
go a bit smoother.  You should remove them before moving into a
production environment.

Remove anonymous users? [Y/n] y
 ... Success!

Normally, root should only be allowed to connect from 'localhost'.  This
ensures that someone cannot guess at the root password from the network.

Disallow root login remotely? [Y/n] n
 ... skipping.

By default, MariaDB comes with a database named 'test' that anyone can
access.  This is also intended only for testing, and should be removed
before moving into a production environment.

Remove test database and access to it? [Y/n] y
 - Dropping test database...
 ... Success!
 - Removing privileges on test database...
 ... Success!

Reloading the privilege tables will ensure that all changes made so far
will take effect immediately.

Reload privilege tables now? [Y/n] y
 ... Success!

Cleaning up...

All done!  If you've completed all of the above steps, your MariaDB
installation should now be secure.

Thanks for using MariaDB!
・MariaDBのデータベース設定
とりあえず下記を入れれば間違いないでしょう。
# vi /etc/my.cnf.d/server.cnf
[mysqld]
character-set-server = utf8
collation-server     = utf8_bin
innodb_file_per_table
character-set-server: データベース作成時のデフォルト文字コード
collation-server: mysqlアクセスしたときの出力のデフォルト文字コード
innodb_file_per_table: InnoDBの各テーブルのデータとインデックスを個別のファイル管理にする
※昔からMySQLを使っている人ならわかると思いますが、InnoDBの各データがibdata1に保存され容量の肥大化に悩まされていたのでこれが解消できるとは!!(MySQL 5.6.6とそれ以降ではデフォルトでONらしいです)
・最後にMariaDBの再起動
# systemctl restart mariadb
3. Zabbixのインストール
ここからは公式サイトを参考に進めていきます。
3-1.レポジトリの登録
私はCentOS7なので下記のレポジトリを登録してますが、
自分の環境に合わせて設定してください。
# rpm -Uvh https://repo.zabbix.com/zabbix/5.0/rhel/7/x86_64/zabbix-release-5.0-1.el7.noarch.rpm
# yum clean all
3-2. zabbix server & agent installのインストール
# yum install zabbix-server-mysql zabbix-agent
3-3. SCLリポジトリのインストール
公式サイトにある手順の通り、SCLもインストールします。
SCL(Software collections)とはRed Hat Enterprise Linux(RHEL)とは別のライフサイクルで、
安定した最新バージョンのソフトウェアをインストールする方法として提供された、Red Hat Software Collectionsみたい。
別途インストールするzabbix-web-mysqlやらapacheでSCLがサポートされているみたいなのでここで入れておきましょう。(要するにWEBインターフェース部分ですかね!)
# yum install centos-release-scl
3-4. レポジトリの編集
最初にやっても問題なさそうだけど公式手順どおりにここでフロントエンドのリポジトリを有効にします。
# vi /etc/yum.repos.d/zabbix.repo
[zabbix-frontend]
...
enabled=1
...
3-5. フロントエンドパッケージのインストール
apachやphpをインストールしてなくてもここで依存関係で勝手にインストールされます。
ちなみに最新の5.0ではphpは7.2からみたいです。
# yum install zabbix-web-mysql-scl zabbix-apache-conf-scl
4. Zabbixの設定
4-1. zabbix用のDB作成
# mysql -uroot -p
mysqlのパスワード

mysql> create database zabbix character set utf8 collate utf8_bin;
mysql> create user zabbix@localhost identified by 'password ← 必要に応じて変えてね!';
mysql> grant all privileges on zabbix.* to zabbix@localhost;
mysql> quit;
4-2. zabbix用のDBへスキーマとデータをインポート
# zcat /usr/share/doc/zabbix-server-mysql*/create.sql.gz | mysql -uzabbix -p zabbix
4-2で設定したzabbix用のDBのパスワードを求められます
4-3. zabbixサーバコンフィグの設定
# vi /etc/zabbix/zabbix_server.conf
DBPassword=password ← zabbix用のDBのパスワード
4-4. phpのデフォルトタイムゾーンを日本にする
# vi /etc/opt/rh/rh-php72/php-fpm.d/zabbix.conf

; php_value[date.timezone] = Europe/Riga ← コメントアウトのままでOK
php_value[date.timezone] = Asia/Tokyo ← 追加しよう
4-5. 再起動と自動起動を有効に
# systemctl restart zabbix-server zabbix-agent httpd rh-php72-php-fpm
# systemctl enable zabbix-server zabbix-agent httpd rh-php72-php-fpm mariadb
4-6. ファイアウォール開けなきゃね!
SELinuxは有効化した状態で進めます。
# firewall-cmd --add-service=https --zone=public --permanent
# firewall-cmd --add-service=http --zone=public --permanent
# firewall-cmd --add-port=10050/tcp --zone=public --permanent
# firewall-cmd --add-port=10051/tcp --zone=public --permanent
# firewall-cmd --reload
[メモ]
Zabbixサーバ → Zabbixエージェント 10050
Zabbixエージェント → Zabbixサーバ 10051
5. さあアクセスしてみよう!!!!
http://サーバーのIPアドレス/zabbix
・初回アクセス画面

・全部がOKになっていれば成功!!

・4-2で設定したzabbix用のDBのパスワードを入力

・デフォルトでOK

・最終確認画面
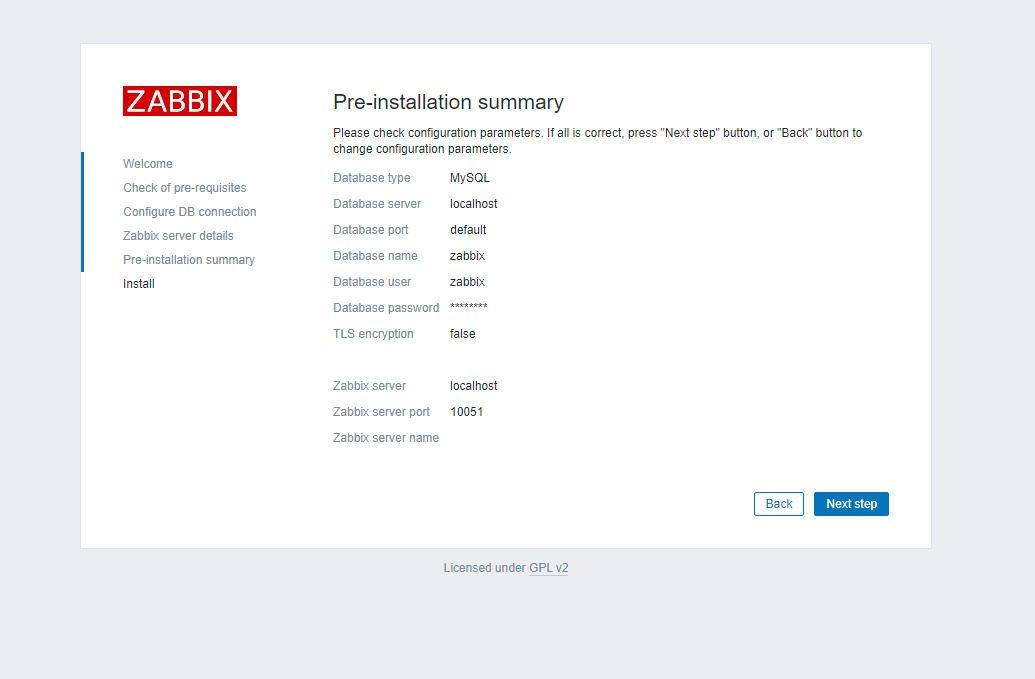
・Successfullyで成功!!

6. ログイン
デフォルト
ユーザ: Admin
パスワード: zabbix

・アクセス成功
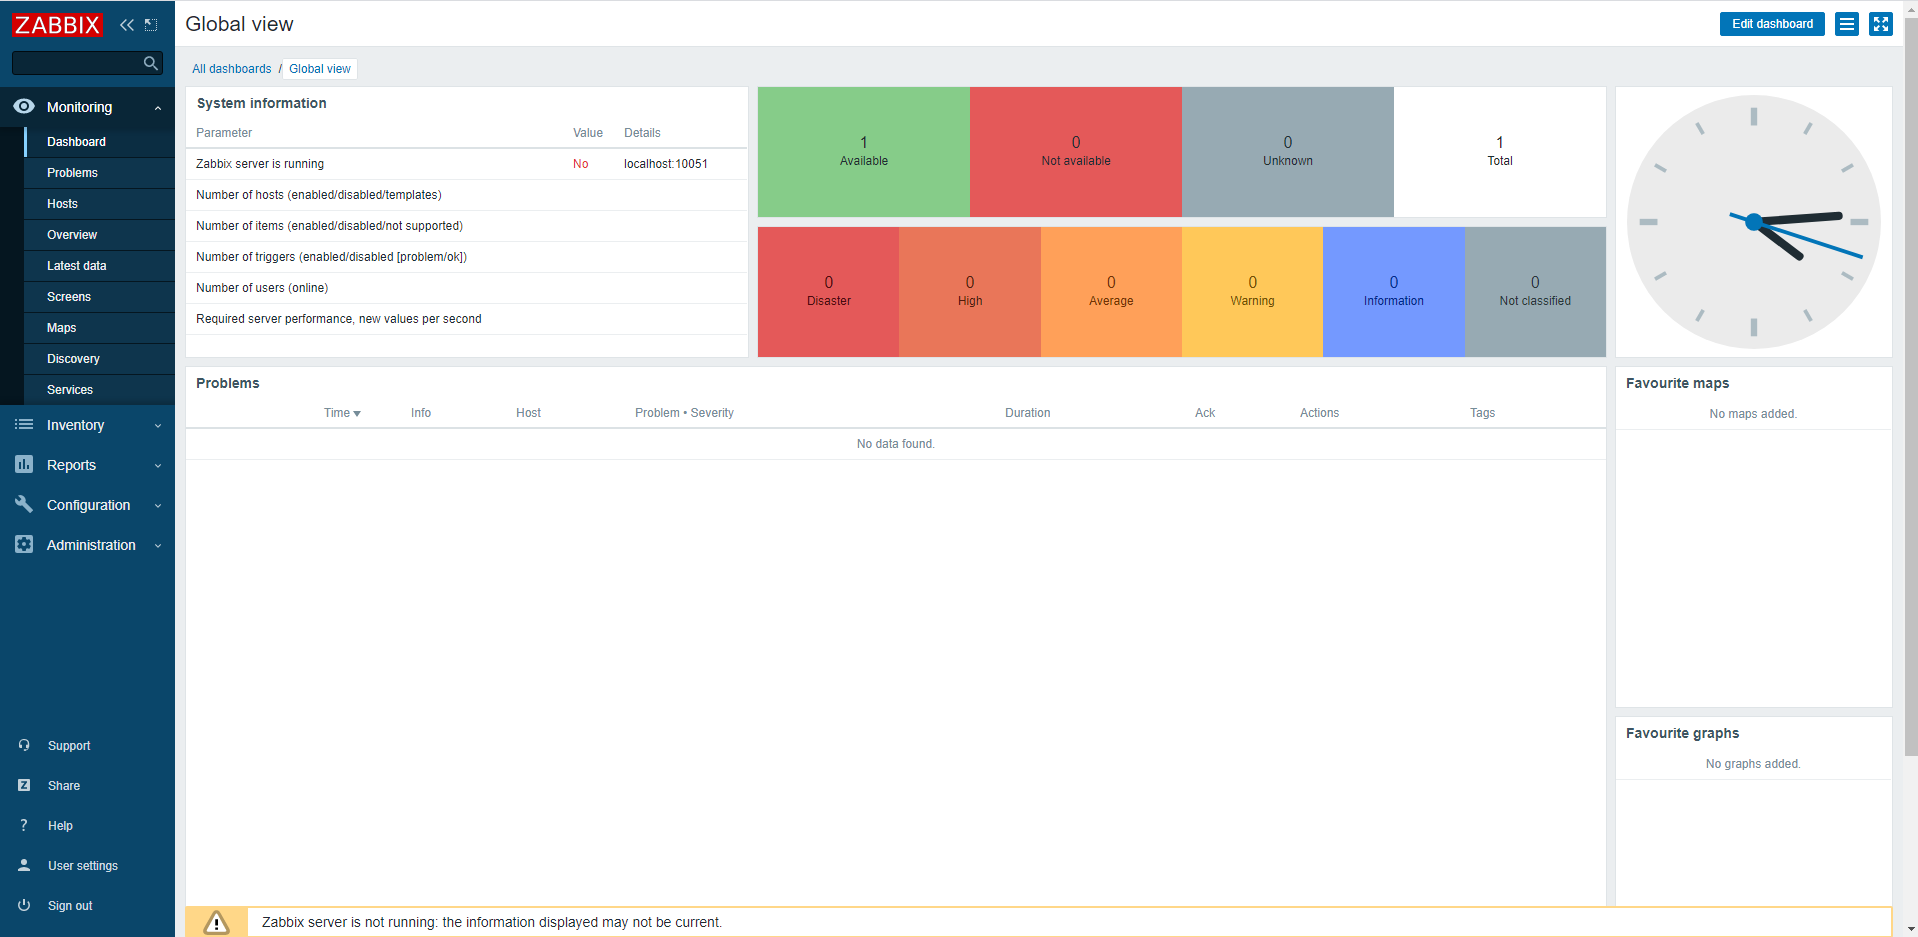
7. SELinuxの影響でZabbix server is runningがNoになっているので解決します
・Zabbix関連の許可ルールグループが定義を調べる
# getsebool -a|grep zabbix
httpd_can_connect_zabbix --> off
zabbix_can_network --> off
zabbix_run_sudo --> off
httpd_can_connect_zabbix: httpd がCGIやPHP等のスクリプトを使ってZabbixサーバにアクセスする許可
zabbix_can_network: Zabbixサーバから他のネットワークにアクセスする許可
zabbix_run_sudo: Zabbixサーバ経由でsudoを使用したコマンドの実行許可
・許可を与えます
今回はZabbixサーバ経由でsudoを使用したコマンドの実行許可はいらないのでそれ以外をONにします。
# setsebool -P httpd_can_connect_zabbix on
# setsebool -P zabbix_can_network on
・SELinuxはまだまだしつこい
これだけでは終わりません。この状態ではZabbix-serverをリスタートしてもエラーを吐くのでさらに調整していきます。
こんなSELinuxの対処はaudit2allowです。
audit2allowコマンドは、ログを読み込み、拒否された理由、解決策を表示してくれます。
(/var/log/audit/audit.logを読み込みこませよう)
ここから繰り返し
※私の環境では3回実施しました。
# grep zabbix_server /var/log/audit/audit.log | audit2allow


# ============= zabbix_t ==============
allow zabbix_t zabbix_var_run_t:sock_file create;
# grep zabbix_server /var/log/audit/audit.log | audit2allow -M zabbix-policy
******************** IMPORTANT ***********************
To make this policy package active, execute:

semodule -i zabbix-policy.pp
# semodule -i zabbix-policy.pp
# systemctl restart zabbix-server
# systemctl status  zabbix-server
繰り返し終わり
私の環境では最終的に下記の3つが表示されました。
# grep zabbix_server /var/log/audit/audit.log | audit2allow


# ============= zabbix_t ==============

# !!!! This avc is allowed in the current policy
allow zabbix_t self:unix_stream_socket connectto;

# !!!! This avc is allowed in the current policy
allow zabbix_t zabbix_var_run_t:sock_file unlink;
allow zabbix_t zabbix_var_run_t:sock_file create;
これで無事にYESに!!

8. 日本語化
ユーザ設定からJPにすればOK!

無事に日本語に変わりました。
※障害はもともとディスクの速度が遅いので出てます。気にしないで!!

エラーというエラーはSELinuxの部分のみでした。
細かいMariaDBのメモリやらZabbixのプロセス数等はチューニングが必要ですが、とりあえず動かせる状態までは完了です。