経緯
FlutterアプリのWebViewからBasic認証ページの接続テストをしたかったので、サンプルとしてローカルでBasic認証ページを作ることにした。
FlutterのWebViewからBasic認証ページにアクセスする - Qiita
ローカルサーバーを立てるだけならVSCodeのLive Serverでサクッとできたのだが、Basic認証のかけ方がいまいちわからなかったため、Node.js + Express構成を使うことにした。
環境はMacでnpmコマンドが使用できる前提。
Passport-HTTPのインストール
認証まわりが簡単に実装できるpassport.jsというライブラリを使ってみた。
Passport-HTTPをインストールする。
$ npm i express passport passport-http
view engine(テンプレートエンジン)にはejsを使うので、こちらもインストール。
$ npm install --save ejs
認証ページの準備
プロジェクトフォルダ直下にapp.jsファイルを作成。Basic認証をかけ、成功時にそれ用の表示を出すだけの簡素なつくり。
const express = require('express');
const passport = require('passport');
const passportHttp = require('passport-http');

passport.use(new passportHttp.BasicStrategy(
  function(username, password, done) {
    if (username === 'user' && password == 'pass') {
      return done(null, true);
    } else {
      return done(null, false);
    }
  }
));

const app = express();
app.set("view engine", "ejs");
app.get('/',
  passport.authenticate('basic', { session: false, }),
   (req, res) => {
  res.render("index", {content:"Success"});
});

app.listen(3000, (err, res) => {
  console.log('server is launched');
});
viewsフォルダを作成し、その直下にindex.ejsを作成する。
<!DOCTYPE html>
<html>
<head>
    <meta charset="utf-8" />
    <title><%= content %></title>
</head>
<body>
    <h1><%= content %></h1>
</body>
</html>
今回の目的はWebViewからBasic認証ページの接続確認をしたいだけなので、認証に使うusernameは「user 」、passwordは「pass」というガバガバセキュリティで行く。
ブラウザで表示確認
ローカルサーバーを起動。
$ node app.js
server is launched
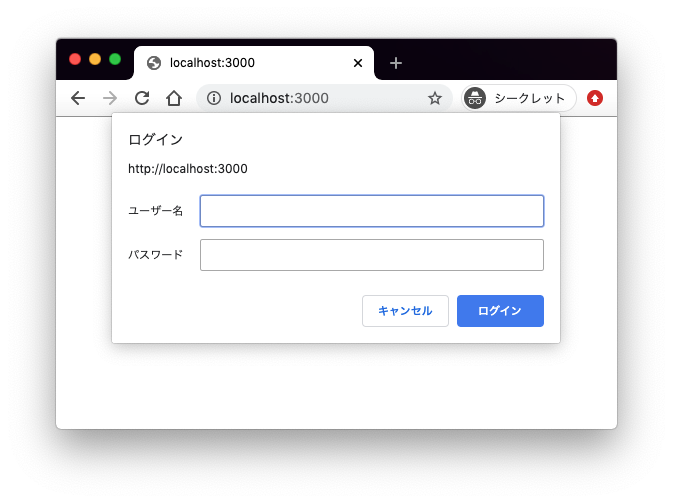
ブラウザでlocalhost:3000にアクセスすると、ユーザー名&パスワードを聞かれる。
http://localhost:3000/

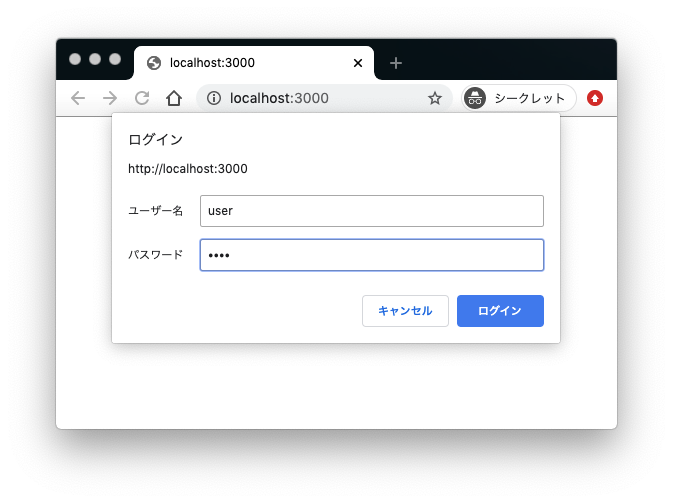
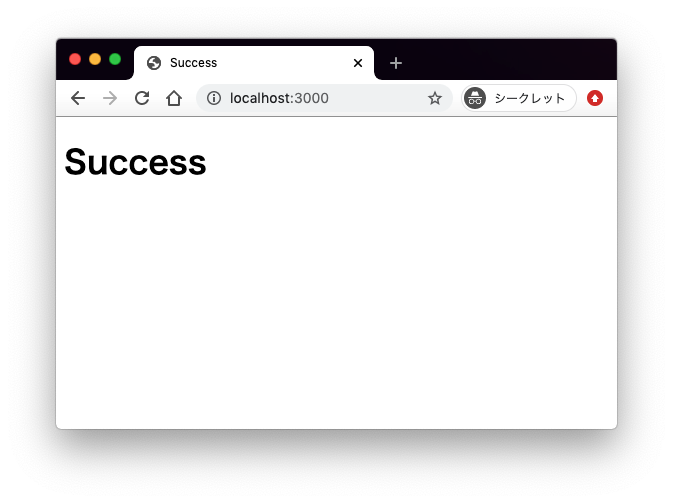
正しいユーザー名&パスワードを入力して「OK」を押すと

「Success」と表示される。

終わり。
curlコマンドで確認
ちなみにターミナルでcurlコマンド叩いても確認できる。
$ curl -u user:pass http://localhost:3000
今回はビューをレンダリングしてるのでhtmlが吐かれる。
<!DOCTYPE html>
<html>
<head>
    <meta charset="utf-8" />
    <title>Success</title>
</head>
<body>
    <h1>Success</h1>
</body>
</html>
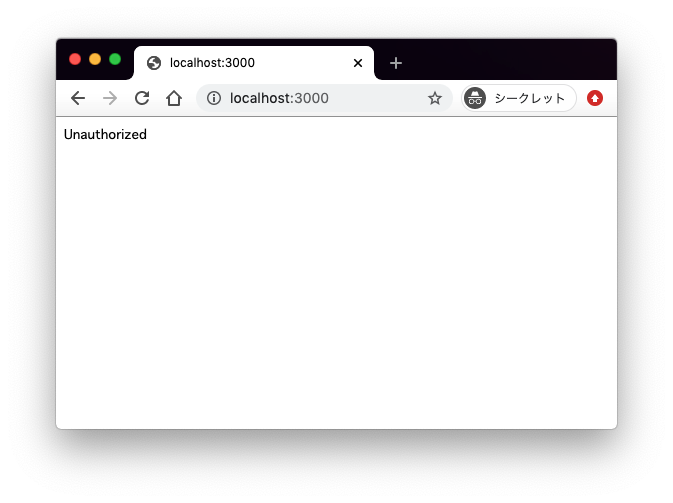
誤ったユーザー名、パスワードを指定したり、userオプション(-u)を指定しなかった場合はUnauthorizedが返ってくるだけ。
Unauthorized
