その1はこちら
PlayFabを使い始めるための設定を行います。
(1)タイトルセッティング
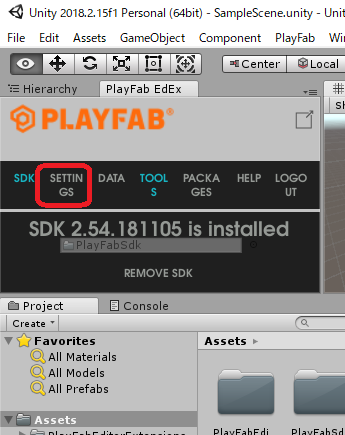
その1でPlayFabの拡張をインストールしたので設定を行う
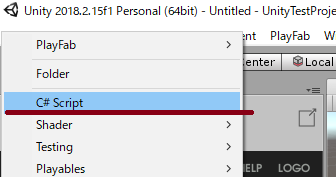
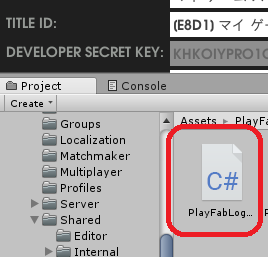
画面左にある「Project」パネルにある「Create」をクリック
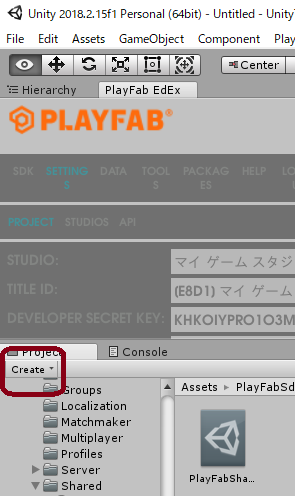
ファイル名を「PlayFabLogin」に変更
ダブルクリックするとVisualStudioのコードエディターが起動する
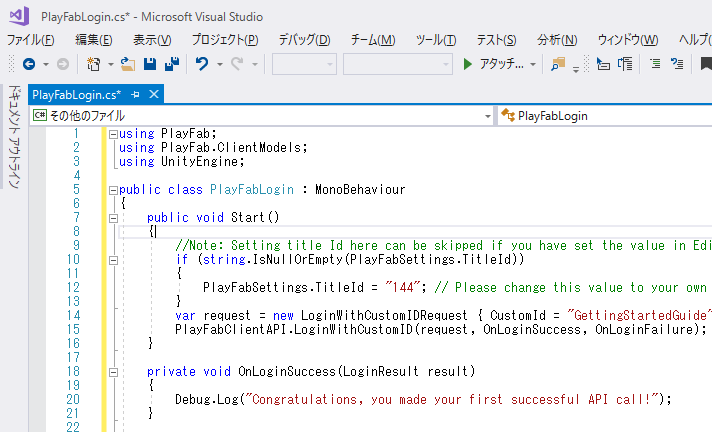
エディターにマニュアルのコードを丸パクる
using PlayFab;
using PlayFab.ClientModels;
using UnityEngine;

public class PlayFabLogin : MonoBehaviour
{
    public void Start()
    {
        //Note: Setting title Id here can be skipped if you have set the value in Editor Extensions already.
        if (string.IsNullOrEmpty(PlayFabSettings.TitleId)){
            PlayFabSettings.TitleId = "XXX"; // Please change this value to your own titleId from PlayFab Game Manager
        }
        var request = new LoginWithCustomIDRequest { CustomId = "GettingStartedGuide", CreateAccount = true};
        PlayFabClientAPI.LoginWithCustomID(request, OnLoginSuccess, OnLoginFailure);
    }

    private void OnLoginSuccess(LoginResult result)
    {
        Debug.Log("Congratulations, you made your first successful API call!");
    }

    private void OnLoginFailure(PlayFabError error)
    {
        Debug.LogWarning("Something went wrong with your first API call.  :(");
        Debug.LogError("Here's some debug information:");
        Debug.LogError(error.GenerateErrorReport());
    }
}
※こちらのコードはあくまでサンプルコードで、モバイルゲームの場合は別のコードになります
(2)実行してみる
新しいゲームオブジェクトを作成して、(1)で作成したスクリプトをアタッチして実行する
うまく実行できるとこんな感じで実行できる↓

次からは実際に動かした時の動きなどを検証してみたいと思います
