参考にした記事
参考:YOLOv2(Keras/TensorFlow)でディープラーニングによる画像の物体検出を行う(yampyさん)
1.Tensorflowをインストールする
PythonとTensorflowをインストールする。
参考:(初心者向け)TensorFlowをインストールする(egplntさん)の3まで
2.ライブラリのインストール
ターミナルを立ち上げ、色々インストールします。
$より後をコピペ。
まずはwgetというコマンドを使えるようにします。後々使うらしい。
$ brew install wget
インストールできたら次へ。
$ git clone https://github.com/allanzelener/YAD2K.git
yad2kというディレクトリができているので
$ cd yad2k
で移動します。
必要なライブラリを1行ずつインストール
$ pip install numpy h5py pillow
$ pip install tensorflow-gpu
$ pip install keras
3.config と weight のダウンロード
config=設定ファイル
weight=学習済みの重み
$ wget https://pjreddie.com/media/files/yolo.weights
$ wget https://raw.githubusercontent.com/pjreddie/darknet/master/cfg/yolo.cfg
ファインダーなどでyad2kのフォルダの下に
・yoro.cfg
・yolo.weights

が入って入ればおっけー。
これらは、学習データとしてPascal VOC Challengesの2007年+2012年のデータを使用しているらしいです。
4.モデル生成
まずは1で入ったtensorflowのあるpython3に入ります。
binの下にあるactivateを以下コマンドで実行します。
$ source acrivate
うまく実行されれば、(tf)$と$の前に仮想環境の名前がつきます。
configとweightを読み込んでモデルを生成します。
yad2dk.pyのあるフォルダまで移動して以下実行。
(tf)$ python yad2k.py yolo.cfg yolo.weights model_data/yolo.h5
5.実行
(tf)$ python test_yolo.py model_data/yolo.h5
imagesフォルダの中にデフォルトで数枚写真があります。
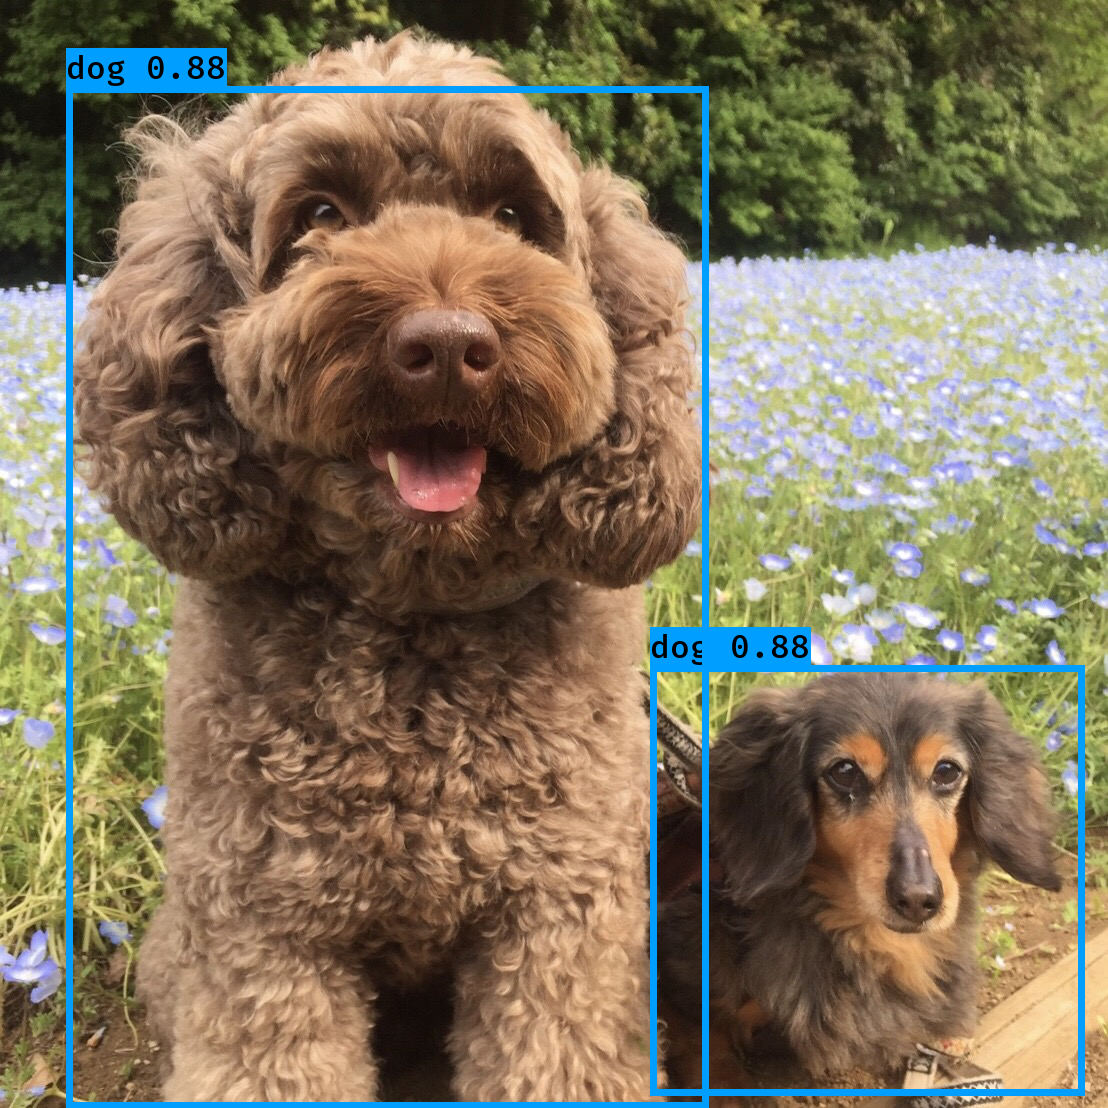
それを読み込んで、検出結果はimages/outのフォルダに新しく生成されます。
