やったこと
流行りのディープラーニングを使って、画像の物体検出を行いました。
今回は、YOLOv2というアルゴリズムを使って物体検出を行なっています。
YOLO(You Only Look Once)とは
畳み込みニューラルネットワーク(CNN:Convolutional Neural Network)を用いた物体検出アルゴリズムです。現時点ではv1とv2が存在します。
YOLO(YOLOv1)
論文はこちら(2015年)。
従来とは異なり、画像をバウンディングボックスで分割してクラス分類を行なっている。
we frame object detection as a regression problem to spatially separated bounding boxes and associated class probabilities.
結果として、45FPSの処理速度を実現した。
Our unified architecture is extremely fast. Our base YOLO model processes images in real-time at 45 frames per second.
YOLO9000(YOLOv2)
論文はこちら(2016年)。
YOLOv1を改良し、9000種類の物体検出が可能になっている。
First we propose various improvements to the YOLO detection method, both novel and drawn from prior work.
67FPSにおいて、76.8 mAP(mean Average Precision)を達成したとのこと。
The improved model, YOLOv2, is state-of-the-art on standard detection tasks like PASCAL VOC and COCO. At 67 FPS, YOLOv2 gets 76.8 mAP on VOC 2007.
YOLOv2を動かす
今回は、GitHubに公開されているYAD2K:Yet Another Darknet 2 Kerasを使ってみます。
これは、90%はKeras、10%はTensorFlowで実装されているとのこと。
インストール
ソースコード及び必要なライブラリをインストールします。
git clone https://github.com/allanzelener/YAD2K.git
cd yad2k

pip install numpy h5py pillow
pip install tensorflow-gpu
pip install keras
設定ファイル(config)と学習済みの重み(weight)のダウンロード
darknetにあるconfigとweightをプロジェクト直下に格納します。
wget http://pjreddie.com/media/files/yolo.weights
wget https://raw.githubusercontent.com/pjreddie/darknet/master/cfg/yolo.cfg
学習データには、Pascal VOC Challengesの2007年+2012年のデータを使用しています。
モデル生成&予測実行
configとweightを読み込んでKeras(Tensorflow backend)のモデルを生成します。
./yad2k.py yolo.cfg yolo.weights model_data/yolo.h5
./images直下の画像に対して物体検出を行います。
./test_yolo.py model_data/yolo.h5
結果は./image/outに格納されます。
実行結果
画像はCreative CommonsよりCCライセンスの画像を使用しました。
判定クラスは、person, car,dogなど全部で80クラスとなっています。
クラス名はYAD2K/model_data/coco_classes.txtに格納されています。
-
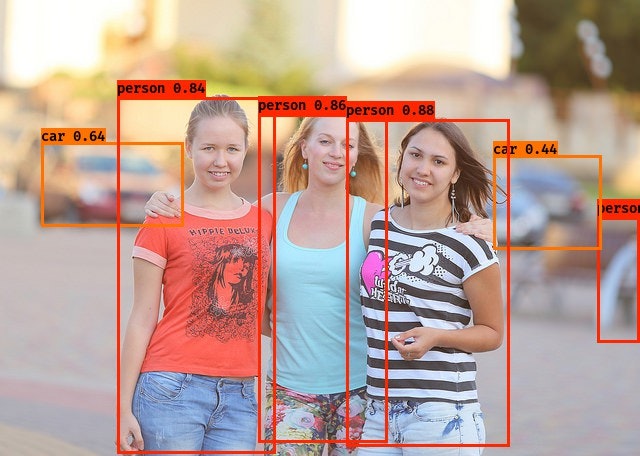
背景の車まで認識しています。
-
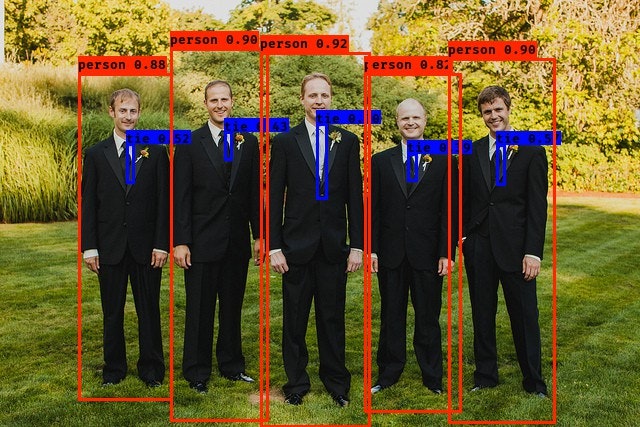
スーツのおじさんも正しく認識。
-
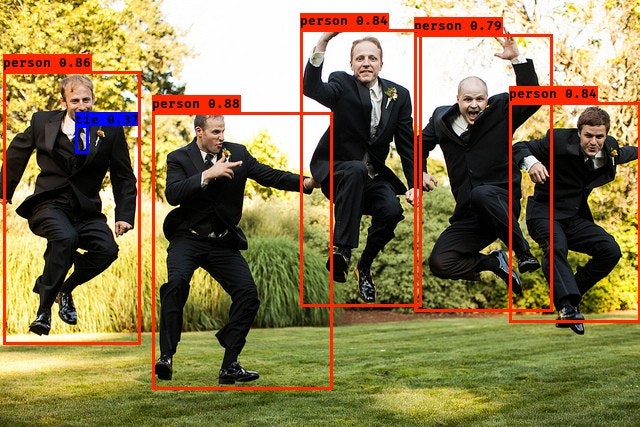
ジャンプしてもちゃんと認識しています。
-
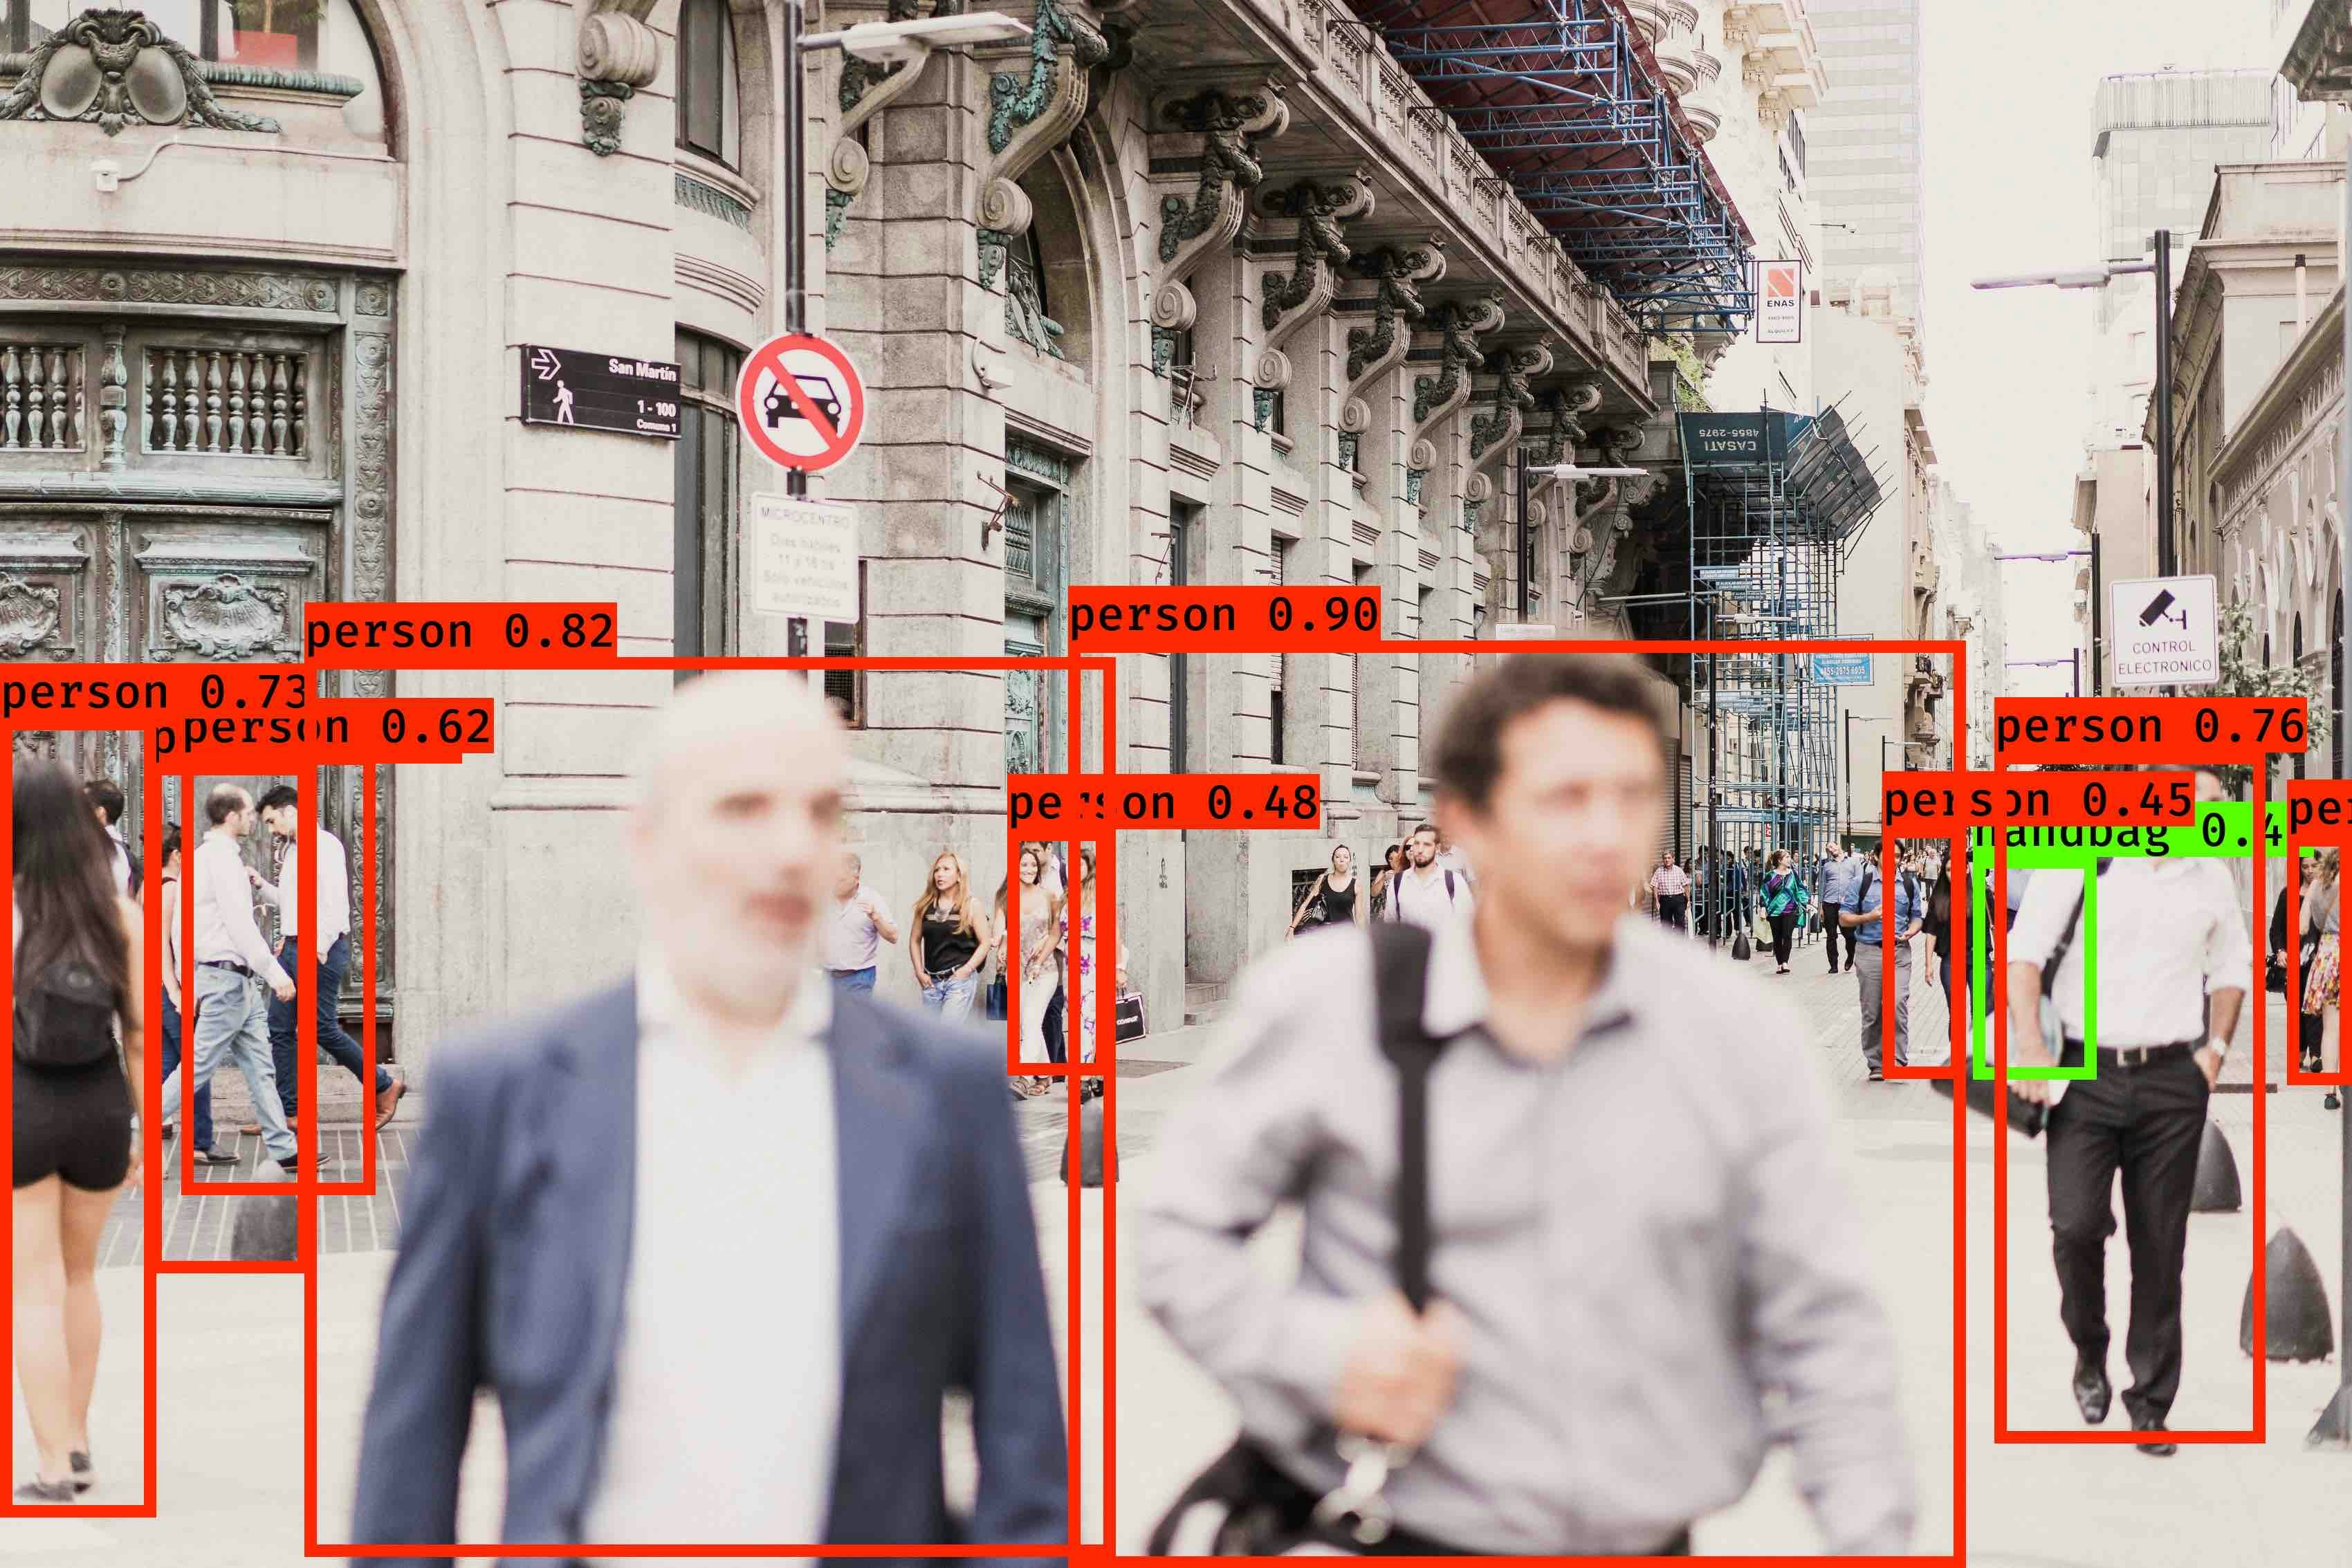
奥行きがある画像では、後ろの方の人が認識できていません。
-
人がくっついていると精度が低いようです。

-
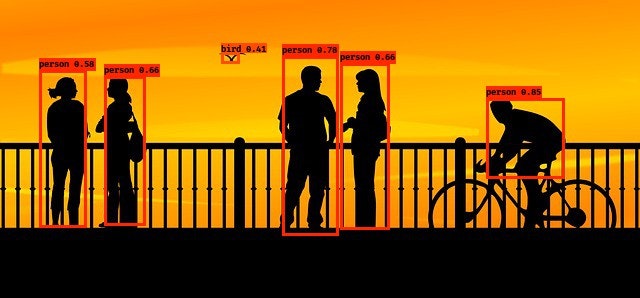
黒いシルエットでも問題なく認識できています(鳥も)。
感想
さくっと動かすだけであれば、1h程でできました。
今後は、./yad2k.pyの内容をいじったりディープラーニング用のAWS AMIを使って独自データを学習したいと思います。
また、今回はMacにライブラリを直接インストールして動かしましたが、提供されているcondaの設定ファイルによる仮想環境ではうまく動きませんでした。今後は固定のDocker環境にて試していきたいと思います。