対象
- はじめてJavaEEに触れる人
- JavaEEのチュートリアルを動かしてみたい人
前提条件
-
eclipse,gitがインストール済みであること
- ※下記手順はEclipse4.8(photon)、git2.20windowsで実施
-
JavaEEの機能、チュートリアルのコードについての説明は省略します。(勉強中なので…)
実施手順
1.githubからJavaEEチュートリアルをclone
コマンド
git clone https://github.com/javaee/tutorial-examples
2.glassfishダウンロード
https://javaee.github.io/glassfish/download
Web Profile版でOK
3.Eclipseにインポート
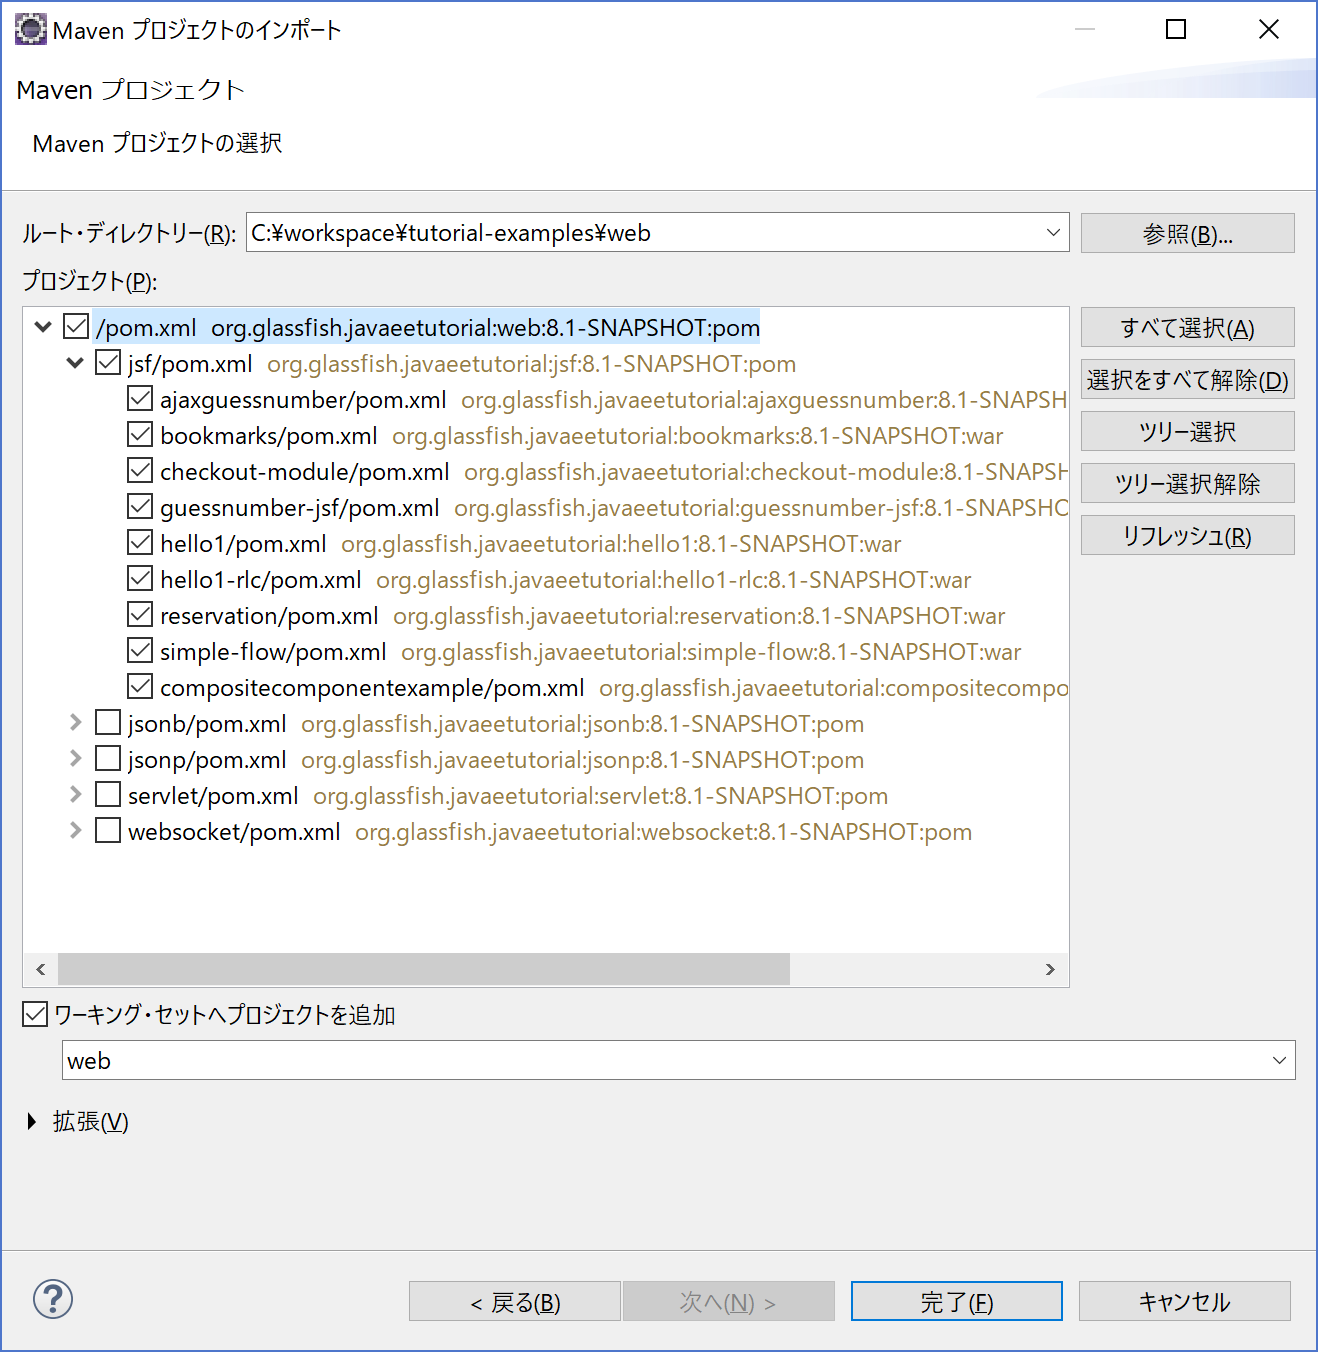
cloneしたプロジェクトをEclipseにインポートする。
[メニュー]-[インポート]-[Maven]-[既存Mavenプロジェクト]を選択
※チュートリアルはたくさんあるので、ここではWebに絞ってインポートする。
4.GlassFish Toolsインストール
Eclipse上からGlassFish上にデプロイできるようプラグインを追加する。
※こちら参考にさせていただきました。
https://ittoybox.com/archives/677
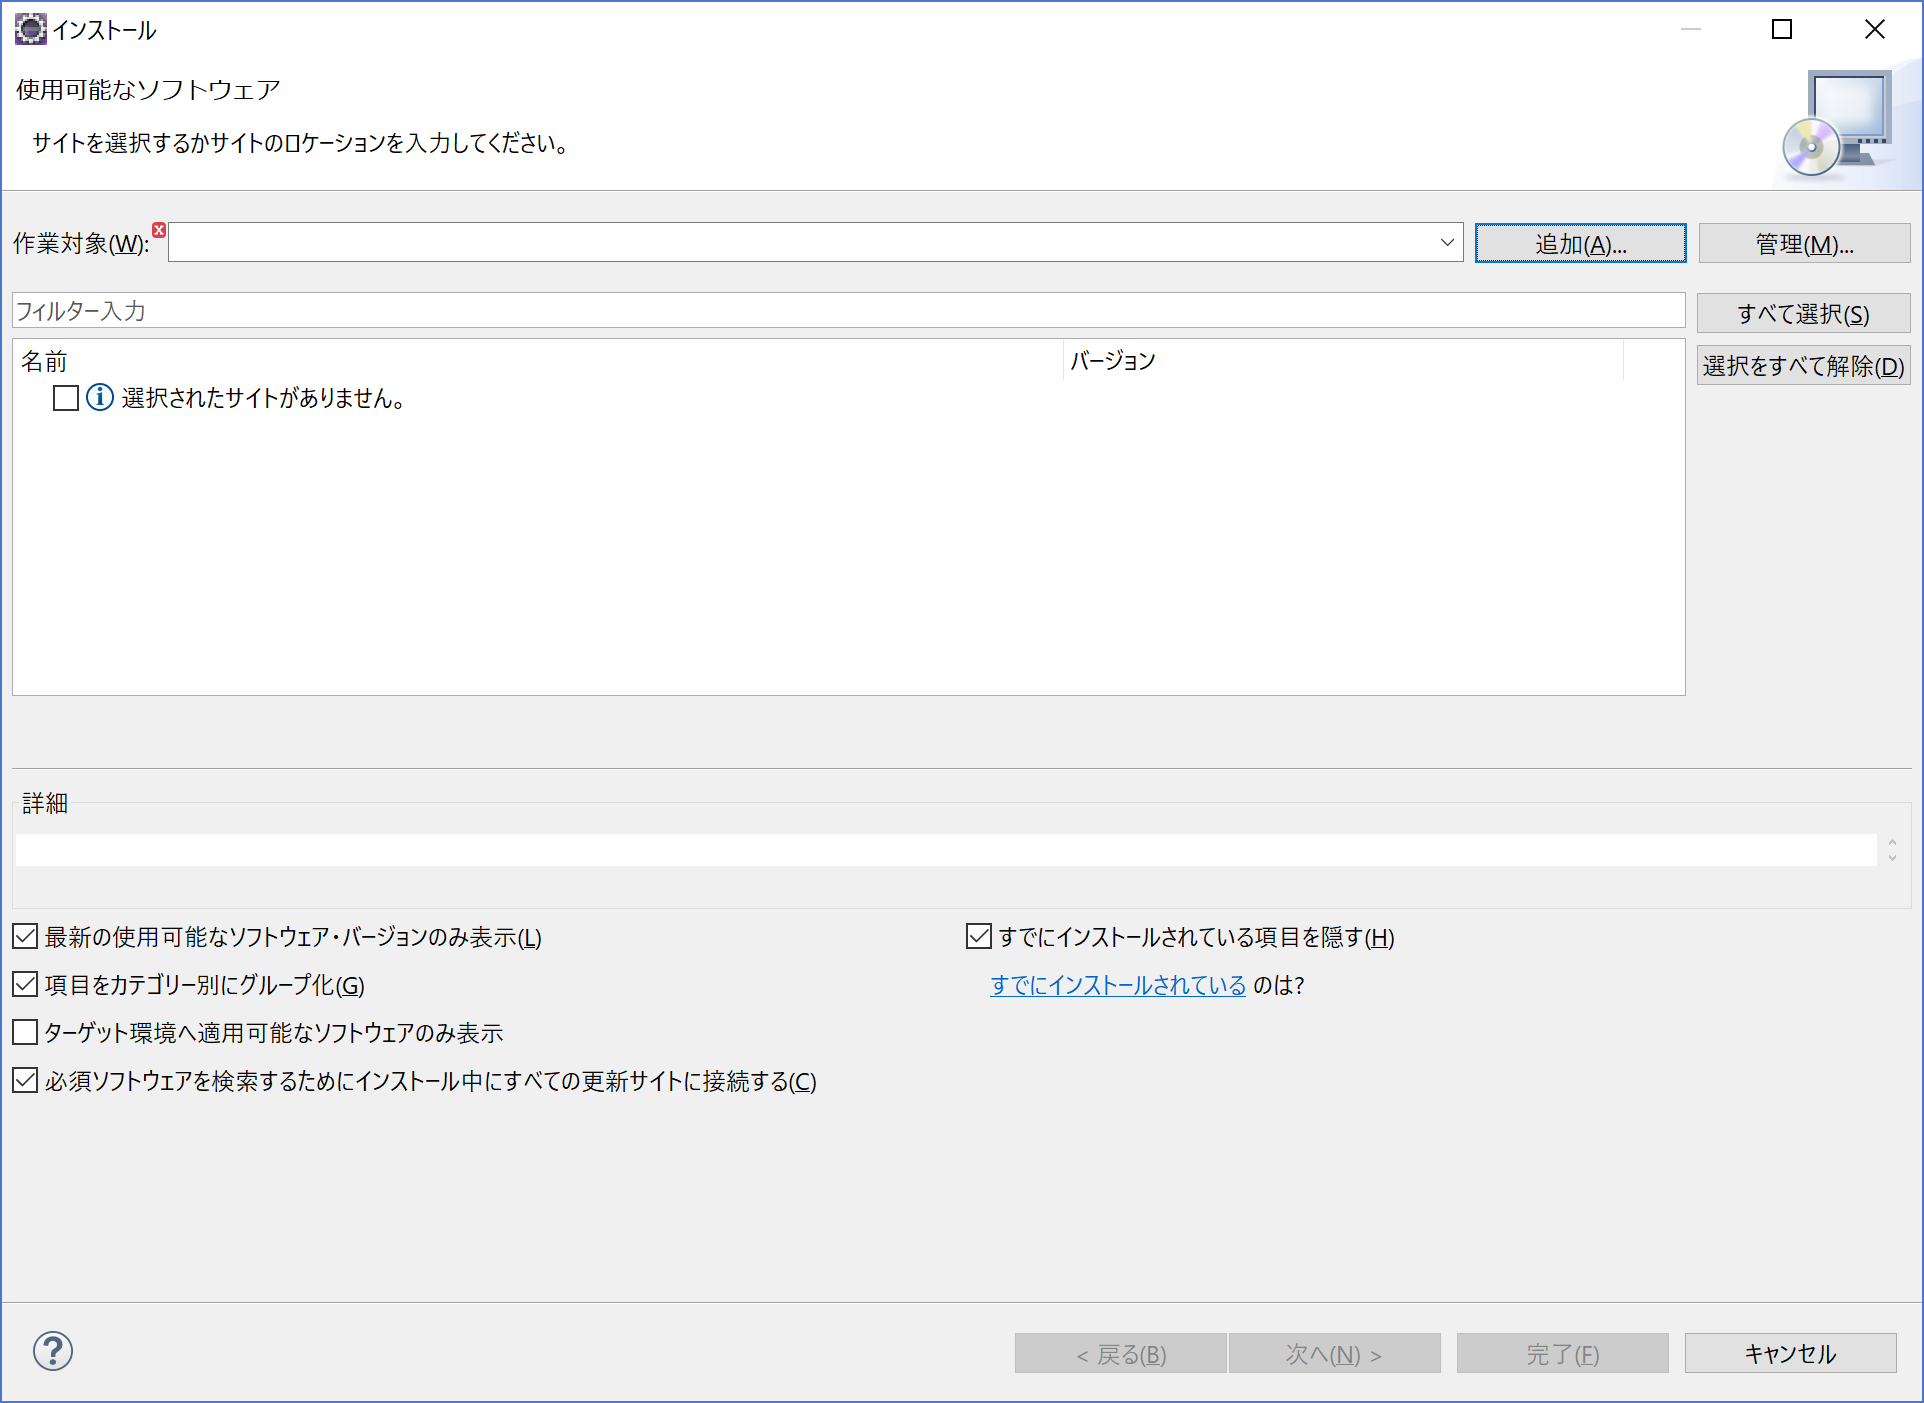
[メニュー]-[ヘルプ]-[新規ソフトウェアのインストール]を選択
「追加」ボタンを押下してglassfish-toolsのurlを入力する。
追加後はEclipseを再起動する。
5.サーバ追加
Eclipseでサーバの設定を追加する。
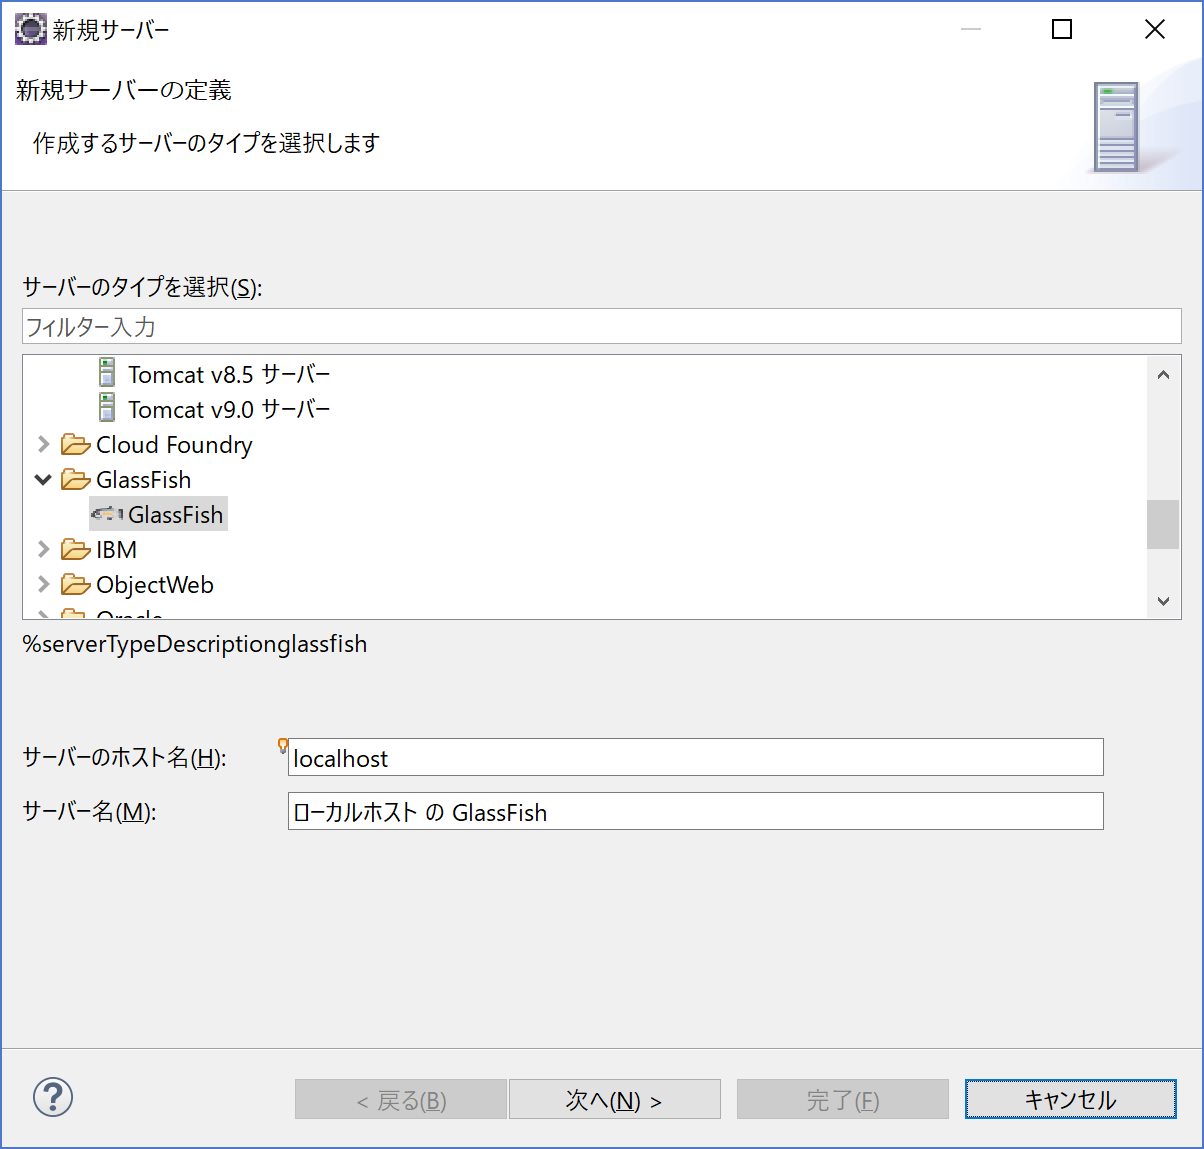
[メニュー]-[ウィンドウ]-[ビューの表示]-[その他]-[サーバー]を選択
※GlassFishToolsのインストールに成功すると「GlassFish」が表示されます。
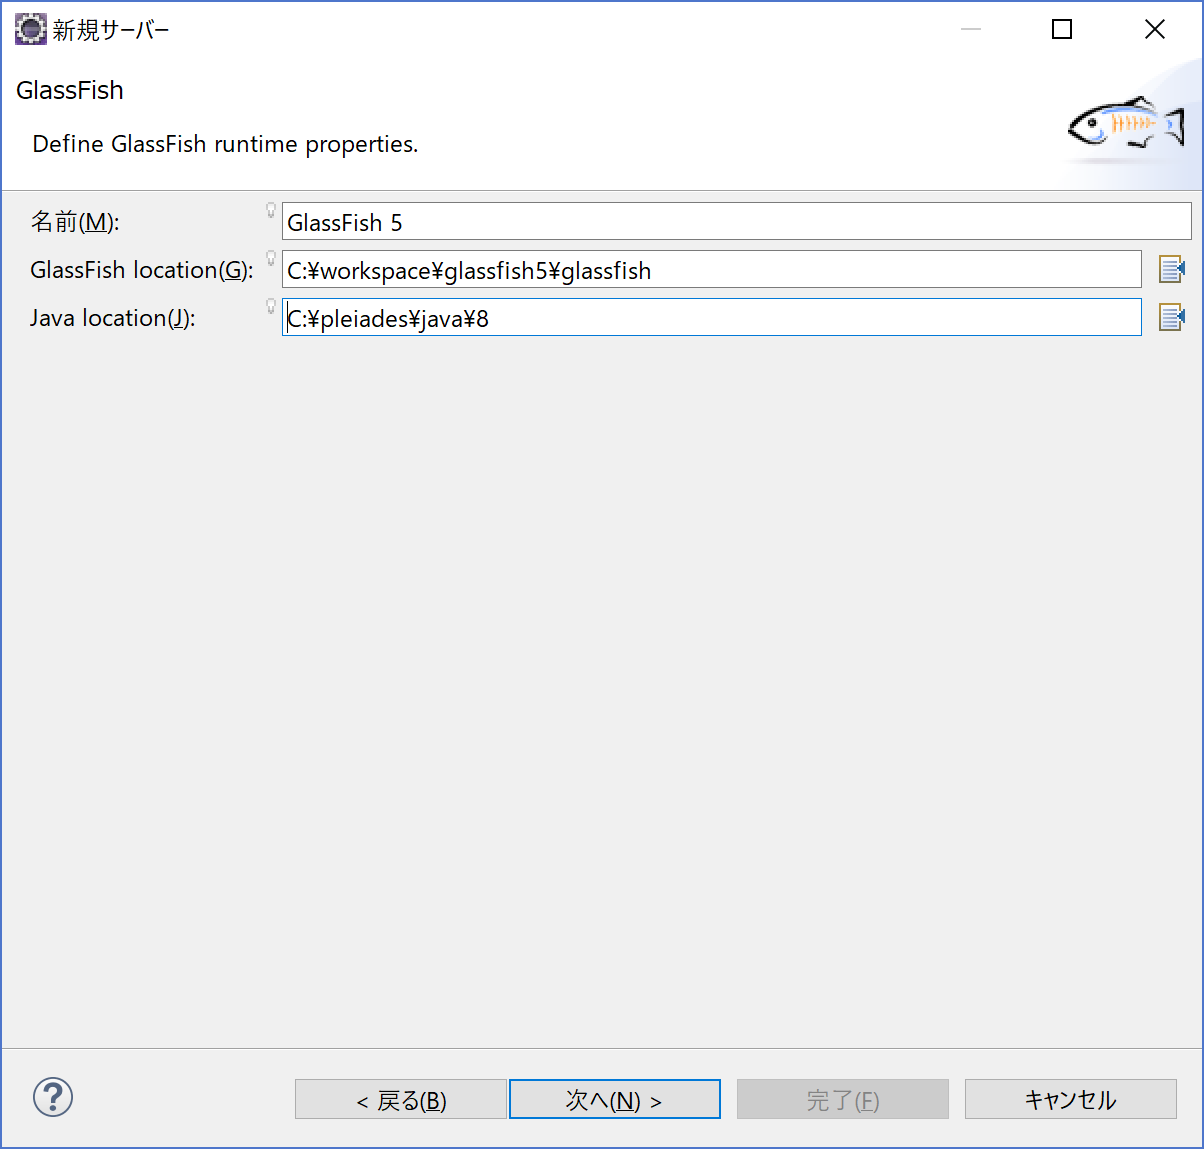
インストールしたGlassFishのホームディレクトリとJavaのホームディレクトリを指定
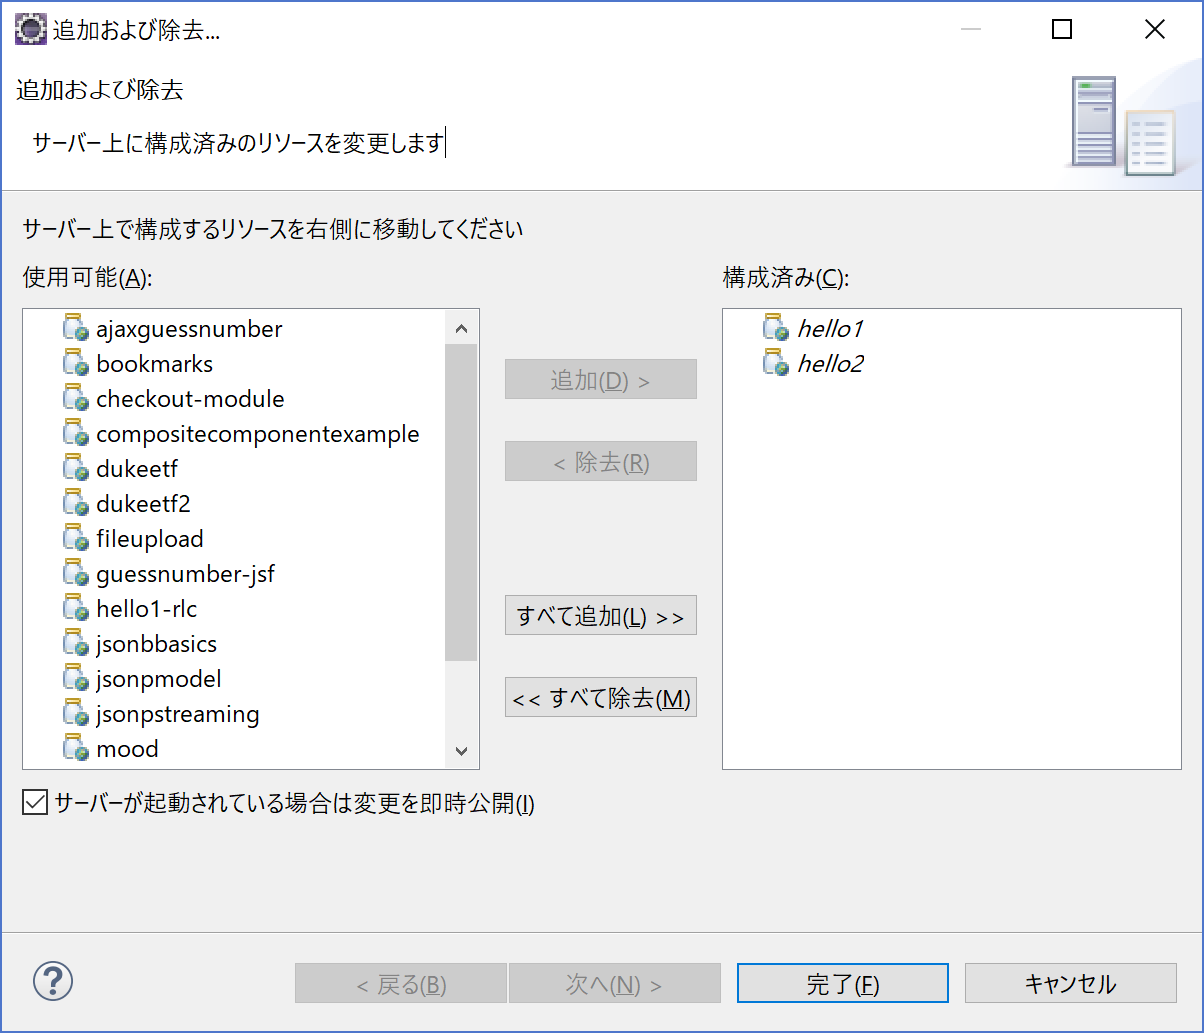
任意のリソースを追加する。(追加できない時はサーバ作成後に再度実施)
サーバ起動
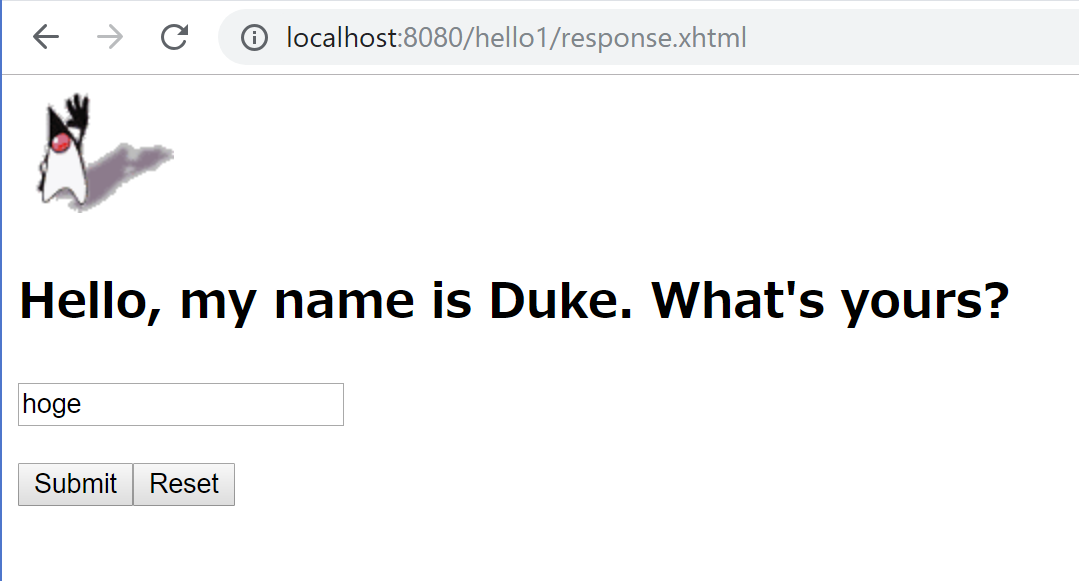
Eclipse上からGlassFishサーバを起動しアクセスする。
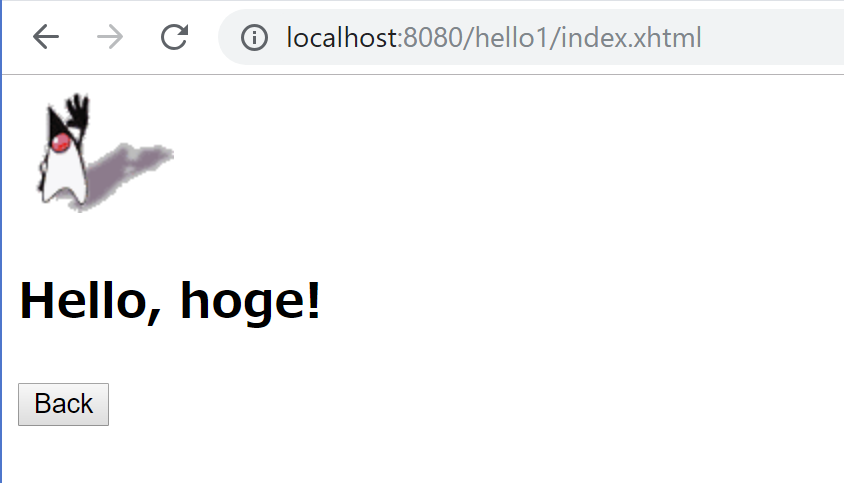
デフォルトは"http://localhost:8080/web/hello1"
以上。
