Laravel Socialite
Laravelの公式からOAuthプロバイダで認証するための便利なライブラリが提供されています。
サポートプラットフォーム
Socialiteは現在下記のプロバイダをサポートしています。
- GitHub
- GitLab
- Bitbucket
この他にもコミュニティで管理されている150以上のプロバイダがあります。
Socialiteのインストール
$ composer require laravel/socialite
環境
- PHP: 8.1.5
- Laravel: 9.9.0
- laravel/socialite: 5.5.2
実装
GitHubとSNSログインする場合を例に実装します。
.env
APP_URL=http://localhost

SESSION_DRIVER=cookie
SESSION_LIFETIME=120

GITHUB_CLIENT_ID=1234567890abcdefghij
GITHUB_CLIENT_SECRET=1234567890abcdefghijklmnopqrstuvwxyz
GITHUB_CLIENT_ID と GITHUB_CLIENT_SECRET の取得手順は後述します。
config/services.php
<?php declare(strict_types=1);

return [
    // ...

    'github' => [
        'client_id' => env('GITHUB_CLIENT_ID'),
        'client_secret' => env('GITHUB_CLIENT_SECRET'),
        'redirect' => env('APP_URL') . '/oauth/github/callback',
    ],
];
マイグレーション
デフォルトの users テーブルを利用します。
    public function up()
    {
        Schema::create('users', function (Blueprint $table) {
            // ...
            $table->string('name')->nullable();
            $table->string('email')->unique()->nullable();
            // ...
        });
    }
SNS連携からユーザー登録する場合、名前やメールアドレスを取得できないプロバイダーがある場合があります。
name や email はNULL許可にしておきます。(ここは要件に応じてケースバイケースで変えてください。)
$ php artisan migrate:fresh
ソーシャルプロバイダーを管理する social_accounts テーブルを定義します。
連携するプロバイダーが一つだけとか決まっている場合は users テーブルにカラムを設けてもいいかもしれません。
$ php artisan make:migration create_social_accounts_table
<?php

use Illuminate\Database\Migrations\Migration;
use Illuminate\Database\Schema\Blueprint;
use Illuminate\Support\Facades\Schema;

return new class extends Migration
{
    /**
     * Run the migrations.
     *
     * @return void
     */
    public function up()
    {
        Schema::create('social_accounts', function (Blueprint $table) {
            $table->foreignId('user_id')->constrained();
            $table->string('provider_name');
            $table->string('provider_id');
            $table->string('provider_token');
            $table->string('provider_refresh_token')->nullable();
            $table->timestamps();
            $table->unique(['user_id', 'provider_name']);
        });
    }

    /**
     * Reverse the migrations.
     *
     * @return void
     */
    public function down()
    {
        Schema::dropIfExists('social_accounts');
    }
};
$ php artisan migrate
モデル
$ php artisan make:model SocialAccount
<?php declare(strict_types=1);

namespace App\Models;

use Illuminate\Database\Eloquent\Factories\HasFactory;
use Illuminate\Database\Eloquent\Model;
use Illuminate\Database\Eloquent\Relations\BelongsTo;

final class SocialAccount extends Model
{
    use HasFactory;

    public $incrementing = false;

    protected $primaryKey = ['user_id', 'provider_name'];
    protected $guarded = ['created_at', 'updated_at'];

    /**
     * @return BelongsTo
     */
    public function user(): BelongsTo
    {
        return $this->belongsTo(User::class);
    }
}
app/Models/User.php に追記します。
use Illuminate\Database\Eloquent\Relations\HasMany;

final class User extends Authenticatable
{
    // ...

    /**
     * @return HasMany
     */
    public function socialAccounts(): HasMany
    {
        return $this->hasMany(SocialAccount::class);
    }
}
対応するプロバイダーのEnumを作る
$ mkdir app/Enums
$ touch app/Enums/SocialProvider.php
<?php declare(strict_types=1);

namespace App\Enums;

enum SocialProvider: string
{
    case GitHub = 'github';
}
対応するプロバイダーを増やしたい時はここのEnumを増やします。
コントローラで暗黙のEnumバインディングとして受け取れます。
存在しないプロバイダーが指定された時は404エラーになります。
コントローラ
$ php artisan make:controller -i OAuth/RedirectToProviderController
$ php artisan make:controller -i OAuth/CallbackFromProviderController
<?php declare(strict_types=1);

namespace App\Http\Controllers\OAuth;

use App\Enums\SocialProvider;
use App\Http\Controllers\Controller;
use Illuminate\Http\RedirectResponse;
use Laravel\Socialite\Facades\Socialite;

final class RedirectToProviderController extends Controller
{
    /**
     * @param SocialProvider $provider
     * @return RedirectResponse
     */
    public function __invoke(SocialProvider $provider): RedirectResponse
    {
        return Socialite::driver($provider->value)->redirect();
    }
}
<?php declare(strict_types=1);

namespace App\Http\Controllers\OAuth;

use App\Enums\SocialProvider;
use App\Http\Controllers\Controller;
use App\Models\SocialAccount;
use App\Models\User;
use Illuminate\Auth\AuthManager;
use Illuminate\Http\JsonResponse;
use Illuminate\Http\Request;
use Illuminate\Support\Facades\Hash;
use Illuminate\Support\Str;
use Laravel\Socialite\Facades\Socialite;
use Laravel\Socialite\Two\User as SocialiteTwoUser;

final class CallbackFromProviderController extends Controller
{
    /**
     * @param AuthManager $auth
     */
    public function __construct(
        private AuthManager $auth,
    ) {
    }

    /**
     * @param Request $request
     * @param SocialProvider $provider
     * @return JsonResponse
     */
    public function __invoke(Request $request, SocialProvider $provider): JsonResponse
    {
        /** @var SocialiteTwoUser $socialiteTwoUser */
        $socialiteTwoUser = Socialite::driver($provider->value)->user();

        $socialAccount = SocialAccount::where([
            'provider_name' => $provider->name,
            'provider_id' => $socialiteTwoUser->getId(),
        ])->first();

        if ($socialAccount) {
            $this->auth->guard()->login($socialAccount->user);
            $request->session()->regenerate();

            return new JsonResponse([
                'data' => [
                    'id' => $socialAccount->user->id,
                    'name' => $socialAccount->user->name,
                    'email' => $socialAccount->user->email,
                ],
                'message' => 'Already social linked.',
            ]);
        }

        $user = User::firstOrCreate([
            'email' => $socialiteTwoUser->getEmail(),
        ], [
            'name' => $socialiteTwoUser->getName(),
            'password' => Hash::make(Str::random()),
        ]);

        $user->socialAccounts()->create([
            'provider_name' => $provider->value,
            'provider_id' => $socialiteTwoUser->getId(),
            'provider_token' => $socialiteTwoUser->token,
            'provider_refresh_token' => $socialiteTwoUser->refreshToken,
        ]);

        $this->auth->guard()->login($user);
        $request->session()->regenerate();

        return new JsonResponse([
            'data' => [
                'id' => $user->id,
                'name' => $user->name,
                'email' => $user->email,
            ],
            'message' => 'Successful social link.',
        ]);
    }
}
- 既にSocialAccount作成済みの場合は認証させて正常レスポンスを返す
- Userが存在しなければ連携先の情報を元にUserを作成する
- SocialAccountを作成してUserを認証させて正常レスポンスを返す
この辺りの実装は仕様によると思います。
お好みで書き換えてください。
ルーティング
<?php declare(strict_types=1);

use App\Http\Controllers\OAuth\CallbackFromProviderController;
use App\Http\Controllers\OAuth\RedirectToProviderController;

Route::get('/oauth/{provider}/redirect', RedirectToProviderController::class)->name('oauth.redirect');
Route::get('/oauth/{provider}/callback', CallbackFromProviderController::class)->name('oauth.callback');
GitHub OAuth 設定手順
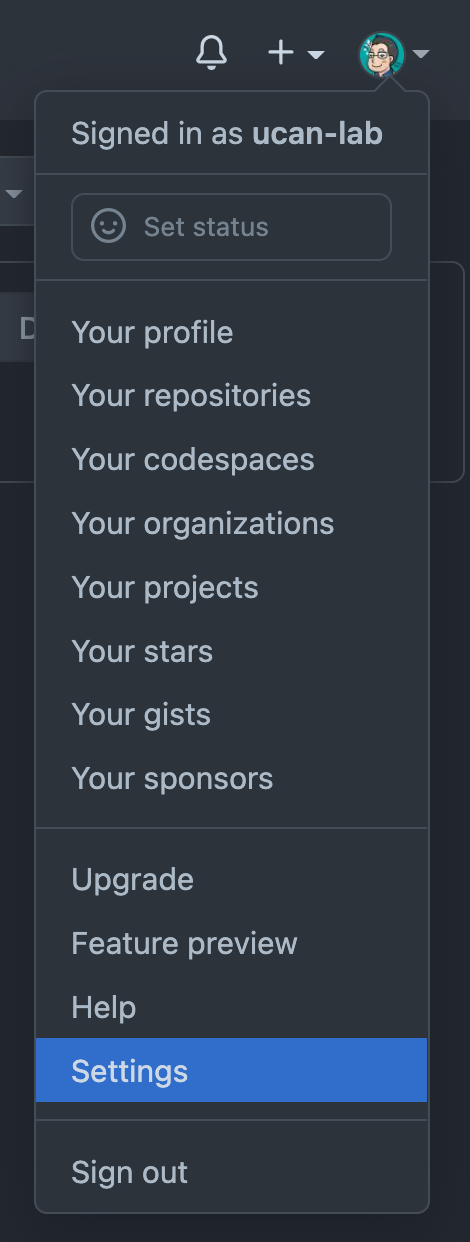
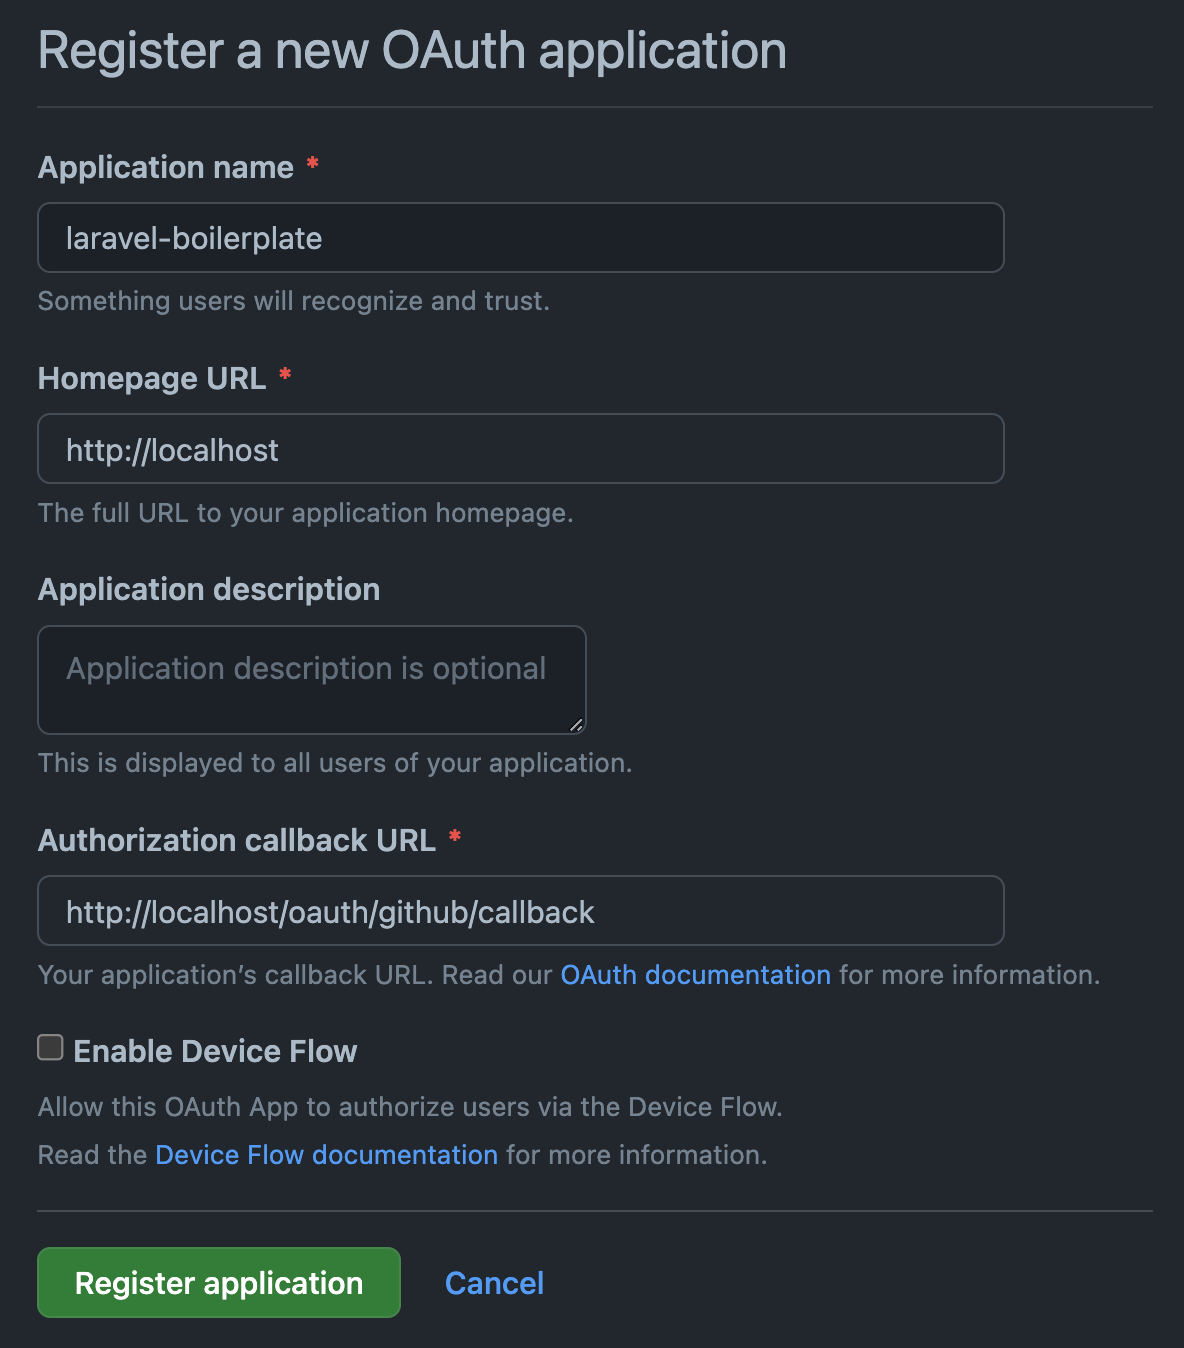
Settings > Developer settings > OAuth Apps > Register a new application にアクセスします。
- Application name
- Homepage URL
- Authorization callback URL
を入力します。
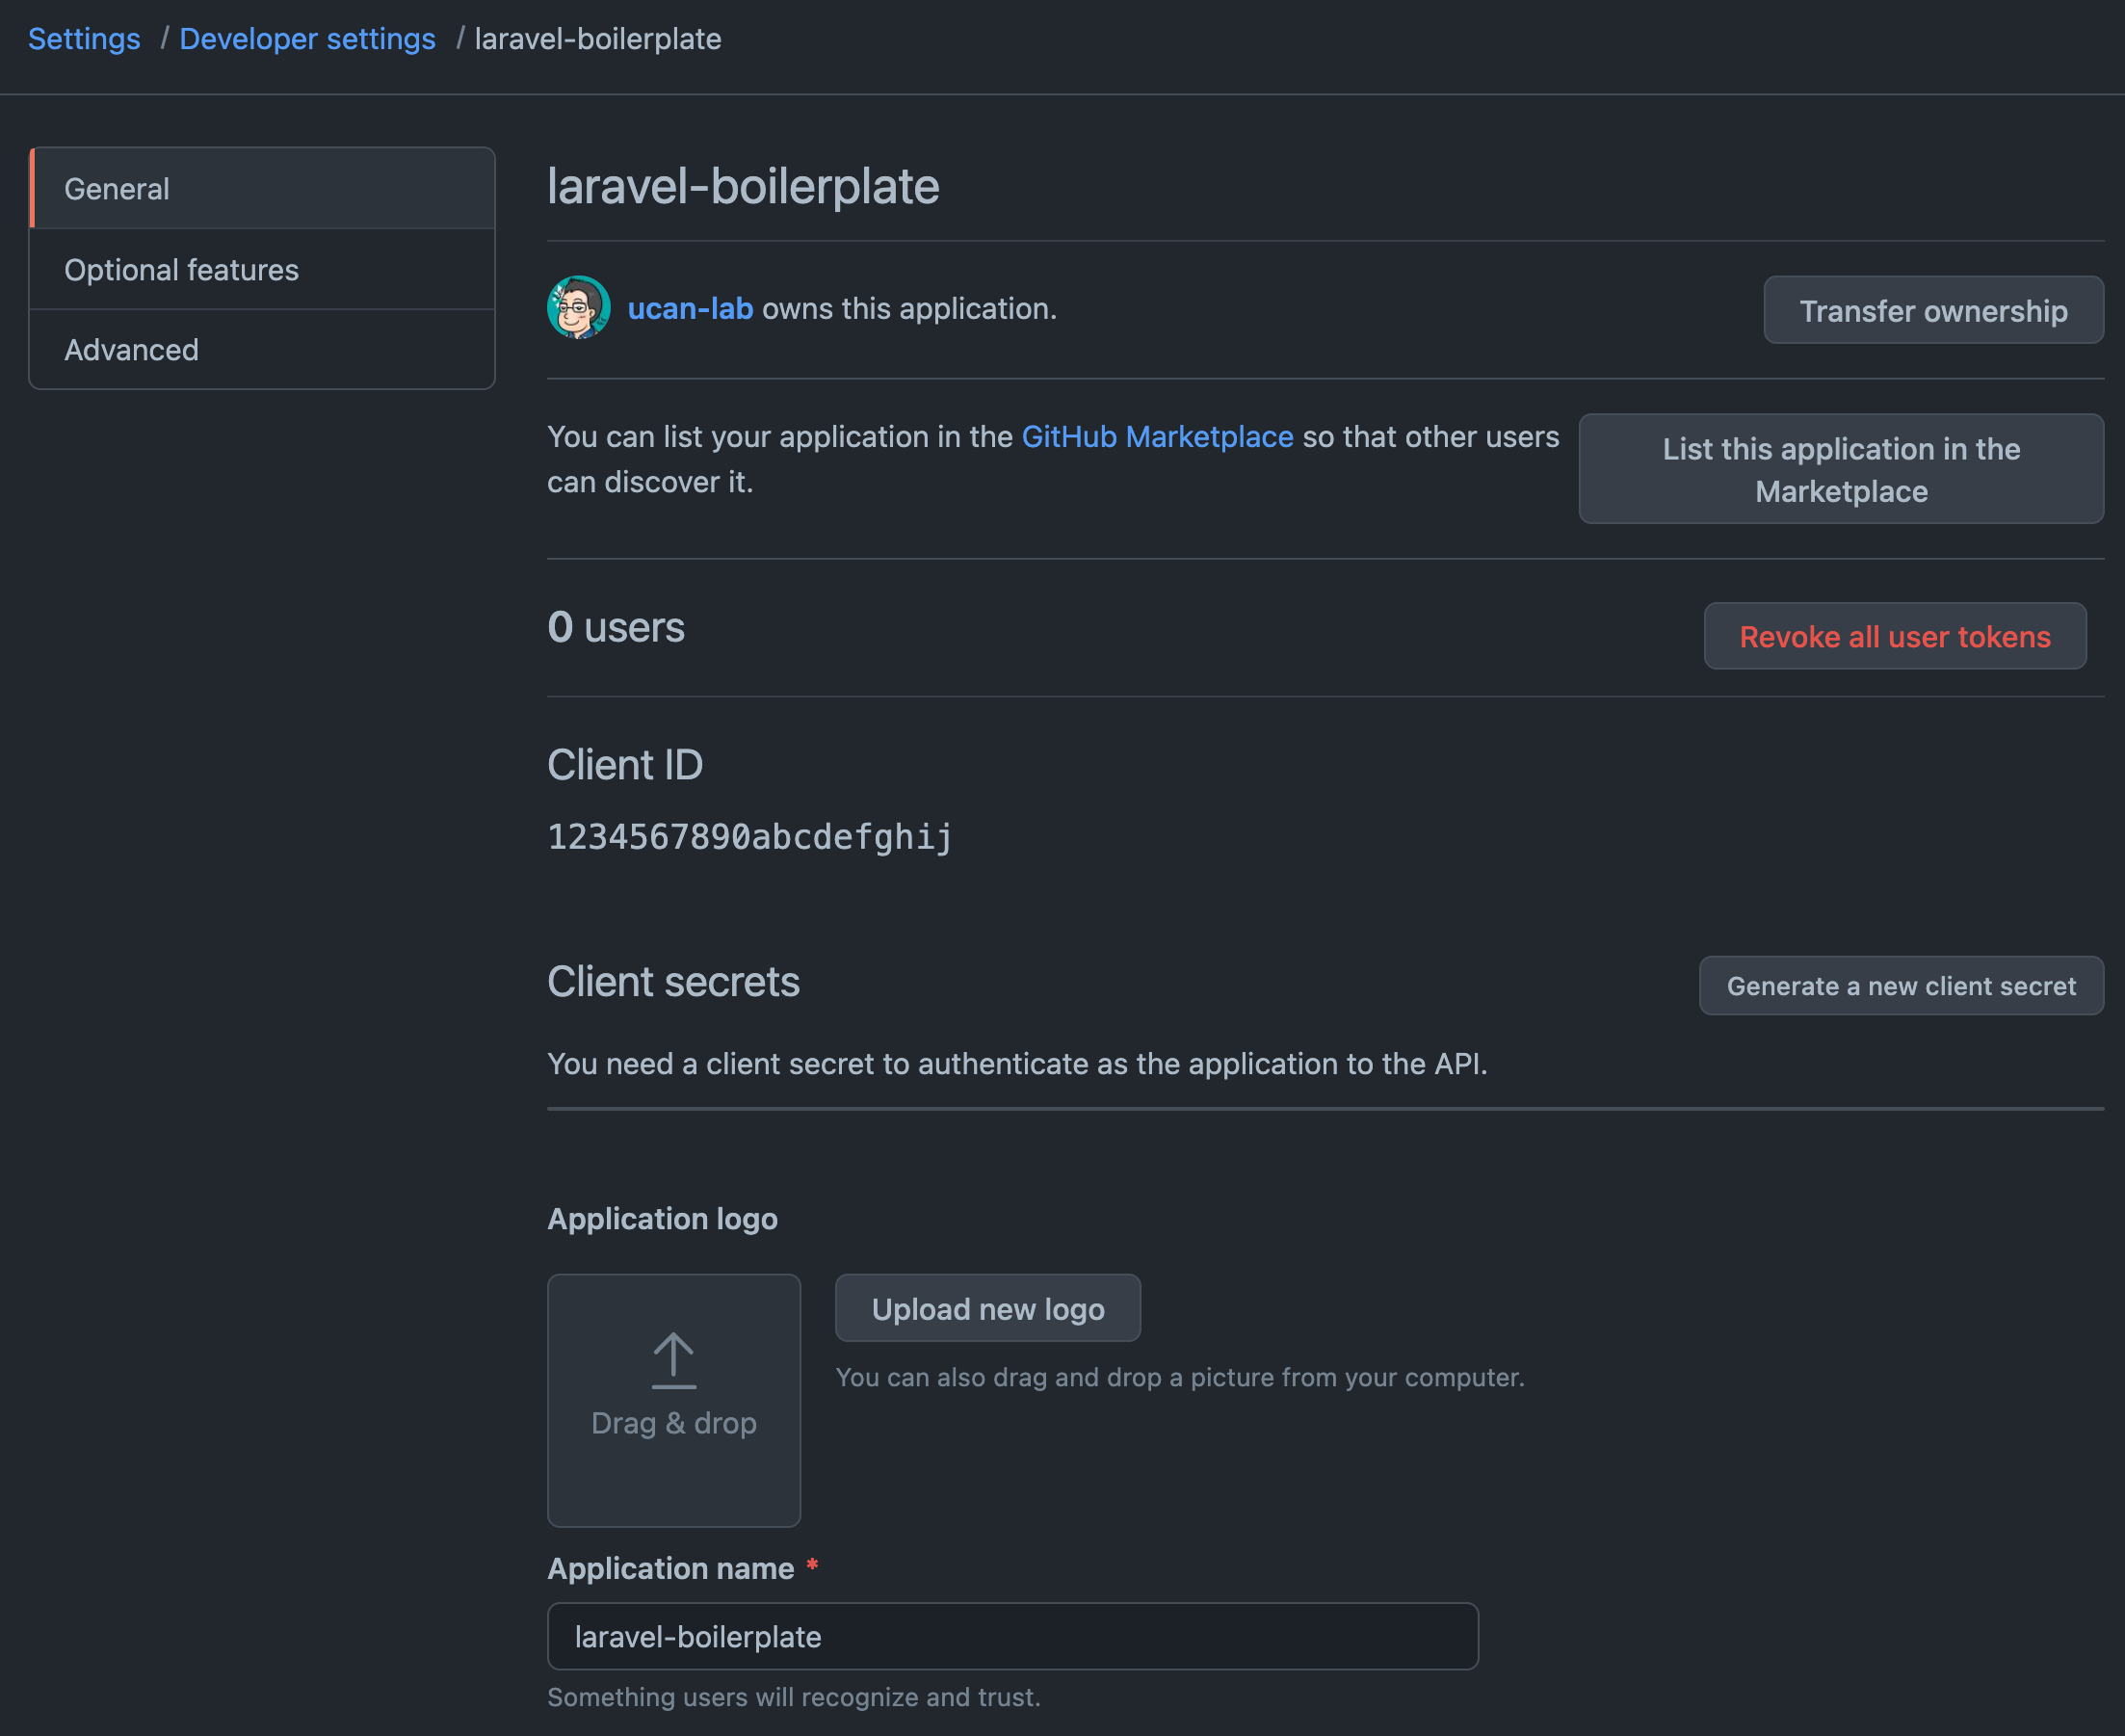
アプリケーションを作成するとClient IDが表示されることを確認します。
Client secrets の Generate a new client secret をクリックします。
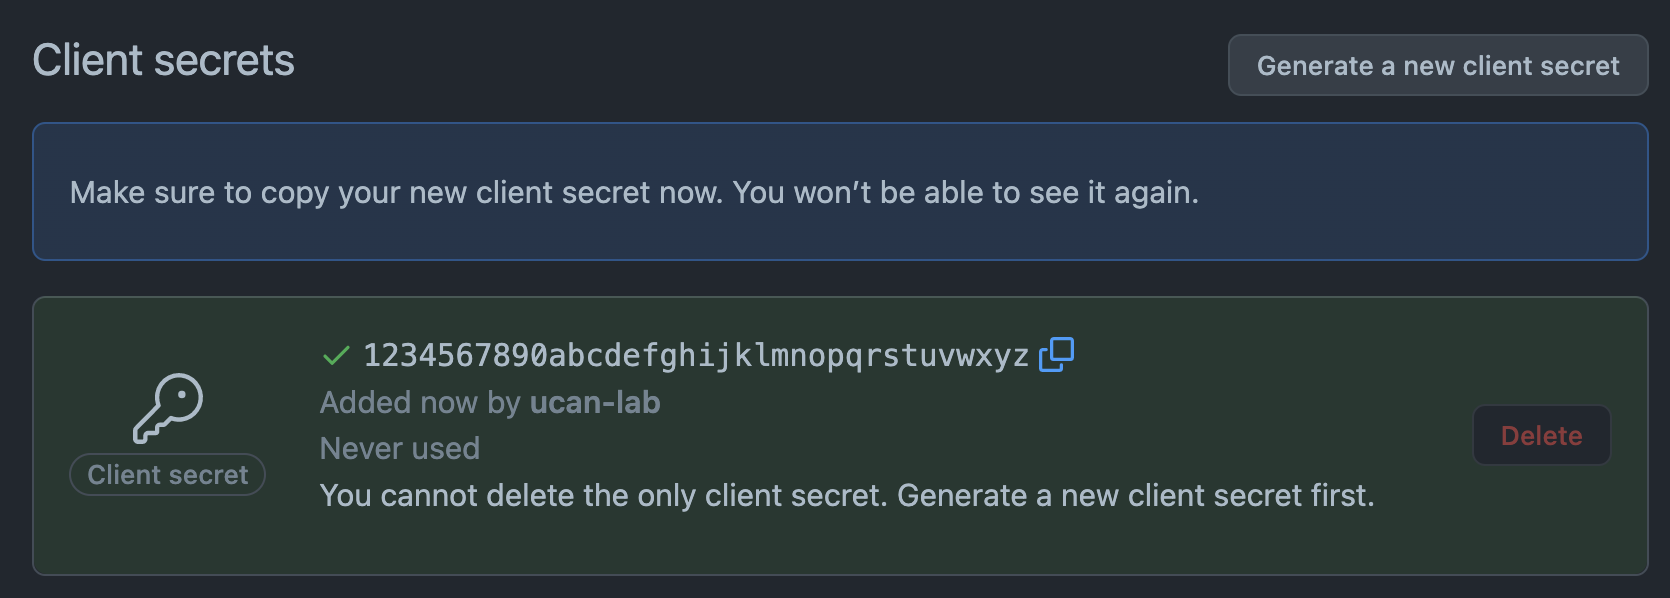
Client secrets が表示されることを確認します。
(次回以降表示されなくなるのでコピー忘れずに。)
.envのGITHUB_CLIENT_IDとCLIENT_SECRETに追記します。
GITHUB_CLIENT_ID=1234567890abcdefghij
GITHUB_CLIENT_SECRET=1234567890abcdefghijklmnopqrstuvwxyz
詳しくはGitHubの公式ドキュメントを参照してください。
環境変数の設定確認します。
$ php artisan tinker

config('services.github');
動作確認
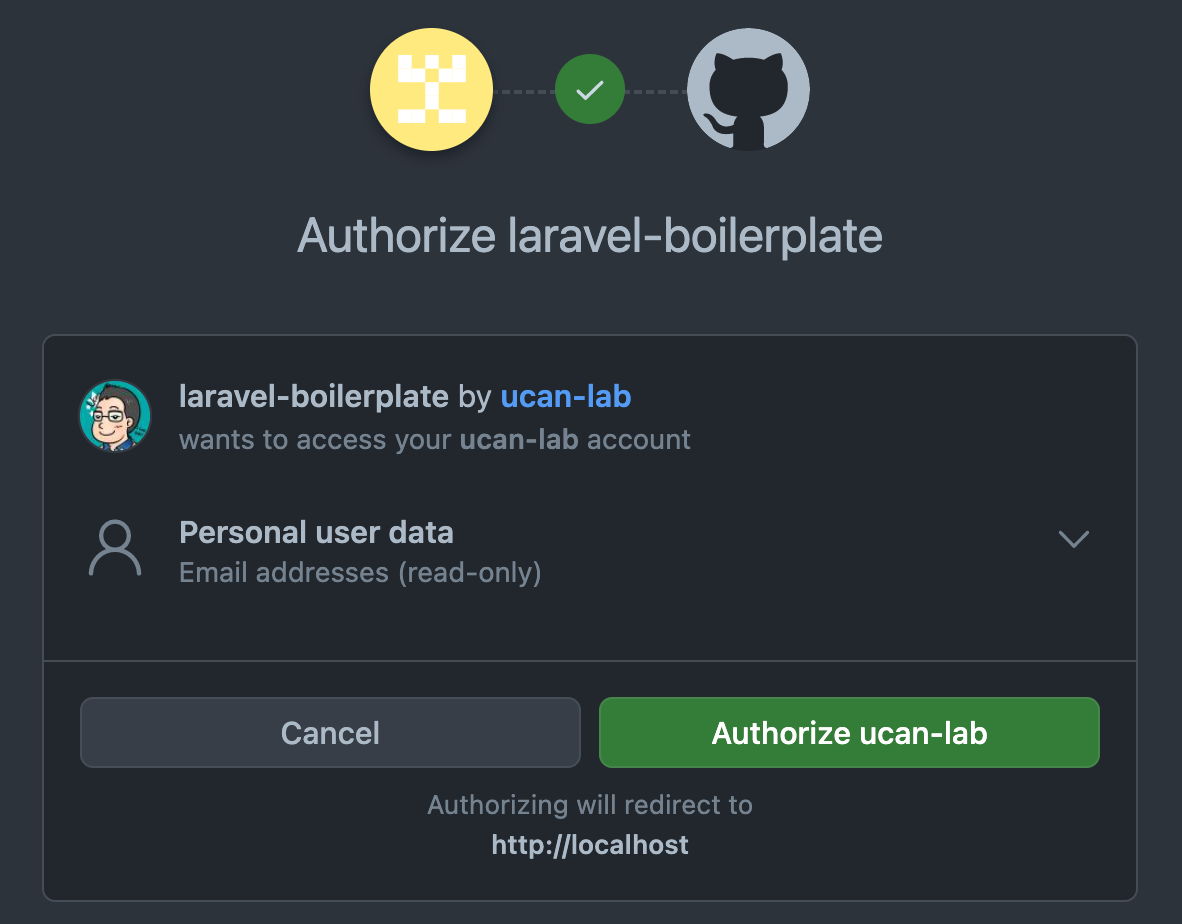
認証するとコールバックのルートへリダイレクトされます。
http://localhost/oauth/github/callback?code=c721fe70faa13d59b942&state=aL0mn7MC49WOEENGFunqupoJ6gKI7iqvFHdJPZLa
成功すると下記のJSONレスポンスが返ります。
{
	"data": {
		"id": 1,
		"name": "your-name",
		"email": "your-name@example.com"
	},
	"message": "Successful social link."
}
SQLを実行してテーブルにデータが登録されていることを確認します。
> select * from users\G;
*************************** 1. row ***************************
               id: 1
             name: ucan-lab
            email: your-name@example.com
email_verified_at: NULL
         password: $2y$10$qIbmZs/4QRNFuM8xSrXe3.T5S0fTjDwQe9qHecR.MFFGdGqvyHDJW
   remember_token: NULL
       created_at: 2022-05-07 19:15:38
       updated_at: 2022-05-07 19:15:38
1 row in set (0.00 sec)

> select * from social_accounts\G;
*************************** 1. row ***************************
               user_id: 1
         provider_name: github
           provider_id: 123456789
        provider_token: 123456789abcdefghijklmnopqrstuvwxyz
provider_refresh_token: NULL
            created_at: 2022-05-07 19:15:38
            updated_at: 2022-05-07 19:15:38
1 row in set (0.00 sec)
他のプロバイダーを追加したい場合
下記の手順で追加できます。
- 各種プロバイダーでアプリケーションを作成
-
.envに各種クライアントIDとクライアントシークレットを追加 -
config/services.phpに各種クライアントの設定を追加 -
app/Enums/Provider.phpに各種クライアント名を追加
LINEプロバイダーを追加する手順
LINEは公式ではなくコミュニティで管理されているので、コミュニティのプロバイダーを追加する手順をご紹介します。
追加手順は各種プロバイダーのインストール手順を参考にして進めます。
$ composer require socialiteproviders/line
config/services.php にLINEプロバイダーを追加します。
    'line' => [
        'client_id' => env('LINE_CLIENT_ID'),
        'client_secret' => env('LINE_CLIENT_SECRET'),
        'redirect' => env('APP_URL') . '/oauth/line/callback',
    ],
    protected $listen = [
        \SocialiteProviders\Manager\SocialiteWasCalled::class => [
            // ... other providers
            \SocialiteProviders\Line\LineExtendSocialite::class . '@handle',
        ],
    ];
<?php declare(strict_types=1);

namespace App\Enums;

enum Provider: string
{
    case GitHub = 'github';
    case LINE = 'line';
}
環境変数の設定確認します。
$ php artisan tinker

config('services.line');
LINE Developers
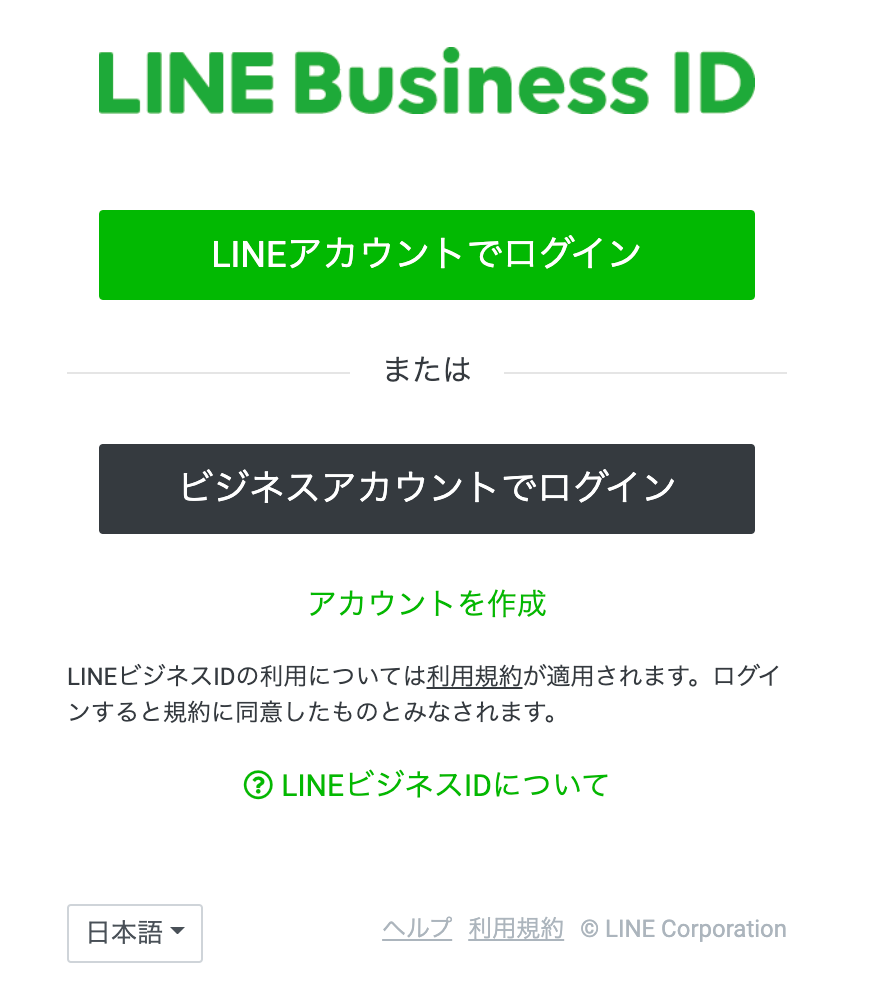
LINEアカウントもしくはビジネスアカウントを作成してログインします。
今回はLINEアカウントを利用します。仕事で使う場合はビジネスアカウントを作成しましょう。
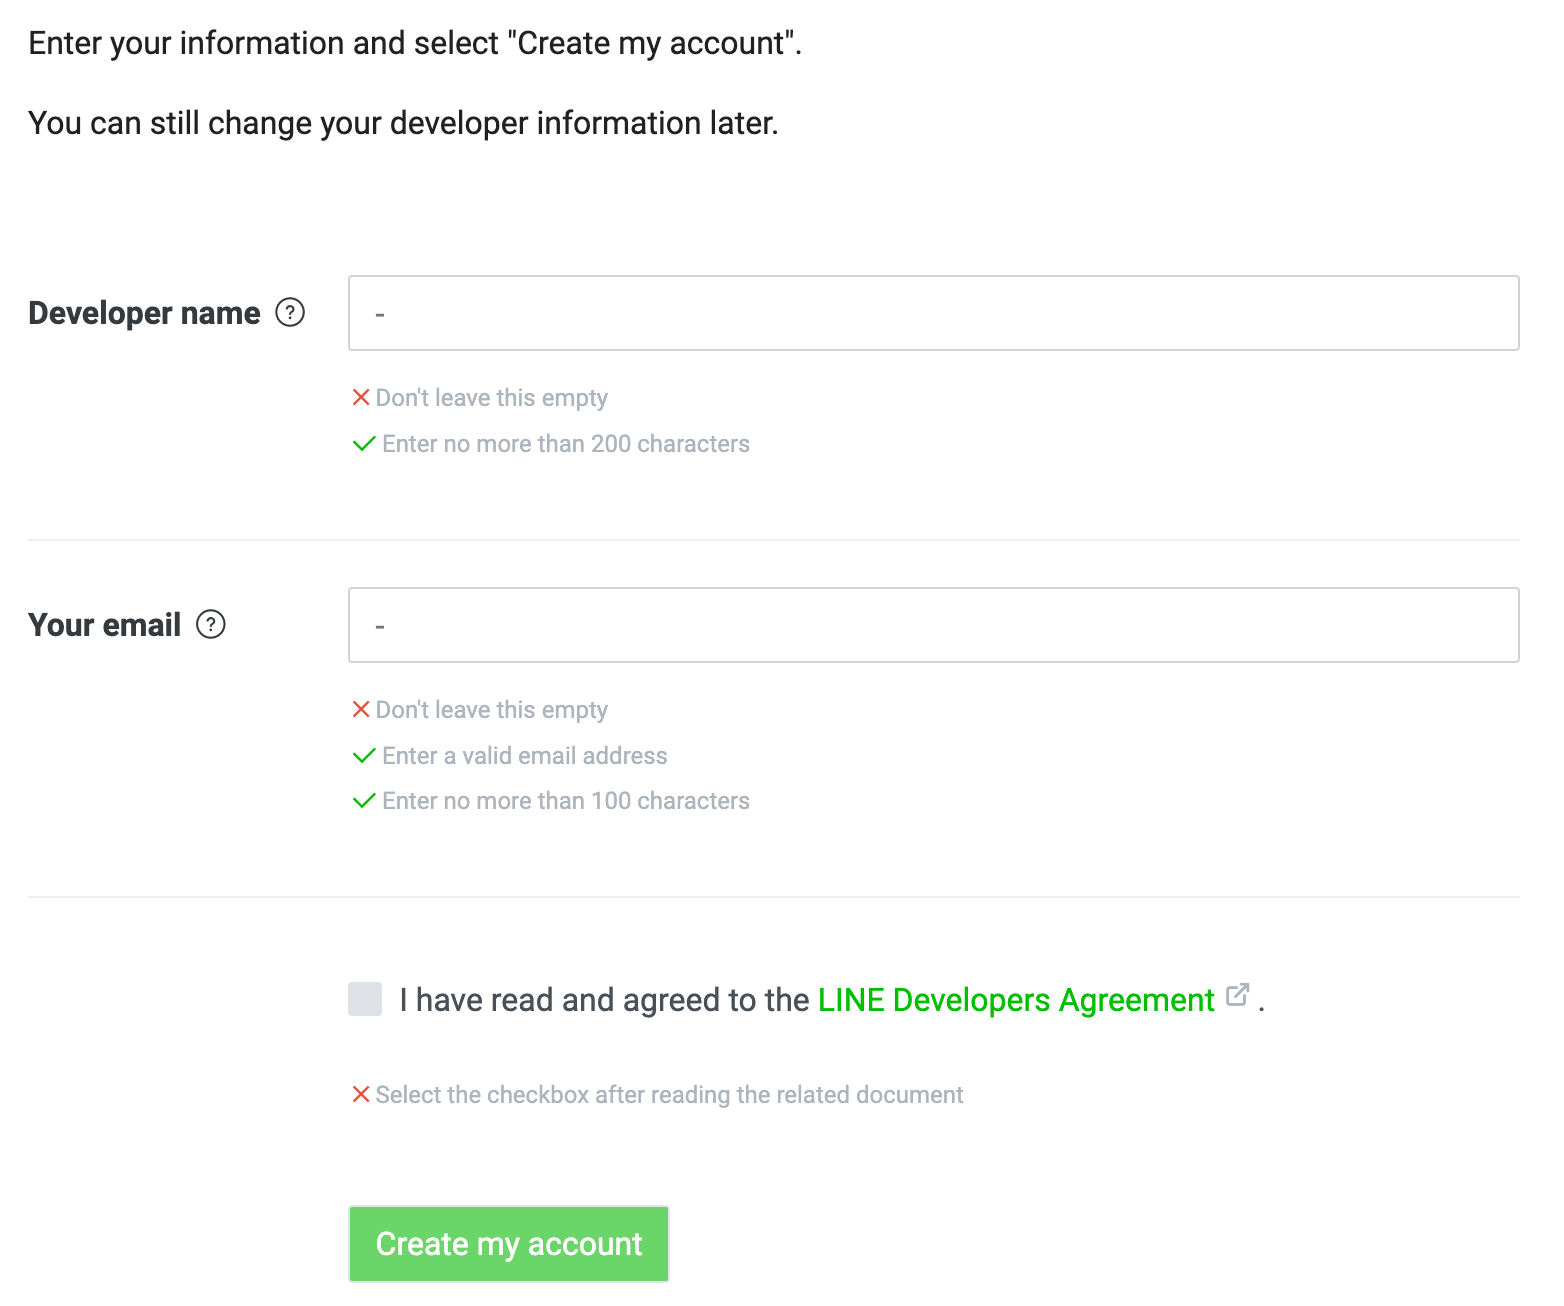
LINEアカウントでログインすると開発用アカウントの登録を求められます。
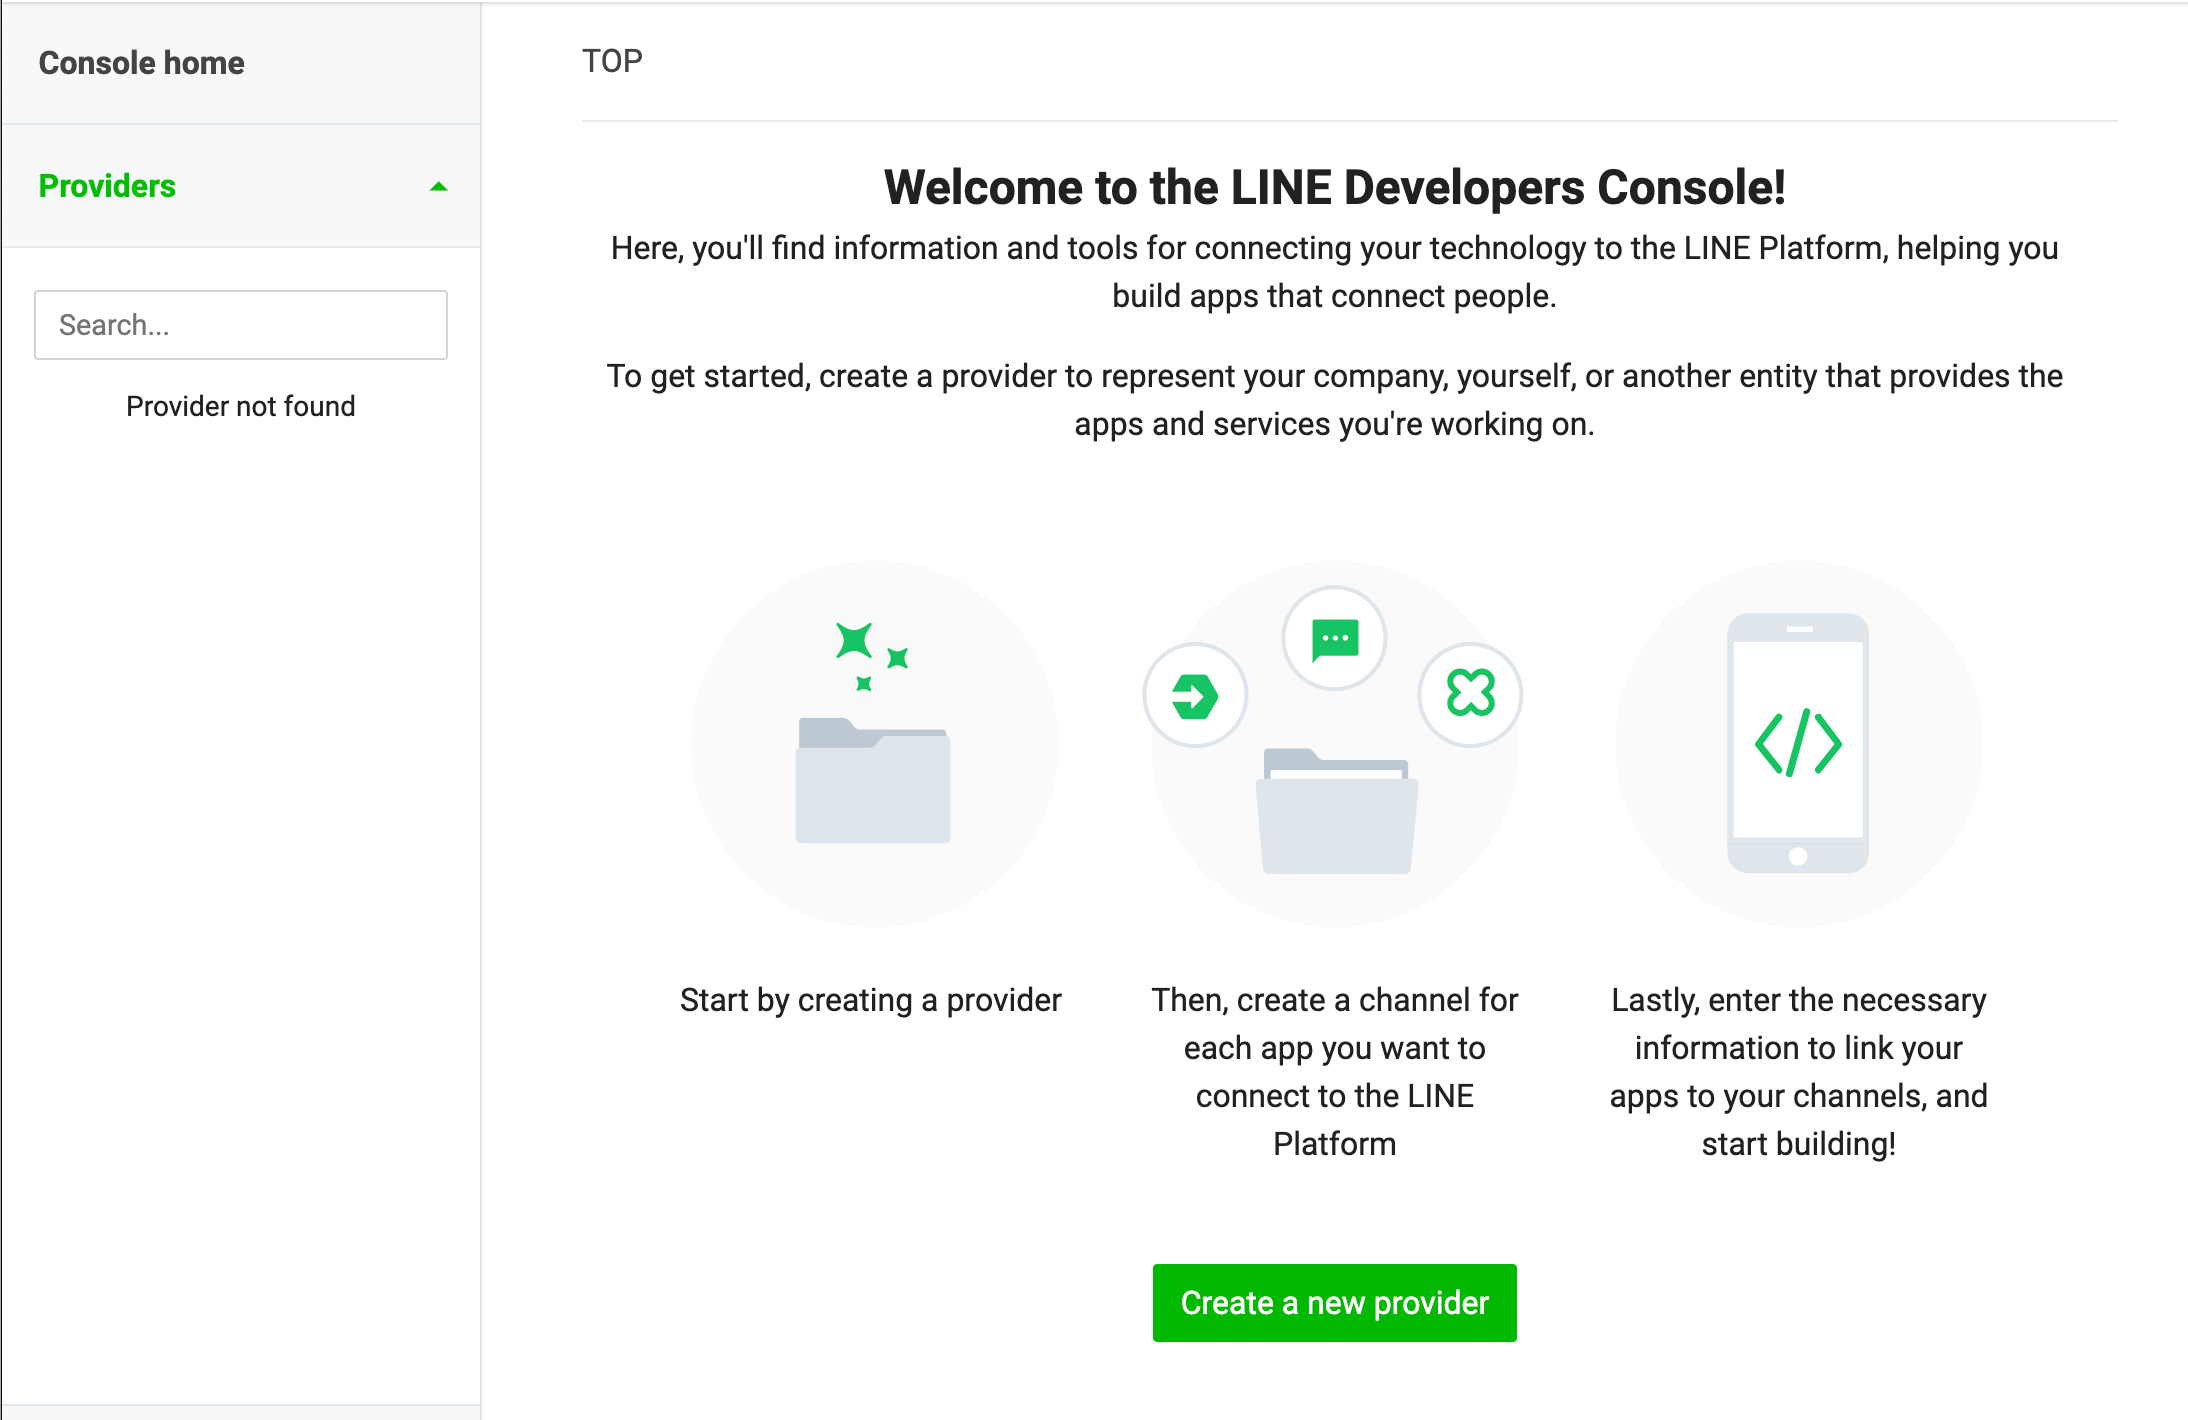
開発者登録が完了すると開発コンソール画面が表示されます。
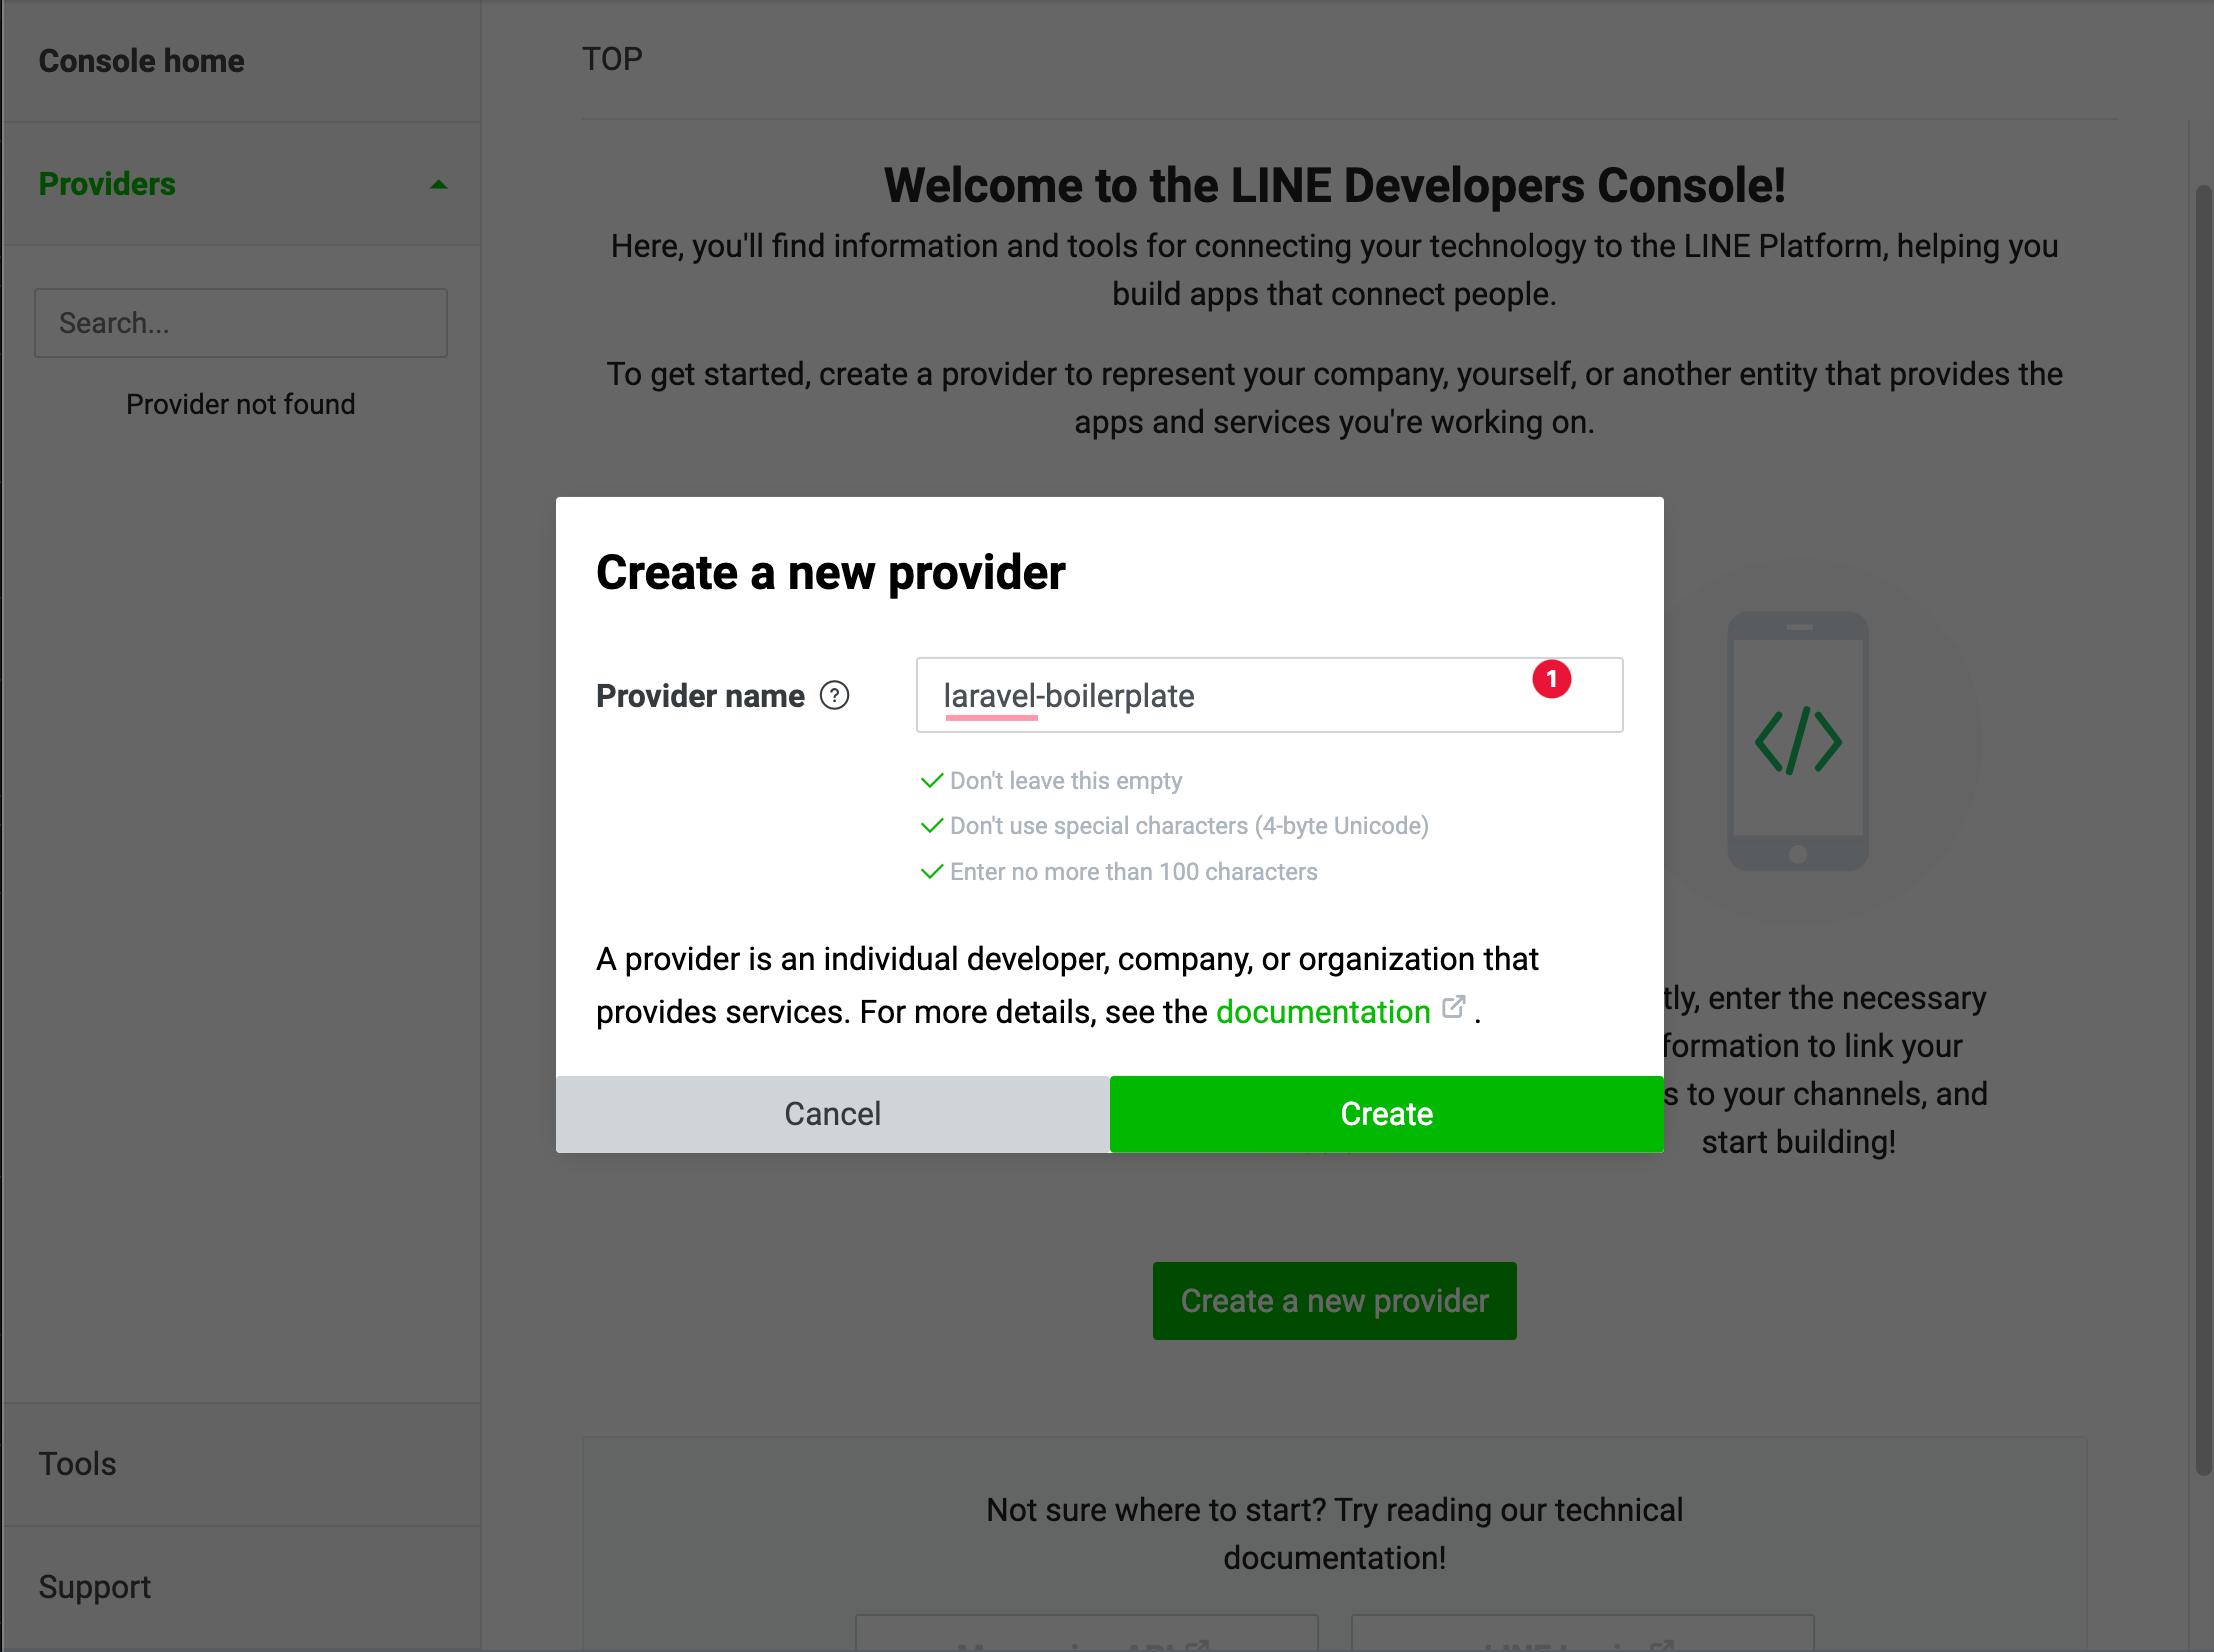
まずはプロバイダーを作成します。
適当にアプリケーション名を入れてプロバイダーを作成します。
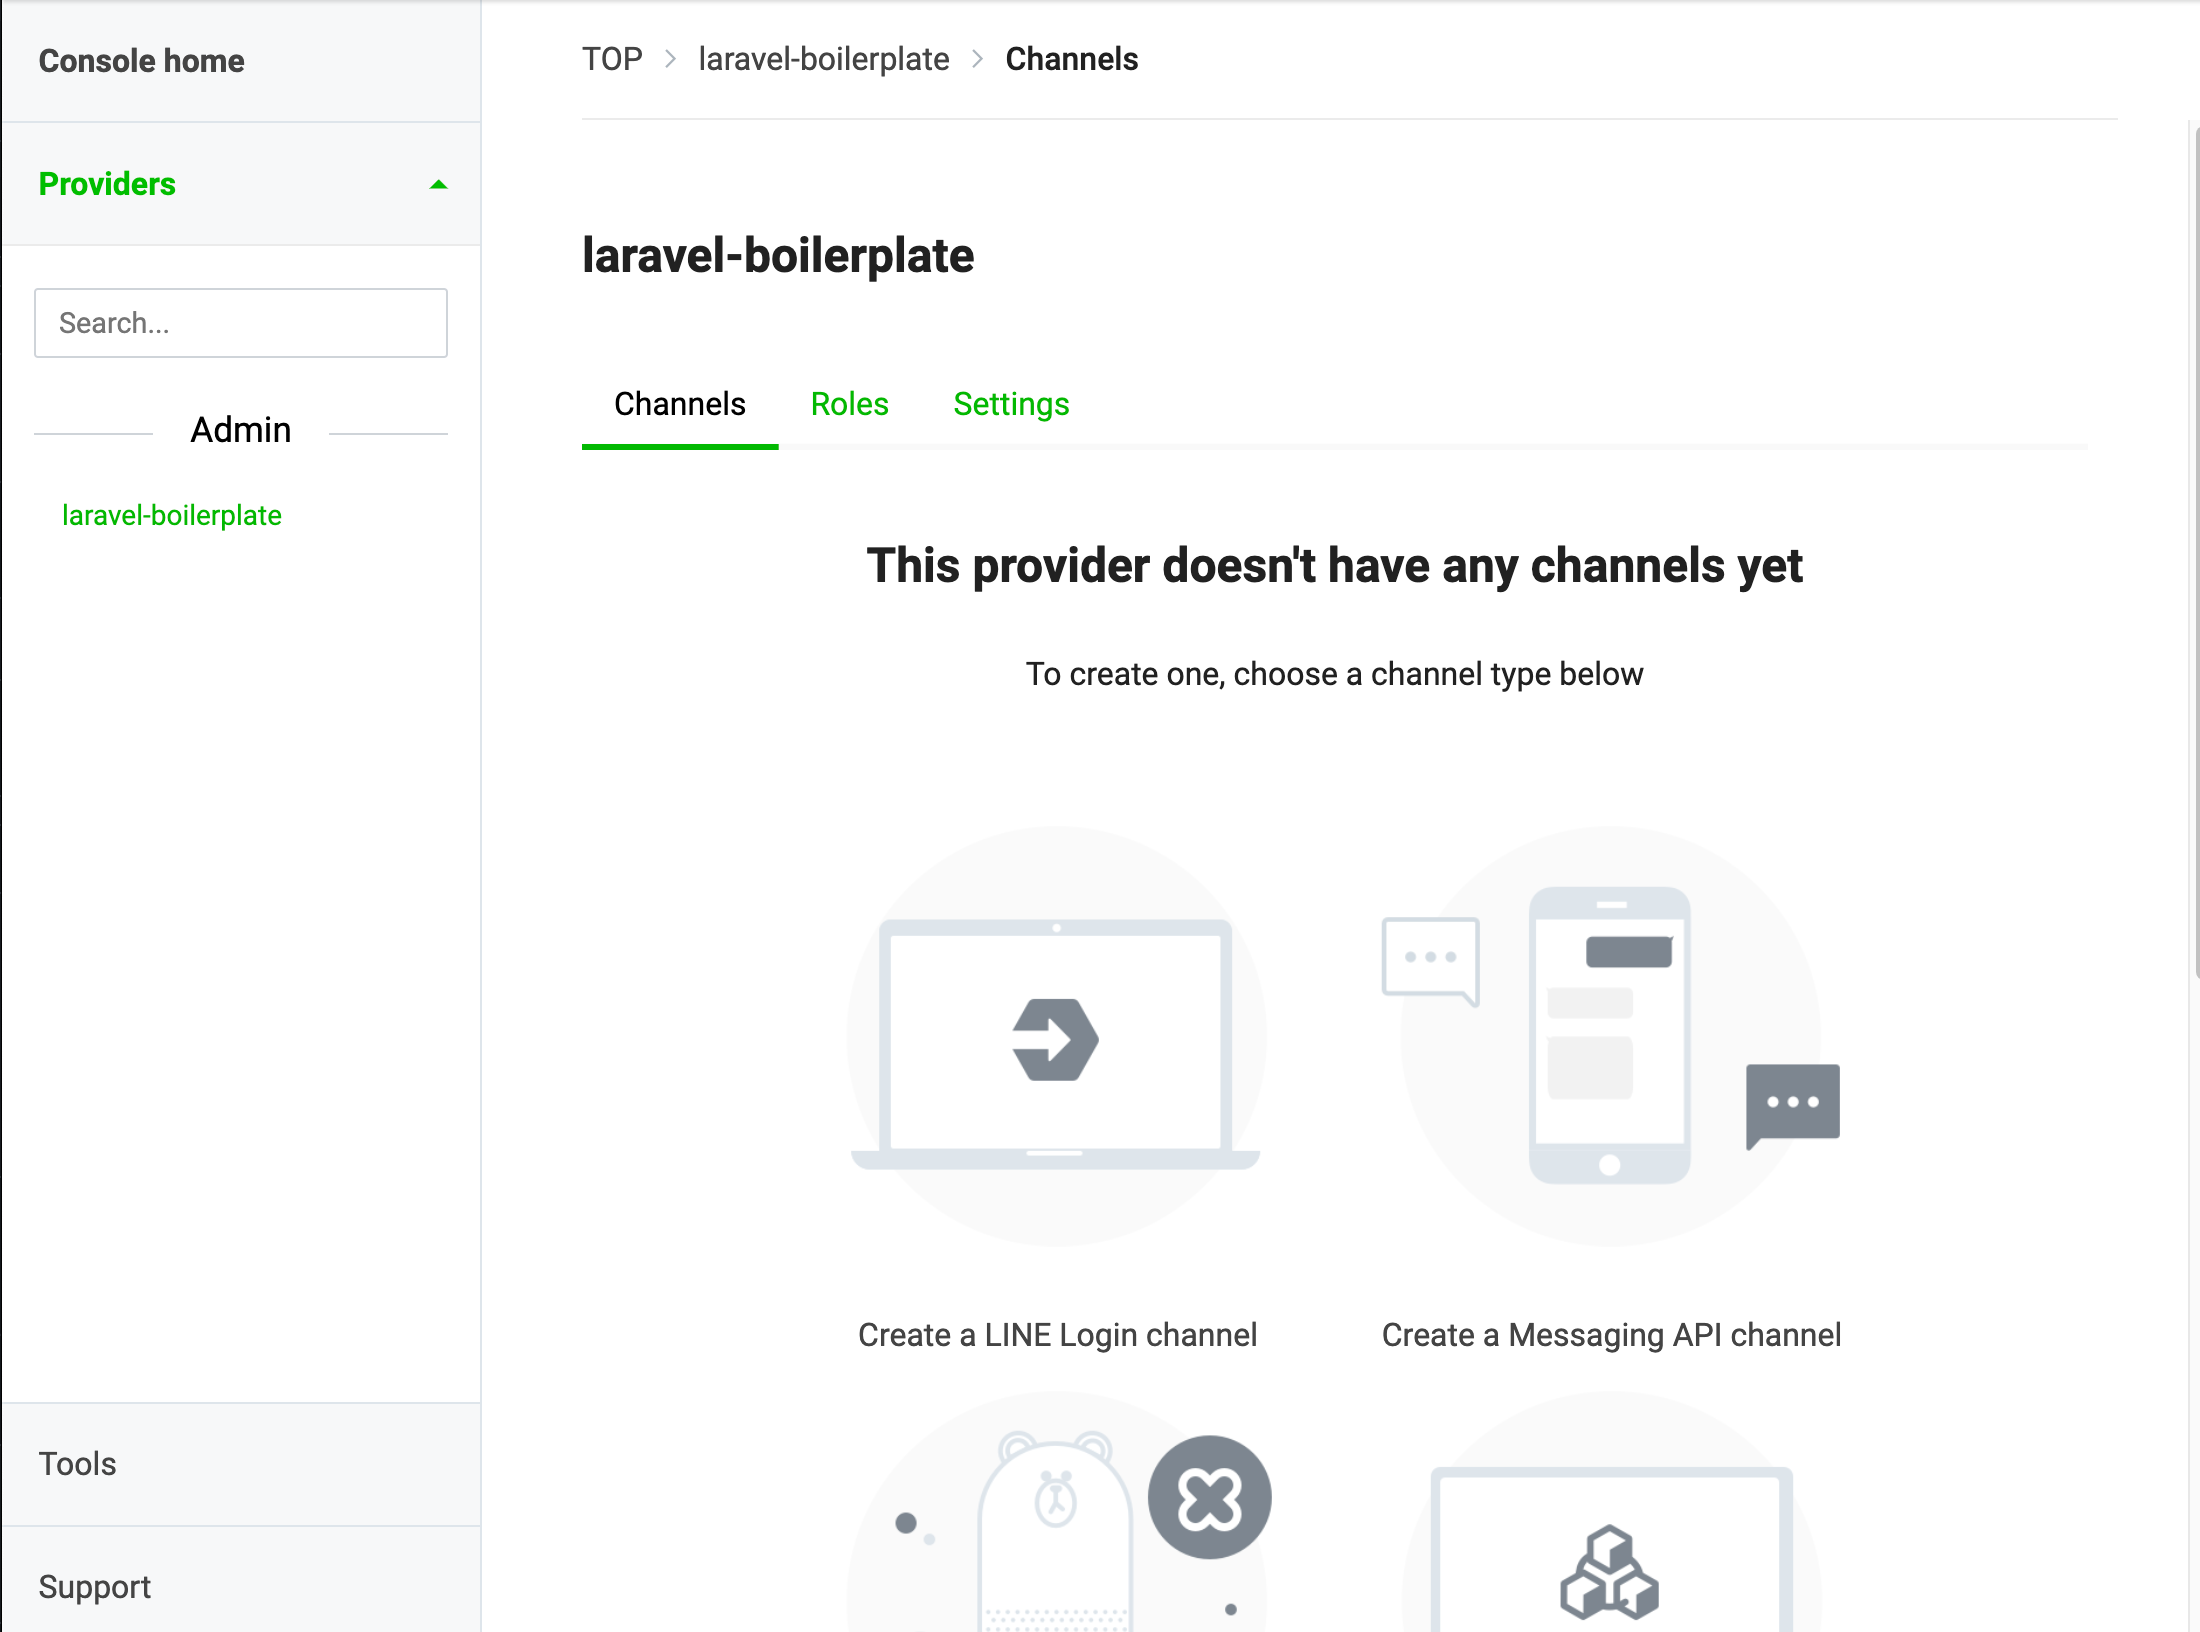
次に Create a LINE Login channel からログインチャンネルを作成します。
Create a new channel
チャンネルの作成では下記の項目の入力を求められます。
- Channel type: LINE Login
- Provider: 作成したプロバイダー名を選択
- Region: Japan
- Company or owner's country or region: Japan
- Channel icon: 任意
- Channel name: 適当
- Channel description: 適当
- App types: Web app (今回はMobile appは選択しない)
- Email address: your-email@example.com
- Privacy policy URL: 任意
- Terms of use URL: 任意
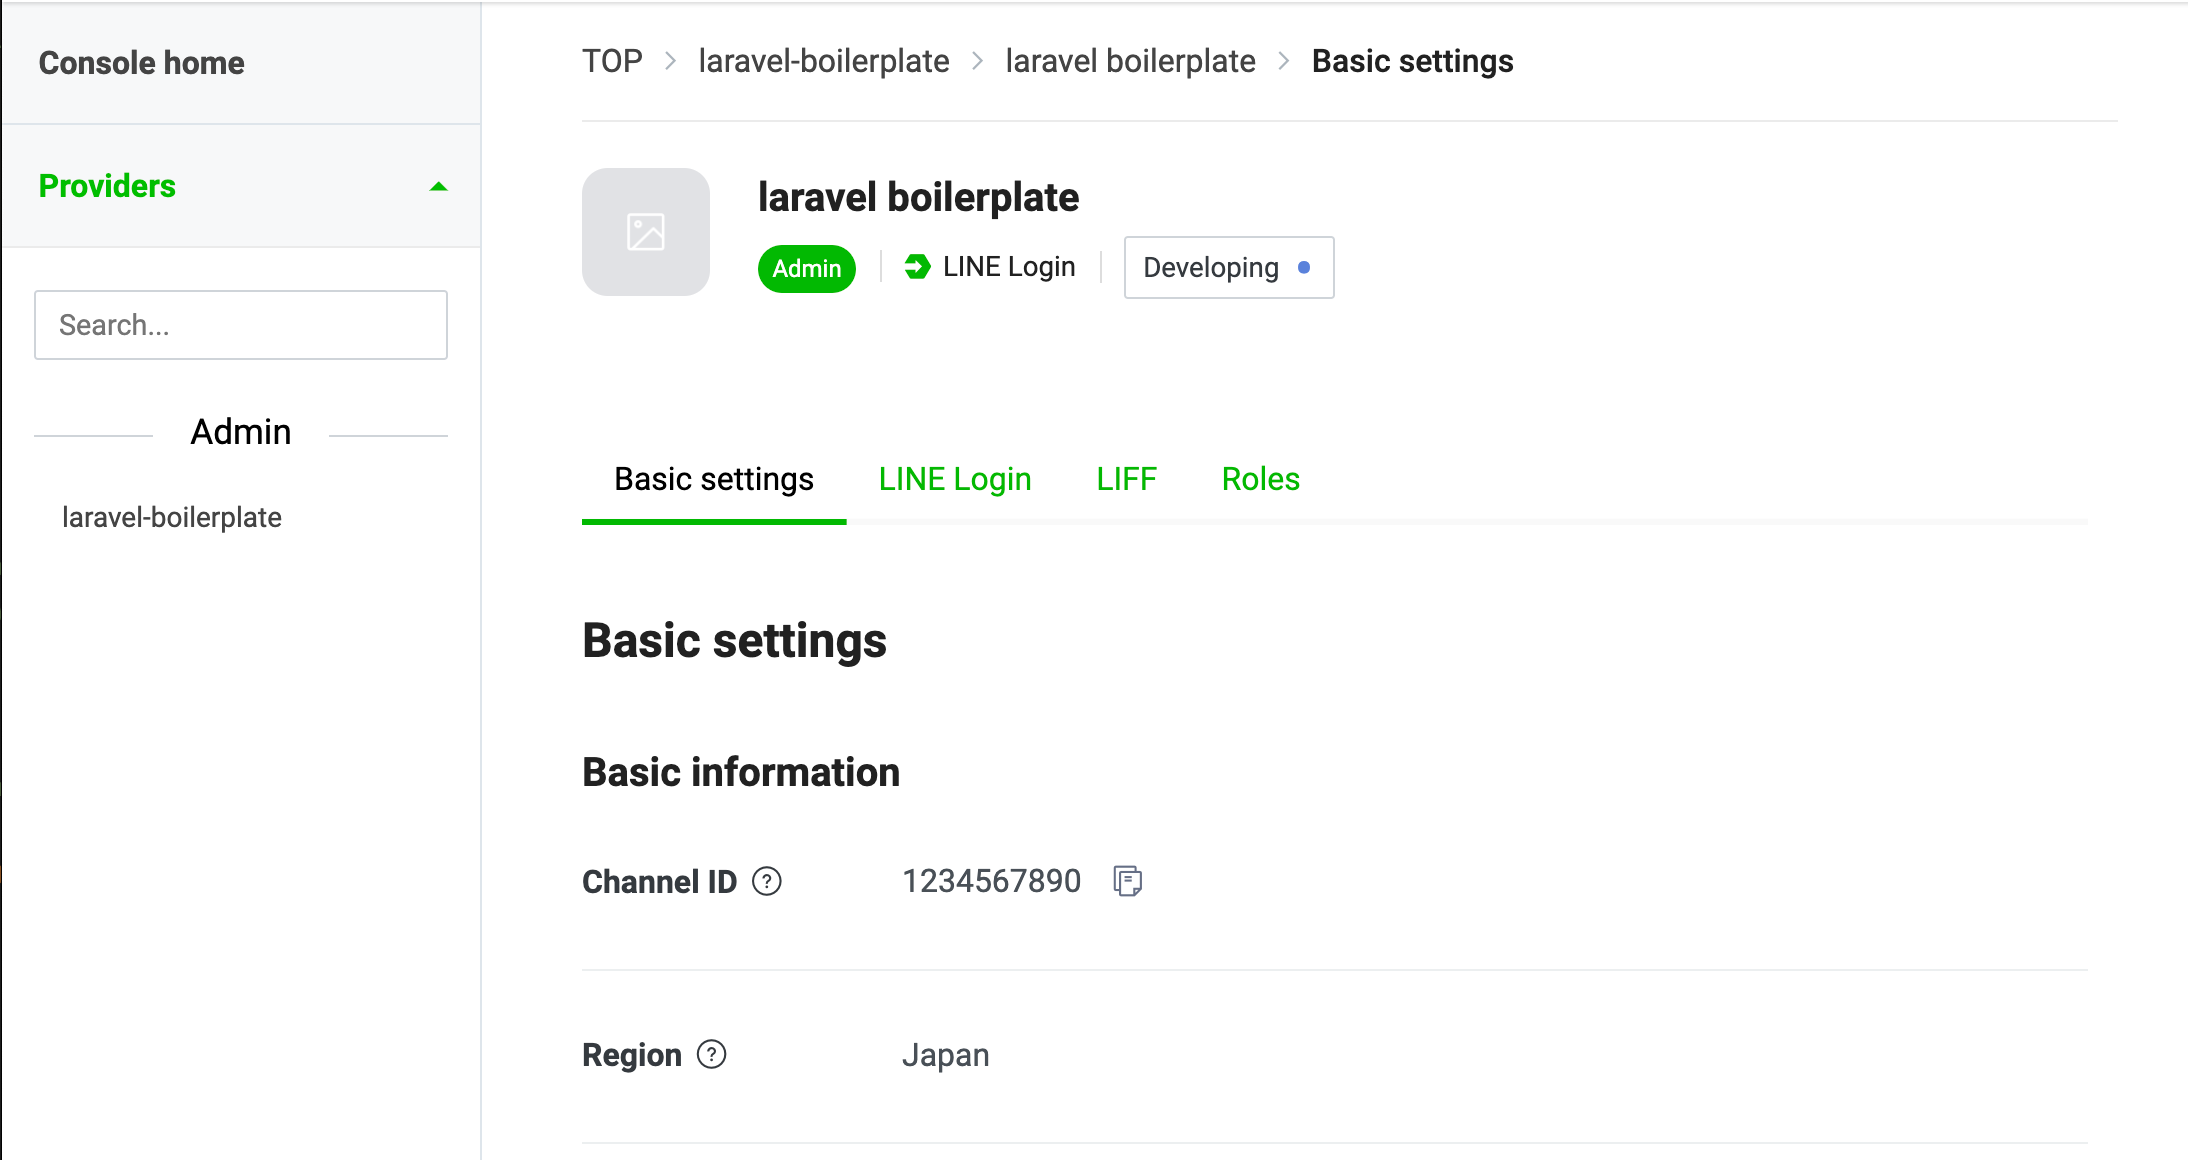
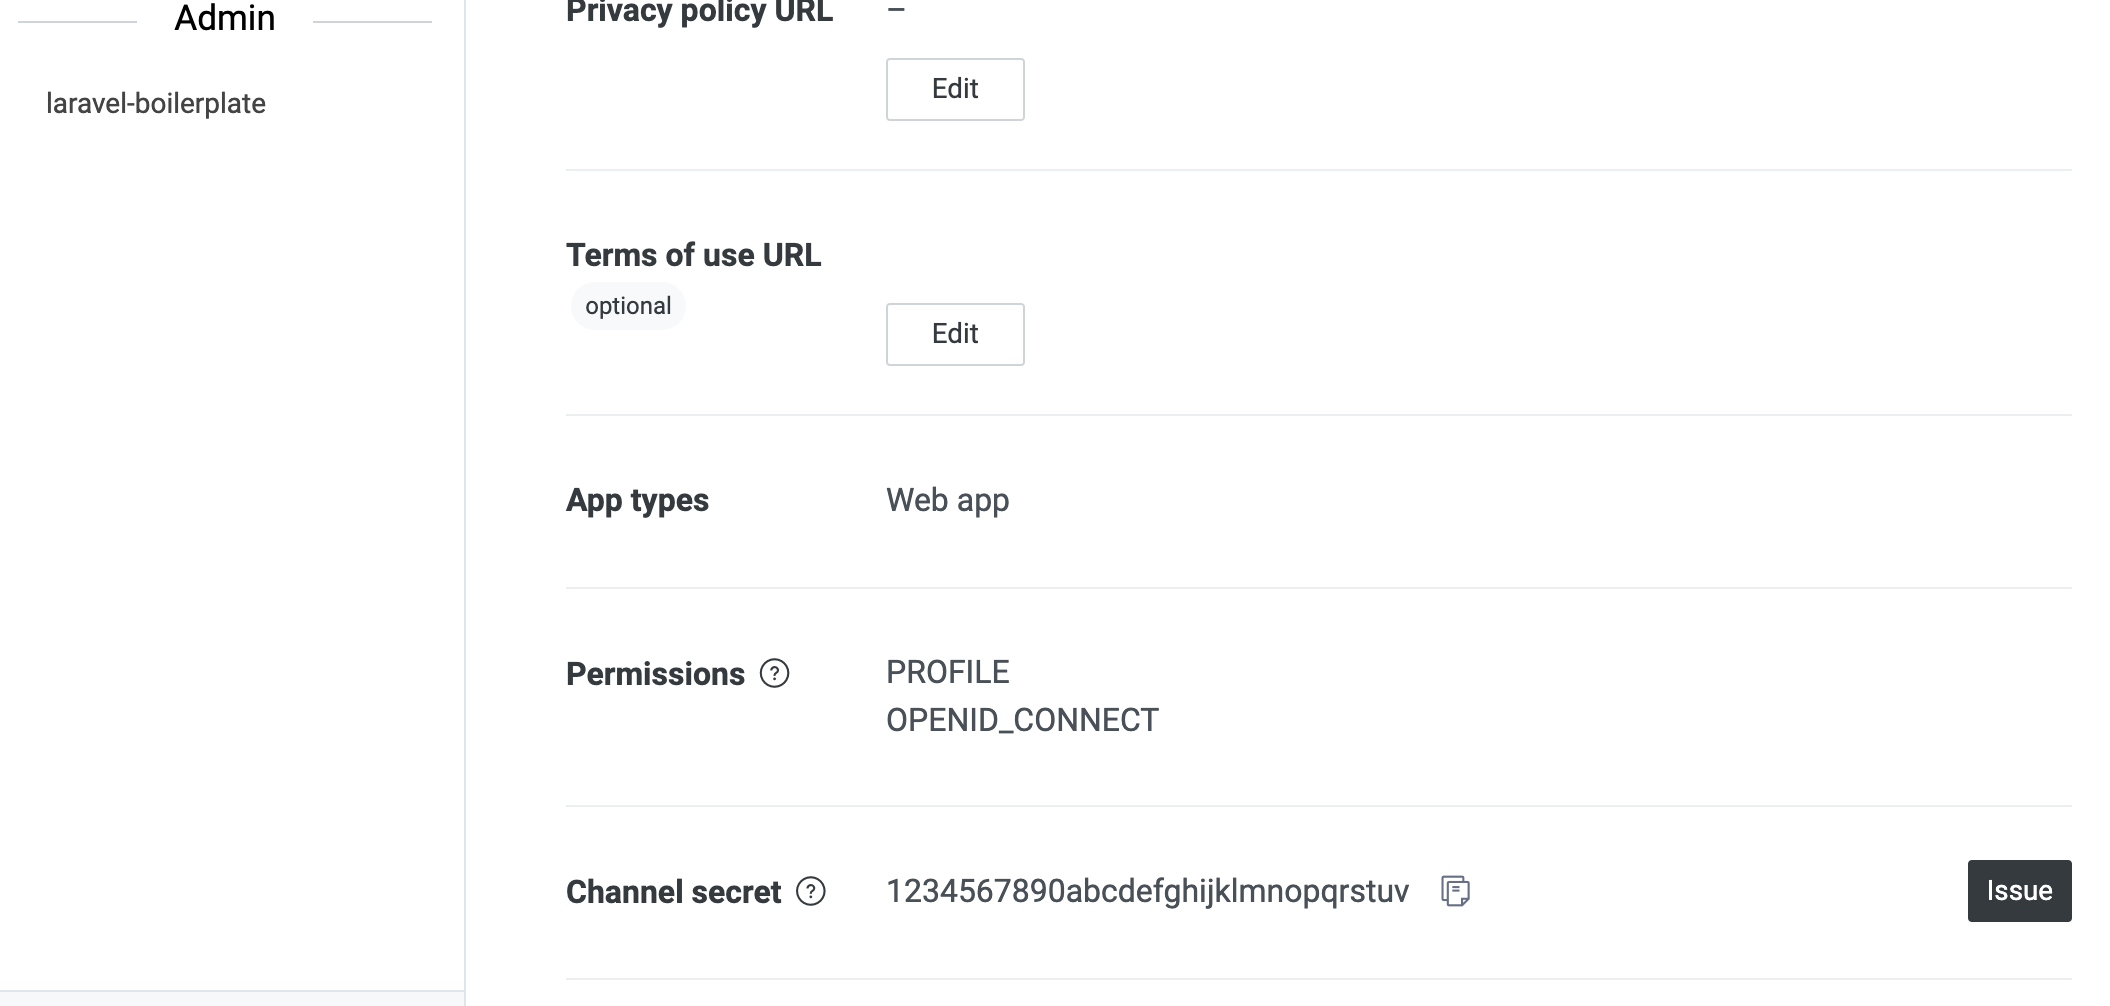
作成されたチャンネル画面から Channel ID と Channel secret の値を .env に設定します。
LINE_CLIENT_ID=1234567890
LINE_CLIENT_SECRET=1234567890abcdefghijklmnopqrstuv
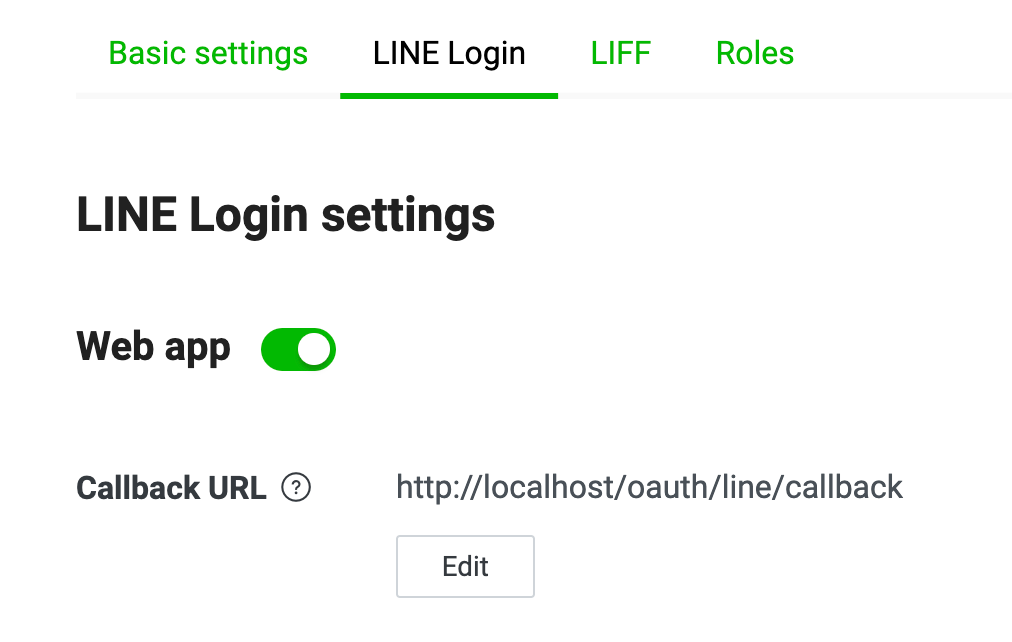
LINE Login タブから Web app の Callback URL を設定します。
コールバックURL: http://localhost/oauth/line/callback
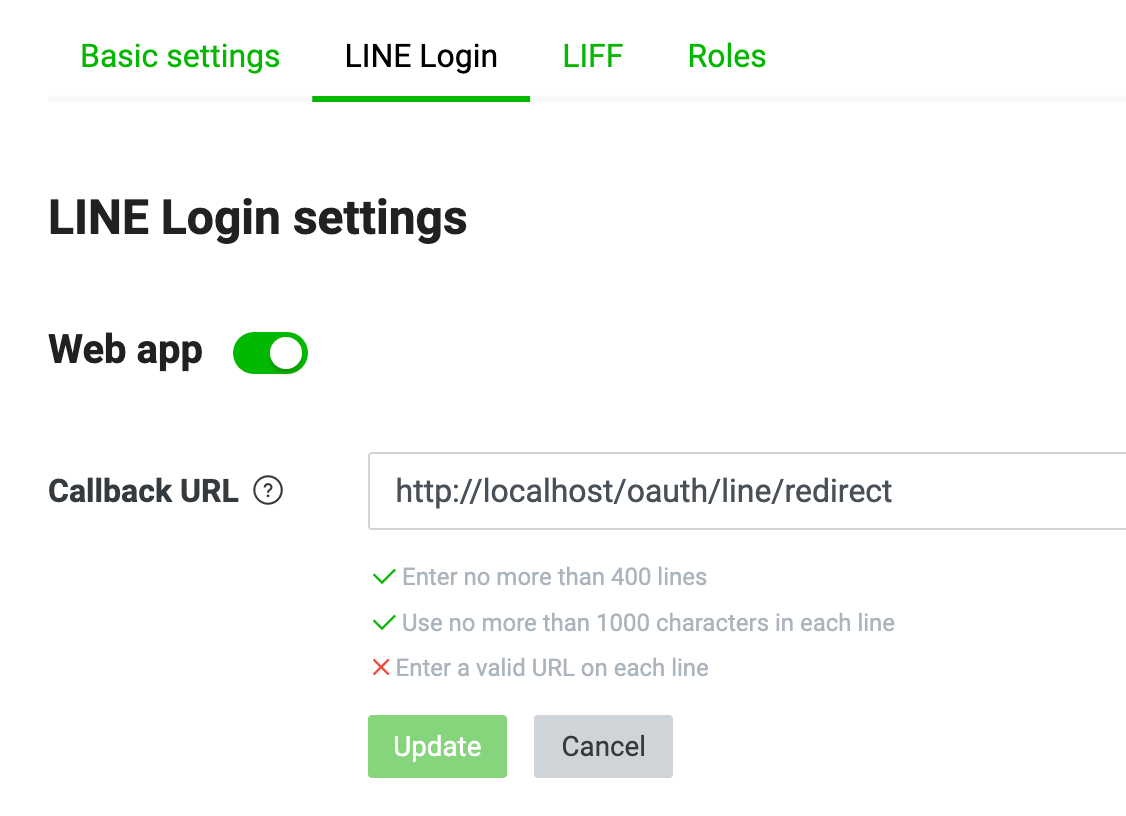
【2022.09.17 追記】
localhost はコールバックURLとして設定できなくなっていました。
/etc/hosts ファイルを書き換えて
127.0.0.1 example.com
コールバックURL: https://example.com/oauth/line/callback
と指定するとLINEログインできます。(一応ローカルSSLしなくても大丈夫みたいです。)
もしくはngrokを使ってngrokの生成したURLを使用します。
前にngrokの記事を書いているのでよければ参考にしてください。
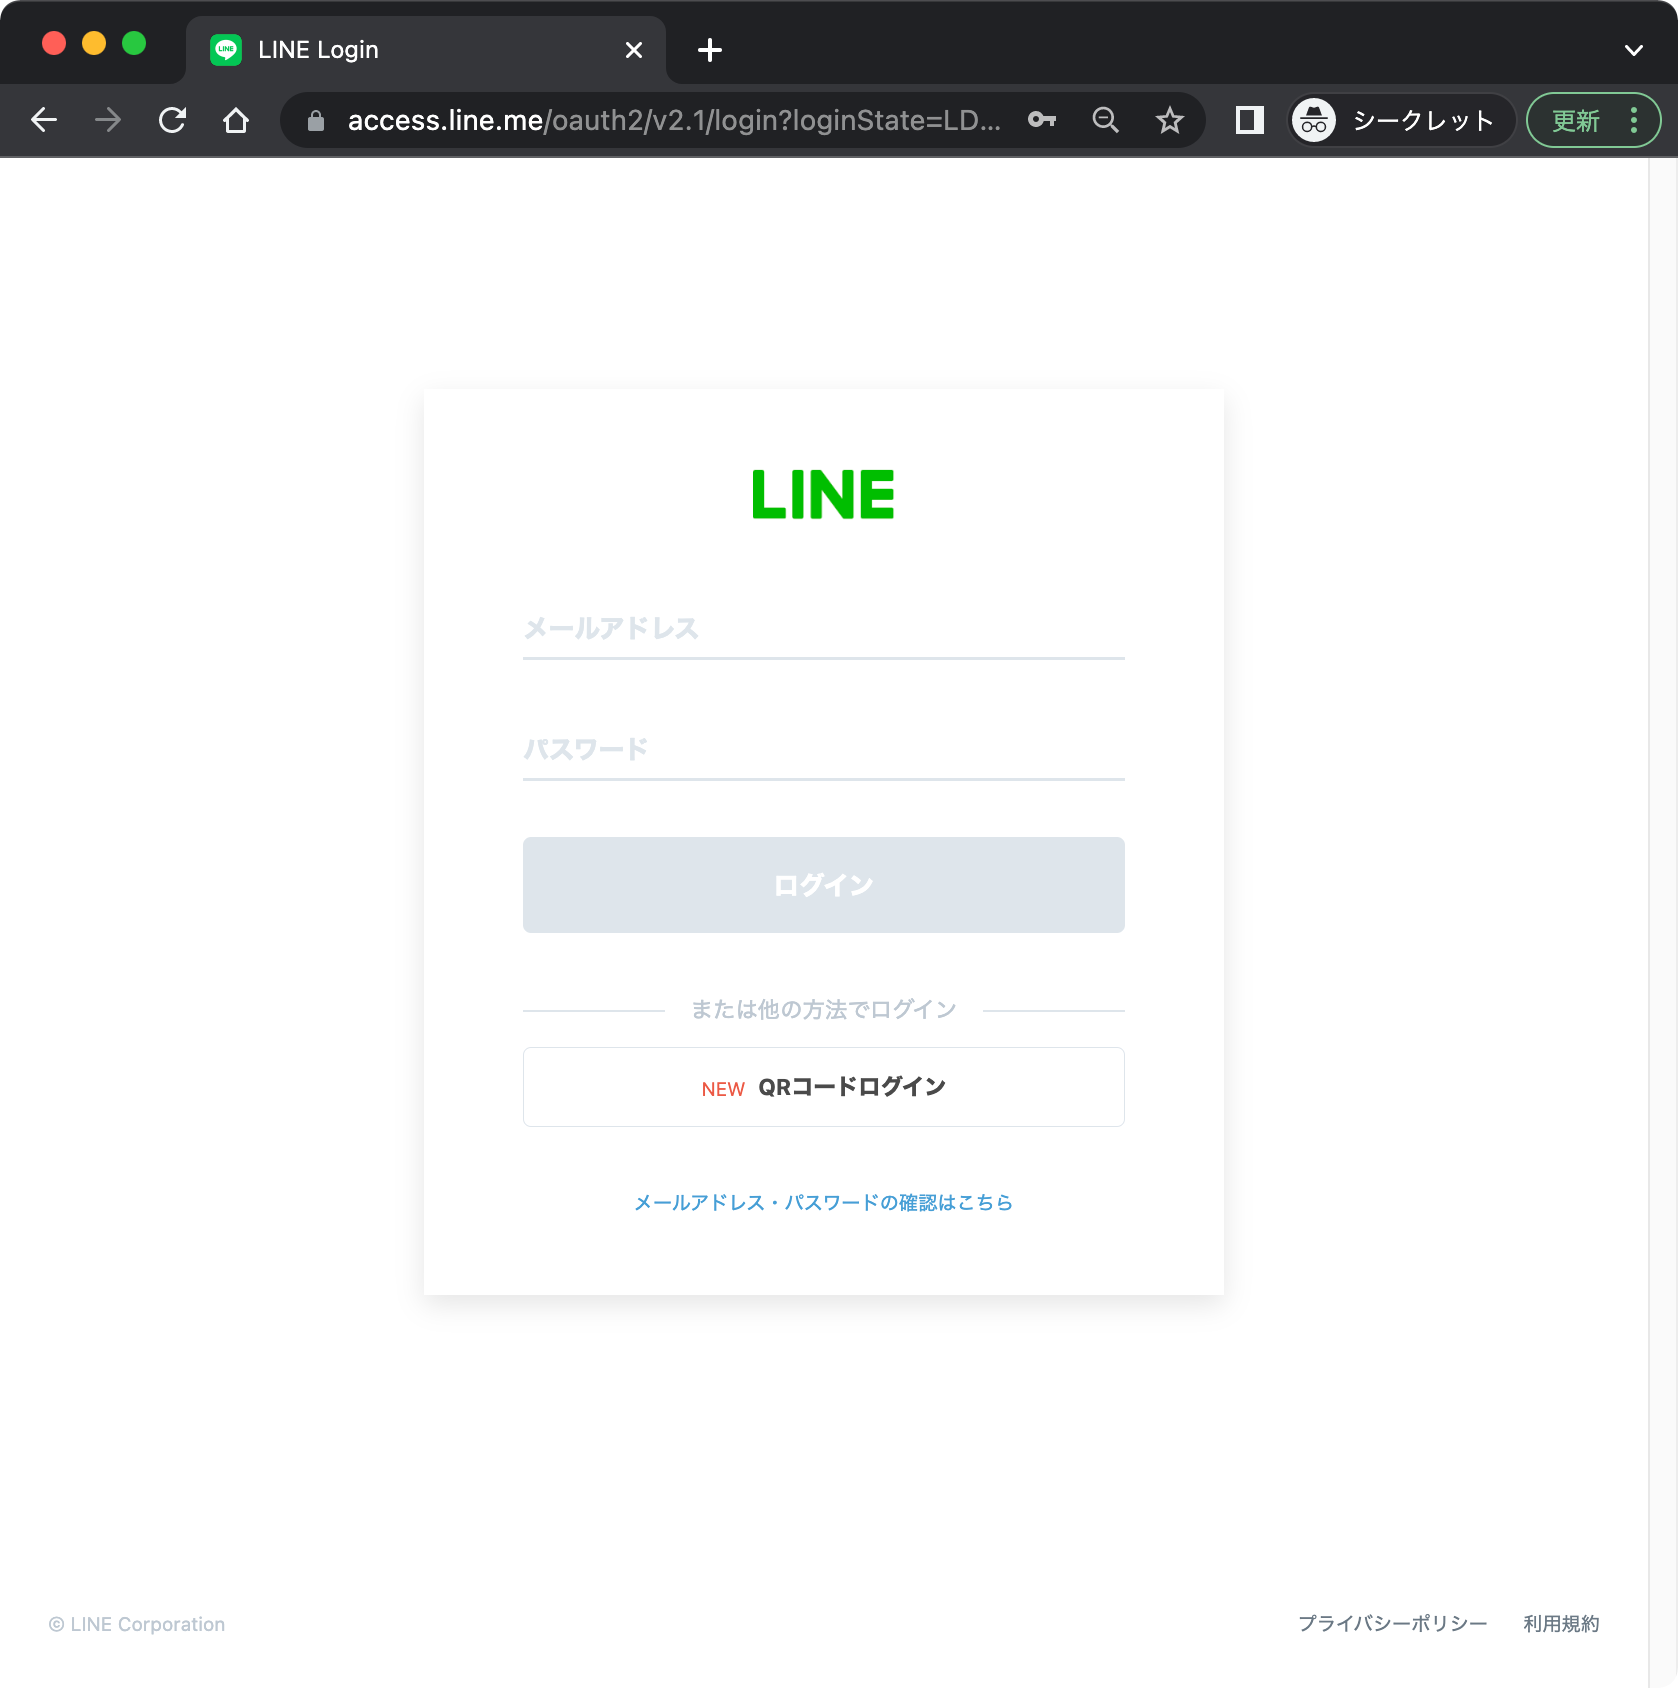
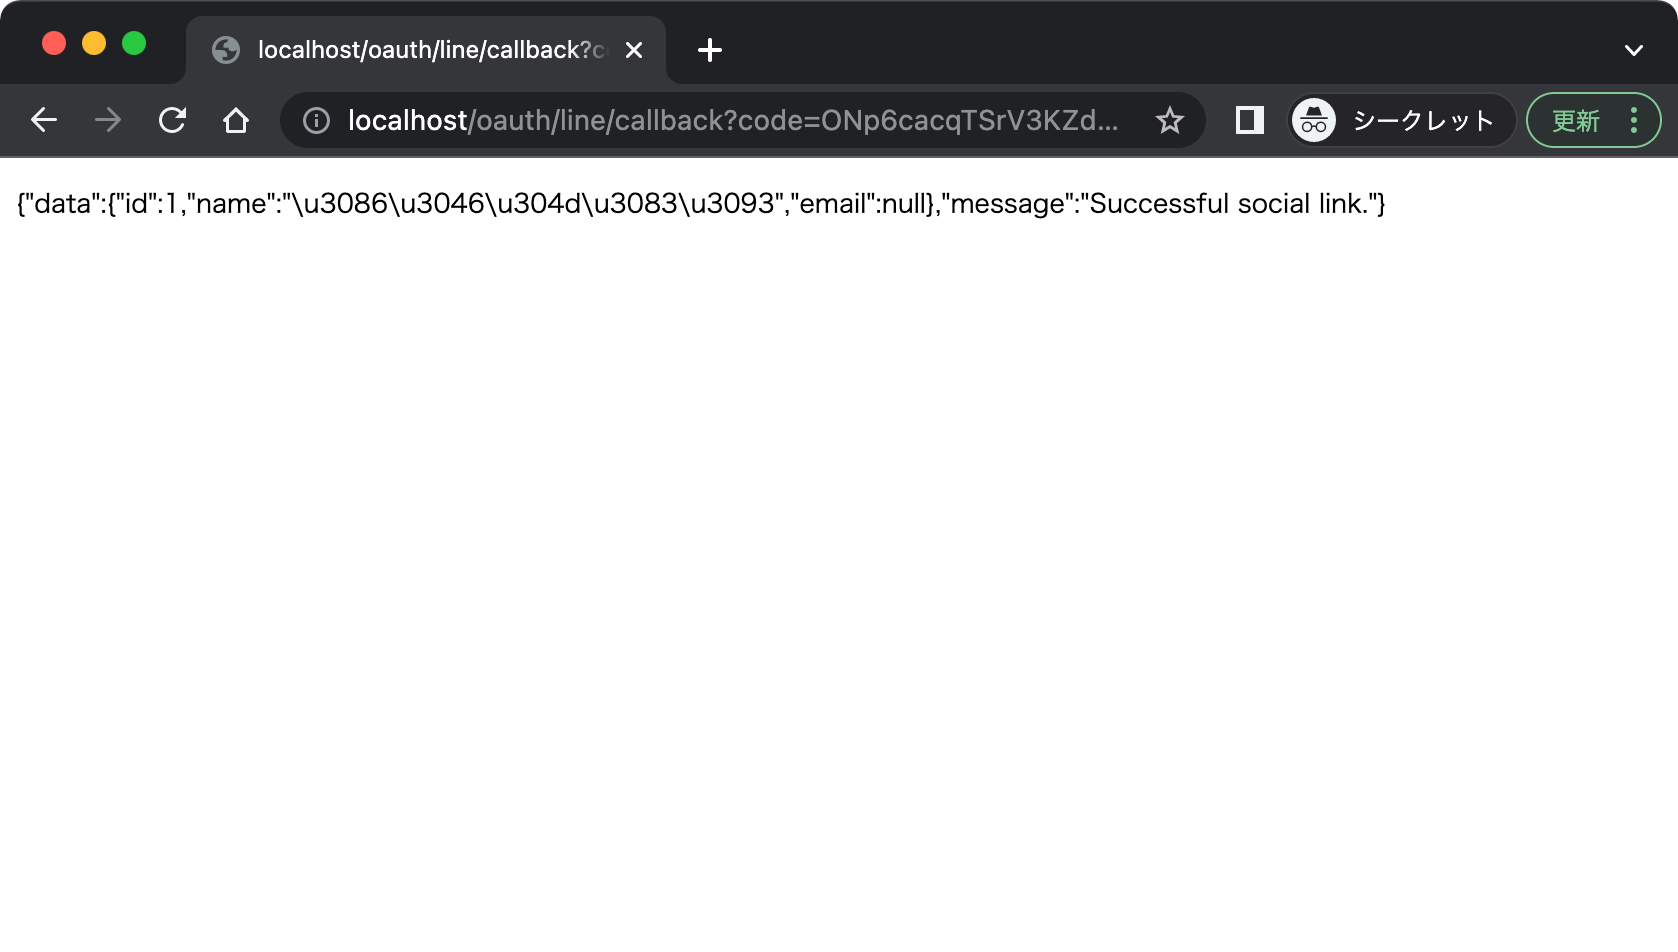
動作確認
正常レスポンスが返ってきたので成功です。
