本記事はpiyopiyo.exポータルチュートリアルの2章となります。
本章の目的
本章ではデザイン変更の準備としてCSSフレームワークと、UIライブラリを導入します。
@the_haigo さんの記事Phoenixにtailwindとdaisyuiを導入するを参考に、phx_gen_tailwindを使用してお手軽にtailwindcss+daisyUIをPhoenixに導入します。
実行環境のNodeJSのバージョン確認
用意した実行環境に導入されているNodeJsの環境を確認します。
node -v
執筆時点のReplitのPhoenix実行環境では初期状態ではNodeJSが導入されていませんが、Nixというパッケージマネージャが導入されており、導入されていないコマンドを実行すると、対応するパッケージのインストールを提案されます。
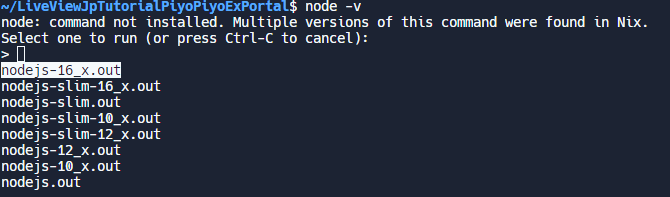
表示されたプロンプトでEnterを入力します。
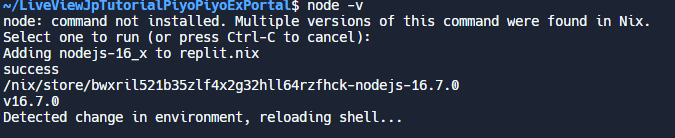
これでNodeJsのv16.13.2が導入されれます。

CSSフレームワーク tailwindcss の導入
tailwindcssを導入するためPhoenixにphx_gen_tailwindライブラリを導入します。
mixの依存ライブラリ定義にphx_gen_tailwindを追加します。
defp deps do
    [
      ~前略~
      {:plug_cowboy, "~> 2.5"},
      {:phx_gen_tailwind, "~> 0.1.3", only: :dev},
    ]
  end
deps.getを実行し、ライブラリをダウンロードします。
mix deps.get
phx_gen_tailwindが導入されたことを確認します。

phx_gen_tailwindを実行し、tailwindcssを導入します。
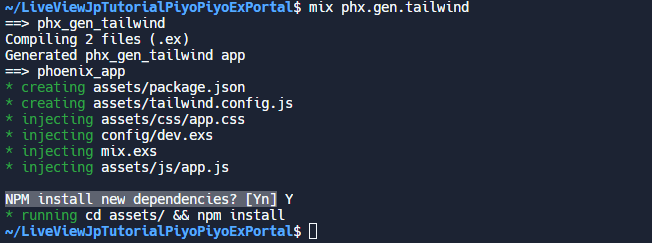
mix phx.gen.tailwind
途中でnpm(NodeJSのパッケージマネージャ)のインストールを促されます。
プロンプトに
NPM install new dependencies? [Yn]
が表示されたら Y を入力してEnterを入力します。
UIライブラリdaisyUIを追加する
インストールされたnpmを使ってdaisyUIをインストールします
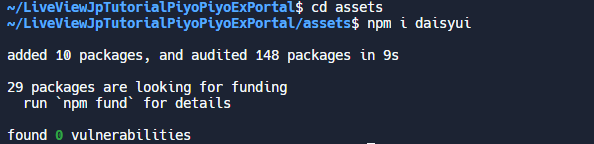
cd assets
npm i daisyui
インストールされたdaisyUIをtailwindcssのプラグインとしてconfigに登録します
~前略~
  plugins: [
     require("daisyui") // <-- add here
  ],
}
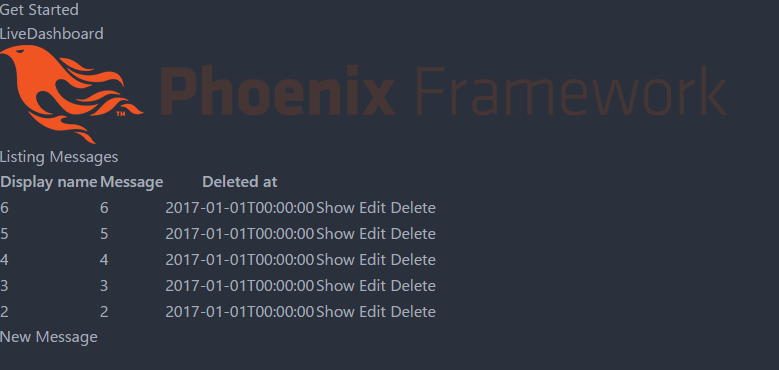
ここまでの作業でデフォルトのスタイルが崩れ、なんかPhoenix君が大人びた感じになります。
※PhoenixアプリケーションがCompileエラーになっている場合は一度「Stop」ボタンを押して、Phoenixを再起動してください。
事象では導入したtailwindcssをつかってスタイルを修正しデザインを変更します。
次の章
関連情報
- この演習完了時点のリポジトリ断面
- 参考にした記事