5
0

Delete article

Deleted articles cannot be recovered.

Draft of this article would be also deleted.

Are you sure you want to delete this article?

VSコードが使用出来なかったり、特定のインターネット接続ができない環境下でAzure Functionsのデプロイする機会があったので、公式ドキュメントを基に実証してみました。

必要なもの

  • Azure Functionsへの接続情報
  • リポジトリのZIPフォルダ
  • コマンドプロンプト

デプロイ手順

  1. 関数アプリの概要ページを選択して、「発行プロファイルの取得」を選択する。
    image.png

  2. publishMethod="MSDeploy"に該当するpublishUrl、userName、userPWDを取得する。
    image.png

  3. 下記のコマンドをコマンドプロンプトで実行し、userPWDを入力
    curl -X POST -u {userName} --data-binary @{リポジトリのZIPフォルダのパス} https://{publishUrl}/api/zipdeploy
    image.png

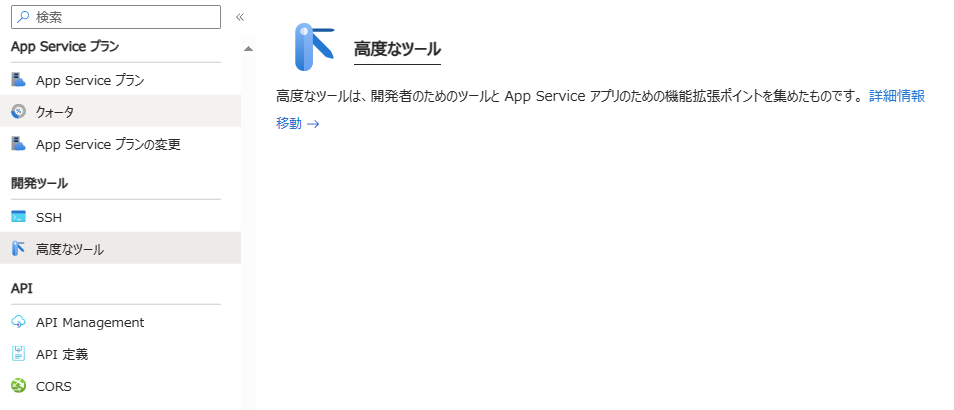
  4. Azure ポータルでデプロイ先のFunctionsのリソースの「開発ツール>高度なツール」を選択
    image.png

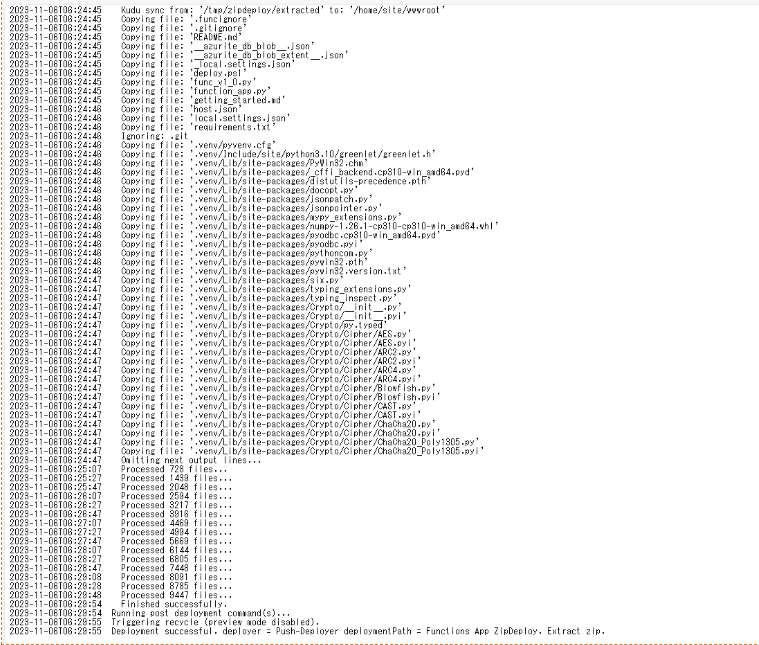
  5. DeploymentLogを確認してデプロイが成功していることを確認
    image.png

まとめ

コマンドプロンプトを使ってデプロイできる方法を紹介しました。
他にもAzure CLIを用いたり、PowerShellでデプロイがあるので端末や環境に適した方法でデプロイしてみてください。

またナレッジコミュニケーションでは「Musubite」というエンジニア同士のカジュアルトークサービスを利用しています!この記事にあるような生成 AI 技術を使ったプロジェクトに携わるメンバーと直接話せるサービスですので興味がある方は是非利用を検討してください!

今後もクラウド AI の最新情報を皆さんに届けていきたいと思います。お楽しみに!

5
0
0

Register as a new user and use Qiita more conveniently

  1. You get articles that match your needs
  2. You can efficiently read back useful information
  3. You can use dark theme
What you can do with signing up
5
0

Delete article

Deleted articles cannot be recovered.

Draft of this article would be also deleted.

Are you sure you want to delete this article?