前 AWS入門 Elastic IPを使った独自ドメインでのサイト運用
次 AWS入門 作成中
CloudFrontとは
- CloudFrontは、Webコンテンツ(HTML、CSS、JavaScript、画像、動画ファイルなど)をエッジロケーションと呼ばれているネットワークを経由して配信する。エッジロケーションとは、CloudFrontやRoute 53を提供するためのデータセンター。
- 要するに、Webコンテンツのキャッシュサーバー。
CloudFrontを使ったWebコンテンツ配信
- 手順の前に、EC2やS3でWebサイトを構築しておく
1/3.CloudFrontの起動
- AWSマネジメントコンソールから、CloudFrontをクリックする。
2/3.コンテンツ配信方法の設定
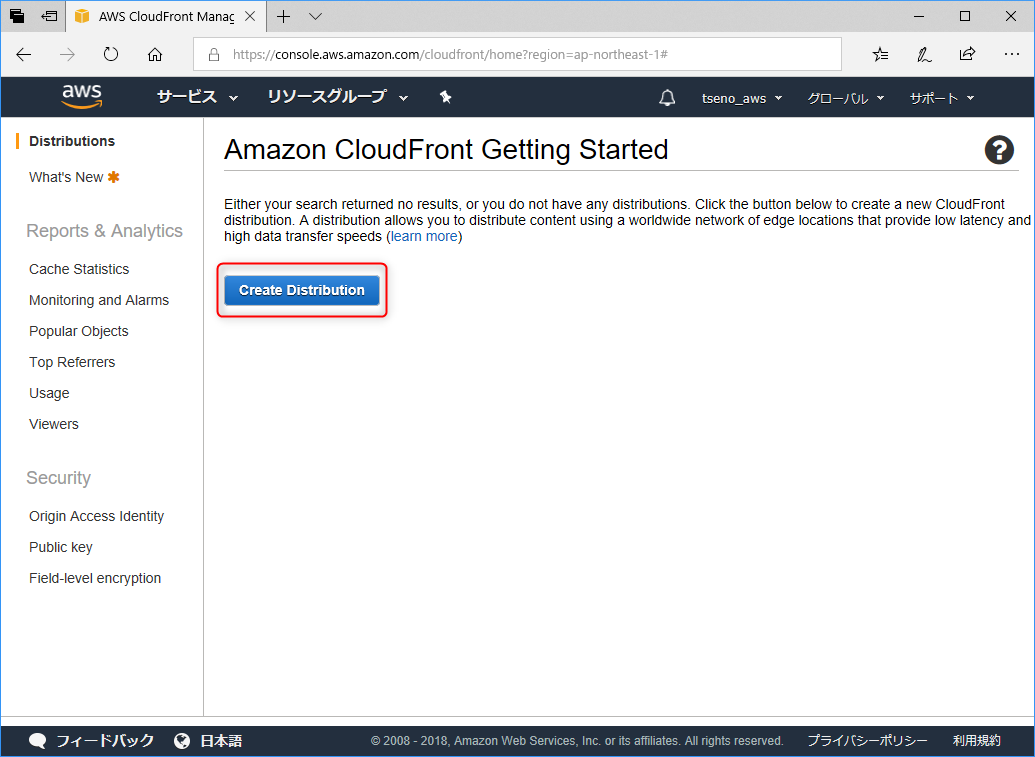
- Create Distributionをクリックする。
- Web・・・HTTPやHTTPSを使ってアクセスするWebコンテンツを配信。ここではこちらを選択する。
- RTMP・・・Adobe社が開発しているストリーミング配信プロトコルである、RTMPを使って動画などをストリーミングする。
3/3.コンテンツ配信の設定
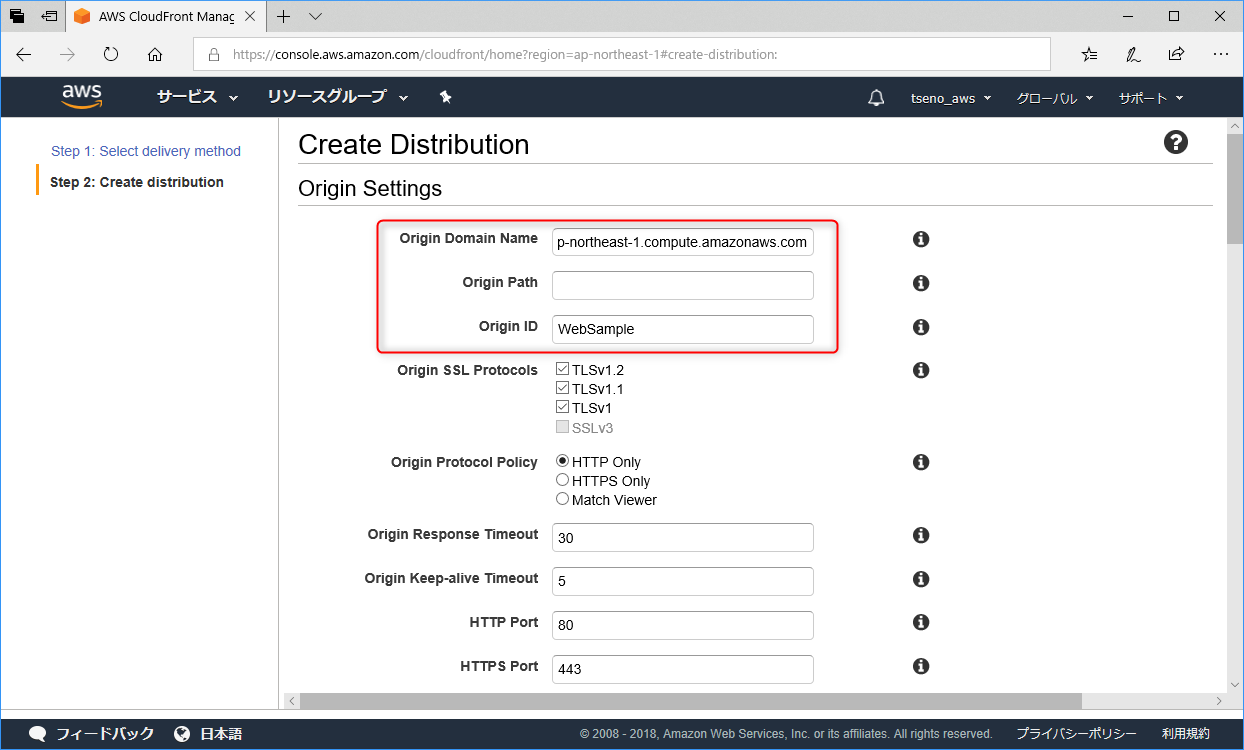
- Origin Domain Name・・・Webコンテンツの配信元のドメインを選択。EC2インスタンスのパブリック DNS (IPv4)を入力した。
- Origin Path・・・トップページのパスを指定。今回は空。
- Origin ID・・・任意のIDを設定。WebSampleと入力した。
- その他にも、キャッシュの設定やHTTPメソッドの設定、SSL証明書の設定、ログの設定などがある。
- 一番下の、Create Distributionをクリックする。
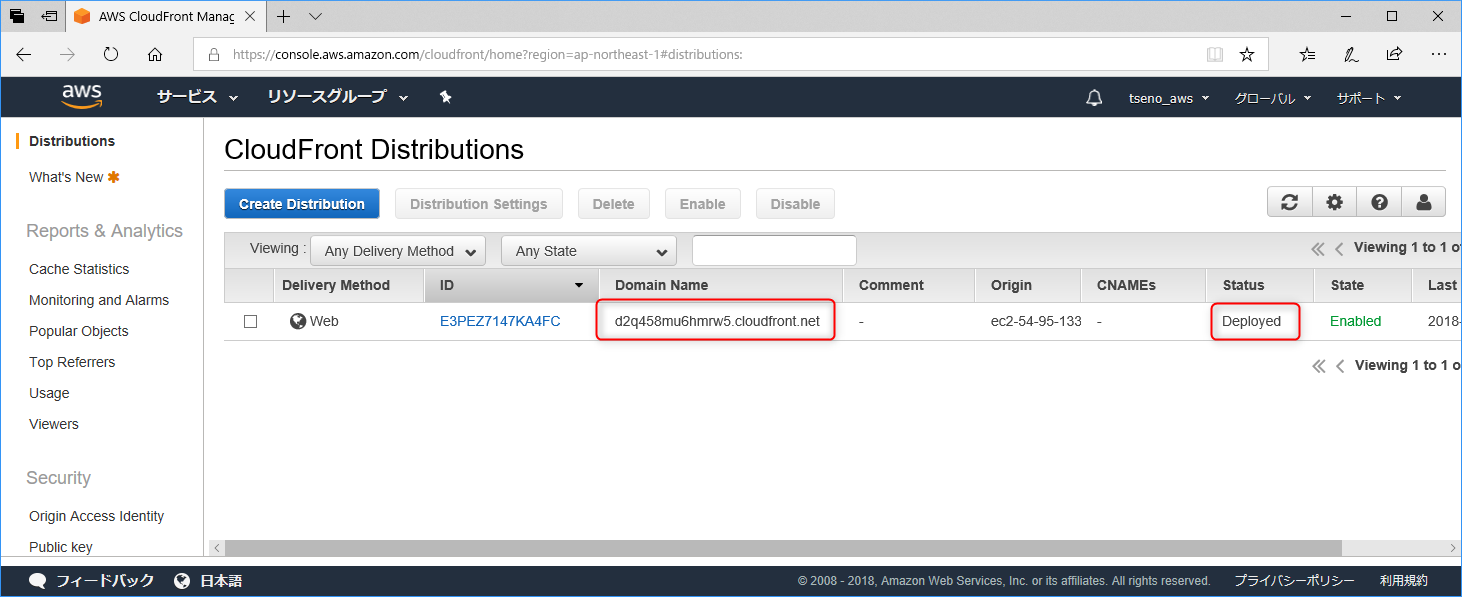
- StatusがDeployedになったら配信完了。10分くらいかかった。
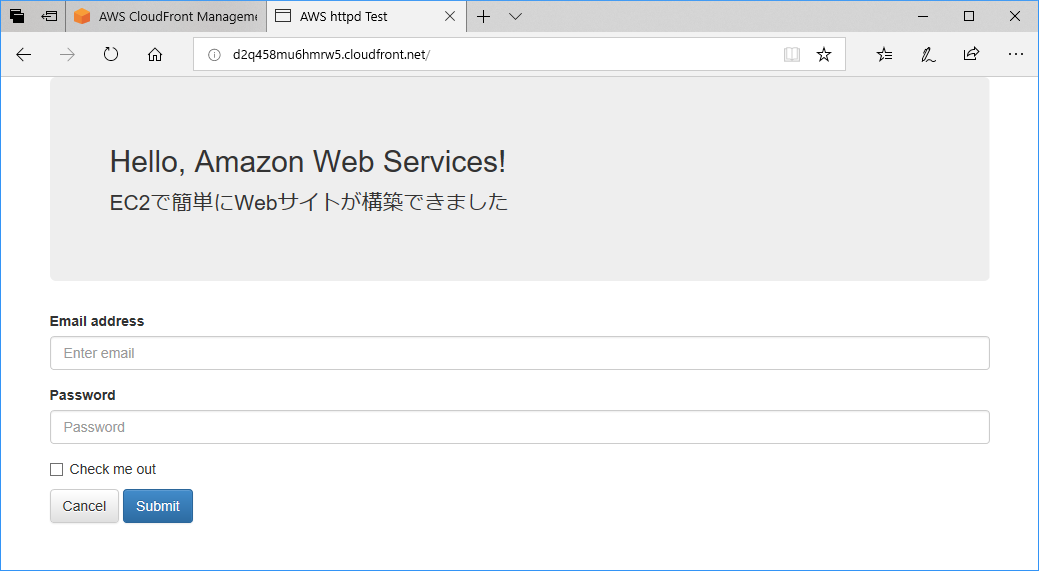
- Domain Nameのアドレスにブラウザでアクセスして、表示されることを確認。
- 削除する場合は、Disable → Deleteの順で削除する。


