- 書籍「実装で学ぶフルスタックWeb開発」の環境構築でいくつか躓いたため、解決方法のメモです。
データベース
docker-compose.yml
書籍に記載
docker-compose.yml
services:
  app-db:
    image: mysql:8
    command: --collation-server=utf8mb4_0900_bin --transaction-isolation=READ-COMMITTED
    restart: always
    environment:
      MYSQL_ROOT_PASSWORD: example
      TZ: Asia/Tokyo
    ports:
      - 53306:3306
書籍に記述してあるdocker-compose.ymlを修正する
-
MYSQL_USER: root1、MYSQL_PASSWORD: password1は明示的に指定する。指定しないと、コンテナ内からアクセスできない。 - ユーザ名、パスワードは、
root、password以外にする。root、passwordだとMySQLのコンテナが起動しない。
docker-compose.yml
services:
  app-db:
    image: mysql:8
    command: --collation-server=utf8mb4_0900_bin --transaction-isolation=READ-COMMITTED
    restart: always
    environment:
      MYSQL_ROOT_PASSWORD: example
      MYSQL_DATABASE: app
      MYSQL_USER: root1
      MYSQL_PASSWORD: password1
      TZ: Asia/Tokyo
    ports:
      - 53306:3306
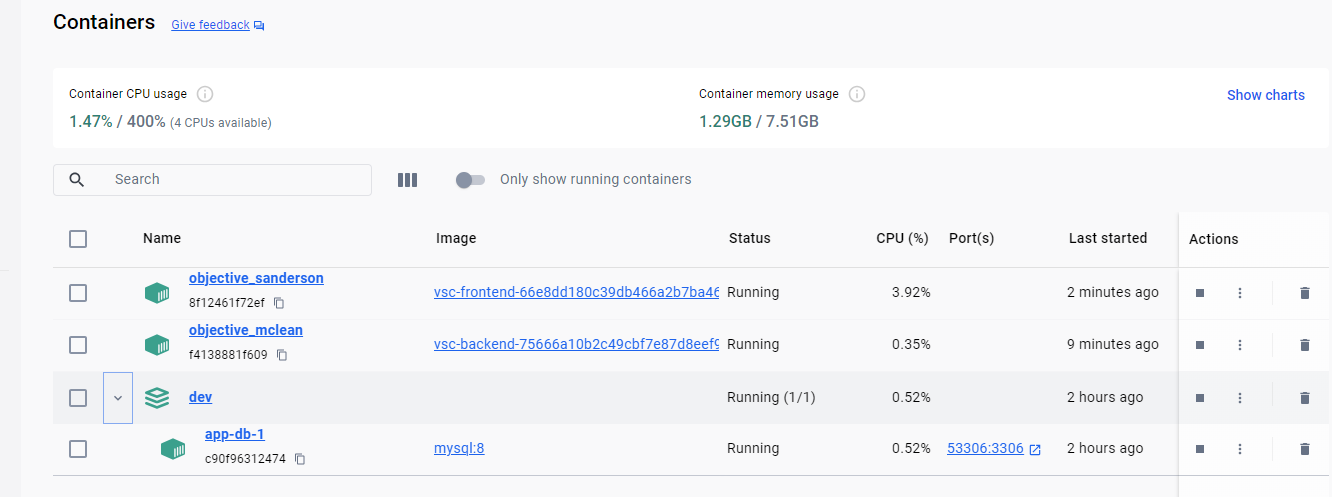
コマンドプロンプト
cd c:\dev

docker-compose up -d
フロントエンド
WSL2
cd /usr/local/src/dev/app/frontend/

code .
- Dev Containers: Open Folder in Container で、フォルダを選択 → Node.js → 18
コンテナ内
yarn create next-app frontend --ts --eslint
- ディレクトリの中身を移動
コンテナ内
mv frontend/* .
mv frontend/.* .
rmdir frontend/
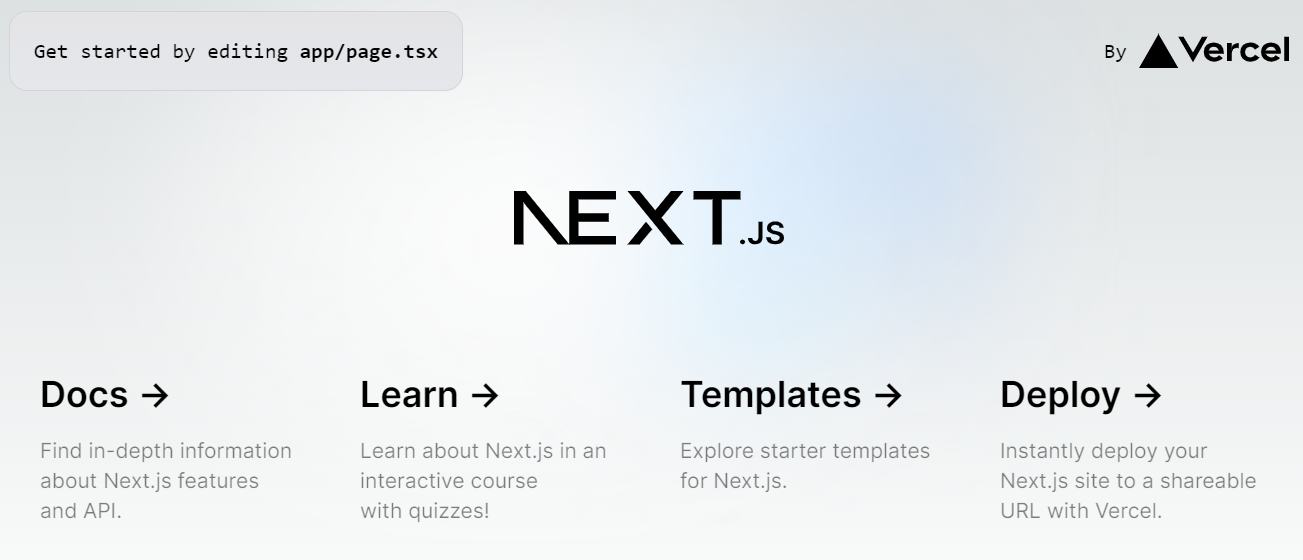
- Next.jsの起動
コンテナ内
yarn dev
- 以下を.gitignoreに追加
.gitignore(追加する)
#Vscode
.vscode/
next.config.js (next.config.mjs)
書籍にはnext.config.jsと書いてあるが、next.config.mjsを修正する
4-1-5 Next.js上でのAPI通信では、nextConfig = {} の中身をコメントアウトしてください。この設定はbackend(Django)への通信のみです。
-
next.config.mjsを修正
next.config.mjs
/** @type {import('next').NextConfig} */
const nextConfig = {
  async rewrites() {
    return [
      {
        source: '/api/:path*',
        destination: 'http://host.docker.internal:8000/api/:path*/'
      }
    ]
  }
};

export default nextConfig;
- app/glovals.cssの中身を削除する
フロントアプリのインストール
コンテナ内
yarn add @mui/material @emotion/react @emotion/styled

yarn add @mui/x-data-grid

yarn add axios

yarn add swr
バックエンド
WSL2
cd /usr/local/src/dev/app/backend/

code .
コンテナ内
echo -e 'djangorestframework\nmysqlclient' > requirements.txt

pip install -r requirements.txt

pip freeze > requirements.lock
- .devcontainer/devcontainer.json を修正する
devcontainer.json(一部)
"postCreateCommand": "pip3 install -r requirements.lock"
コンテナ内
django-admin startproject config .

echo '__pycache__/' > .gitignore

mkdir config/settings
mv config/settings.py config/settings/base.py
development.py を作成する
echo 'from .base import *' > config/settings/development.py
書籍に記述してあるdevelopment.pyを修正する
- USER、PASSWORD を 上記の
docker-compose.ymlに合わせる。 - PORTは''で囲わずに指定する。
development.py
from .base import *

DATABASES = {
  'default': {
    'ENGINE': 'django.db.backends.mysql',
    'NAME': 'app',
    'USER': 'root1',
    'PASSWORD': 'password1',
    'HOST': 'host.docker.internal',
    'PORT': 53306,
    'ATOMIC_REQUESTS': True
  }
}
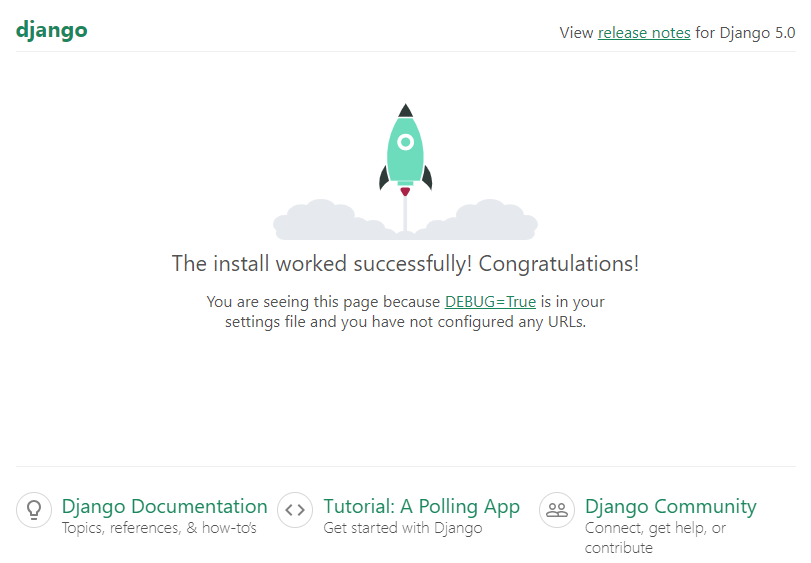
- Djangoサーバの起動
python manage.py runserver --settings config.settings.development
- Djangoの追加設定
base.py
ALLOWED_HOSTS = ['*'] # ← 修正
base.py
INSTALLED_APPS = [
    ...
    "rest_framework", # ←追加
]
base.py
LANGUAGE_CODE = "ja-JP" # ← 修正
- 実行されるSQLを標準出力に出力する
base.py
LOGGING = {
    'version': 1,
    'disable_existing_loggers': False,
    'handlers': {
        'console': {
            'class': 'logging.StreamHandler',
        },
    },
    'loggers': {
        'django.db.backends': {
            'level': 'DEBUG',
            'handlers': ['console'],
        },
    },
}
- .devcontainer/devcontainer.jsonの追加設定
devcontainer.json
{
	"name": "Python 3",
	"image": "mcr.microsoft.com/devcontainers/python:1-3-bookworm",
	"postCreateCommand": "pip3 install -r requirements.lock", # ←カンマを追加
 # ここかから追加
	"customizations": {
		"vscode": {
			"settings": {
				"pylint.args": [
					"--load-plugins",
					"pylint_django",
					"--django-settings-module",
					"config.settings.development"
				]
			}
		}
	}
# ここまで追加
}


