

Quickの分析をAIで作りたい!
Quickの分析を手で作るのって面倒ですよね?
でも、Quickの備え付けのAIで作ると微妙なのが出来上がるし、そのあとの編集はAIが使えません。
そこで、分析の定義ファイルをGithub管理にして、Kiroを使って分析を編集できるようにします!
1.GithubからAssumeRoleできるようにする
まずは、Github ActionsからAssumeRoleするためのOIDCプロバイダとIAMロールを作成する必要があります。
詳細な手順は本題から外れるので割愛しますが、以下の公式ブログのステップ1、2を参考にやってみてください。
2.IAMロールの権限付与
1で記載したブログのステップ3に該当します。
1で作成したIAMロールにQuickの分析をするための権限を付与します。
以下のポリシーをアタッチしてください。
{
    "Version": "2012-10-17",
    "Statement": [
        {
            "Sid": "UpdateQuickCostDashboardAnalysis",
            "Effect": "Allow",
            "Action": [
                "quicksight:UpdateAnalysis",
                "quicksight:DescribeAnalysis"
            ],
            "Resource": "arn:aws:quicksight:ap-northeast-1:${AWSアカウントID}:analysis/${分析ID}"
        },
        {
            "Sid": "PassDataSet",
            "Effect": "Allow",
            "Action": [
                "quicksight:PassDataSet"
            ],
            "Resource": "*"
        }
    ]
}
3.GithubのSecretsにIAMロールのARNを設定
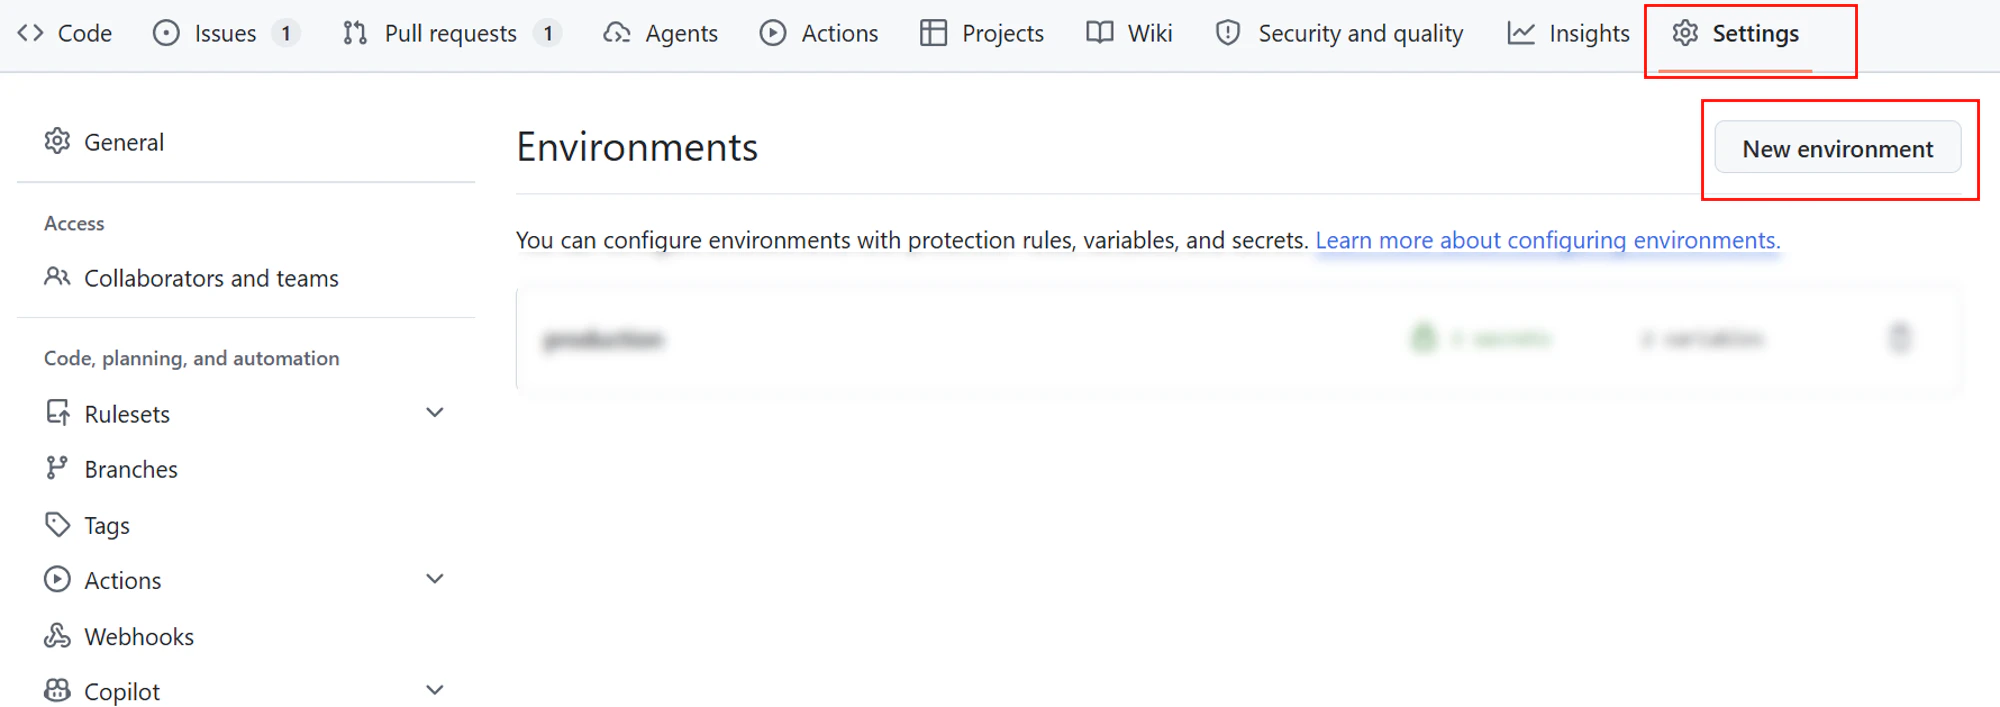
Githubのリポジトリから[Settings] > [Environments]を開きます。
[New environment]をクリックします。
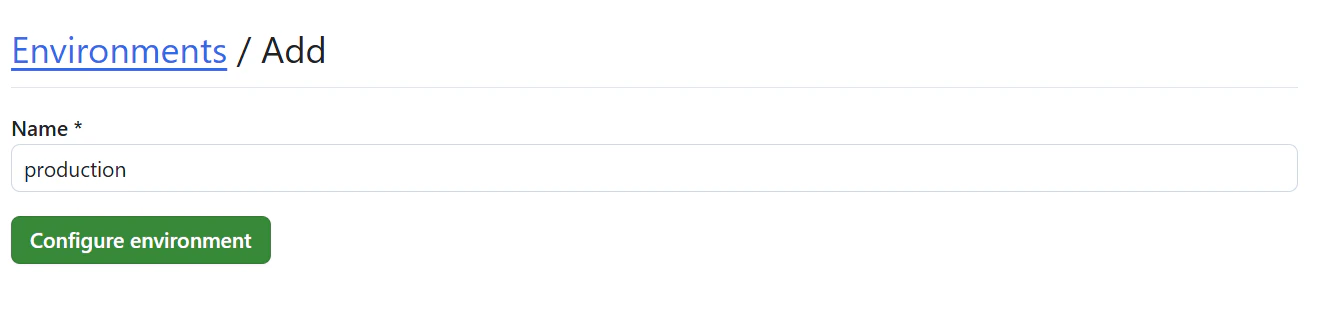
Nameにproductionと入力して追加します。
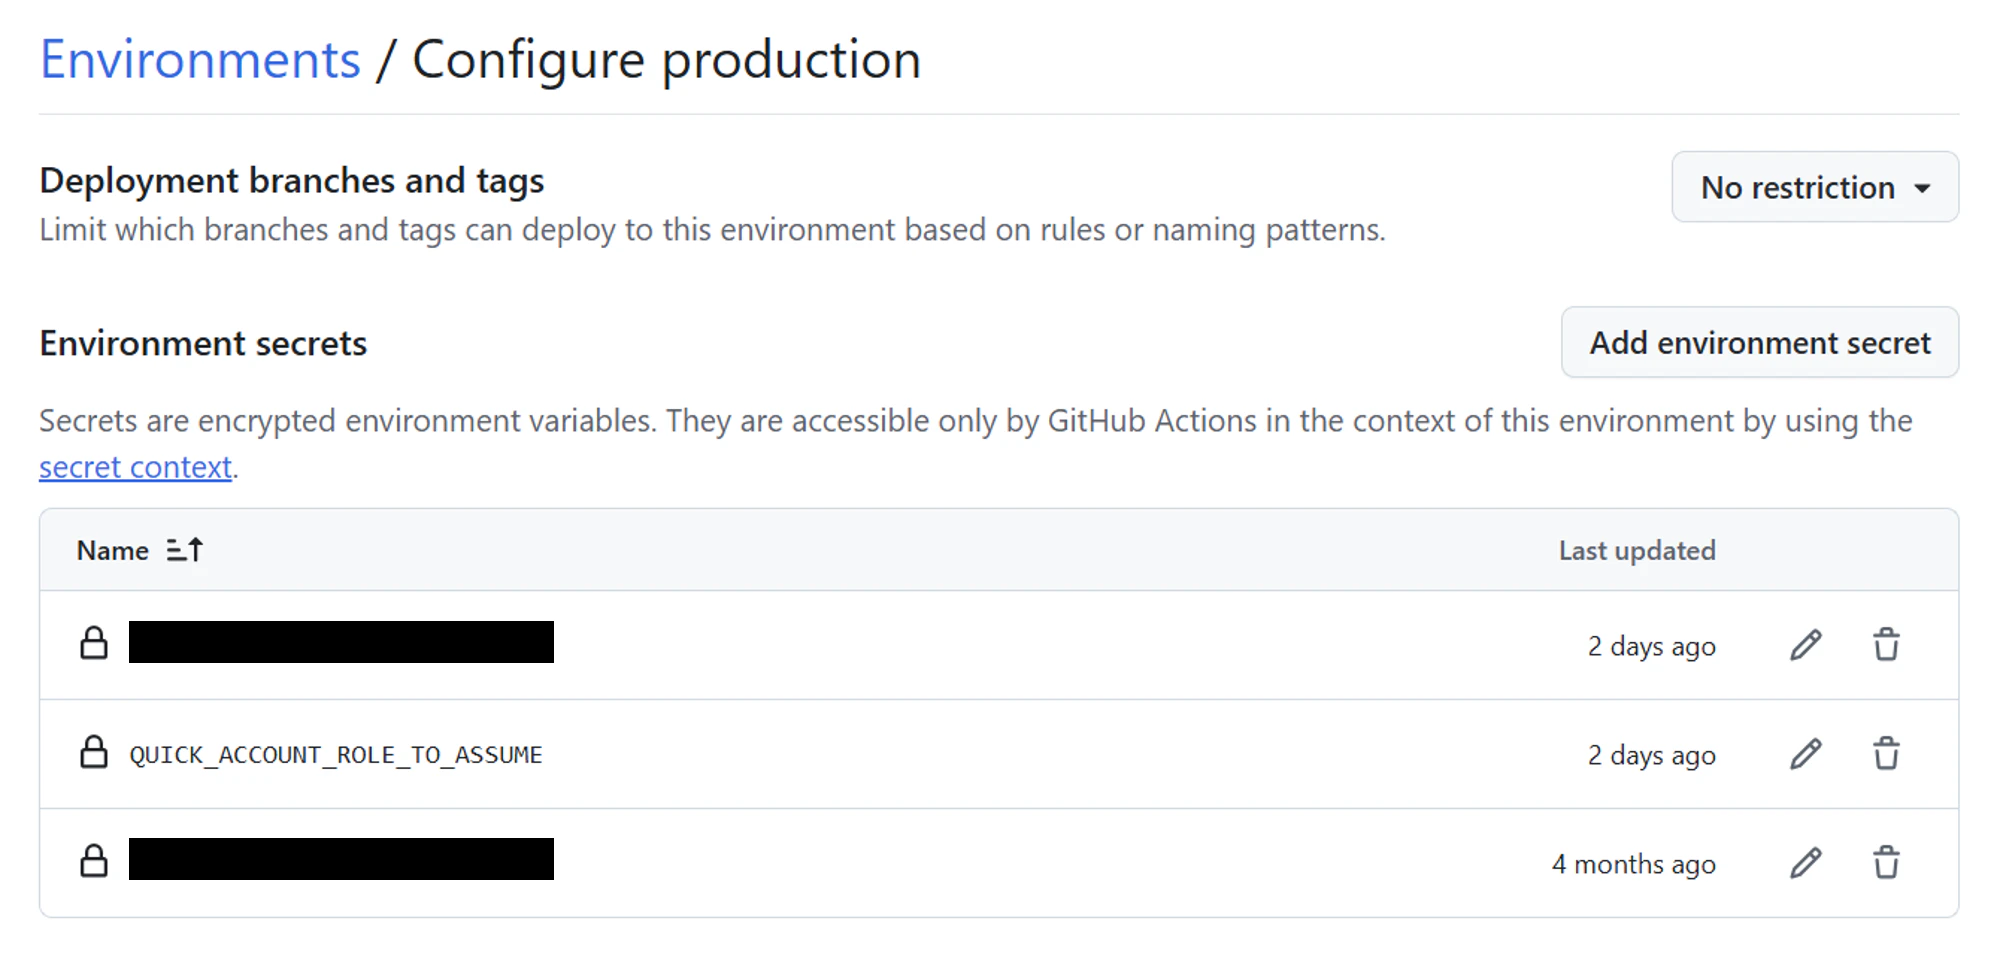
QUICK_ACCOUNT_ROLE_TO_ASSUMEというキーで1で作成したIAMロールARNをSecretsに追加します。
4.既存分析からdefinitionを取得する
Git管理を始めるには、まずdefinitions/dashboard_def.jsonの元となるJSONが必要です。
すでにQuickSightのGUIで分析を作成済みであれば、describe_analysis_definitionAPIで定義をそのままJSONとして取得できます。
ローカル環境で分析を参照できるAWS認証情報(quicksight:DescribeAnalysisDefinition権限)を用意し、以下のスクリプトを実行してください。
get_definition.py
import boto3
import json

ACCOUNT_ID = '${AWSアカウントID}'
ANALYSIS_ID = '${分析ID}'

if __name__ == '__main__':
    try:
        print(f'definitionの取得開始:{ANALYSIS_ID}')
        client = boto3.client('quicksight', region_name='ap-northeast-1')

        response = client.describe_analysis_definition(
            AwsAccountId=ACCOUNT_ID,
            AnalysisId=ANALYSIS_ID
        )

        with open('./definitions/dashboard_def.json', 'w', encoding='utf-8') as f:
            json.dump(response['Definition'], f, ensure_ascii=False, indent=2)

        print('definitionの取得完了:./definitions/dashboard_def.json')
    except Exception as e:
        raise e
実行すると./definitions/dashboard_def.jsonが生成されます。これをリポジトリに追加してコミットすれば、以降は分析定義をGitで管理できるようになります。
5.Githubワークフローの作成
リポジトリ内の構成は以下の通りです。
├── .github/
│   └── workflows/
│       └── update-quick-cost-dashboard.yml
└── quick-cost-dashboard/
    ├── update_analysis.py
    └── definitions/
         └── dashboard_def.json
quick-cost-dashboard/update_analysis.pyで分析の更新を行います。
update_analysis.py
import boto3
import json
import time

ACCOUNT_ID = '${AWSアカウントID}'
ANALYSIS_ID = '${分析ID}'
ANALYSIS_NAME = '${分析名}'

if __name__ == '__main__':
    try:
        print(f'分析の更新開始:{ANALYSIS_NAME}')
        print(f'アカウントID:{ACCOUNT_ID}')
        print(f'分析ID:{ANALYSIS_ID}')
        print('QuickSightクライアント作成')
        client = boto3.client('quicksight', region_name='ap-northeast-1')

        print('definition読み込み')
        with open('./definitions/dashboard_def.json', 'r', encoding='utf-8') as f:
            new_definition = json.load(f)

        print('分析の更新')
        response = client.update_analysis(
            AwsAccountId=ACCOUNT_ID,
            AnalysisId=ANALYSIS_ID,
            Name=ANALYSIS_NAME,
            Definition=new_definition
        )
        print(response)
        for x in range(10):
            response = client.describe_analysis(
                AwsAccountId=ACCOUNT_ID,
                AnalysisId=ANALYSIS_ID
            )
            status = response['Analysis']['Status']
            if status == 'UPDATE_IN_PROGRESS':
                print('分析更新中')
                time.sleep(5)
            elif status == 'UPDATE_SUCCESSFUL':
                print('分析更新完了')
                break
            else:
                print('分析更新失敗')
                print(response['Analysis'].get('Errors'))
                break
    except Exception as e:
        raise e
.github/workflows/update-quick-cost-dashboard.ymlはワークフロー定義ファイルです。
update-quick-cost-dashboard.yml
name: update-quick-cost-dashboard

on:
  push:
    branches:
      - main
    paths:
      - 'quick-cost-dashboard/**'

jobs:
  cd:
    runs-on: ubuntu-latest
    environment: production
    timeout-minutes: 60
    permissions:
      id-token: write # This is required for requesting the JWT
      contents: read # This is required for actions/checkout
    env:
      ENVIRONMENT: ${{ vars.ENVIRONMENT }}
    defaults:
      run:
        working-directory: quick-cost-dashboard

    steps:
      # イベント情報

      - run: cat $GITHUB_EVENT_PATH
        working-directory: ${{ github.workspace }}

      # チェックアウト

      - name: Checkout
        uses: actions/checkout@8e8c483db84b4bee98b60c0593521ed34d9990e8 # v6.0.1

      # AWSクレデンシャル設定

      - name: Generate session name
        id: session
        run: |
          repo="${GITHUB_REPOSITORY#${GITHUB_REPOSITORY_OWNER}/}"
          echo "name=${repo}-${GITHUB_RUN_ID}-${GITHUB_RUN_ATTEMPT}" >> "${GITHUB_OUTPUT}"

      - name: Configure AWS credentials
        id: creds
        uses: aws-actions/configure-aws-credentials@v4
        with:
          role-to-assume: ${{ secrets.QUICK_ACCOUNT_ROLE_TO_ASSUME }}
          role-session-name: ${{ steps.session.outputs.name }}
          aws-region: ap-northeast-1

      # Pythonセットアップ

      - name: Setup Python
        uses: actions/setup-python@v5
        with:
          python-version: '3.13'

      # 依存パッケージのインストール

      - name: Install dependencies
        run: pip install boto3

      # QuickSight分析の更新

      - name: Update QuickSight analysis
        run: python update_analysis.py
Kiro Autonomous Agentから編集する!
KiroのGithub連携の手順はこの記事では割愛します。
https://kiro.dev/docs/web/github/
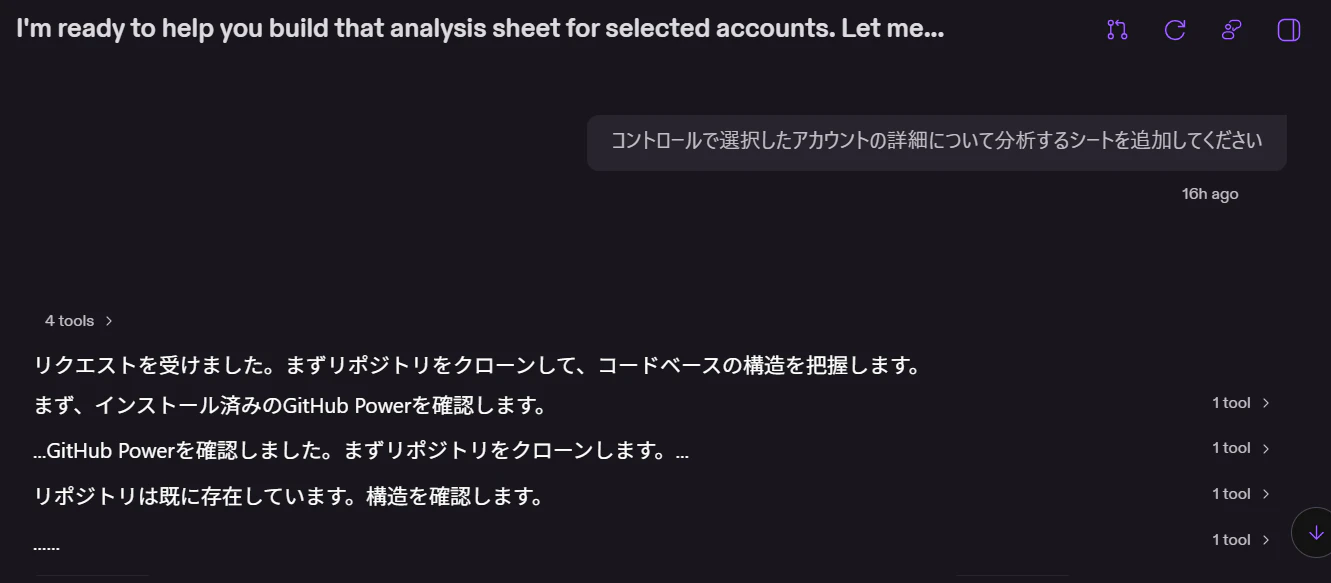
あとは以下のように分析の編集依頼をして、PRを作成してもらい、マージするだけで分析が更新されます。
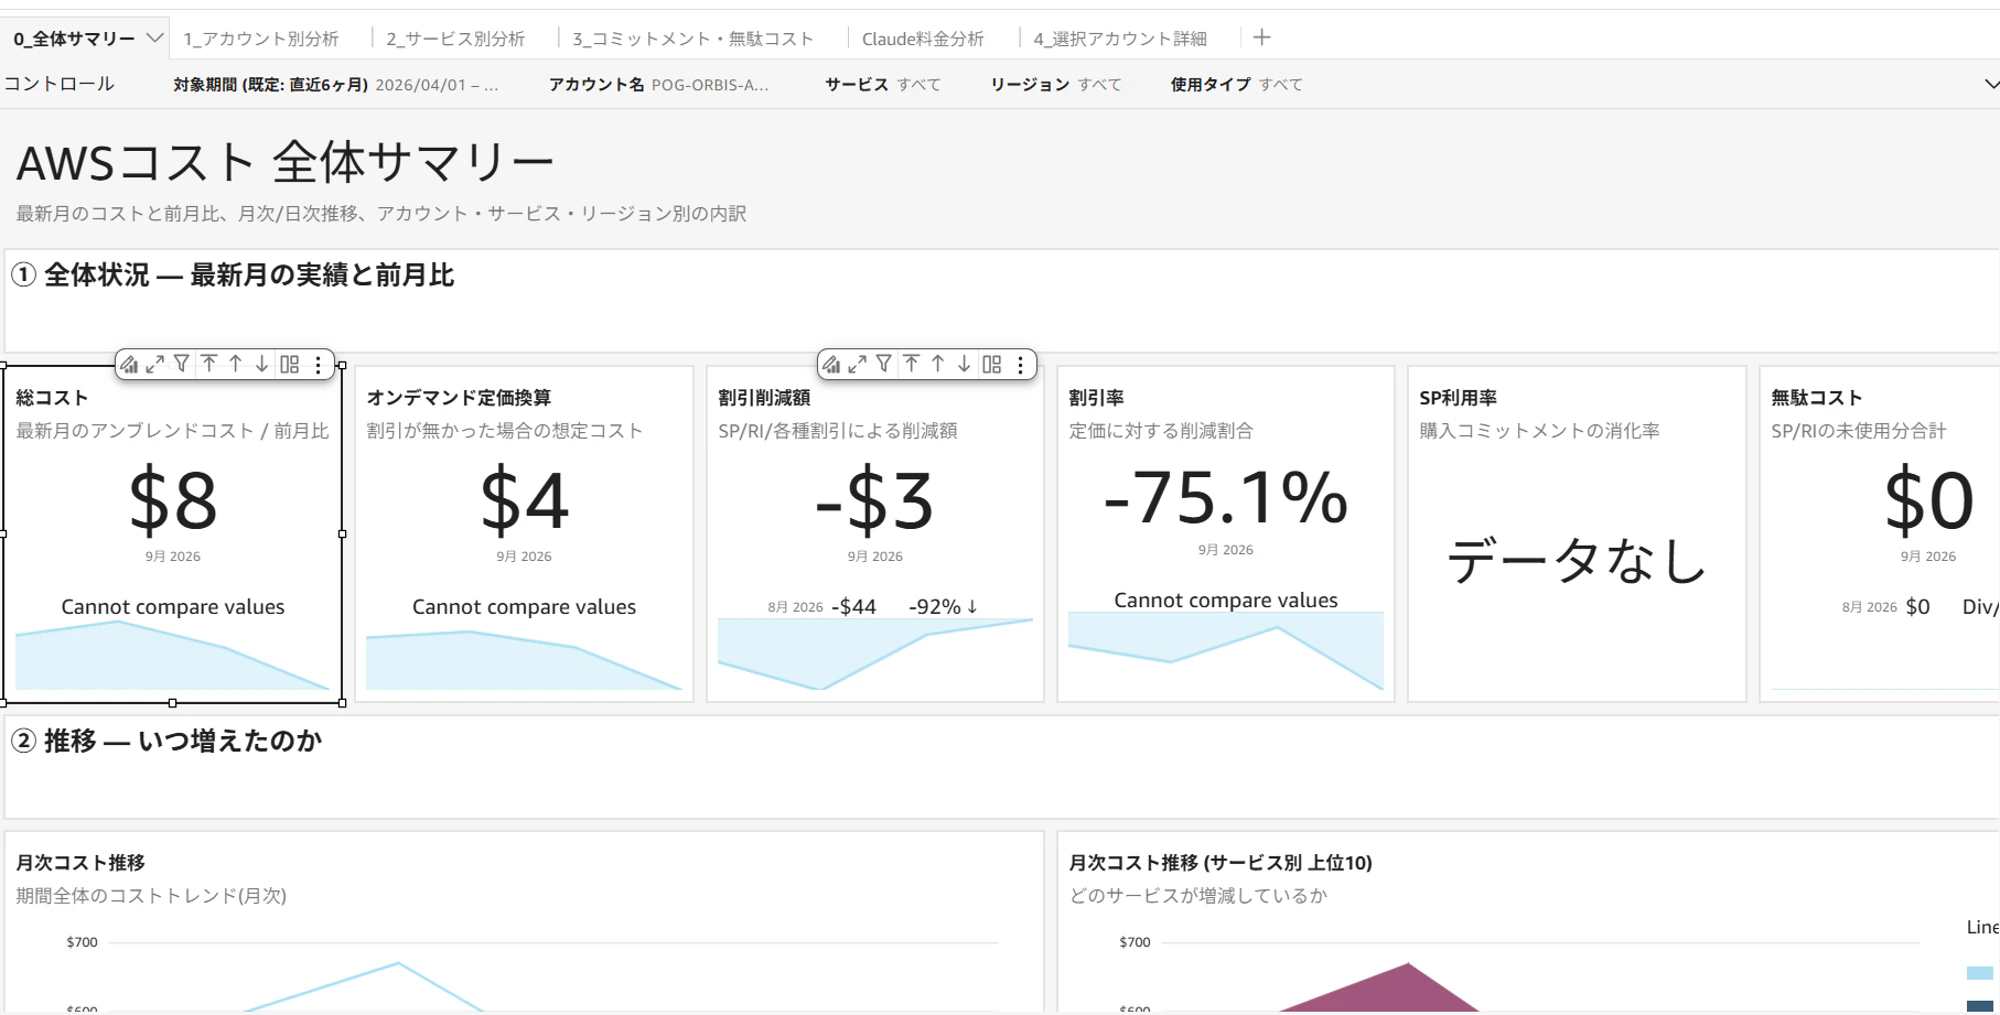
以下はほぼ0からKiroに作ってもらったAWSコスト分析ダッシュボードです。
かなりいい感じに作ってくれたと思います!
作るときは、スキーマ定義などを共有しておいてあげると手戻りが少ないです!
おわり!
弊社では一緒に働く仲間を募集中です!
現在、様々な職種を募集しております。
カジュアル面談も可能ですので、ご連絡お待ちしております!
募集内容等詳細は、是非採用サイトをご確認ください。