
📝 Introduction
When setting up a Raspberry Pi 4 for a FreeNove robot dog, connecting a monitor, keyboard, and mouse can be inconvenient.
In this guide, you will learn how to configure your Raspberry Pi in a headless setup (no external display) and control it remotely from your laptop using VNC.
This setup is simple, beginner-friendly, and ideal for robotics projects.
🔧 Requirements
🔌 Hardware
- Raspberry Pi 4
- microSD card (16GB or more recommended)
- USB‑C power supply (5V / 3A recommended)
- SD card reader (for your laptop)
💻 Software
- Raspberry Pi Imager
https://www.raspberrypi.com/software/ - RealVNC Viewer
https://www.realvnc.com/en/connect/download/viewer/
🚀 Setup
① Prepare the SD card (using laptop)
- Install Raspberry Pi Imager
- Insert the microSD card into your laptop
- Select the OS:
Raspberry Pi OS (64-bit) with Desktop - Configure:
・Localisation
・User
👉 These credentials will be used to log in via VNC or connect via SSH to access the Raspberry Pi desktop.
・Wi‑Fi
・SSH (Remote access) - Click Write

⚠️ Important
At this stage, the Raspberry Pi is NOT powered on yet.
The “Write” step only prepares the SD card.
💡If you run into a microSD card error and your computer can no longer read it, then do the below.
Press Windows+X keys
→ Open Disk Management
→ Locate the 32GB disk
→ Right click on "Change Driver Letter and Paths..."
→ Set as E: drive
This should make the drive visible again.
② Boot the Raspberry Pi
- Insert the SD card into the Raspberry Pi
- Connect the USB‑C power supply
👉 The Raspberry Pi will automatically power on (first boot may take a few minutes)
The OS will finish initializing in the background.
③ Install RealVNC Viewer (on laptop)
- Go to the official site:
https://www.realvnc.com/en/connect/download/viewer/ - Download the version for your OS:
Windows / macOS / Linux - Install it like a normal application
④ Enable RealVNC Viewer
- 🔍 Find IP address
Open Command Prompt and use:
ping raspberrypi.local
👉 If successful, it will return an IP address (e.g., 192.168.x.x), which you can use in VNC Viewer. - Log into Raspberry Pi to turn on the RealVNC option.
ssh username@raspberry-pi-ip-address
To enable VNC from the command line, you only need one command:
sudo raspi-config
That opens the Raspberry Pi configuration menu.
Enable VNC inside raspi-config
Once the menu appears:
- Go to Interface Options
- Select VNC
- Select Yes to enable

- Press Finish to close menu
- Reboot:
sudo reboot
After reboot, the VNC server will be running.
④ Connect from your laptop (VNC)
🔑 Login
Open RealVNC Viewer and the same credentials you set in Raspberry Pi Imager.
✅ After connection
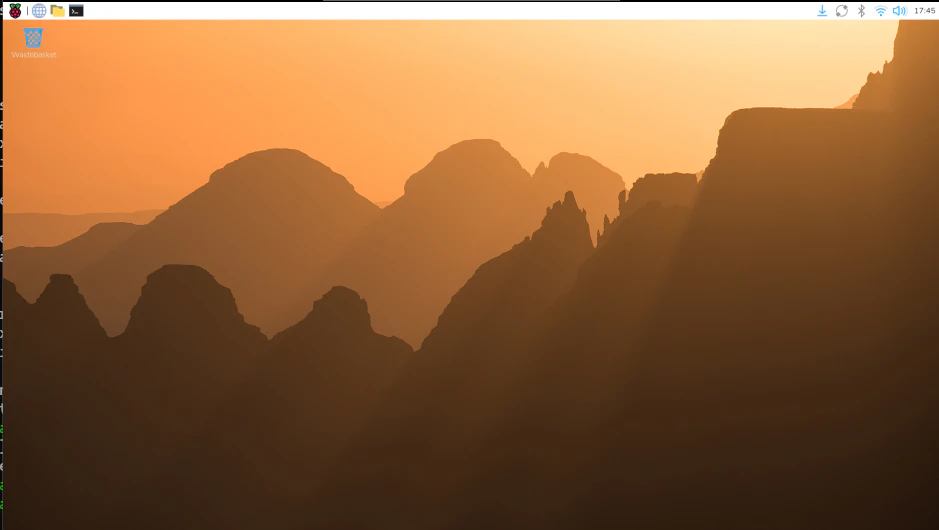
You will see the Raspberry Pi desktop (GUI)
- You can control it with your mouse and keyboard
- Your laptop becomes the Raspberry Pi’s screen
※How to Safely shut down Raspberry Pi 4
⚡ Key Points
- "Write" only prepares the SD card
- Username/password MUST be set in Imager for remote login
- VNC uses the SAME username/password (no separate VNC account)
- Raspberry Pi turns on when power is connected
- No monitor is required (use VNC)
- Always use a proper power adapter (do NOT use laptop USB power)
🧠 What is “Headless”?
A headless setup means:
- No monitor
- No keyboard
- No mouse
Everything is controlled remotely instead.
✅ Summary
With these steps, you can set up your Raspberry Pi 4 for a FreeNove robot:
OS: Desktop version
Connection: VNC (GUI access)
Setup: Headless (no monitor required, remote control via laptop)
🎯 Next Step
🧩 Installing Python Libraries and Configuring Modules
https://qiita.com/tri-edge/items/029883eeb834eff72fd8