はじめに
Androidでリスト形式のViewを表示するときはRecyclerViewを使うのが主流です。
RecyclerViewのリストの内容を追加・削除・更新が必要な時はnotify系のメソッドを使うのが主流でした。
しかしSupoprt Library24からDiffUtilsが追加されて、DiffUtilsで過去のリストと新規のリストのdiffを計算し、その結果を元にパフォーマンス上最適なnotify系メソッドを読んでくれるdispatchUpdateToを使うのが主流になっていると思います。
というわけでDiffUtilsでリストを追加するミニマムサンプルを作ってみます。
RecyclerView自体の表示の仕方が分からない場合は以下の記事を参照してください。
[初心者向け]JavaでRecyclerViewのミニマムサンプル
実装のステップ
1.Diffを計算するクラスのインスタンスを作る。
2.新しいリストを受け取ったらdispatchUpdateToを呼ぶようにする。
3.リストを渡す。
一個ずつみていきましょう。
1.Diffを計算するクラスのインスタンスを作る。
DiffResultクラスのインスタンスを作ります。
初期状態は以下になります。
DiffUtil.DiffResult result = DiffUtil.calculateDiff(new DiffUtil.Callback() {
    @Override
    public int getOldListSize() {
        return 0;
    }

    @Override
    public int getNewListSize() {
        return 0;
    }

    @Override
    public boolean areItemsTheSame(int oldItemPosition, int newItemPosition) {
        return false;
    }

    @Override
    public boolean areContentsTheSame(int oldItemPosition, int newItemPosition) {
        return false;
    }
});
2.新しいリストを受け取ったらdispatchUpdateToを呼ぶようにする。
Adapterにリストを受け取ってDiffResultからdispatchUpdateToを呼ぶ関数を作ります。
public class MainAdapter extends RecyclerView.Adapter<MainAdapter.MainViewHolder> {

    private List<MainActivity.RowData> rowDataList;

    MainAdapter(List<MainActivity.RowData> rowDataList) {
        this.rowDataList = rowDataList;
    }

    /**
     * DiffResultを元にRecyclerViewのリストをいい感じに更新する
     * @param newItems 更新するリスト
     */
     public void setData(final List<RowData> newItems) {
        DiffUtil.DiffResult result = DiffUtil.calculateDiff(new DiffUtil.Callback() {
            @Override
            public int getOldListSize() {
                return rowDataList.size();
            }

            @Override
            public int getNewListSize() {
                return newItems.size();
            }

            @Override
            public boolean areItemsTheSame(int oldItemPosition, int newItemPosition) {
                return rowDataList.get(oldItemPosition).hogeTitle.equals(newItems.get(newItemPosition).hogeTitle);
            }

            @Override
            public boolean areContentsTheSame(int oldItemPosition, int newItemPosition) {
                return rowDataList.get(oldItemPosition).hogeContents.equals(newItems.get(newItemPosition).hogeContents);
            }
        });
        this.rowDataList = newItems;
        result.dispatchUpdatesTo(this);
    }

    /**
     * 一行分のデータ
     */
    static class MainViewHolder extends RecyclerView.ViewHolder {
        ImageView hogeImage;
        TextView hogeTitle;
        TextView hogeContents;

        MainViewHolder(@NonNull View itemView) {
            super(itemView);
            hogeImage = itemView.findViewById(R.id.hoge_image_view);
            hogeTitle = itemView.findViewById(R.id.hoge_title_text_view);
            hogeContents = itemView.findViewById(R.id.hoge_contents_text_view);
        }
    }

    /**
     * ViewHolder作るメソッド
     * 最初しか呼ばれない。
     * ここでViewHolderのlayoutファイルをインフレーとして生成したViewHolderをRecyclerViewに返す。
     * @param parent
     * @param viewType
     * @return
     */
    @NonNull
    @Override
    public MainViewHolder onCreateViewHolder(@NonNull ViewGroup parent, int viewType) {
        View view = LayoutInflater.from(parent.getContext()).inflate(R.layout.view_holder_main, parent, false);
        return new MainViewHolder(view);
    }

    /**
     * ViewHolderとRecyclerViewをバインドする
     * 一行のViewに対して共通でやりたい処理をここで書く。今回はテキストのセットしかしてないけど。
     * @param holder
     * @param position
     */
    @Override
    public void onBindViewHolder(@NonNull MainViewHolder holder, int position) {
        RowData rowData = this.rowDataList.get(position);
        holder.hogeTitle.setText(rowData.hogeTitle);
        holder.hogeContents.setText(rowData.hogeContents);
    }

    /**
     * リストの行数
     * @return
     */
    @Override
    public int getItemCount() {
        return rowDataList.size();
    }
}
3.リストを渡す。
Adapterに更新用の関数を用意できたのでRecyclerViewを乗っけているActivity側で呼んでみます。
※サンプルなのでデータは適当です。
public class MainActivity extends AppCompatActivity {

    private int page = 1;

    @Nullable
    private MainAdapter mainAdapter;

    @Override
    protected void onCreate(Bundle savedInstanceState) {
        super.onCreate(savedInstanceState);
        setContentView(R.layout.activity_main);

        /**
         * RecyclerViewのセットアップ
         */
        RecyclerView recyclerView = findViewById(R.id.main_recycler_view);

        // RecyclerViewのレイアウトサイズを変更しない設定をONにする
        // パフォーマンス向上のための設定。
        recyclerView.setHasFixedSize(true);

        // RecyclerViewにlayoutManagerをセットする。
        // このlayoutManagerの種類によって「1列のリスト」なのか「2列のリスト」とかが選べる。
        RecyclerView.LayoutManager layoutManager = new LinearLayoutManager(this);
        recyclerView.setLayoutManager(layoutManager);

        // Adapter生成してRecyclerViewにセット
        this.mainAdapter = new MainAdapter(createRowData(page));
        recyclerView.setAdapter(mainAdapter);

        /**
         * ボタンクリックで20行追加する処理を設定
         */
        Button button = findViewById(R.id.main_button);
        button.setOnClickListener(new View.OnClickListener() {
            @Override
            public void onClick(View v) {
                page ++;
                mainAdapter.setData(createRowData(page));
            }
        });
    }

    private List<RowData> createRowData(@Nullable int page) {
        List<RowData> dataSet = new ArrayList<>();
        int i = 1;
        while (i < page * 20) {
            RowData data = new RowData();

            data.hogeTitle = "hogeTitle" + Integer.toString(i);
            data.hogeContents = "hogeContents" + Integer.toString(i);

            dataSet.add(data);
            i = i + 1;
        }
        return dataSet;
    }

    class RowData {
        Image hogeImage;
        String hogeTitle;
        String hogeContents;
    }
}
ここまでできたらビルドしてみます。
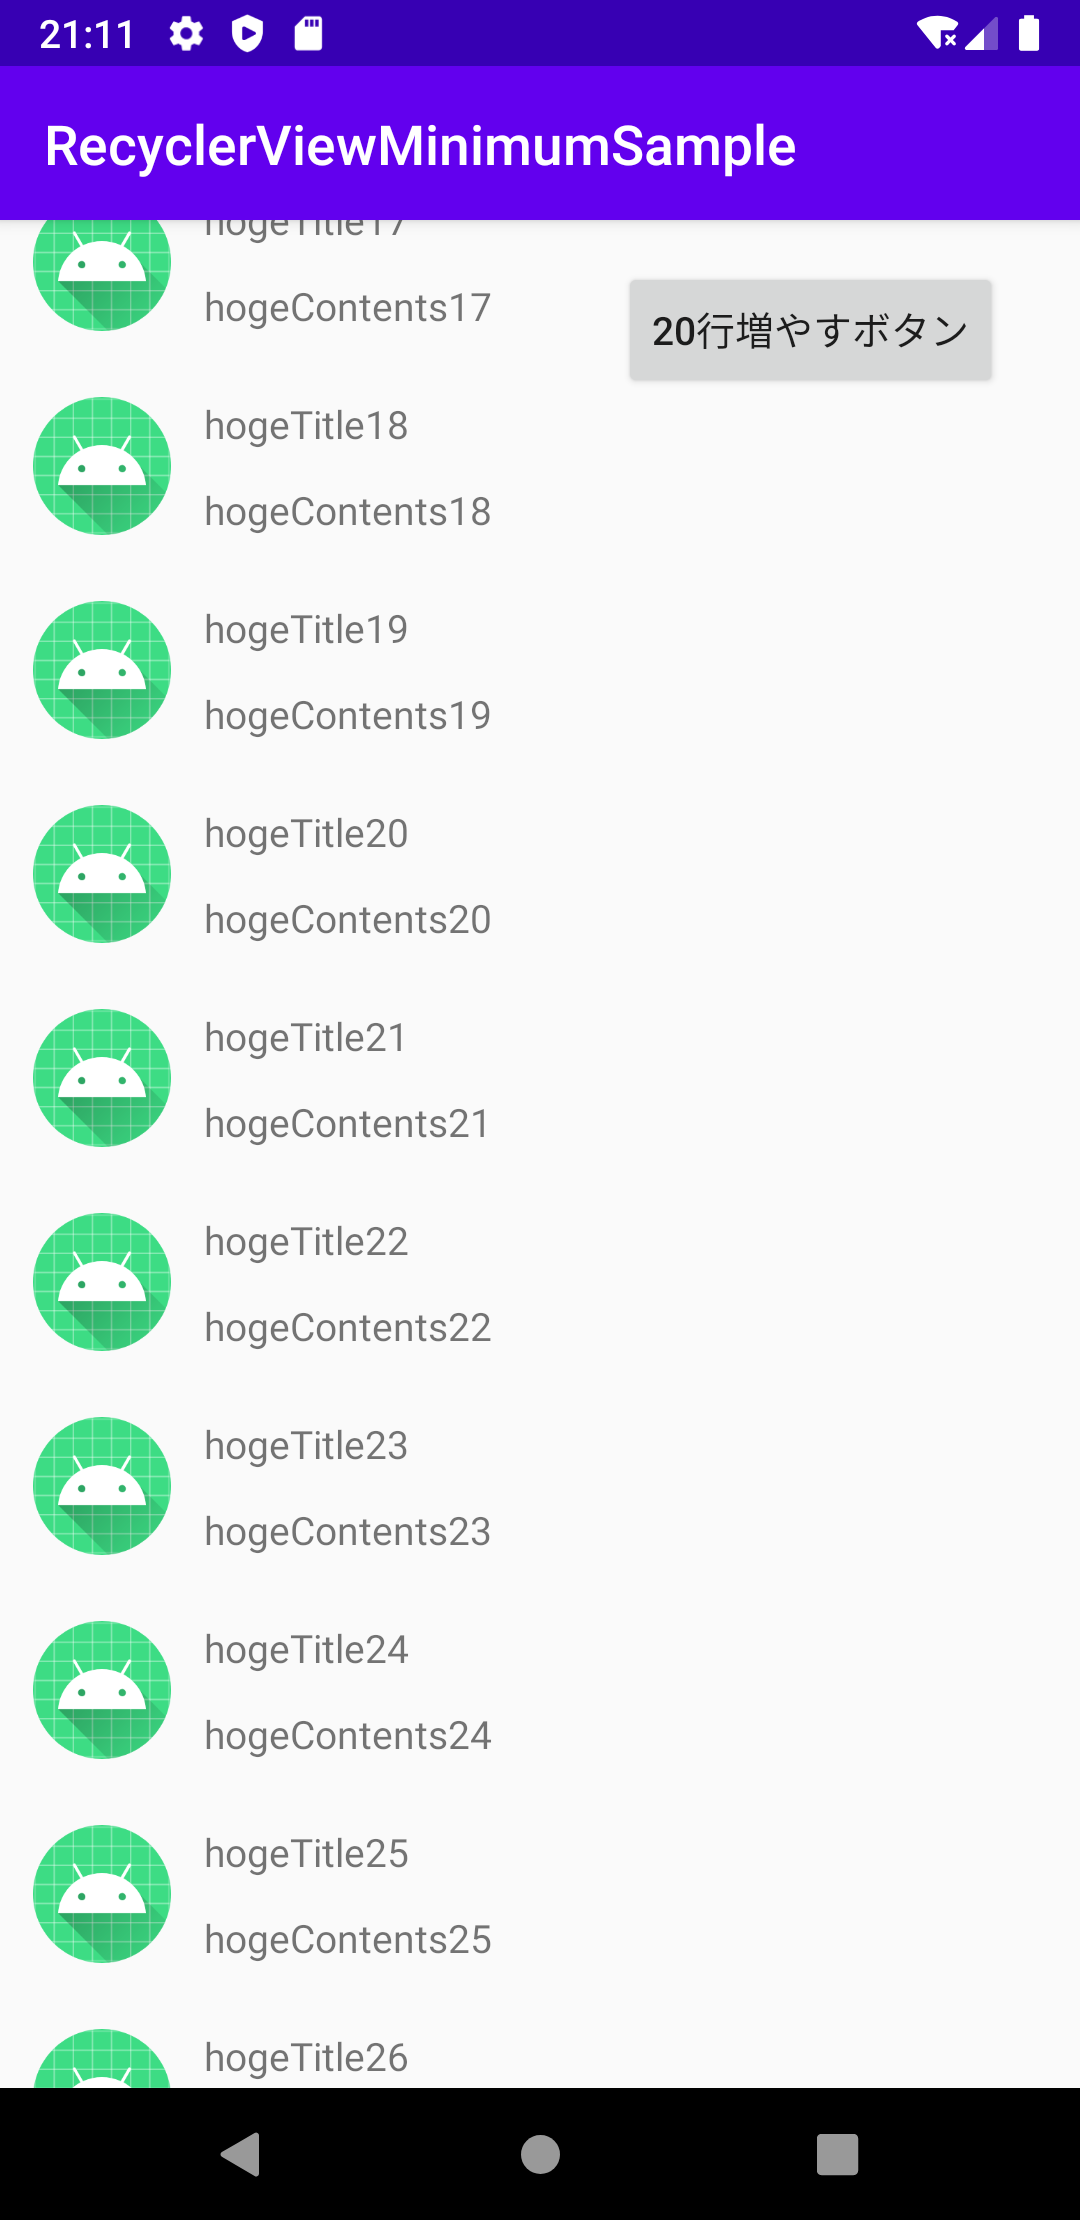
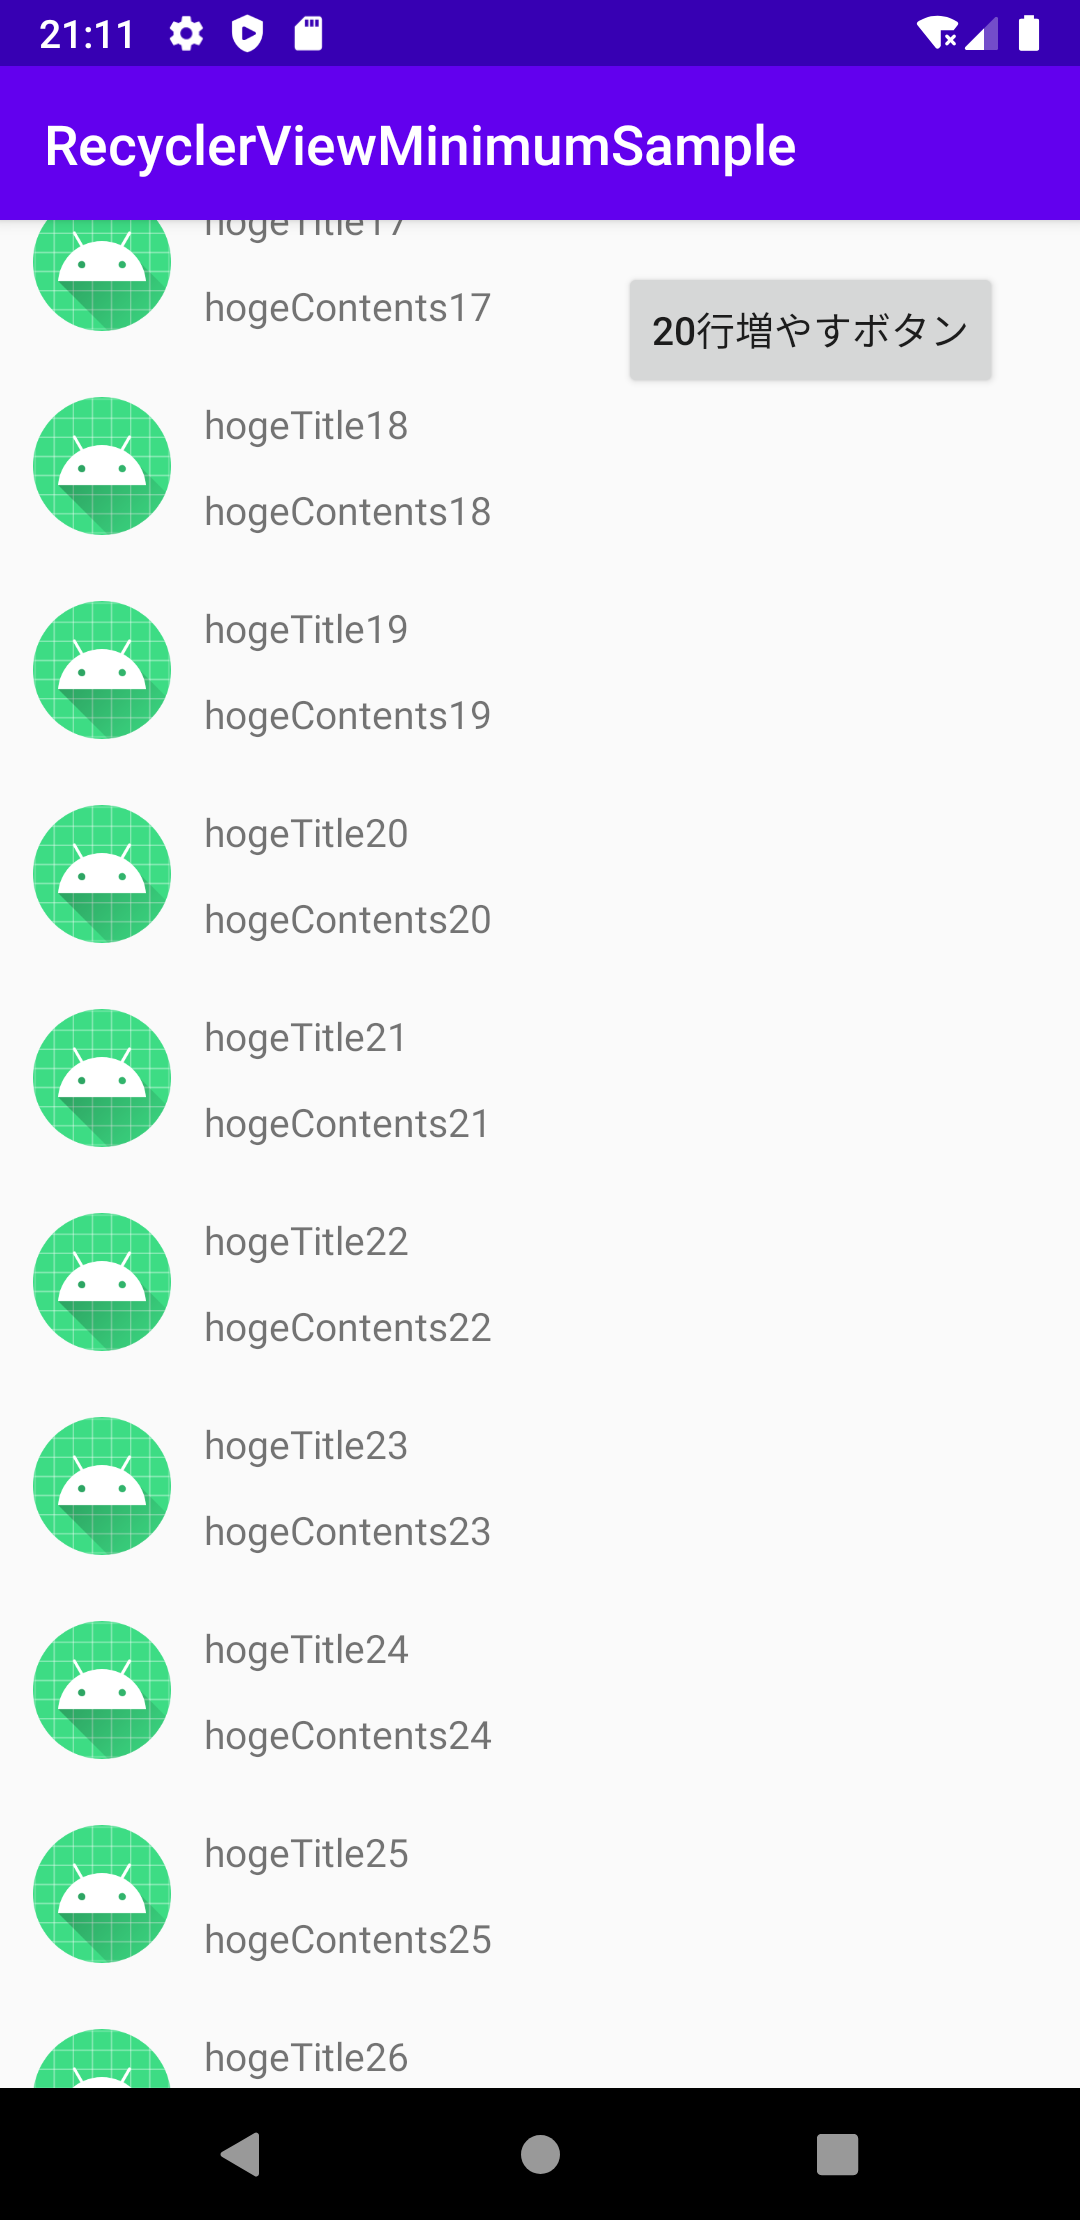
ボタンを押したら行数が20行増えるようになりました。

