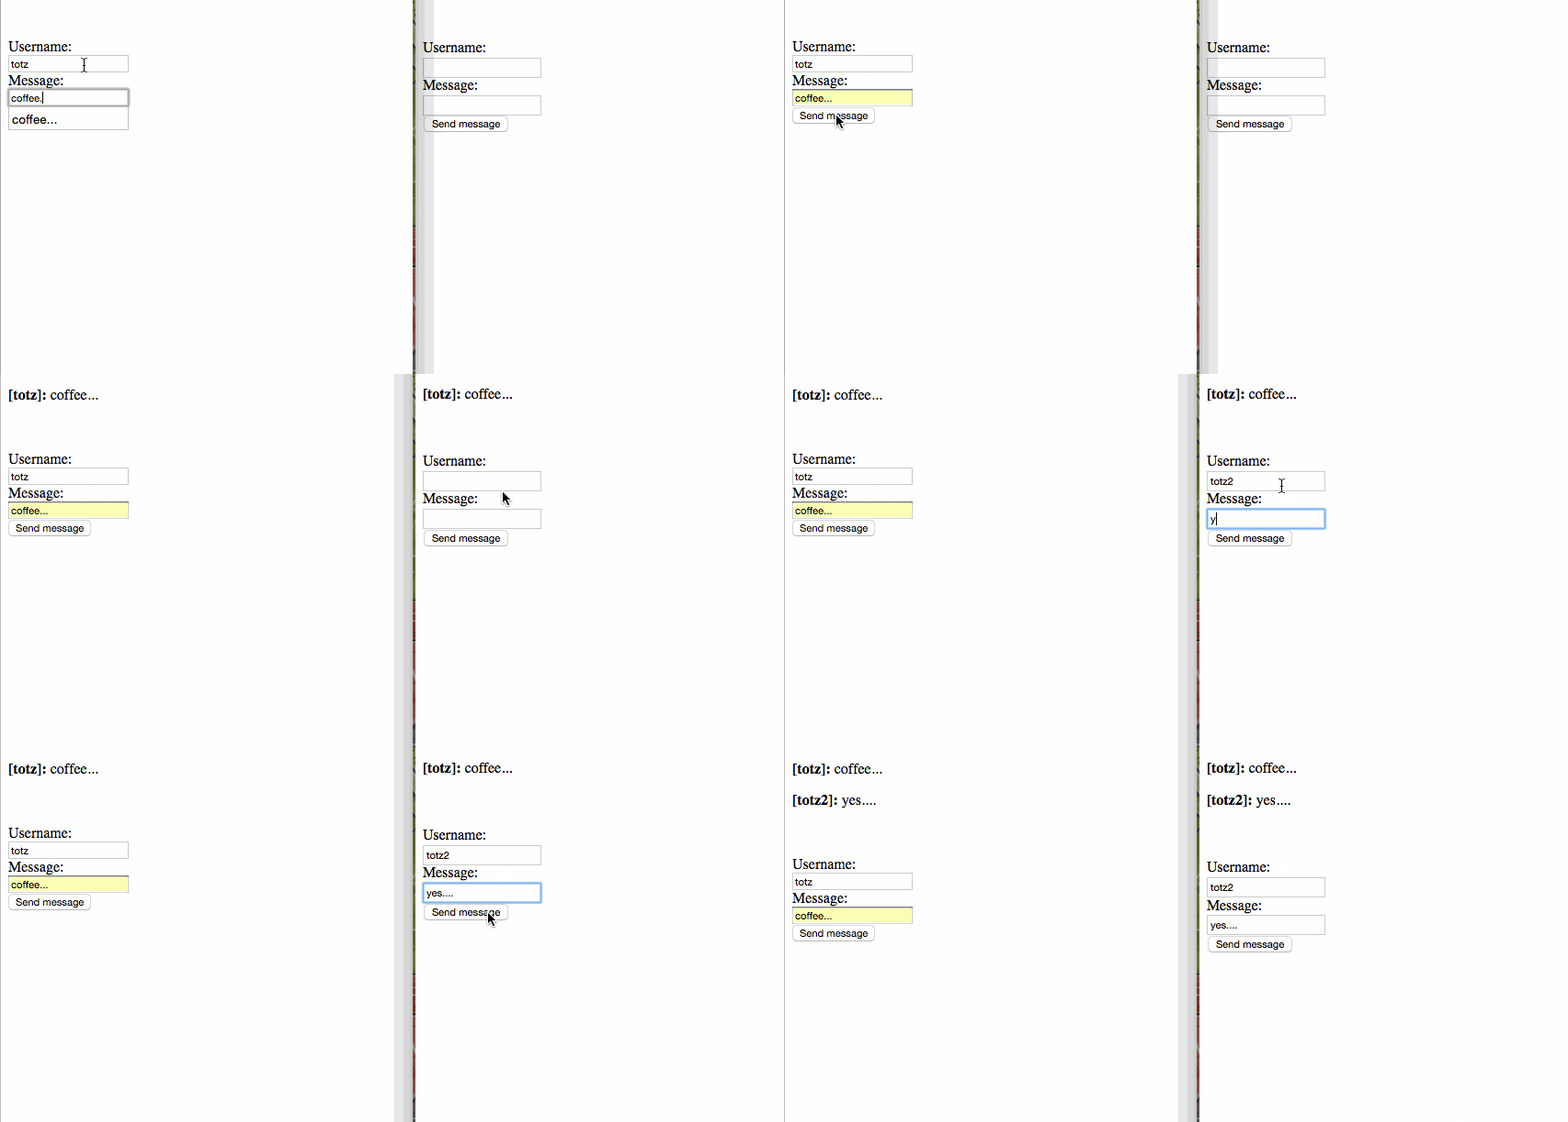
リアルタイムなチャットアプリを実装しながら、ActionCableの基本的な使い方をみていきたいなと思います。
作ったサンプルアプリは、以下に置いております。
以下の記事を参考にさせていただきました。
ActionCableの使い方の基礎基礎部分。よいです。
Rails 4系でのActionCableを使う初期の実装部分。こちらも非常によいです。
環境
環境はこんな感じです。
$ bundle exec rails -v
Rails 4.2.5
$ cat .ruby-version
2.2.3
ActionCable自体のバージョンは2015/12/18現在の最新版で0.0.3です。ActionCable自体はalpha版で、これからどんどん仕様も変わっていくと思われるので、バージョンにご注意ください。。
Railsアプリのひながた
まずはrailsアプリを作成します。
$ rails new chat-actioncable-react
Messageモデル関連のリソースを一式作成しておきます。Model使いませんが一応。
$ bin/rails g model message
$ bin/rails g controller messages index
ルーティングもよしなに。
Rails.application.routes.draw do
  root "messages#index"
  resources :messages, only: %i(index create)
end
gems
Gemfileを更新します。Rails4系でActionCableを使うには、以下のようにします。
# Gemfile
source 'https://rubygems.org'

gem 'rails', '4.2.3'
gem 'actioncable', github: 'rails/actioncable'
gem 'puma'
# ...
また、Unicornのような単一スレッドで動くWebサーバーを使う場合には別にマルチスレッドで動くPumaとかThinを使う必要があります。Websocketのコネクション自体のサーバーは独立して動かします。
もともとマルチスレッドなアプリケーションサーバーで動かすなら、stand aloneな別アプリケーションサーバーを用意しない方法も実装されてるみたいですね。websocket-railsは、こちらの方法がdefaultになっていたような。
ActionCable初期設定
ActionCableは、RedisのPub/Subを使って処理を行っています。なのでRedisの設定ファイルを書いておく必要があります。Redisはそのまま標準ポートで、こんな感じで。
$ cat config/redis/cable.yml
production: &production
  :url: redis://localhost:6379
  :host: localhost
  :port: 6379
  :timeout: 1
local: &local
  :url: redis://localhost:6379
  :host: localhost
  :port: 6379
  :timeout: 1
  :inline: true
development: *local
test: *local
そしたら次に、websocketのプロセスのためのrack用設定ファイルを書いておきます。
# cable/config.ru
require ::File.expand_path('../../config/environment',  __FILE__)
Rails.application.eager_load!

require 'action_cable/process/logging'

run ActionCable.server
そして、アプリケーションサーバーを立ち上げるためのbinコマンドも用意しておきます。今回はPumaを使います。
# /bin/bash
bundle exec puma -p 28080 cable/config.ru
パーミッション変更して実行権限つけときます。
$ chmod 755 bin/cable
おもむろに$ bin/cableでPumaを立ち上げてちゃんと走るか確かめてみてください。
ActionCableのクラス作成
最初にActionCableの設定をしときます。現状generatorはないっぽいので、ひとつひとつ手作業で追加していきます。
こちらで設定例がのってます。
ActionCableを使うにあたって、ApplicationCable::Connectionクラスと、applicationCable::Channelクラスの二つのクラスを定義する必要があるみたいです。
ApplicationCable関連のクラスを定義するためのディレクトリを作成しておきます。
$ mkdir -p app/channels/application_cable
まずは、ApplicationCable::Connectionクラスを定義します。
The first thing you must do is define your ApplicationCable::Connection class in Ruby. This is the place where you authorize the incoming connection, and proceed to establish it if all is well. Here's the simplest example starting with the server-side connection class:
このクラスは、接続のauthorizeや接続の確立の処理を行うクラスですね。ApplicationCable::ConnectionはActionCable::Connection::Baseクラスを継承します。
# app/channels/application_cable/connection.rb
module ApplicationCable
  class Connection < ActionCable::Connection::Base
  end
end
ActionCable::Connection::Baseクラスはこちらに定義されています。
このクラスに接続確立時にフックできそうなインスタンスメソッドとかも定義されてるので、把握しておくと機能追加だけでなくデバッグ時などにもいろいろ便利そうです。
あとコメントのドキュメントが結構書かれてて読むと理解が捗ります。読んでるとRailsのソースって半分以上コメントなんじゃないかと思うときある。
ということで次に、ApplicationCable::Channelクラスを定義します。
# app/channels/application_cable/channel.rb
module ApplicationCable
  class Channel < ActionCable::Channel::Base
  end
end
定義場所はこちら。
Views
ということで次に、Viewを編集しておきます。
今回はMessages#indexでメッセージの一覧を表示するようにします。app/views/index.html.erbをこんな感じに。
<div id='messages'></div>
<br/><br/>

<%= form_for :message, url: messages_path, remote: true, id: 'messages-form' do |f| %>
  <%= f.label :username, 'Username:'  %><br/>
  <%= f.text_field :username %><br/>
  <%= f.label :body, 'Message:'  %><br/>
  <%= f.text_field :body %><br/>
  <%= f.submit 'Send message' %>
<% end %>
id='messages'のcontentにajaxで送信されたmessageをどんどんappendしていくような感じですね。雑ですがとりあえず軽量に作りたいのでこんな感じで笑
ApplicationCable::Channel
サーバーサイド側でのチャンネルを作成します。
class MessagesChannel < ApplicationCable::Channel
  def subscribed
    stream_from "messages"
  end
end
MessageのBroadcasting
では、Messages#createがリクエストされたときにbroadcastするようにcreateメソッドを作っておきます。
class MessagesController < ApplicationController
  def index
  end

  def create
    ActionCable.server.broadcast "messages",
      body: params[:message][:body],
      username: params[:message][:username]

    head :ok
  end
end
第一引数にbroadcastする対象を、clientサイドに渡したいdataを第二引数にハッシュで渡します。
ActionCable::Server::Broadcastingは以下に定義されています。例によってコメント読むと理解が捗ります。
クライアントサイド
今度はクライアントサイドを実装します。
ActionCable関連のクラスはapp/assets/javascripts/channelsディレクトリ以下で作っていきます。
$ mkdir app/assets/javascripts/channels
まずは、接続を確立するための処理をするindex.coffeeを作成します。
# = require cable
# = require_self
# = require_tree

@App = {}
App.cable = Cable.createConsumer "ws://127.0.0.1:28080"
ここでchannelsディレクトリ以下の他のファイルの読み込みも行うっぽいです。AssetPipelineのマニフェストと書き方は一緒なので馴染みがある。(けどマジコメ的なのは難しいので個人的に好きではない)
次にこのディレクトリの中にmessages.coffeeを作ってMessagesChannel用のクラスを作成します。
App.messages = App.cable.subscriptions.create "MessagesChannel",
  received: (data) ->
    $("#messages").append @renderMessage(data)

  renderMessage: (data) ->
    "<p><b>[#{data.username}]:</b> #{data.body}"
MessagesChannelでreceivedが呼ばれると、#messagesのcontentをappendします。
receivedメッセージは、指定したチャンネルでWebsocketを伝ってメッセージが送られてきたときにcallされます。そのとき受け取ったデータはJSON形式でエンコーディングされていて、data.usernameみたいにアクセスすることができます。
そしたら最後に忘れないように、application.jsのマニフェストに、これらのファイルをincludeするように書いておきましょう。
//= require channels
立ち上げてみる
ということで立ち上げてみます。
$ redis-server

$ bin/cable
$ bin/rails s
動きましたーー気持ちい!!
GitHubに作ったものを置いているのでよかったら参考にしてやってください...!
