パート2 からの続きです
玉転がし
プレイヤー作成
ついにプレイヤーを作ります
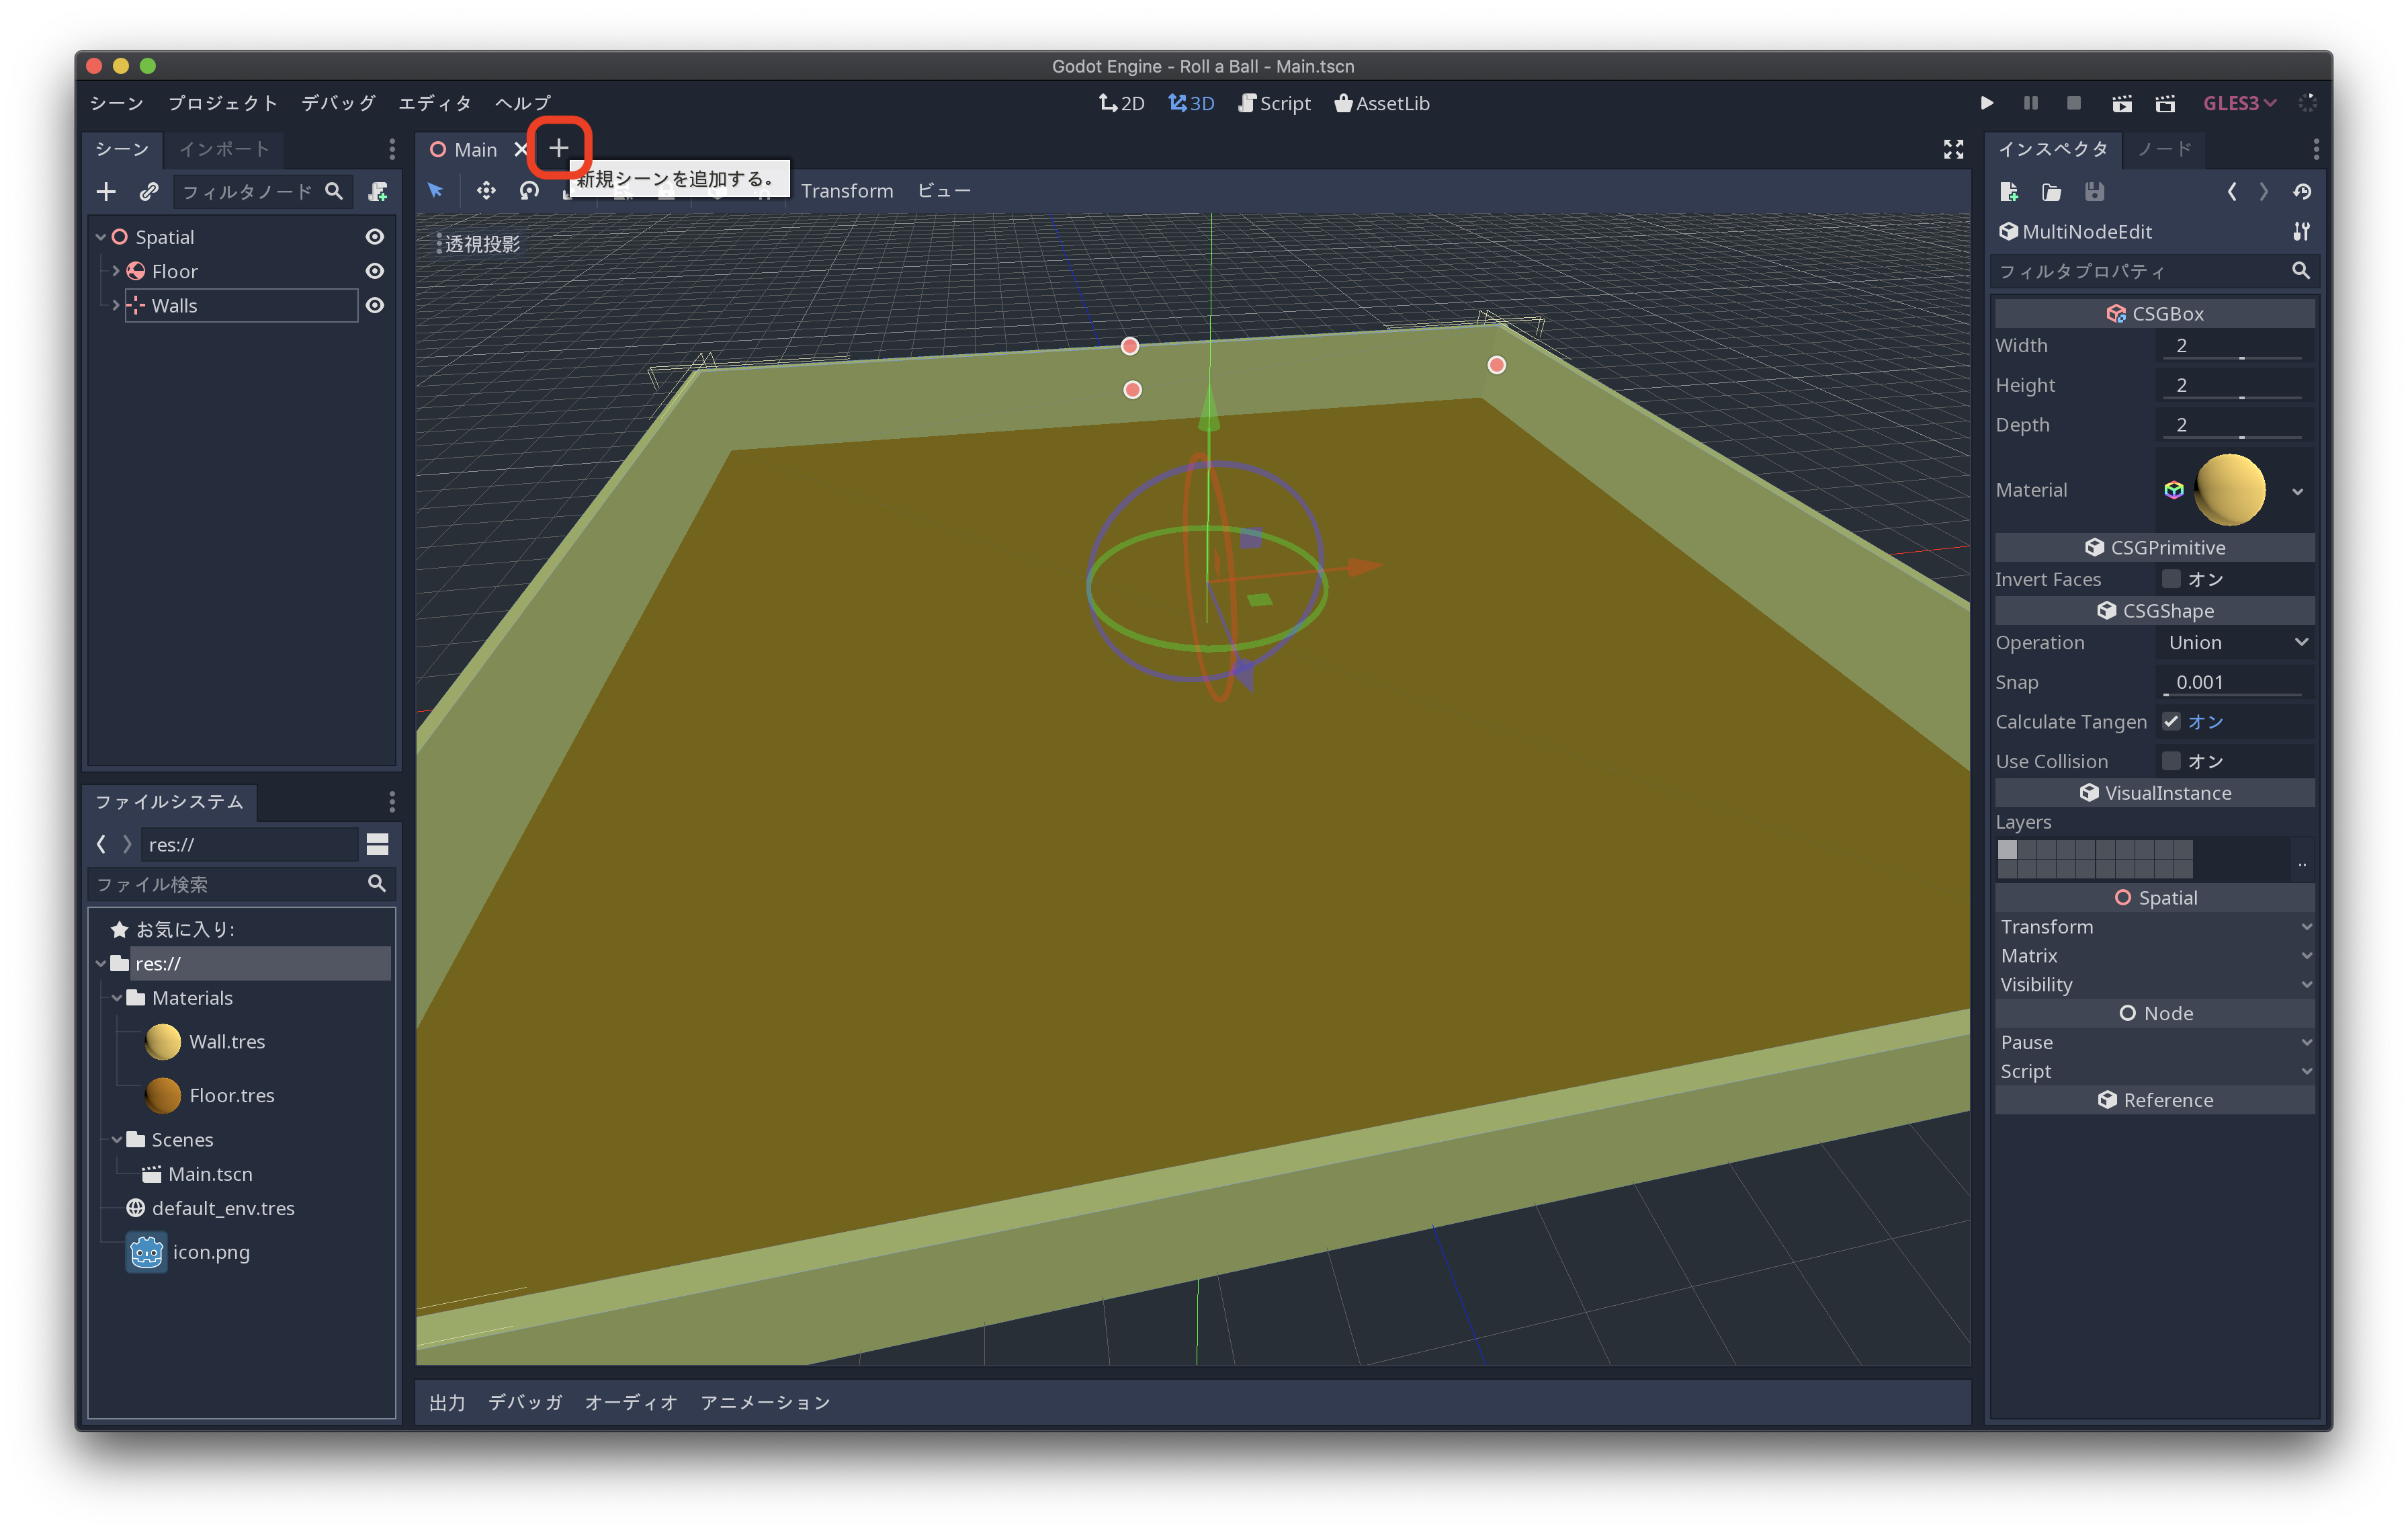
下図赤枠の「+」をクリックして新規シーンを作成
玉
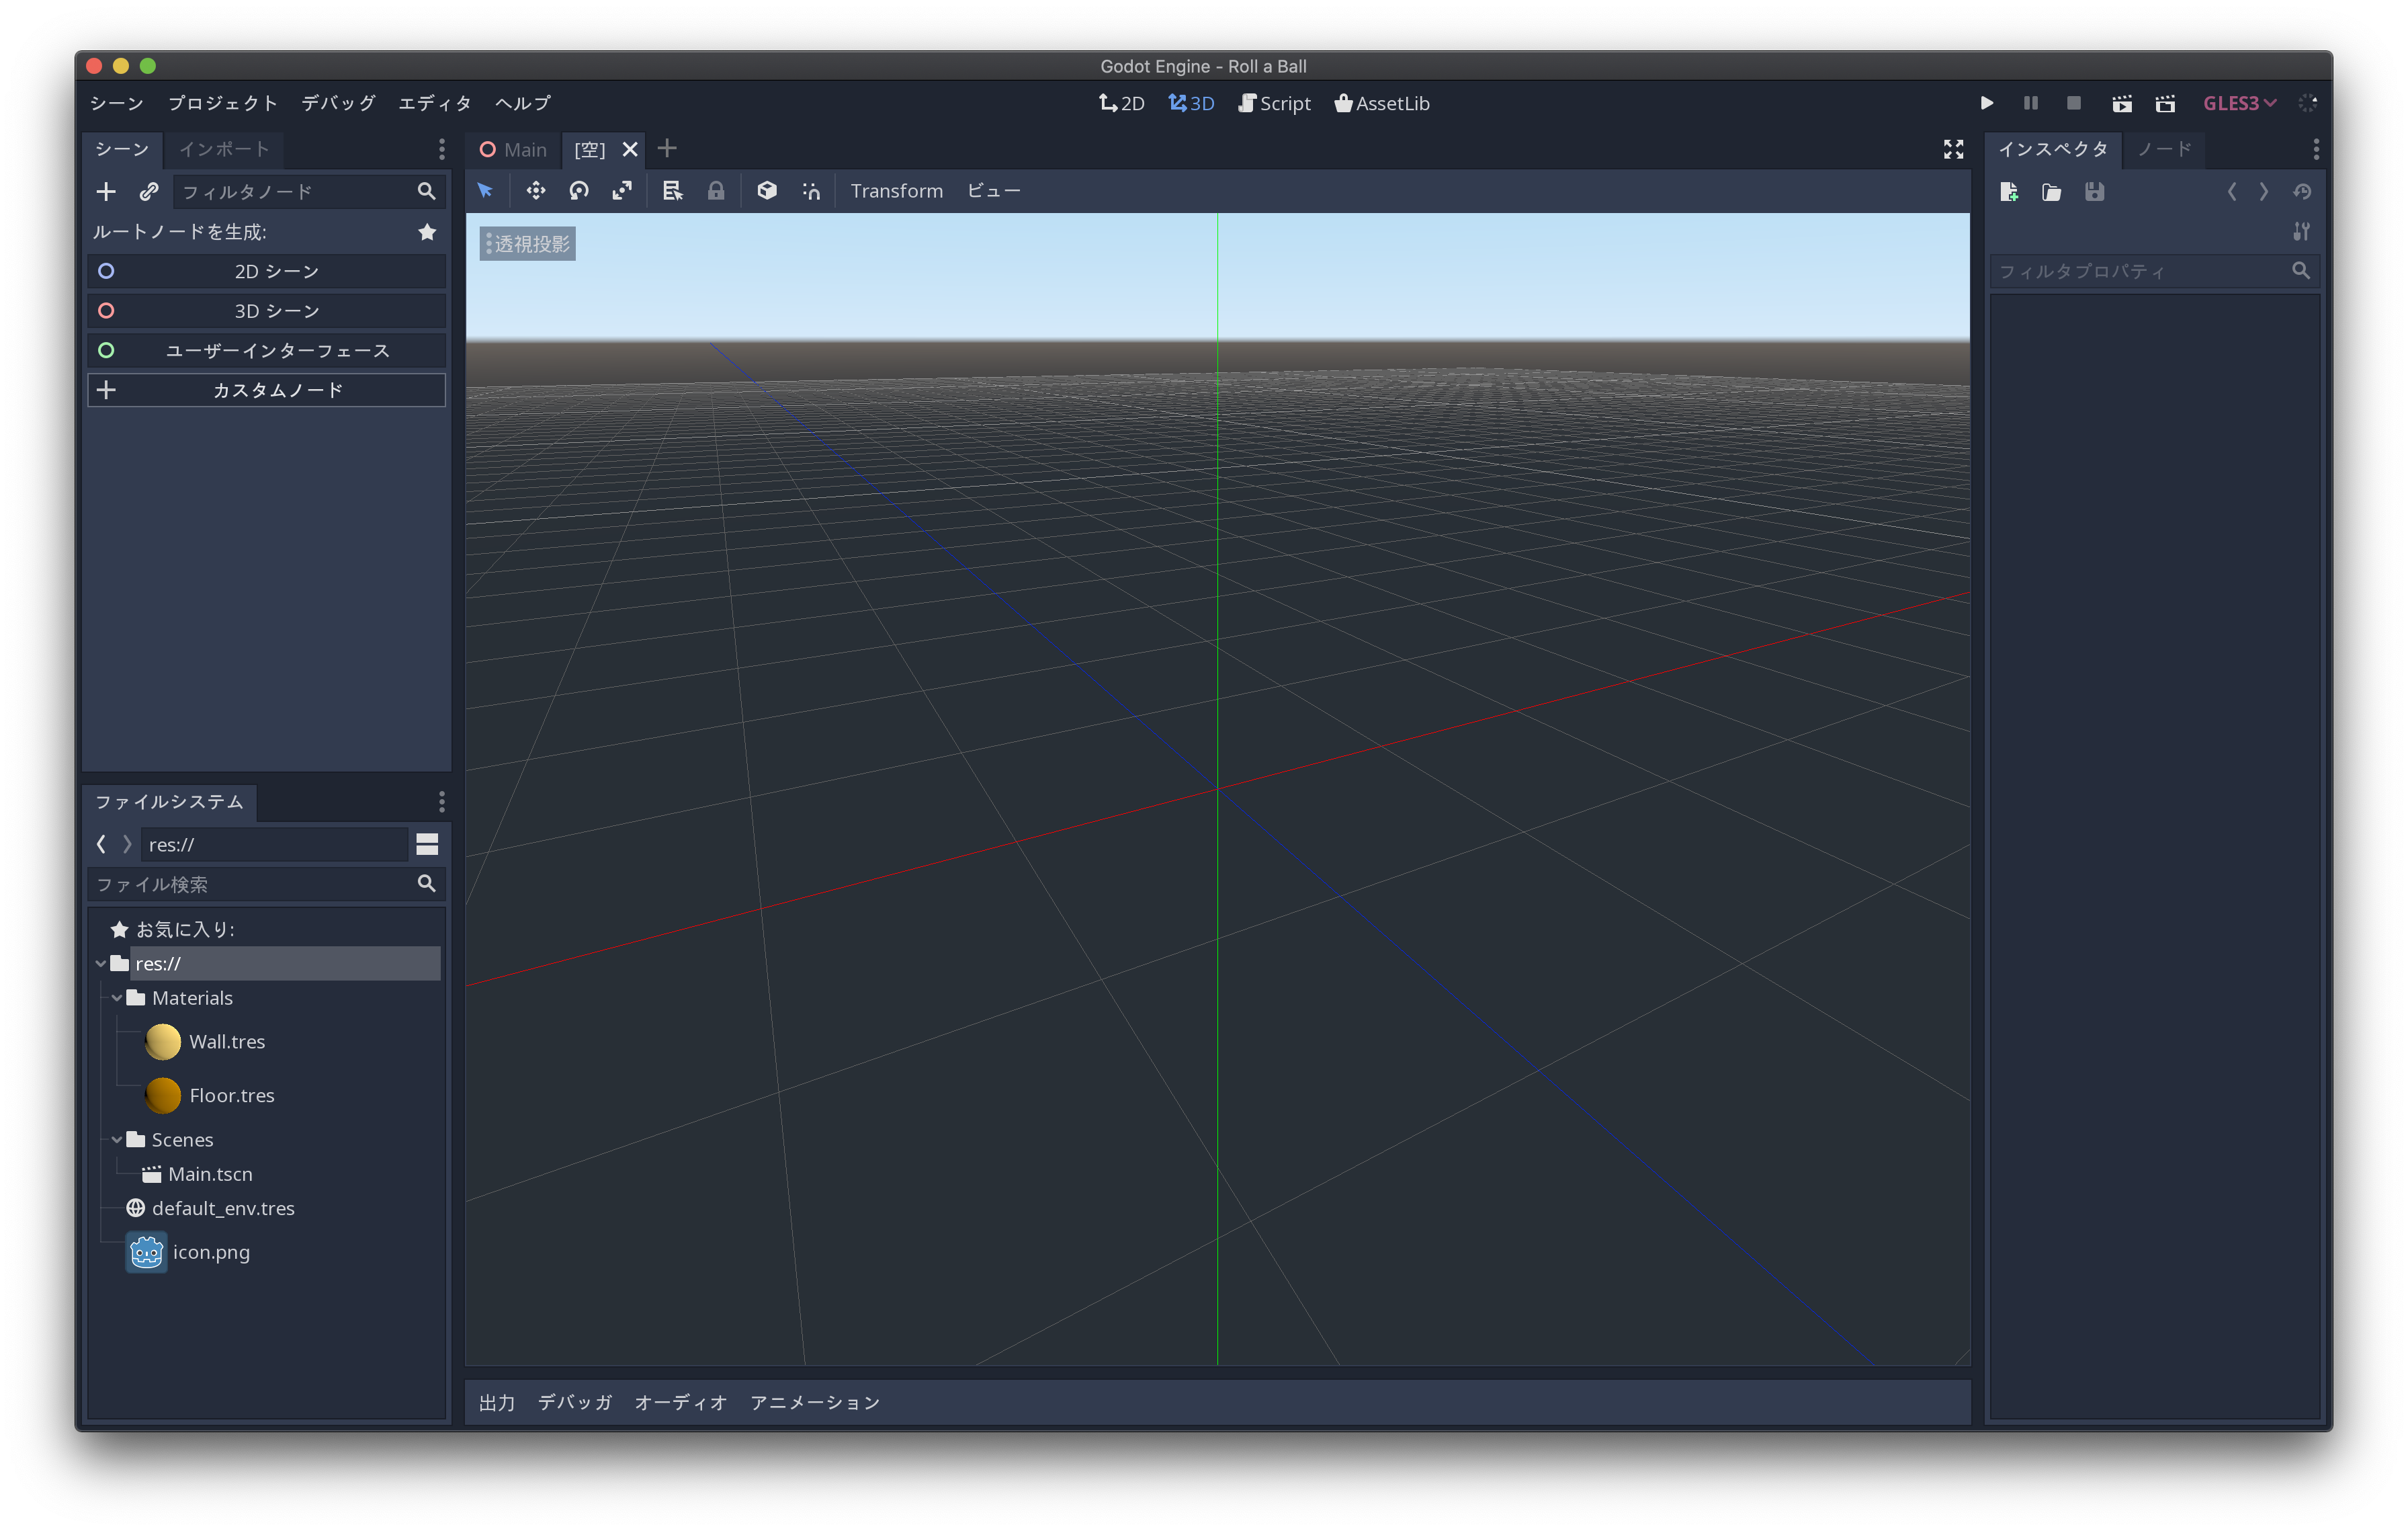
今回はルートノードをAreaにします
「カスタムノード」をクリックしてRigidBodyを選択してください
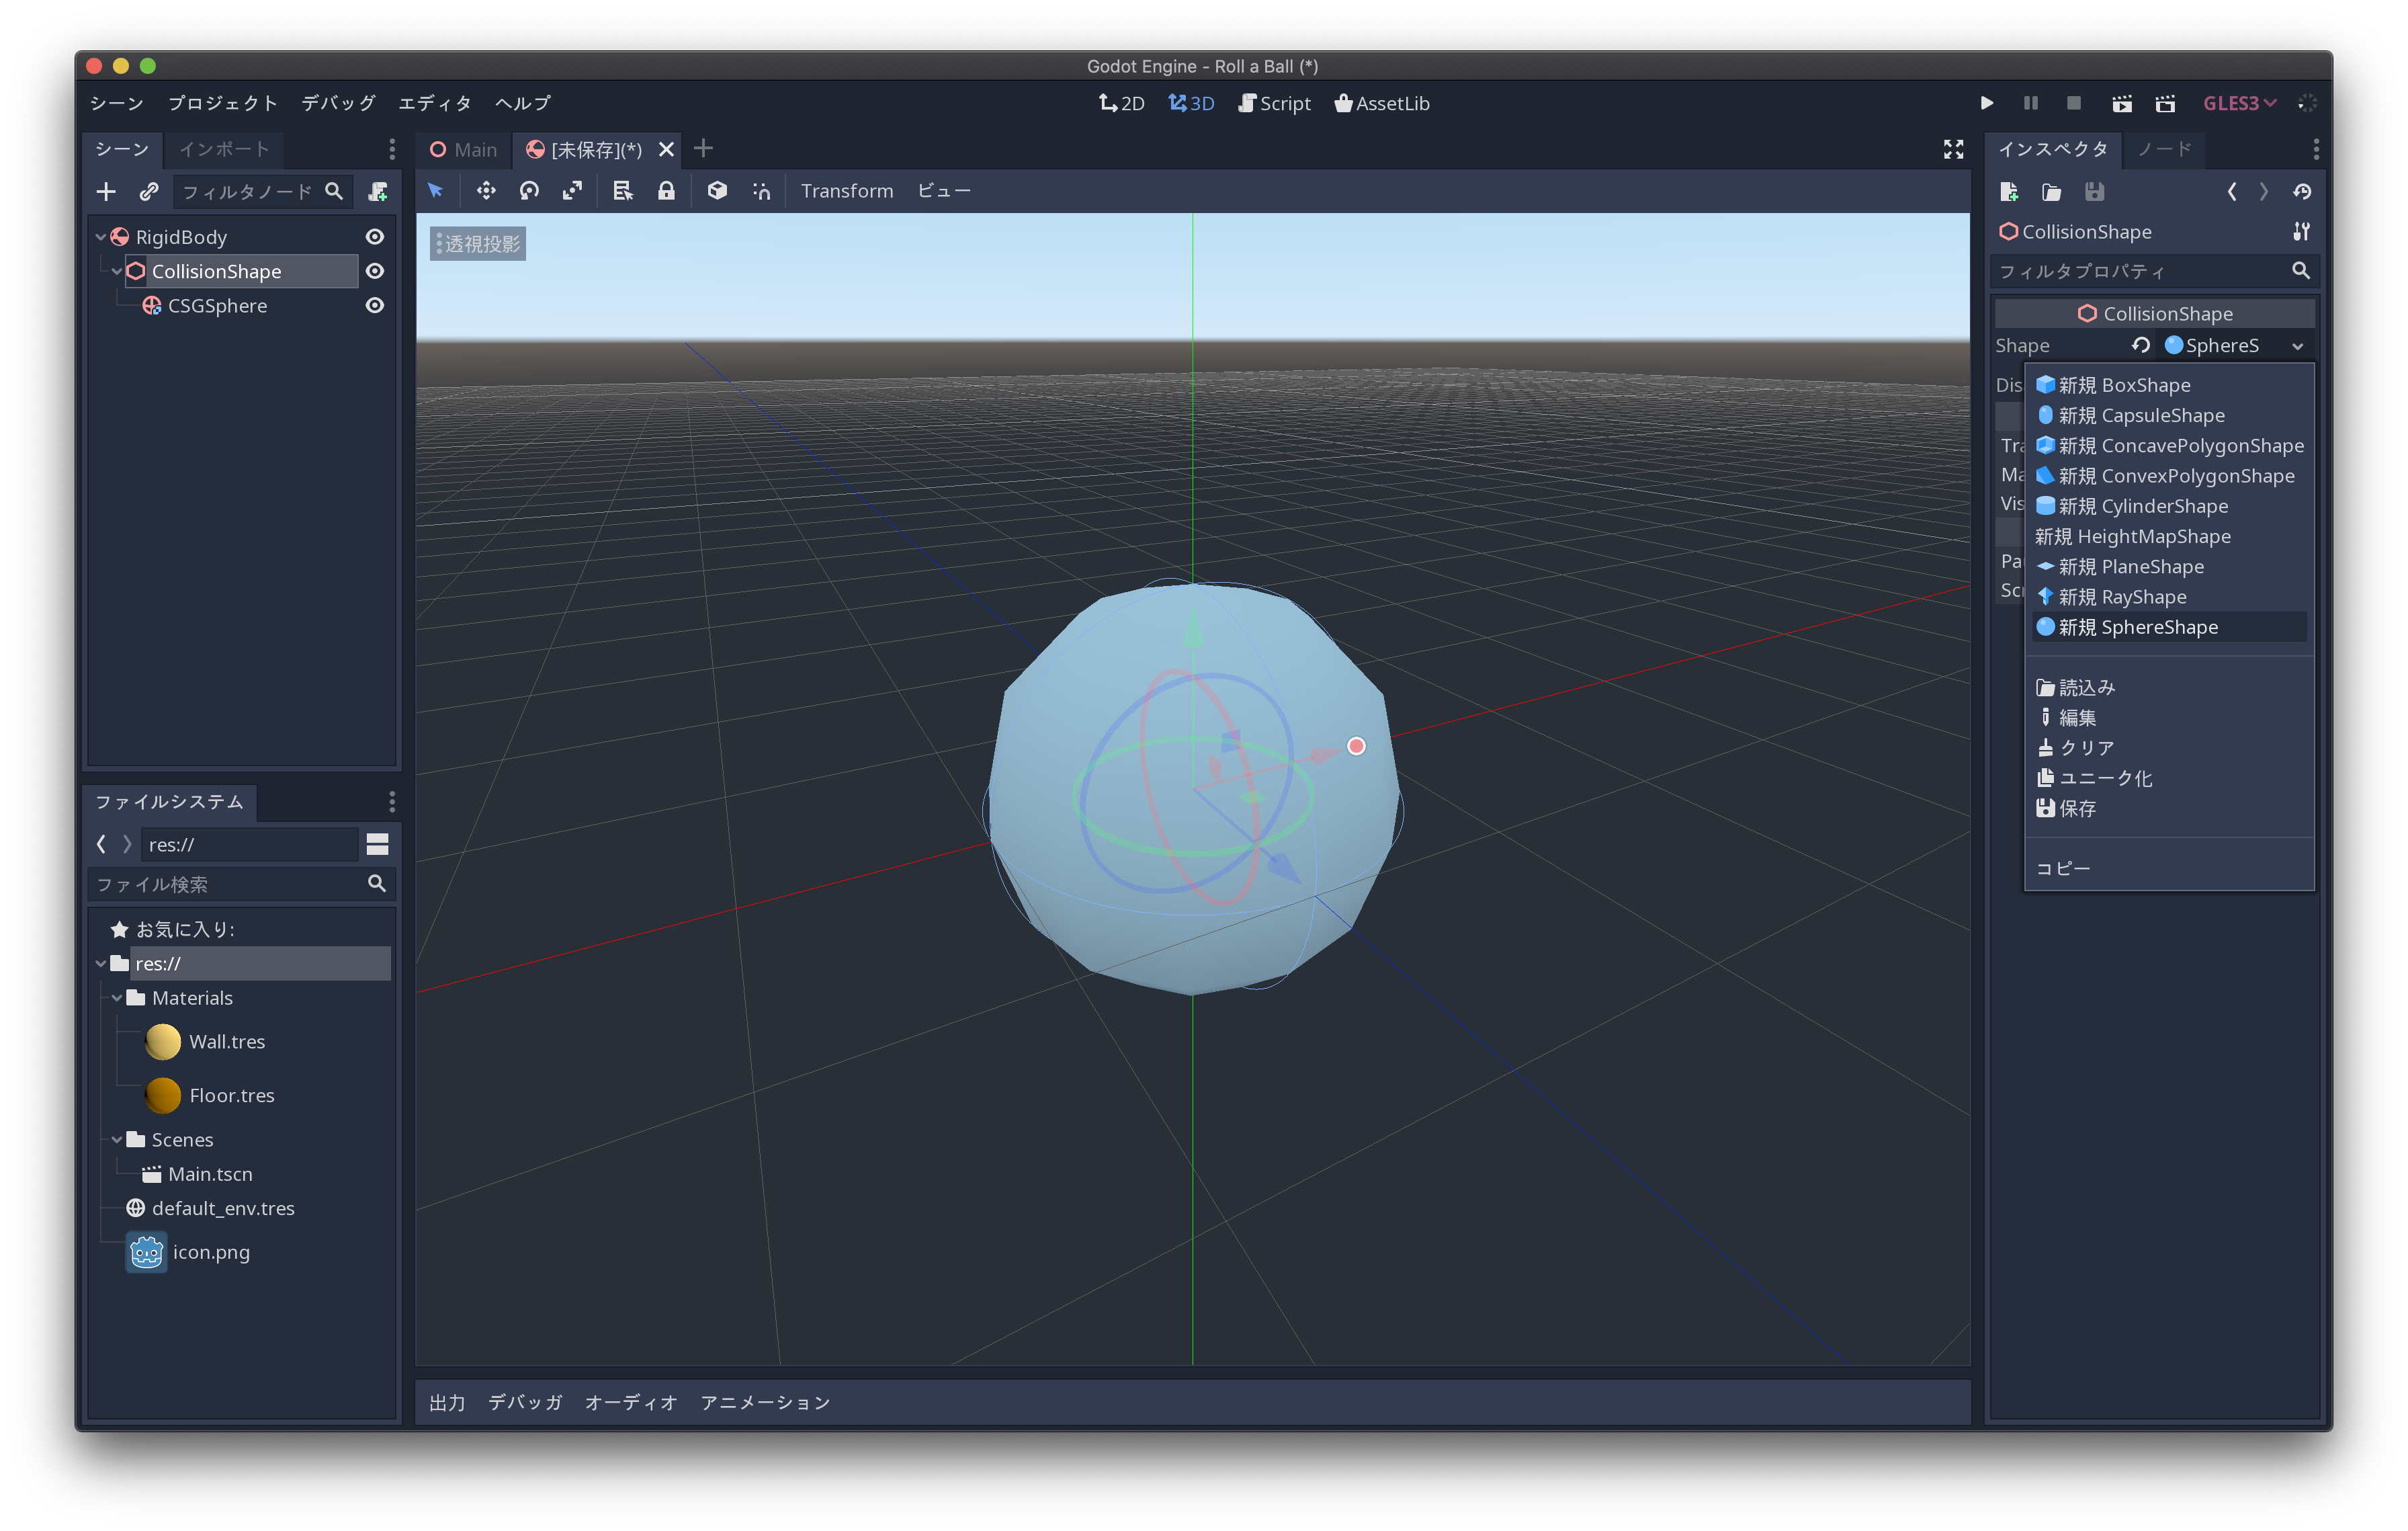
下のようにツリーを構成して、「CollisionShape」ノードのShapeにはSphereShapeを選択します
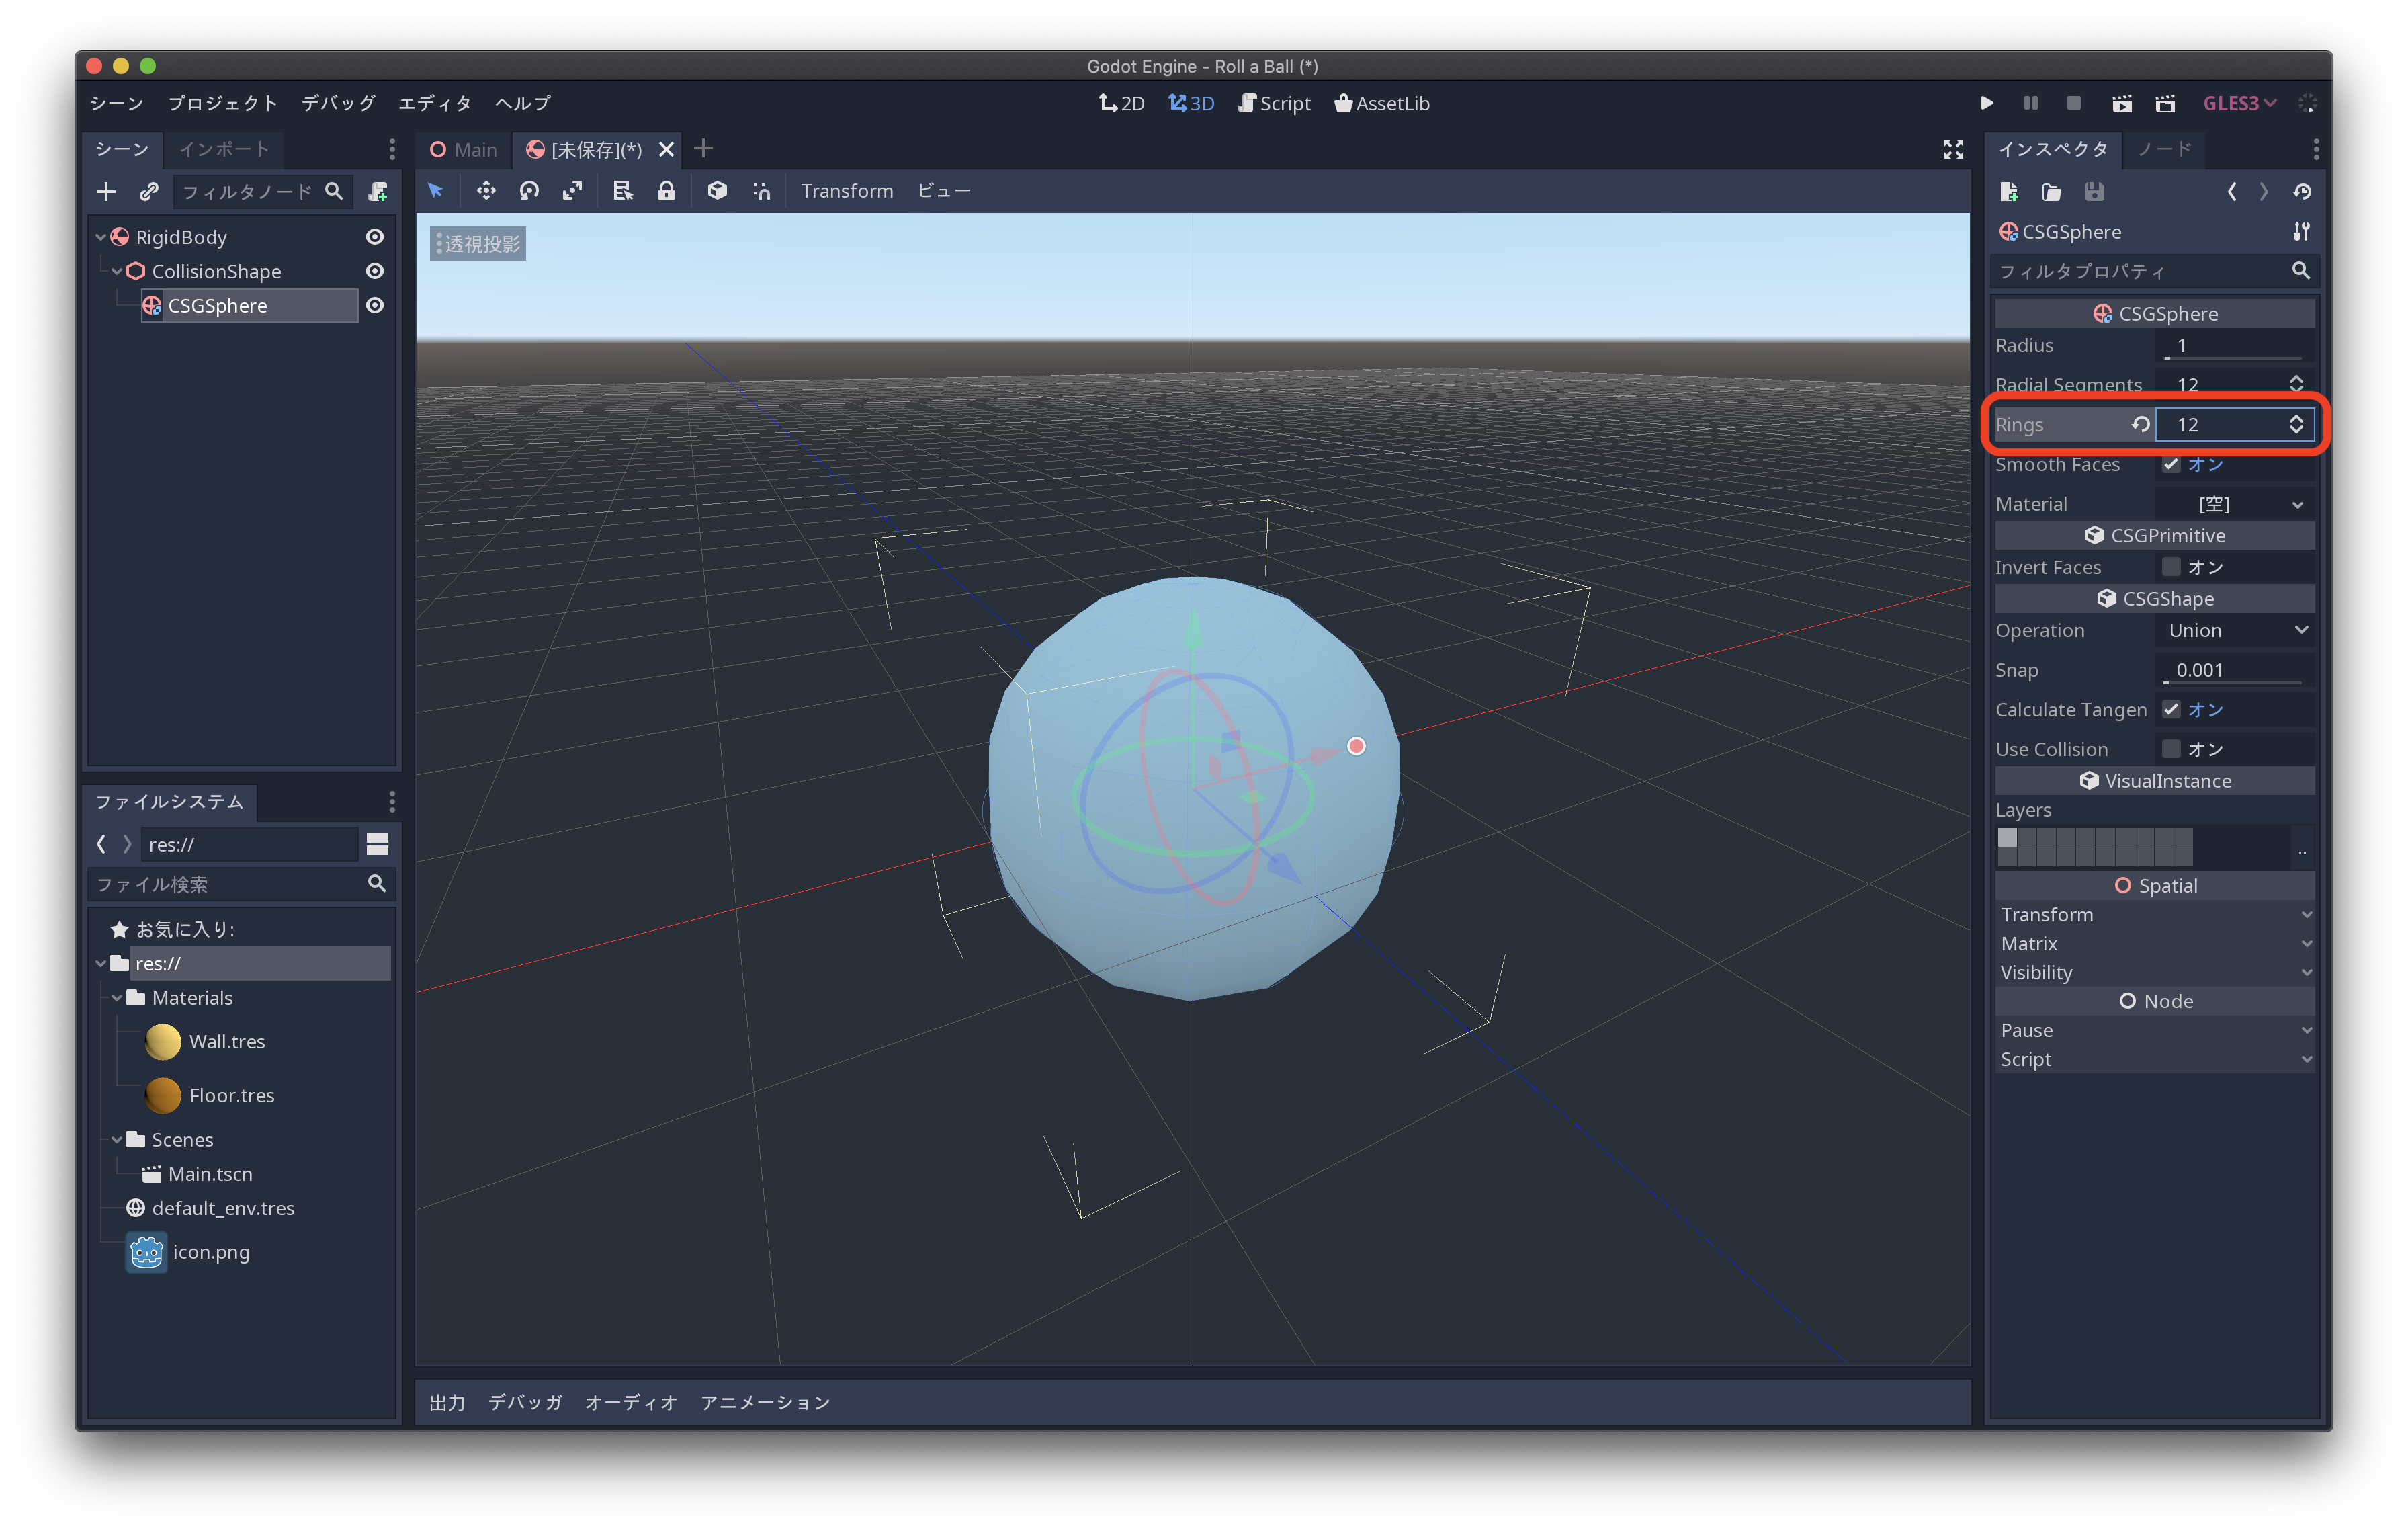
「CSGSphere」ノードのRingsを12にします
これは必要ではありませんが、デフォルトより丸く見えます
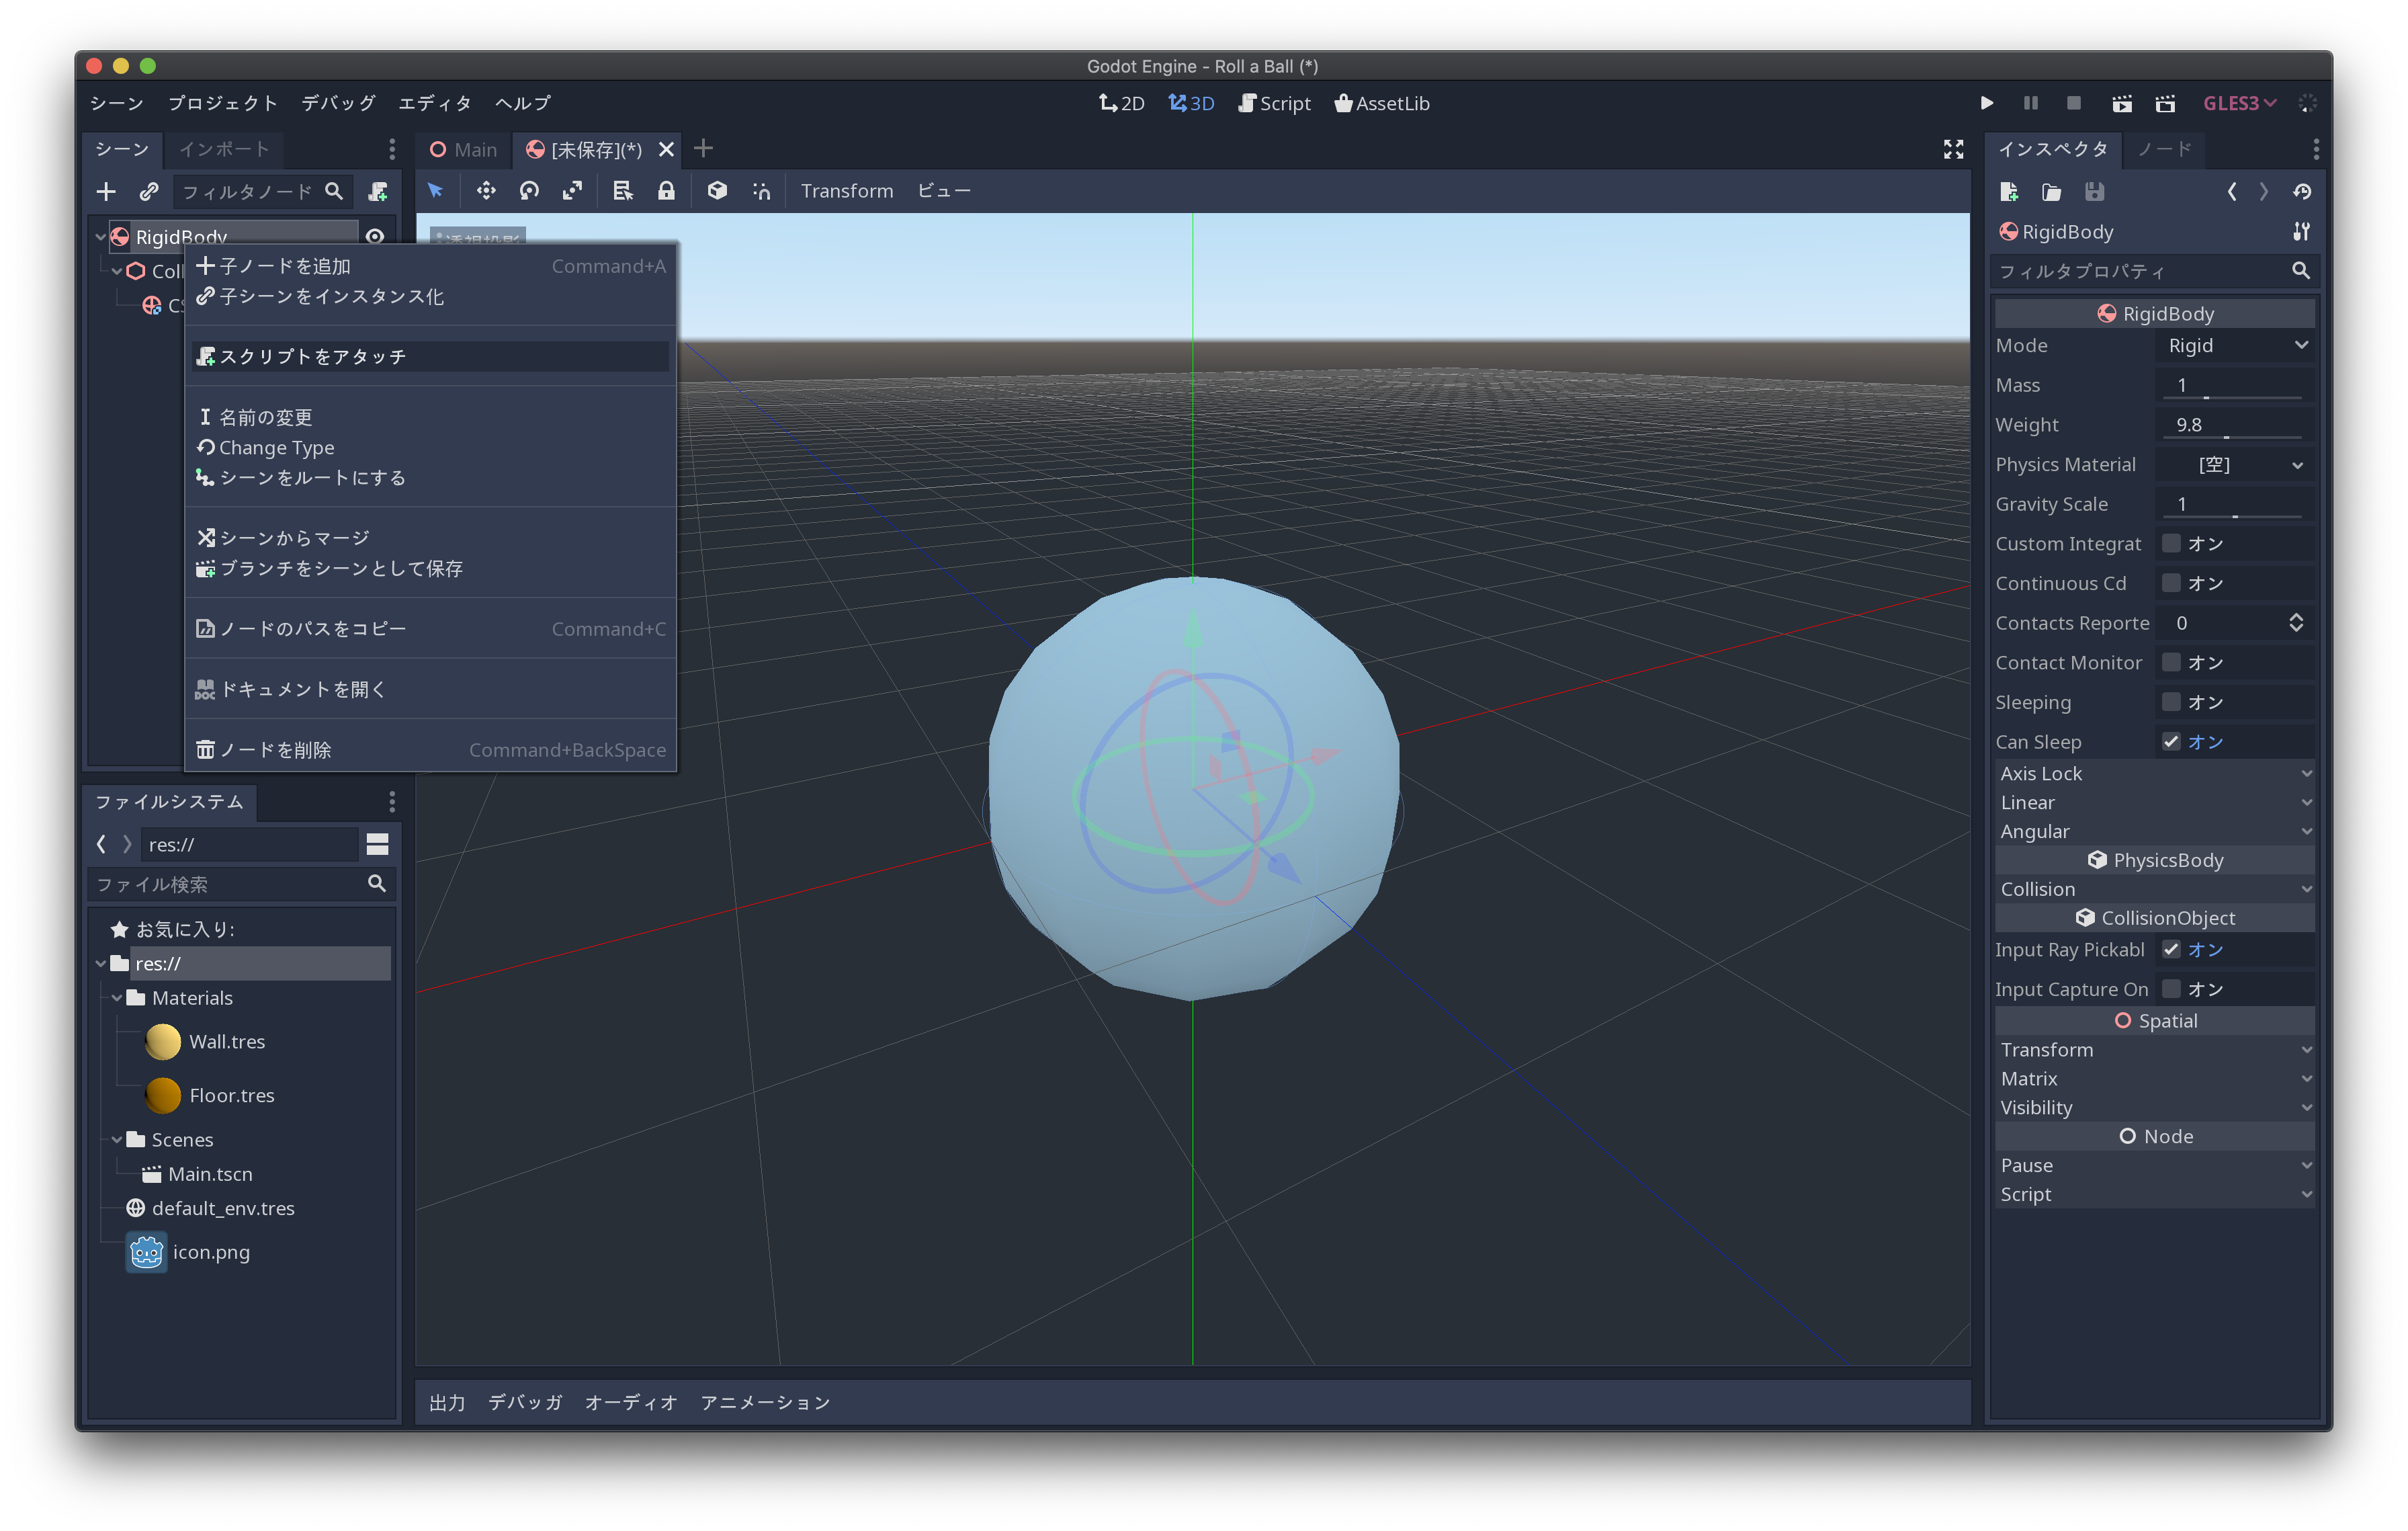
「RigidBody」ノードで右クリックして「スクリプトをアタッチ」を選択します
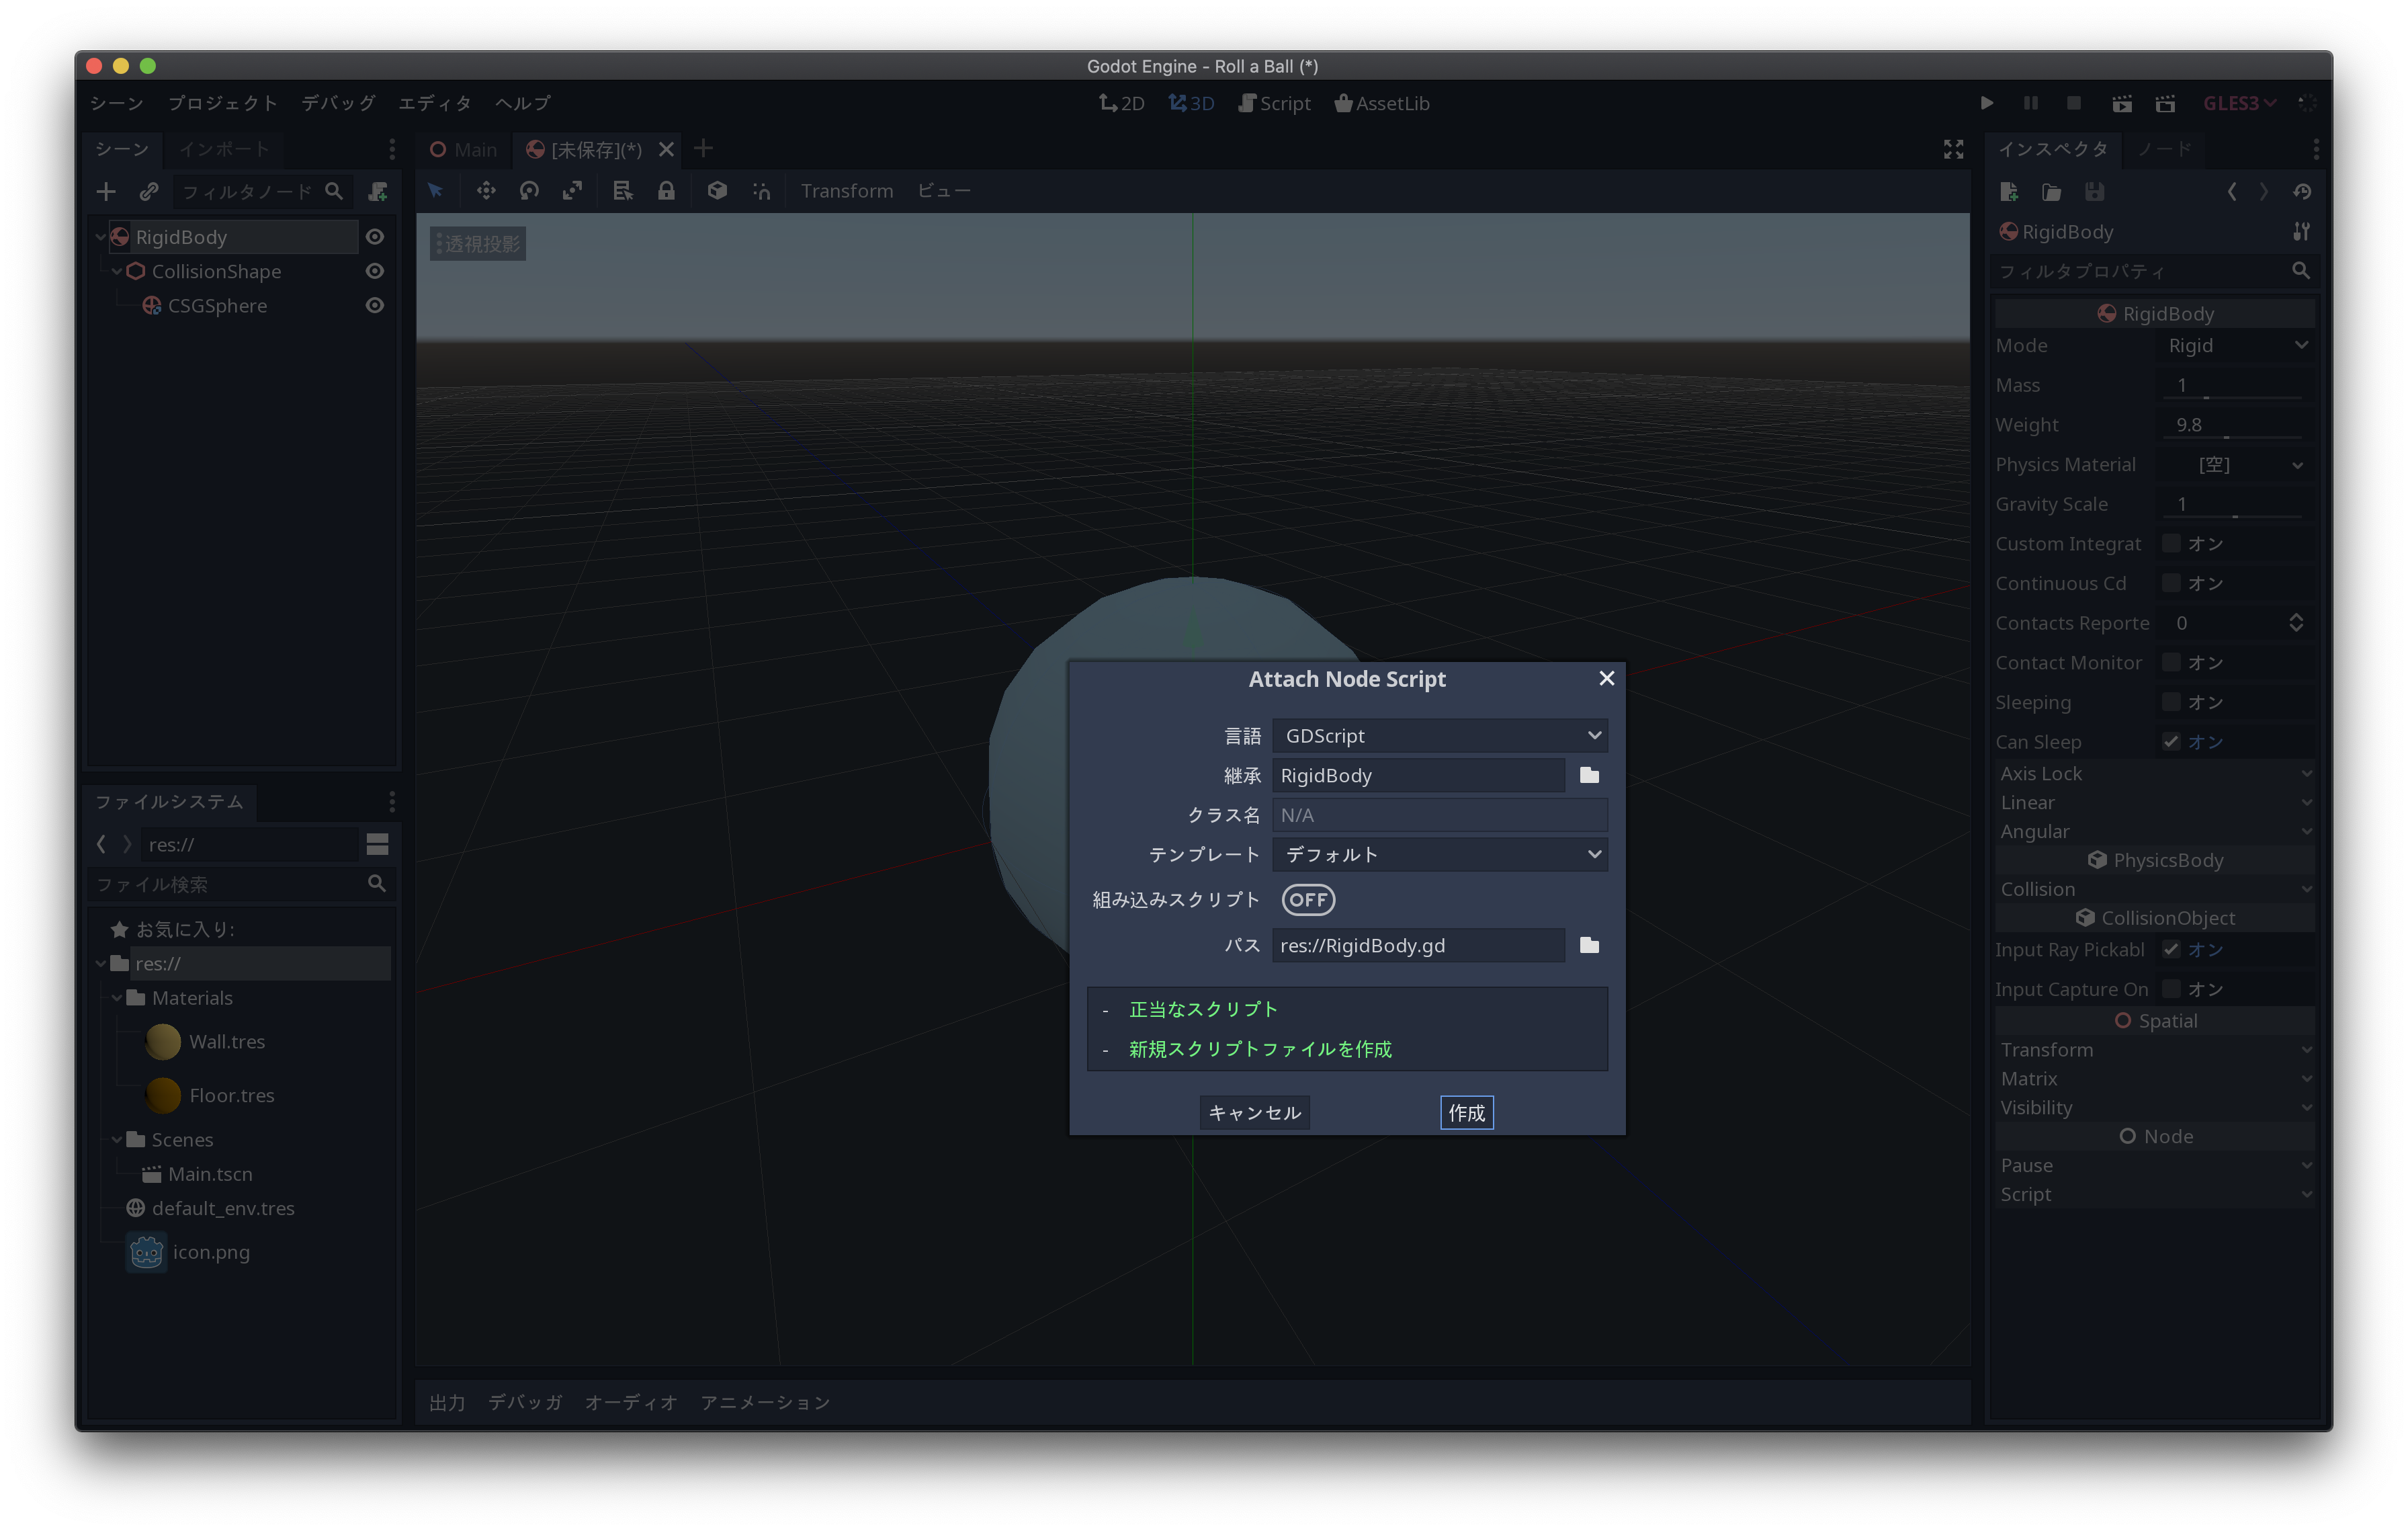
デフォルトの設定のまま作成します
以下のようにスクリプトを書きます
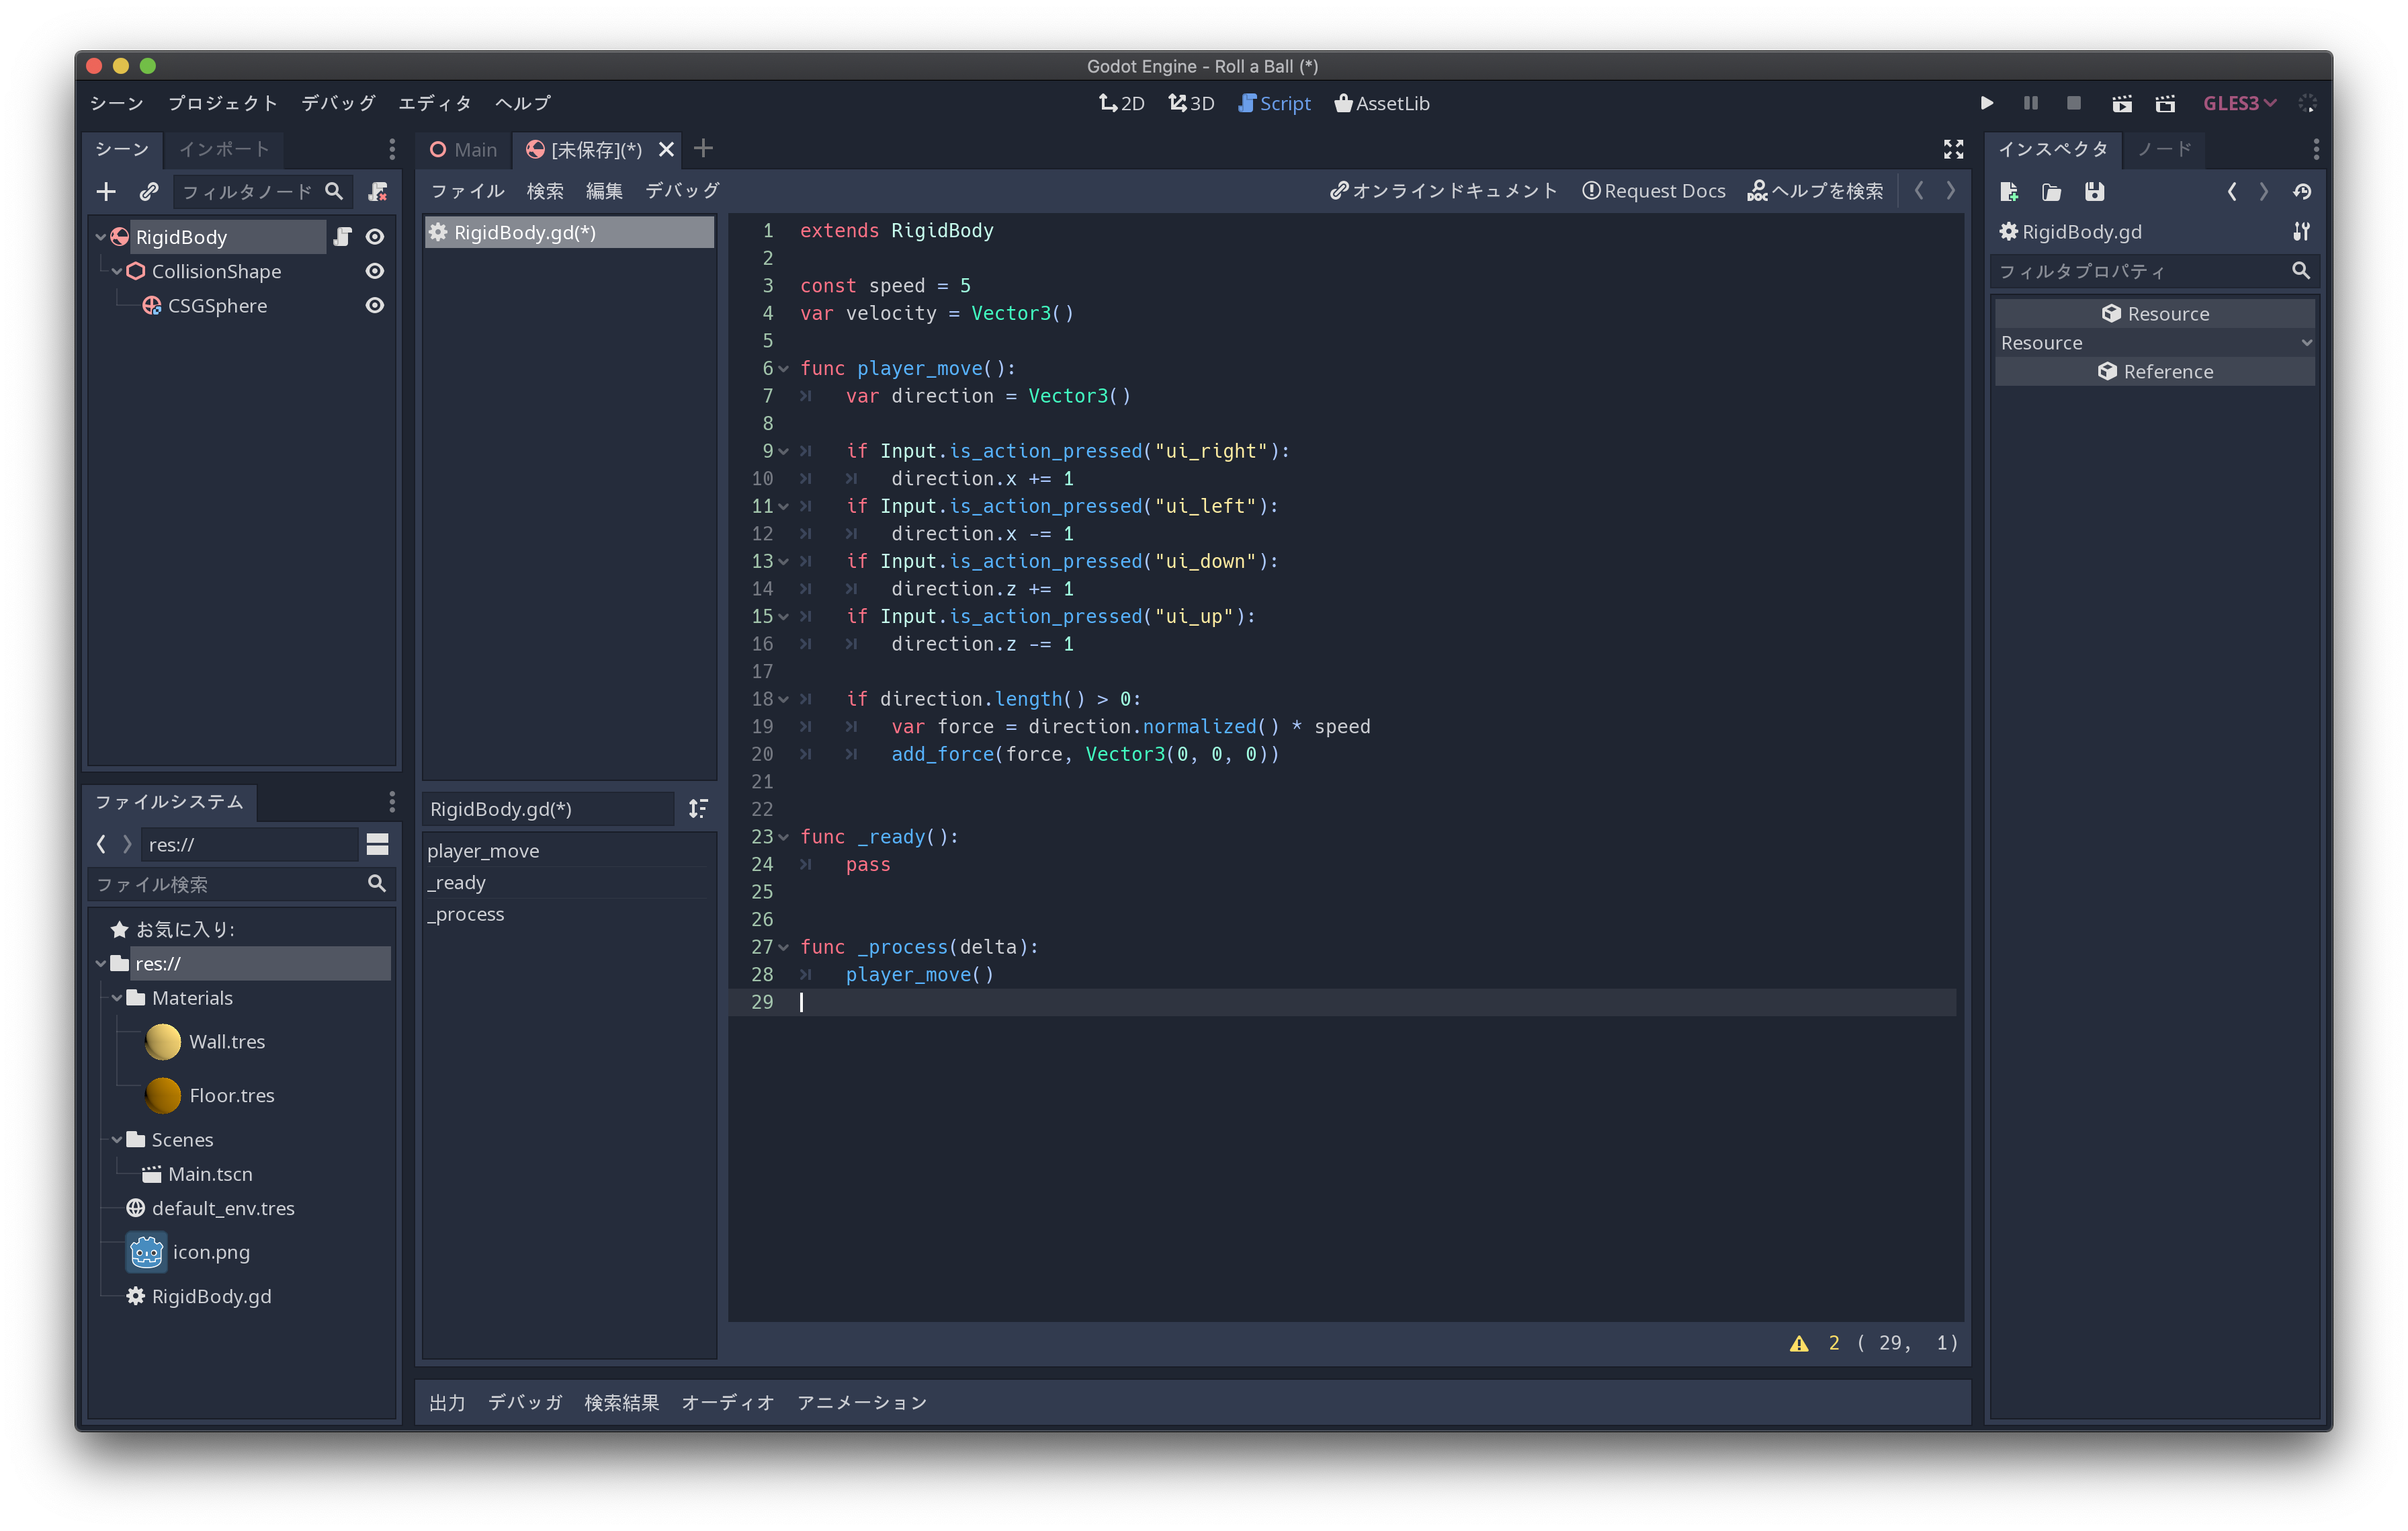
矢印キーの入力に応じて球に X, Z 方向の力を加えるスクリプトです
extends RigidBody

const speed = 5
var velocity = Vector3()

func player_move():
	var direction = Vector3()

	if Input.is_action_pressed("ui_right"):
		direction.x += 1
	if Input.is_action_pressed("ui_left"):
		direction.x -= 1
	if Input.is_action_pressed("ui_down"):
		direction.z += 1
	if Input.is_action_pressed("ui_up"):
		direction.z -= 1

	if direction.length() > 0:
		var force = direction.normalized() * speed
		add_force(force, Vector3(0, 0, 0))


func _ready():
	pass


func _process(delta):
	player_move()
カメラ
ルートノードの子ノードとしてカメラを追加します
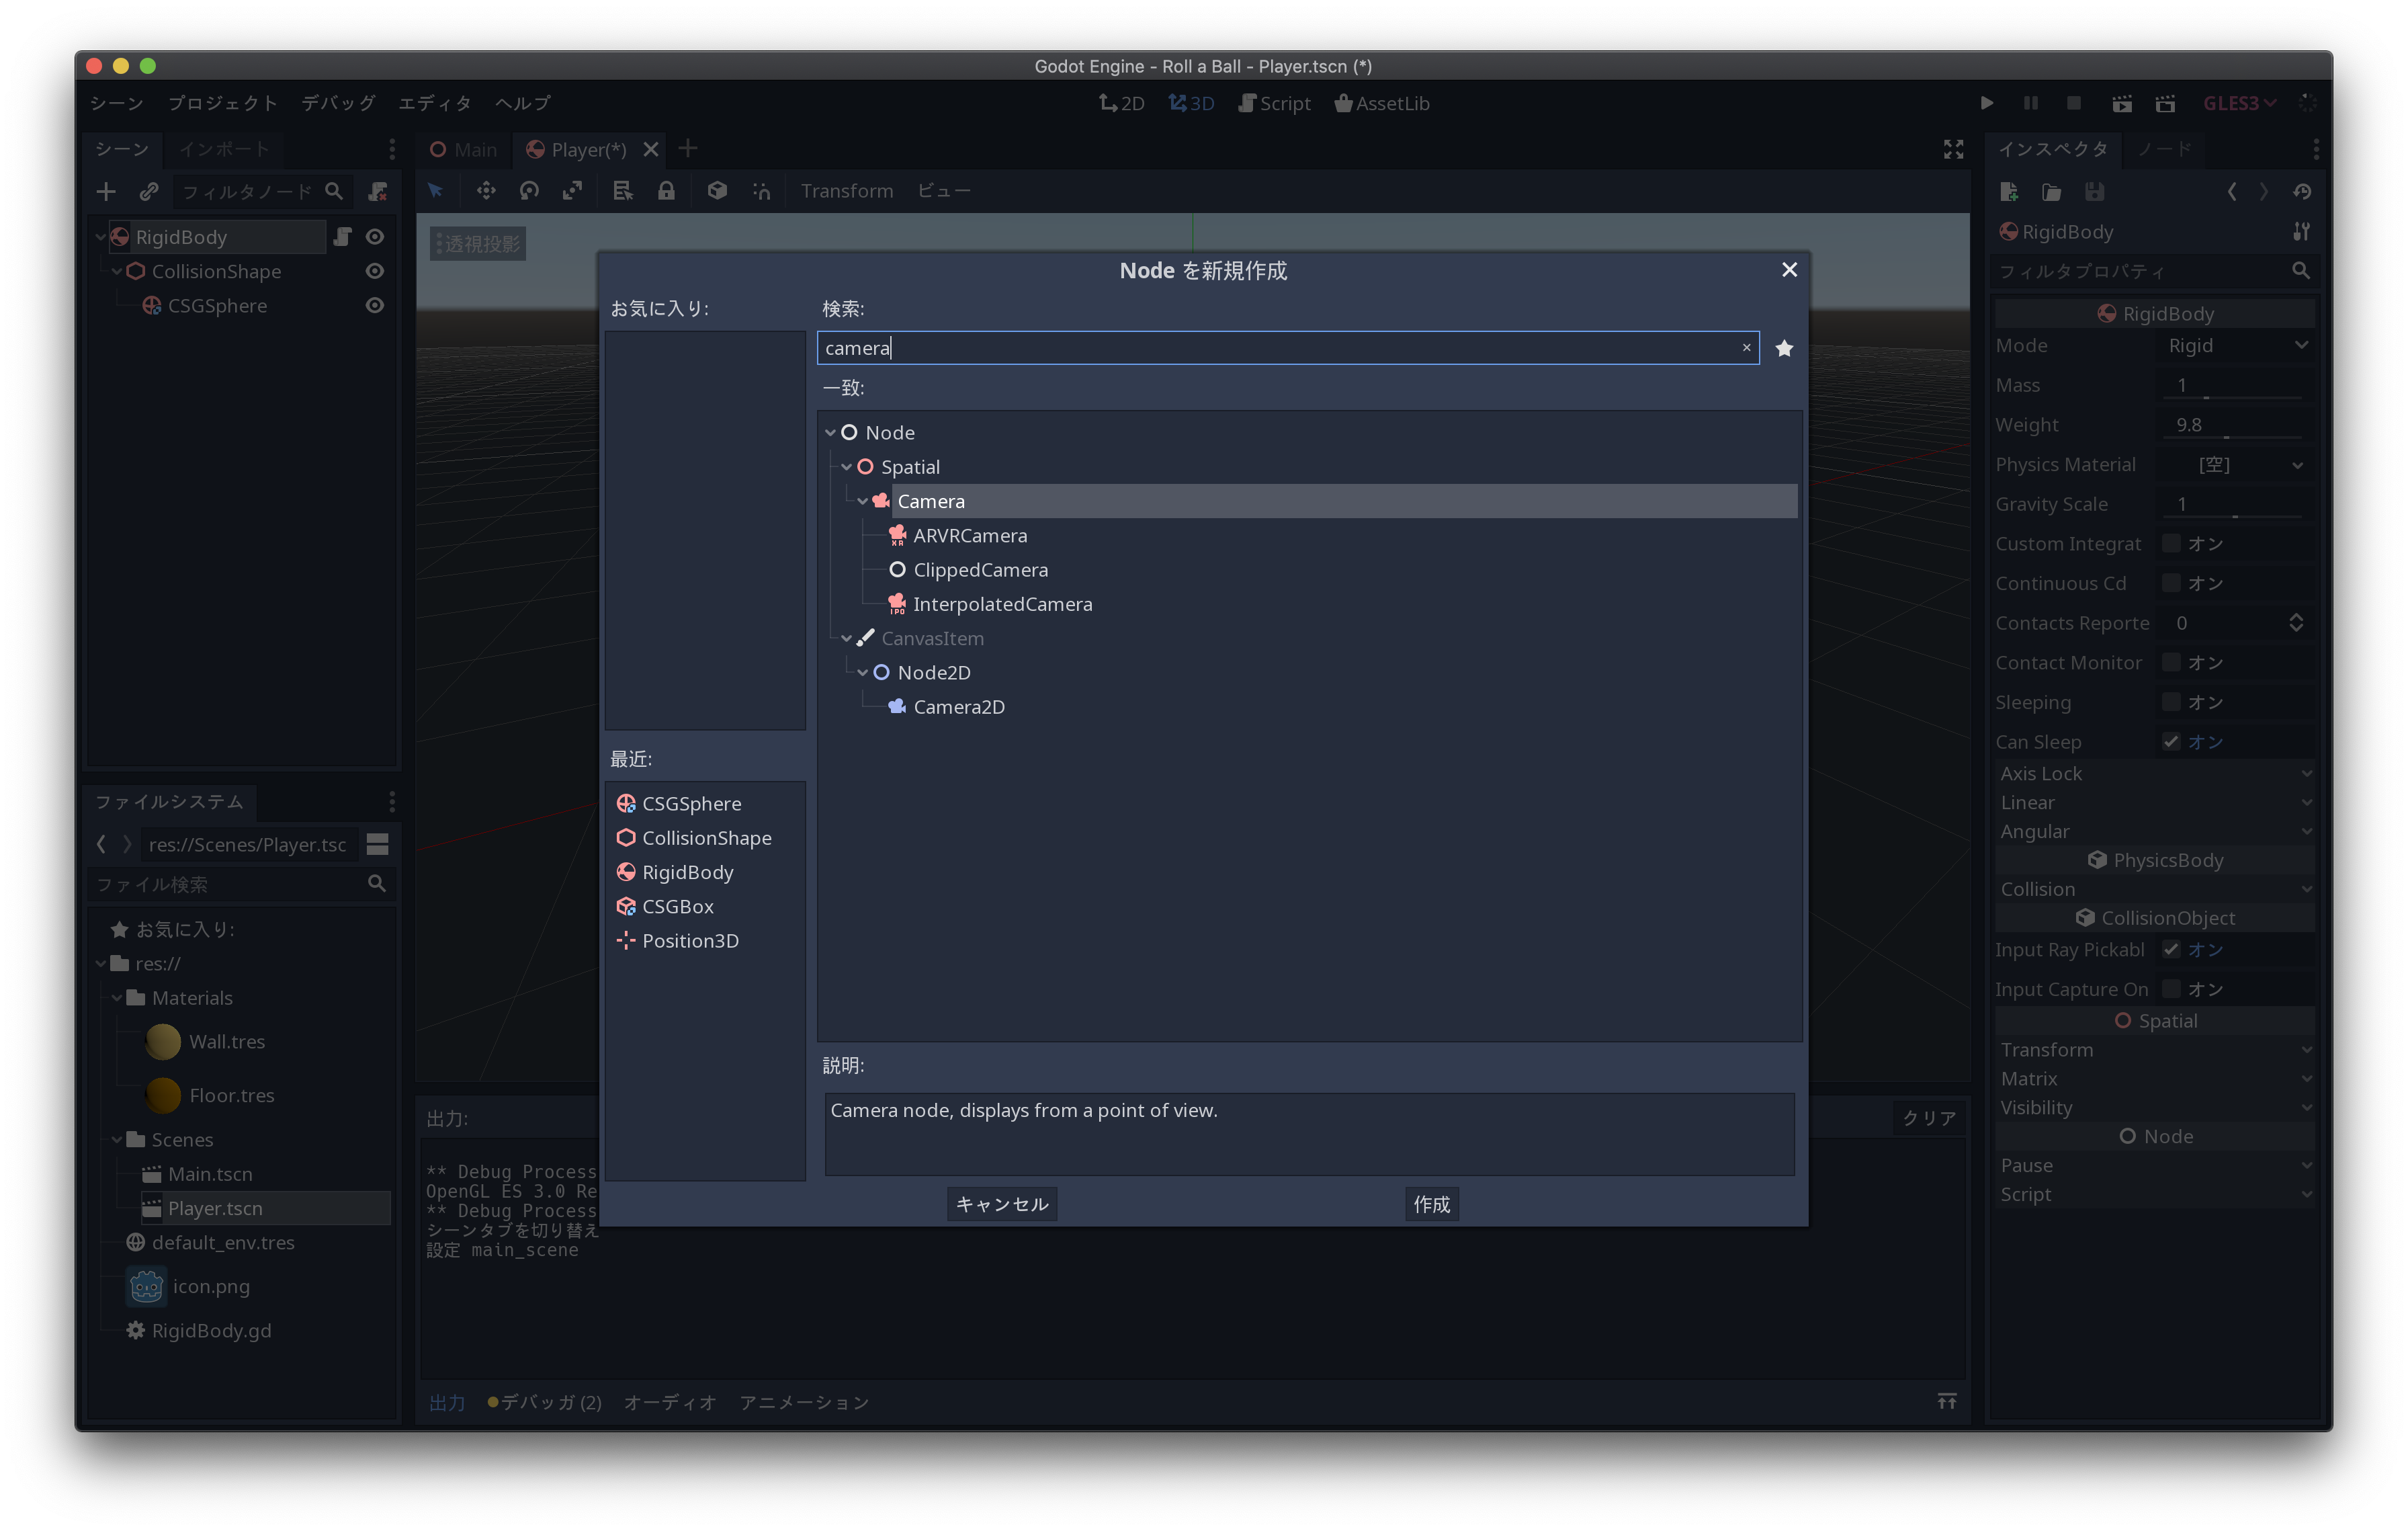
カメラのTransformを、球が真ん中に映るように変更します
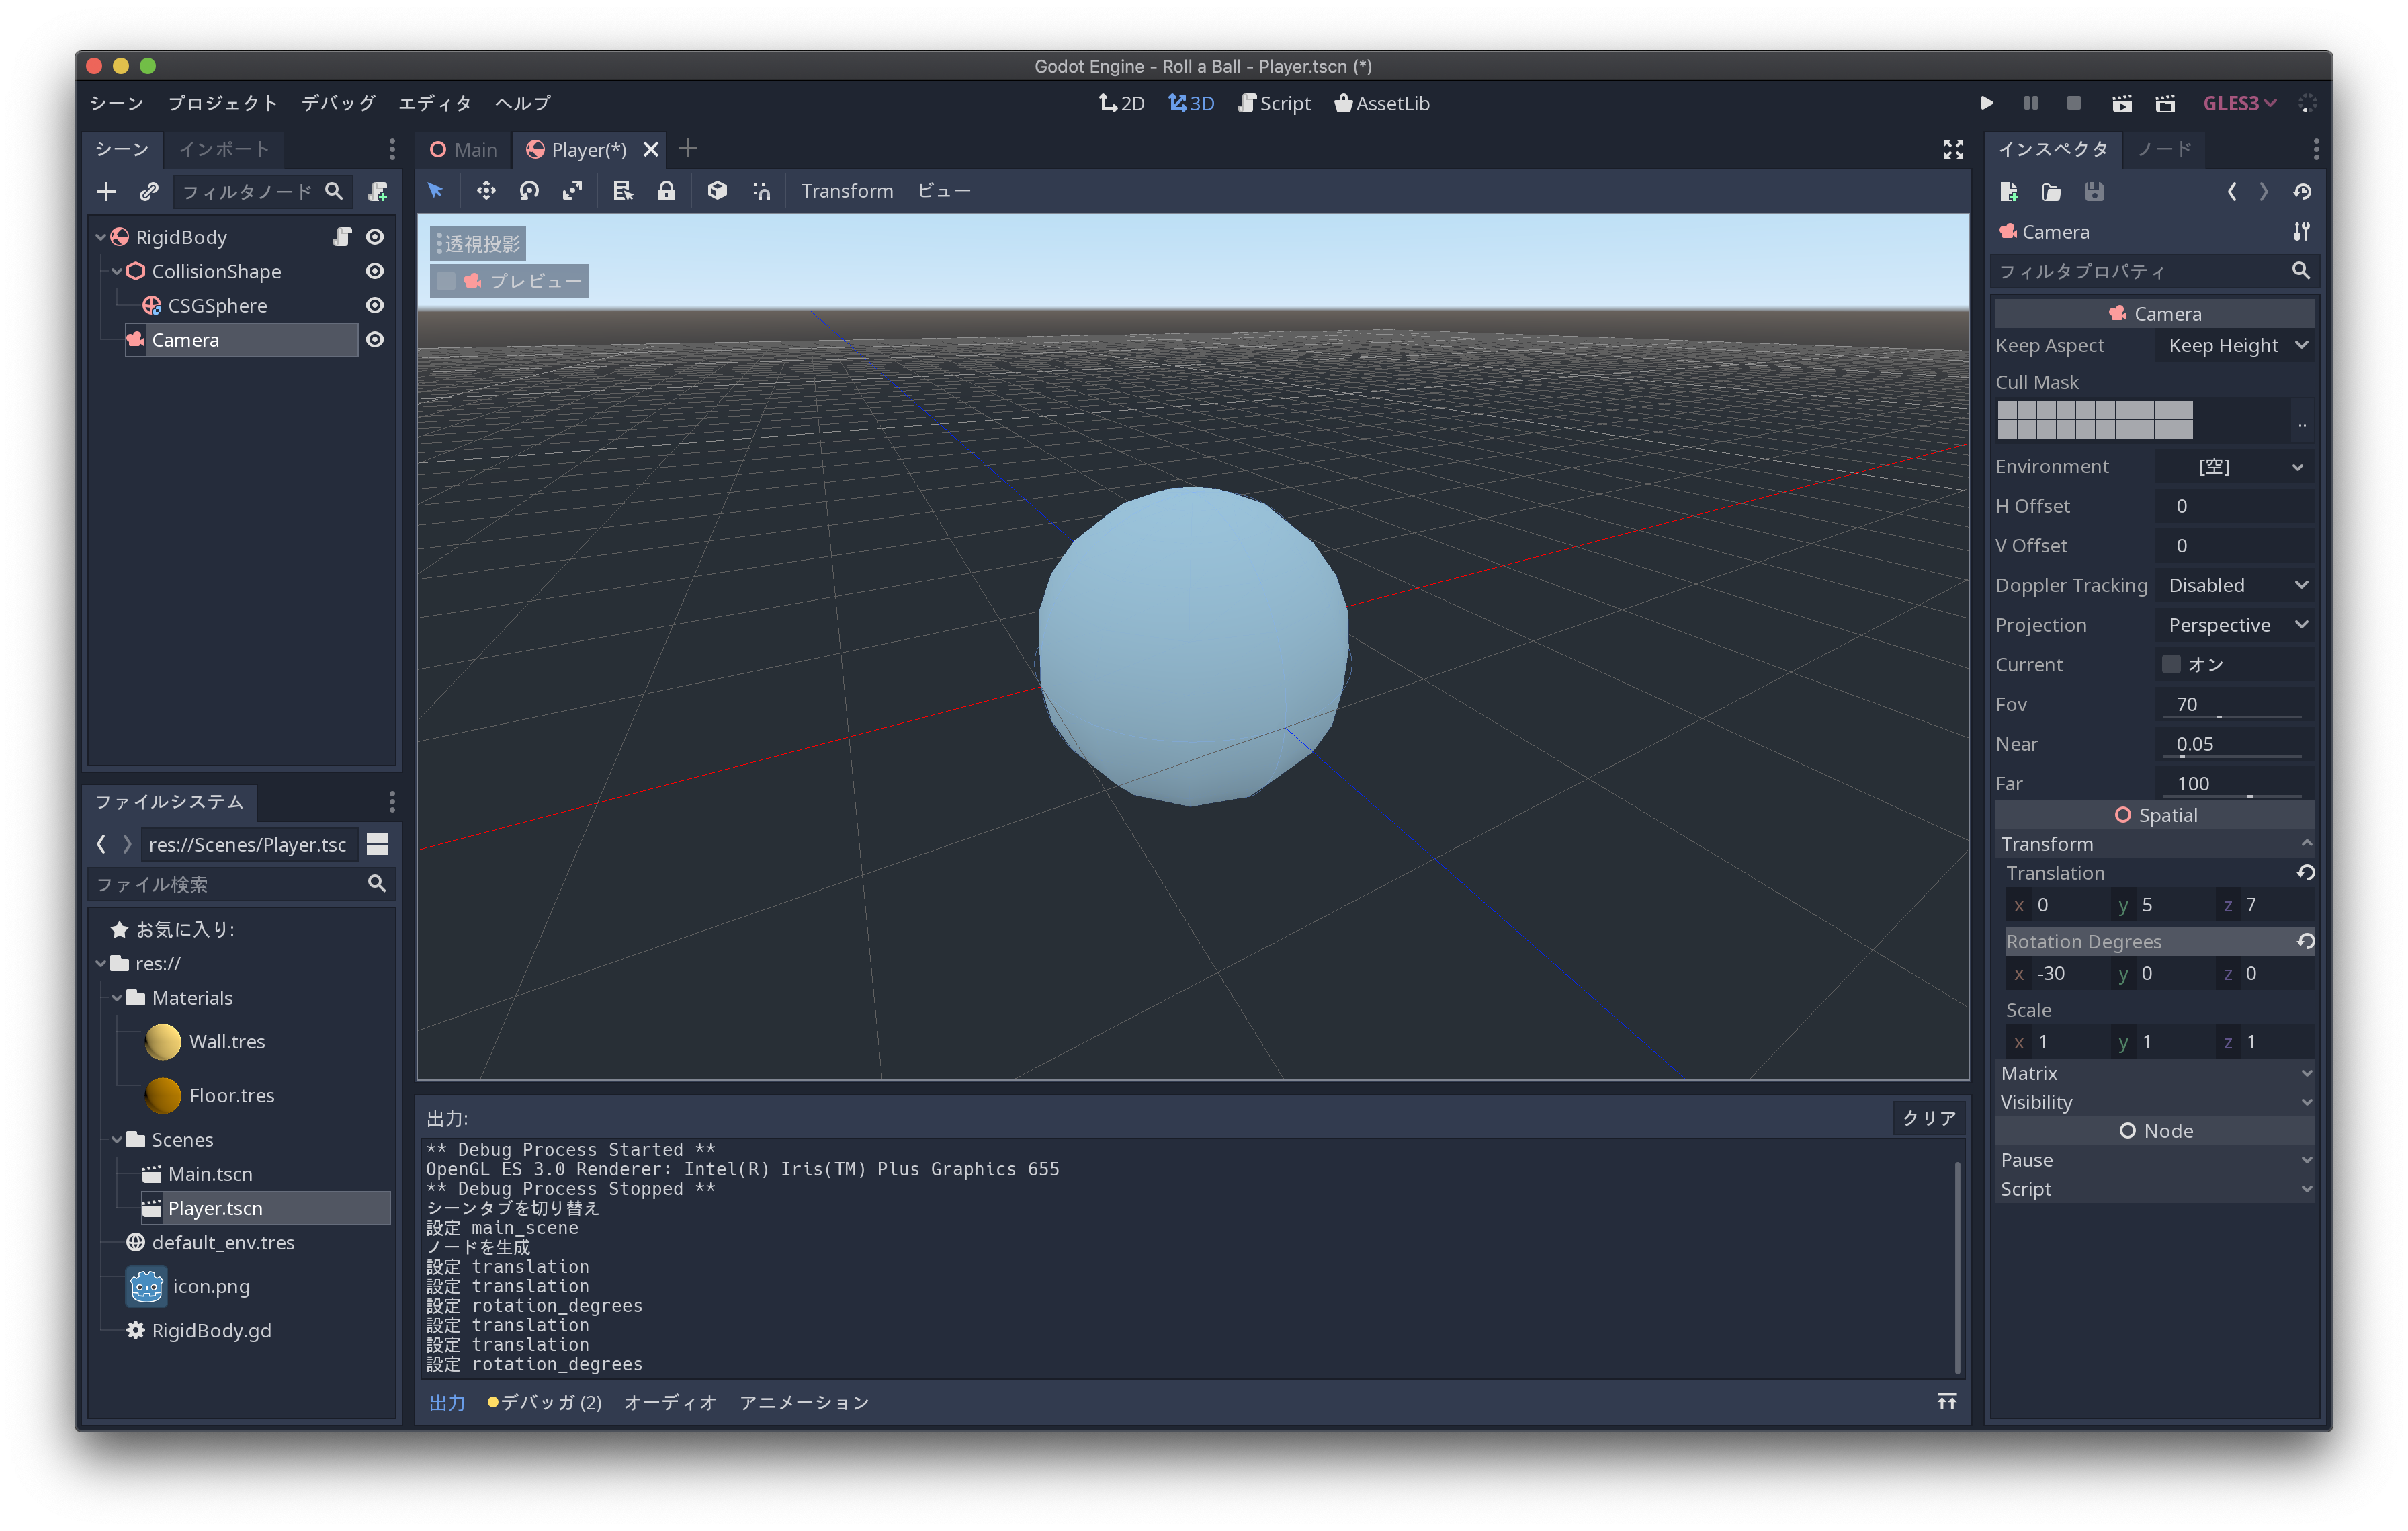
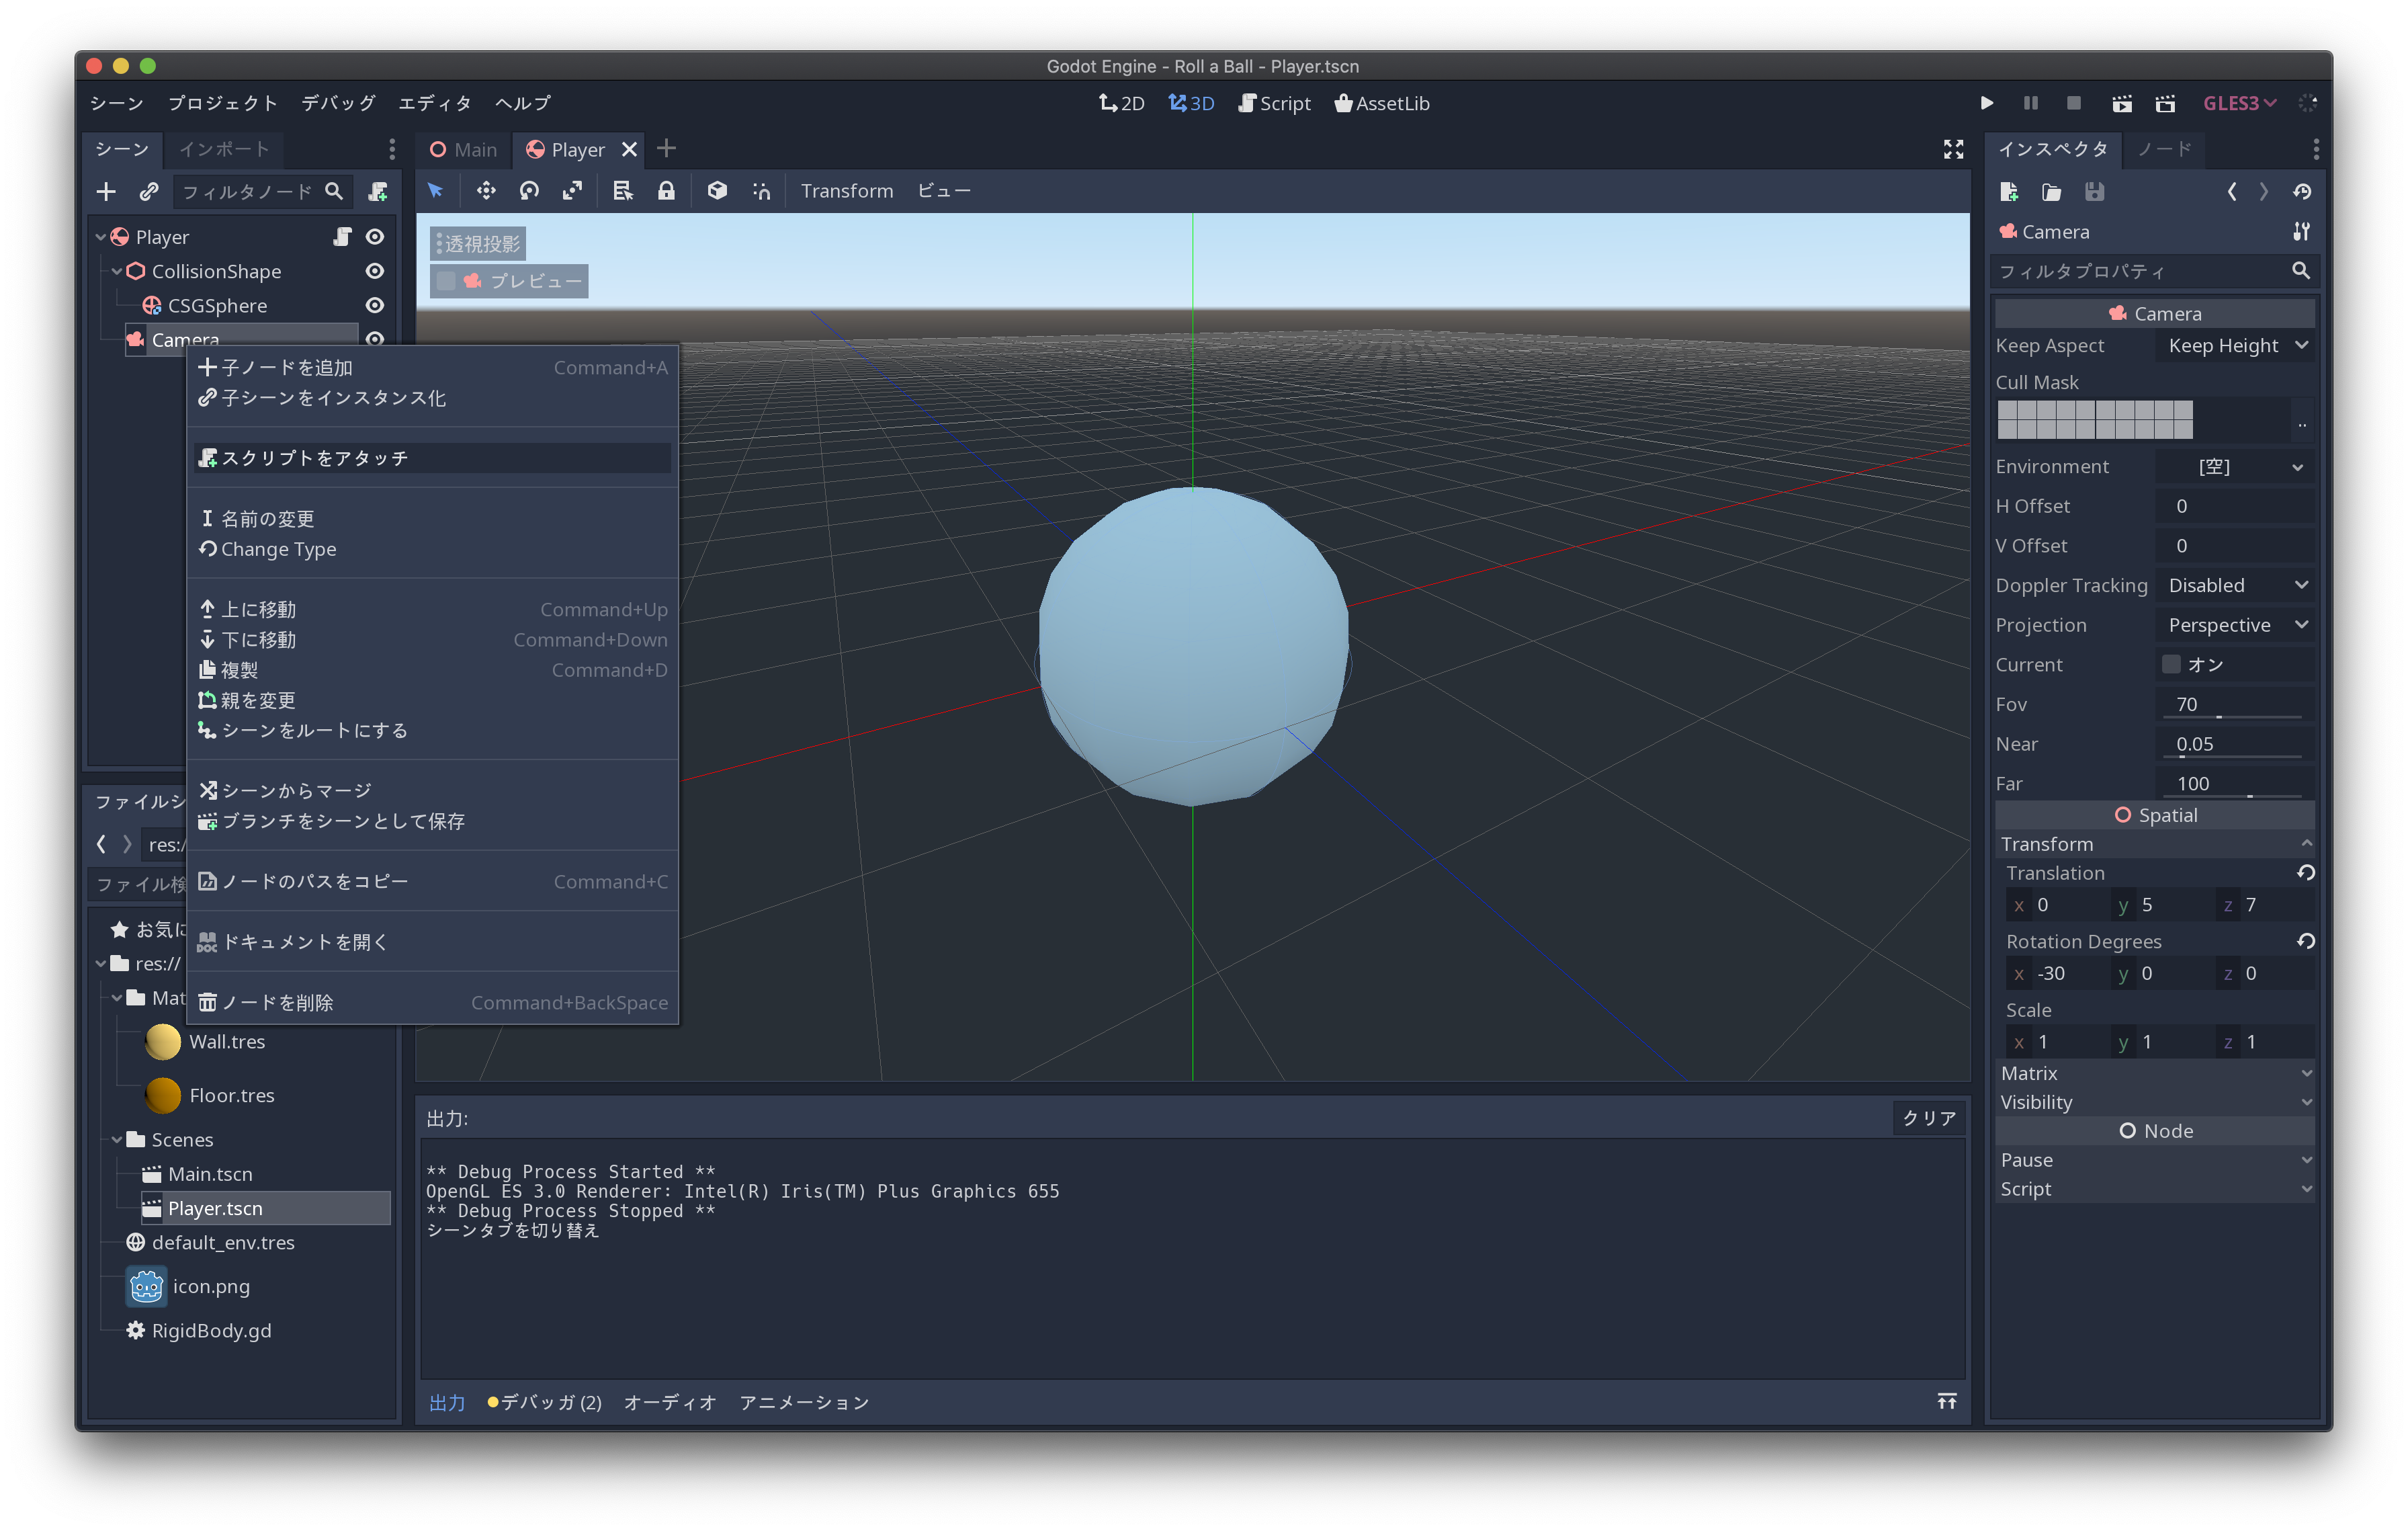
同様にカメラにもスクリプトをアタッチします
カメラを球の子として配置するだけでは、球の回転といっしょにカメラも回転してしまうので、
それを抑えるために以下のようなスクリプトを書きます
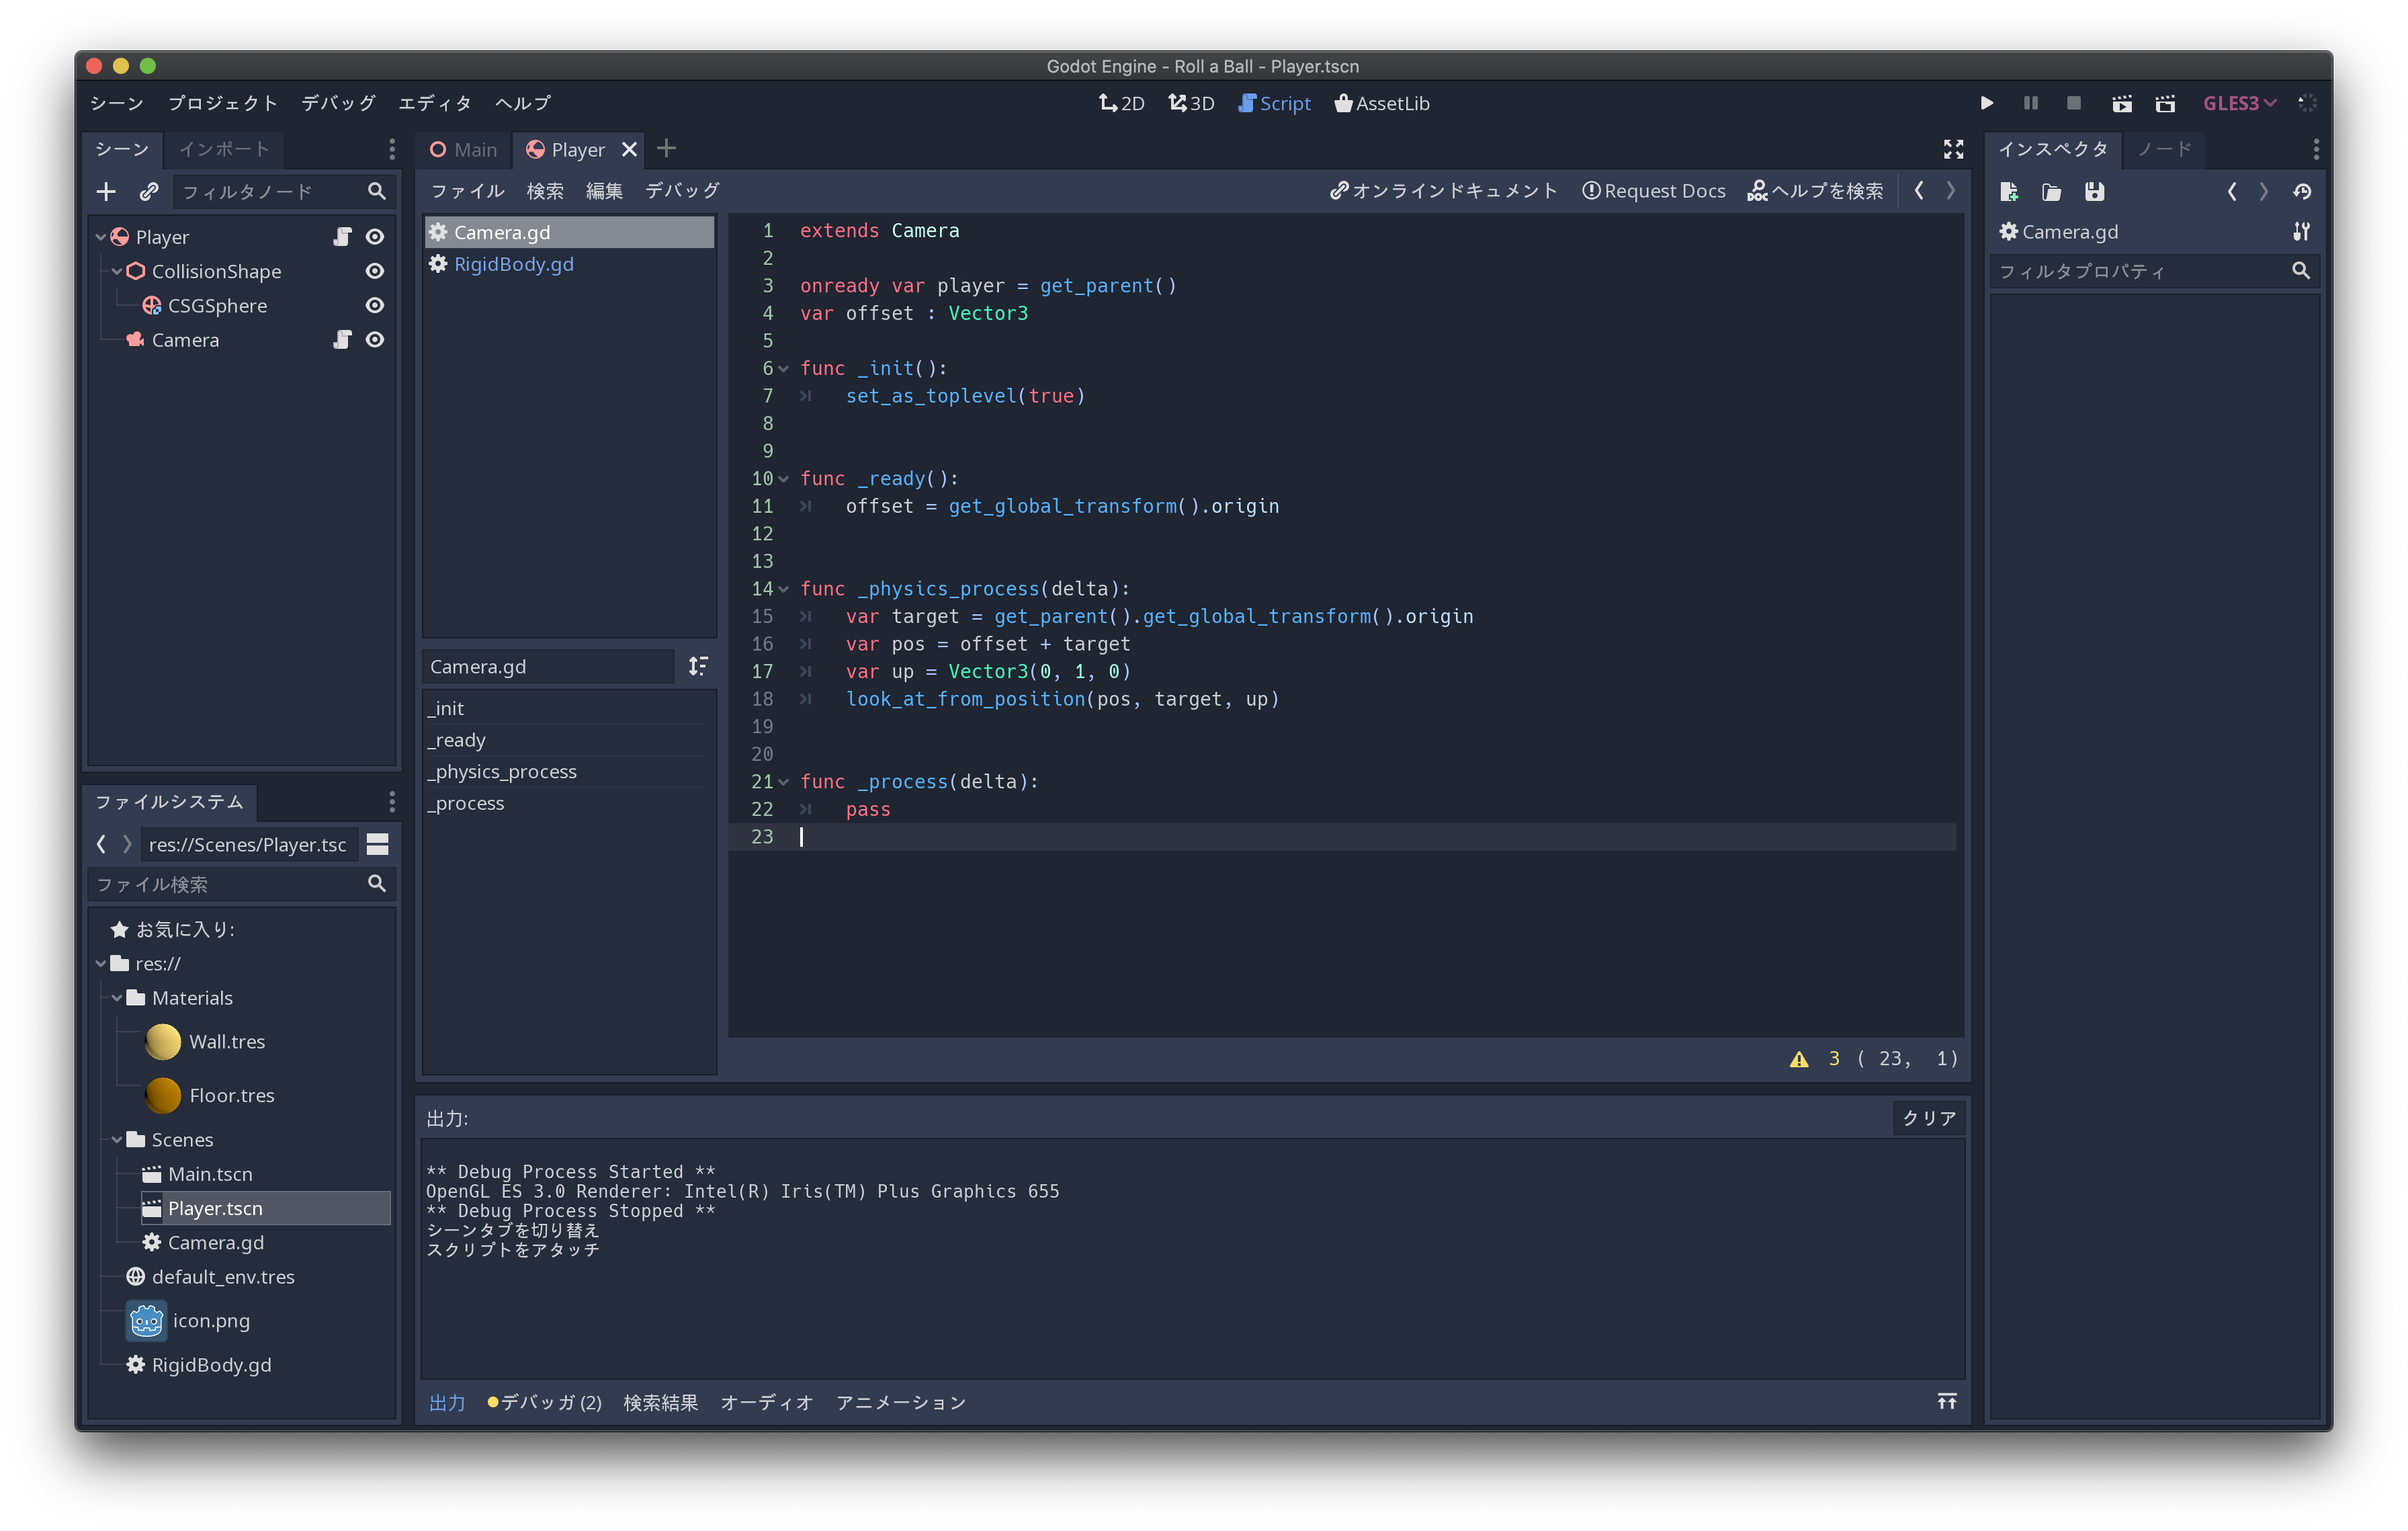
ごめんなさいコピペしました
extends Camera

onready var player = get_parent()
var offset : Vector3

func _init():
	set_as_toplevel(true)


func _ready():
	offset = get_global_transform().origin


func _physics_process(delta):
	var target = get_parent().get_global_transform().origin
	var pos = offset + target
	var up = Vector3(0, 1, 0)
	look_at_from_position(pos, target, up)


func _process(delta):
	pass
保存
ルートノードの名前を「Player」に変更します
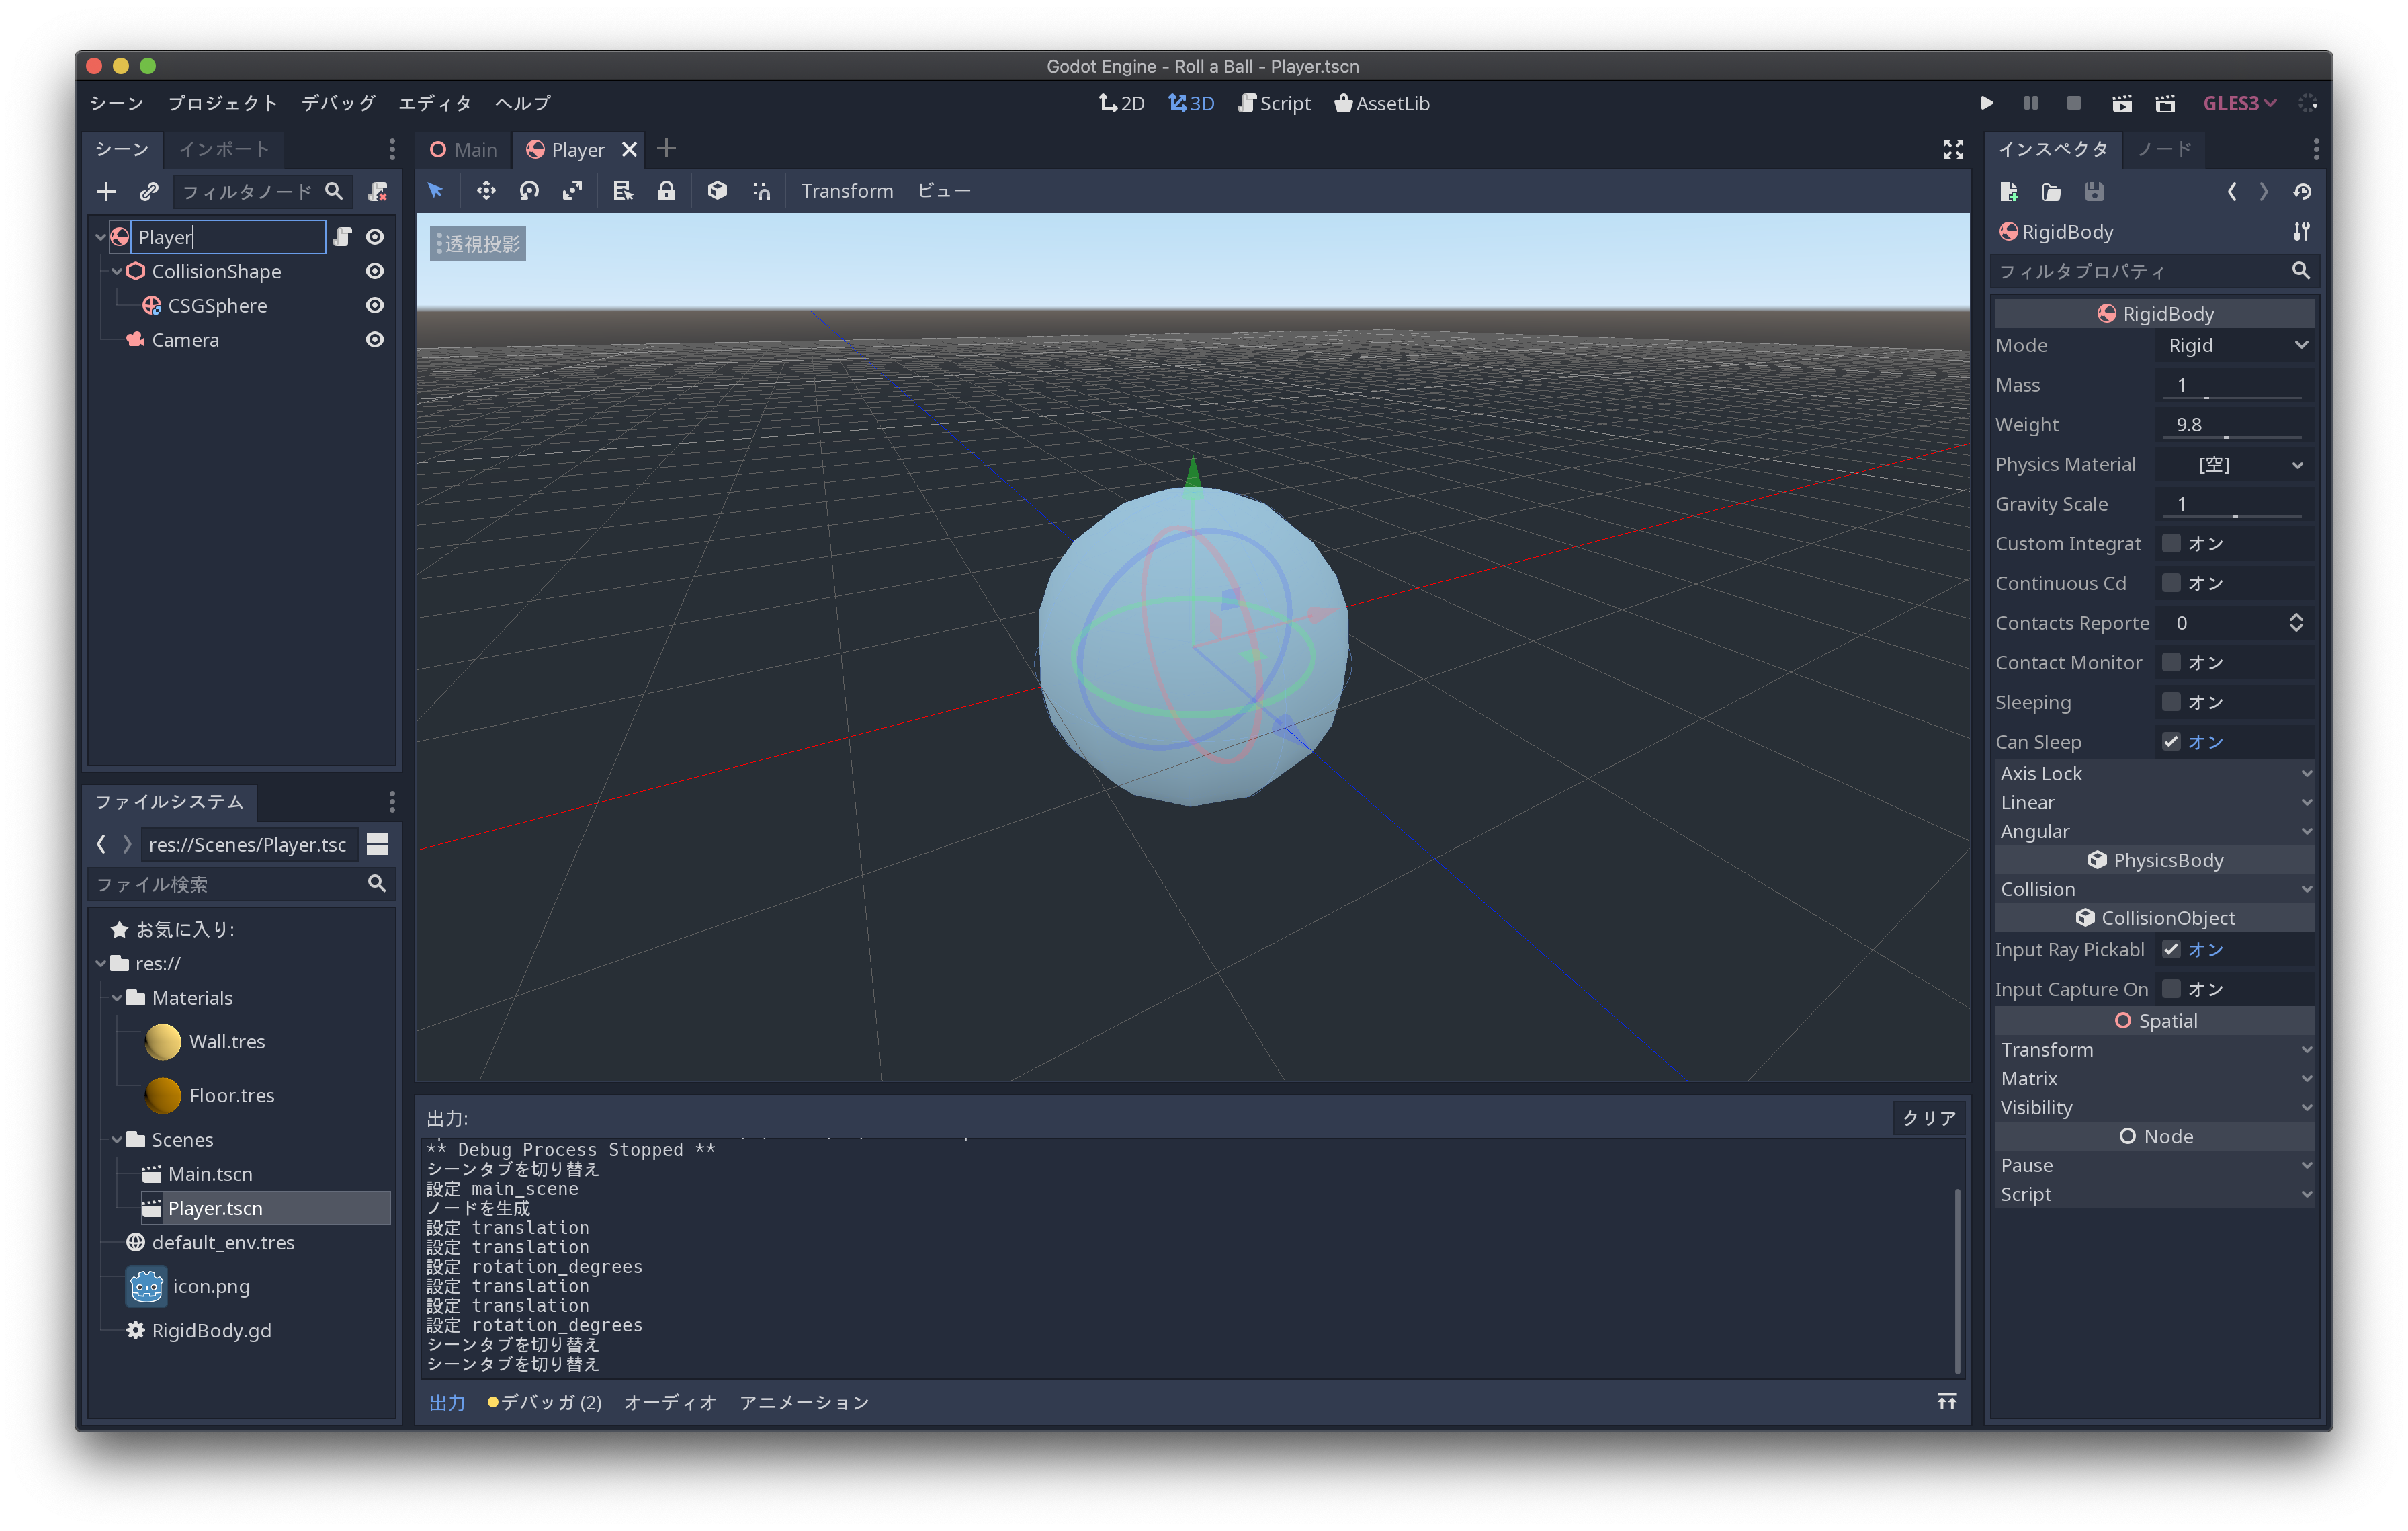
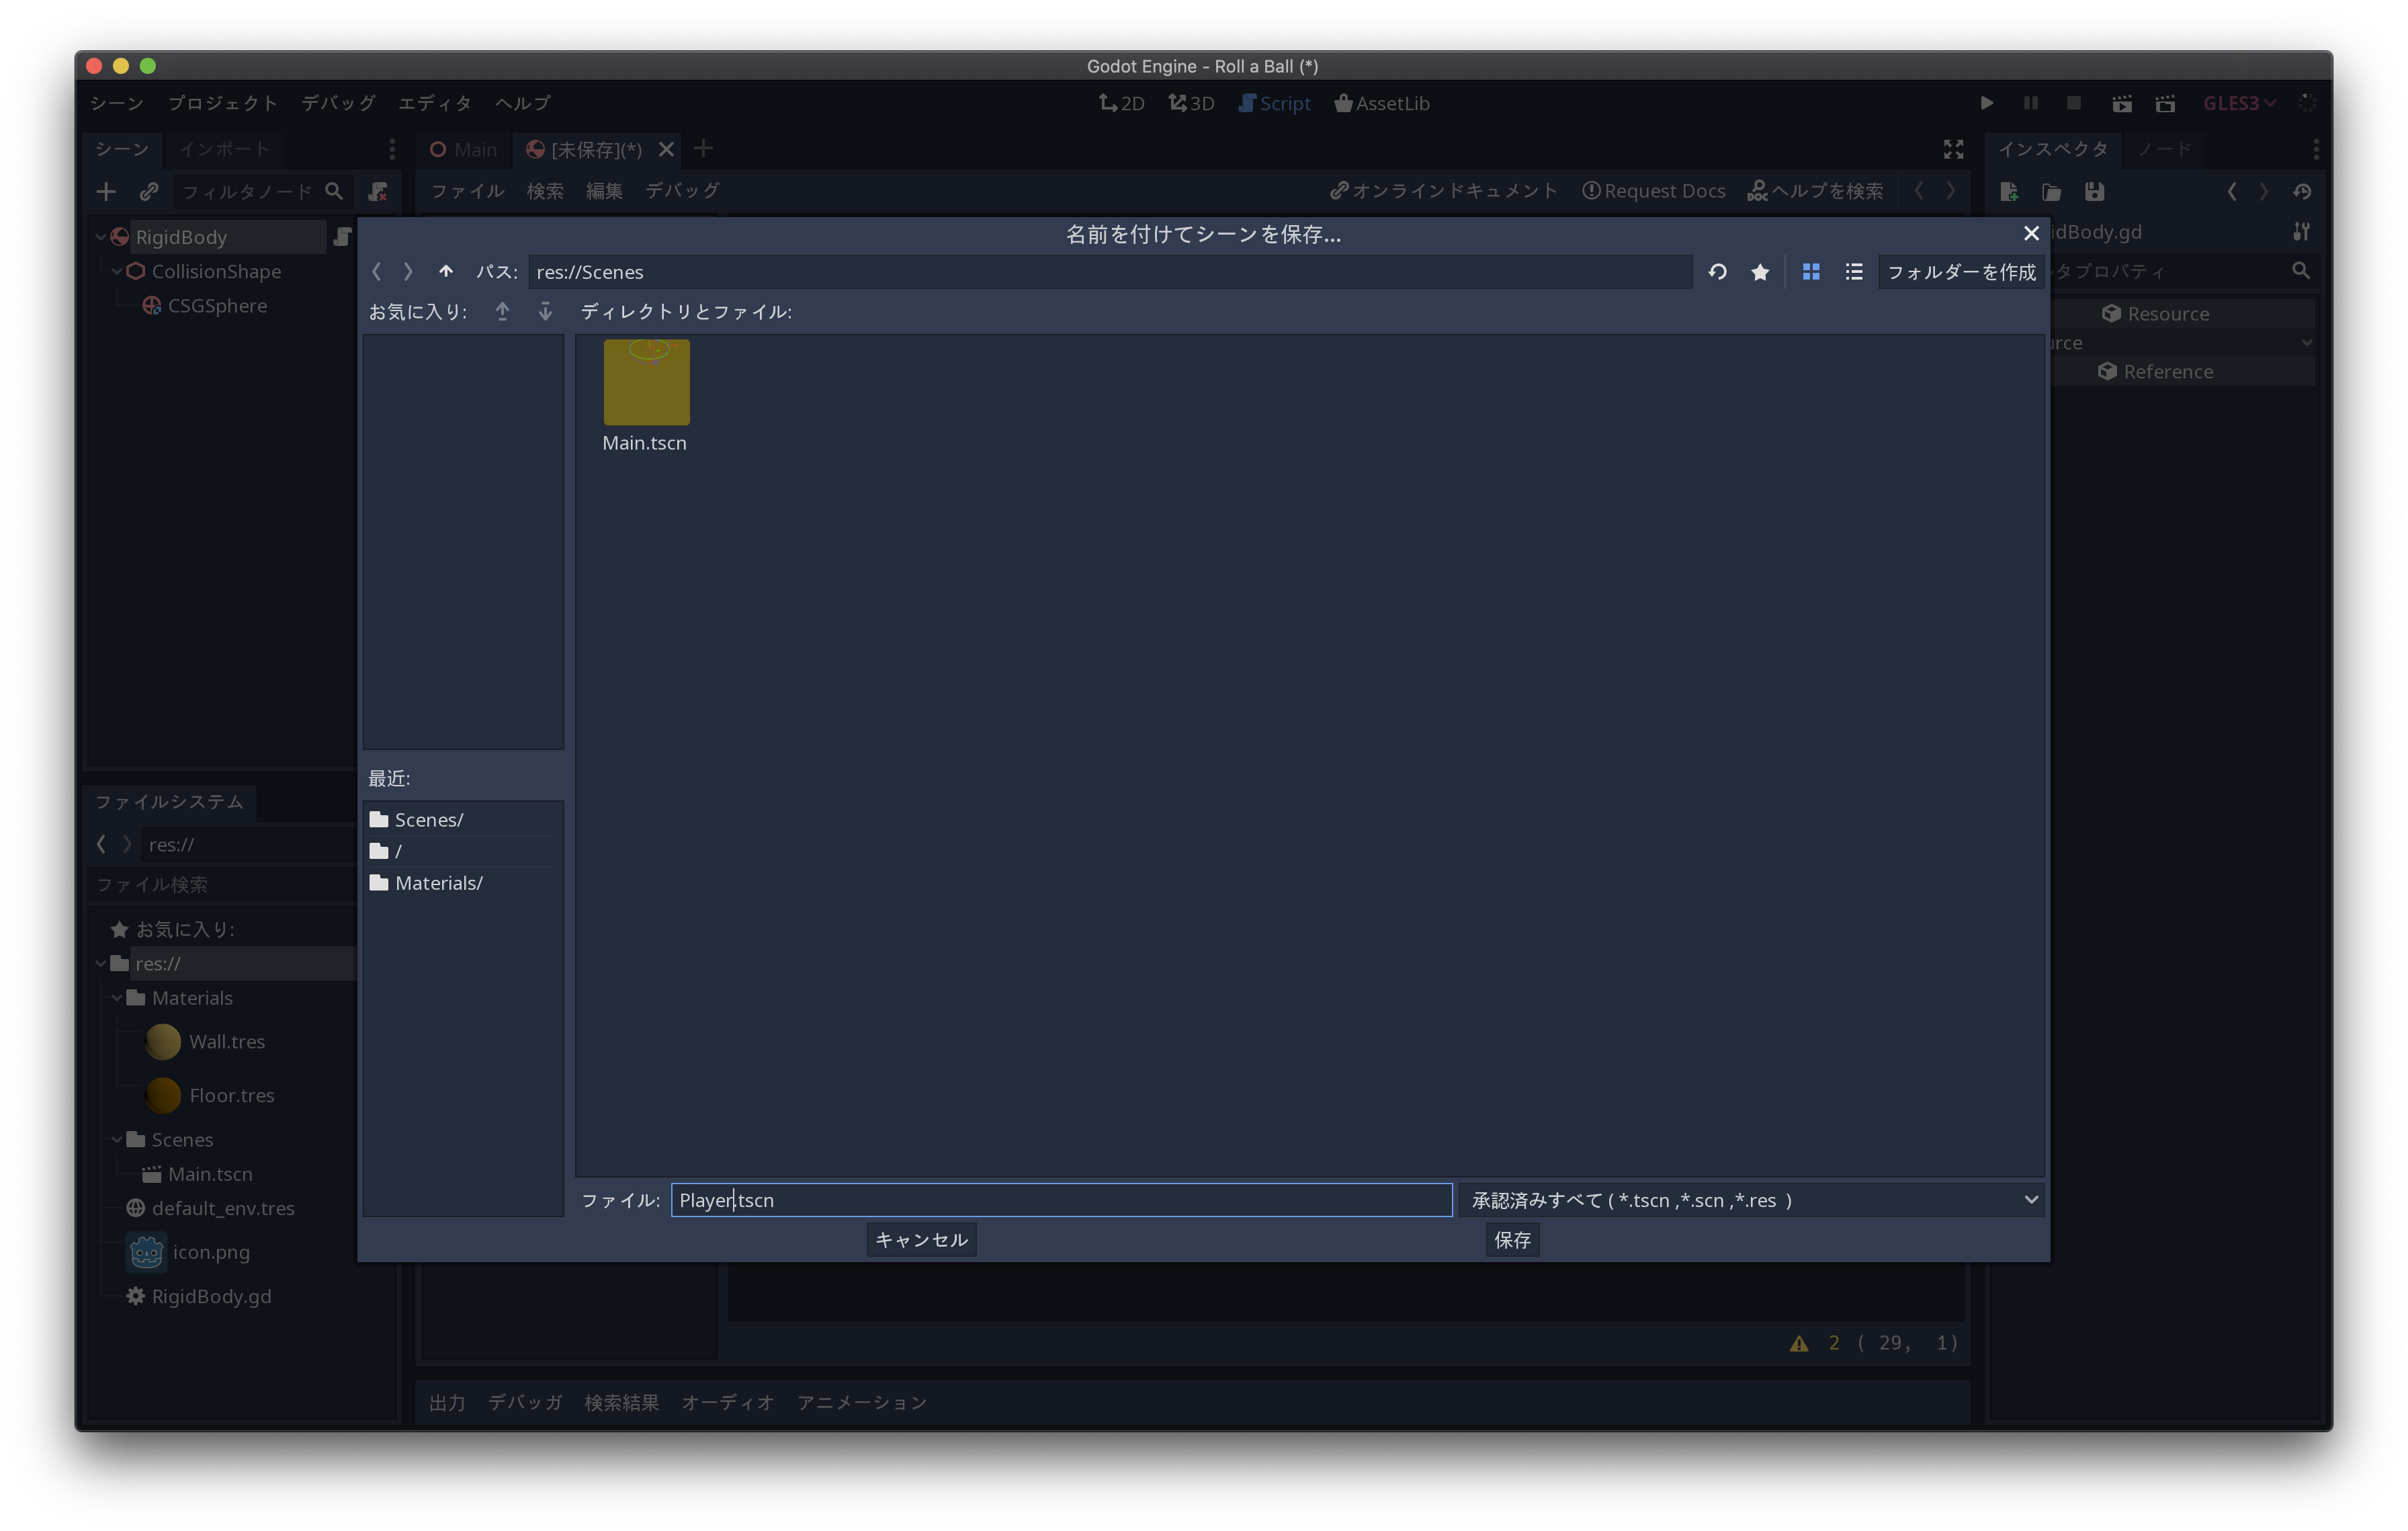
Mainシーンと同様に「Player.tscn」としてシーンを保存します
メインシーンへの追加
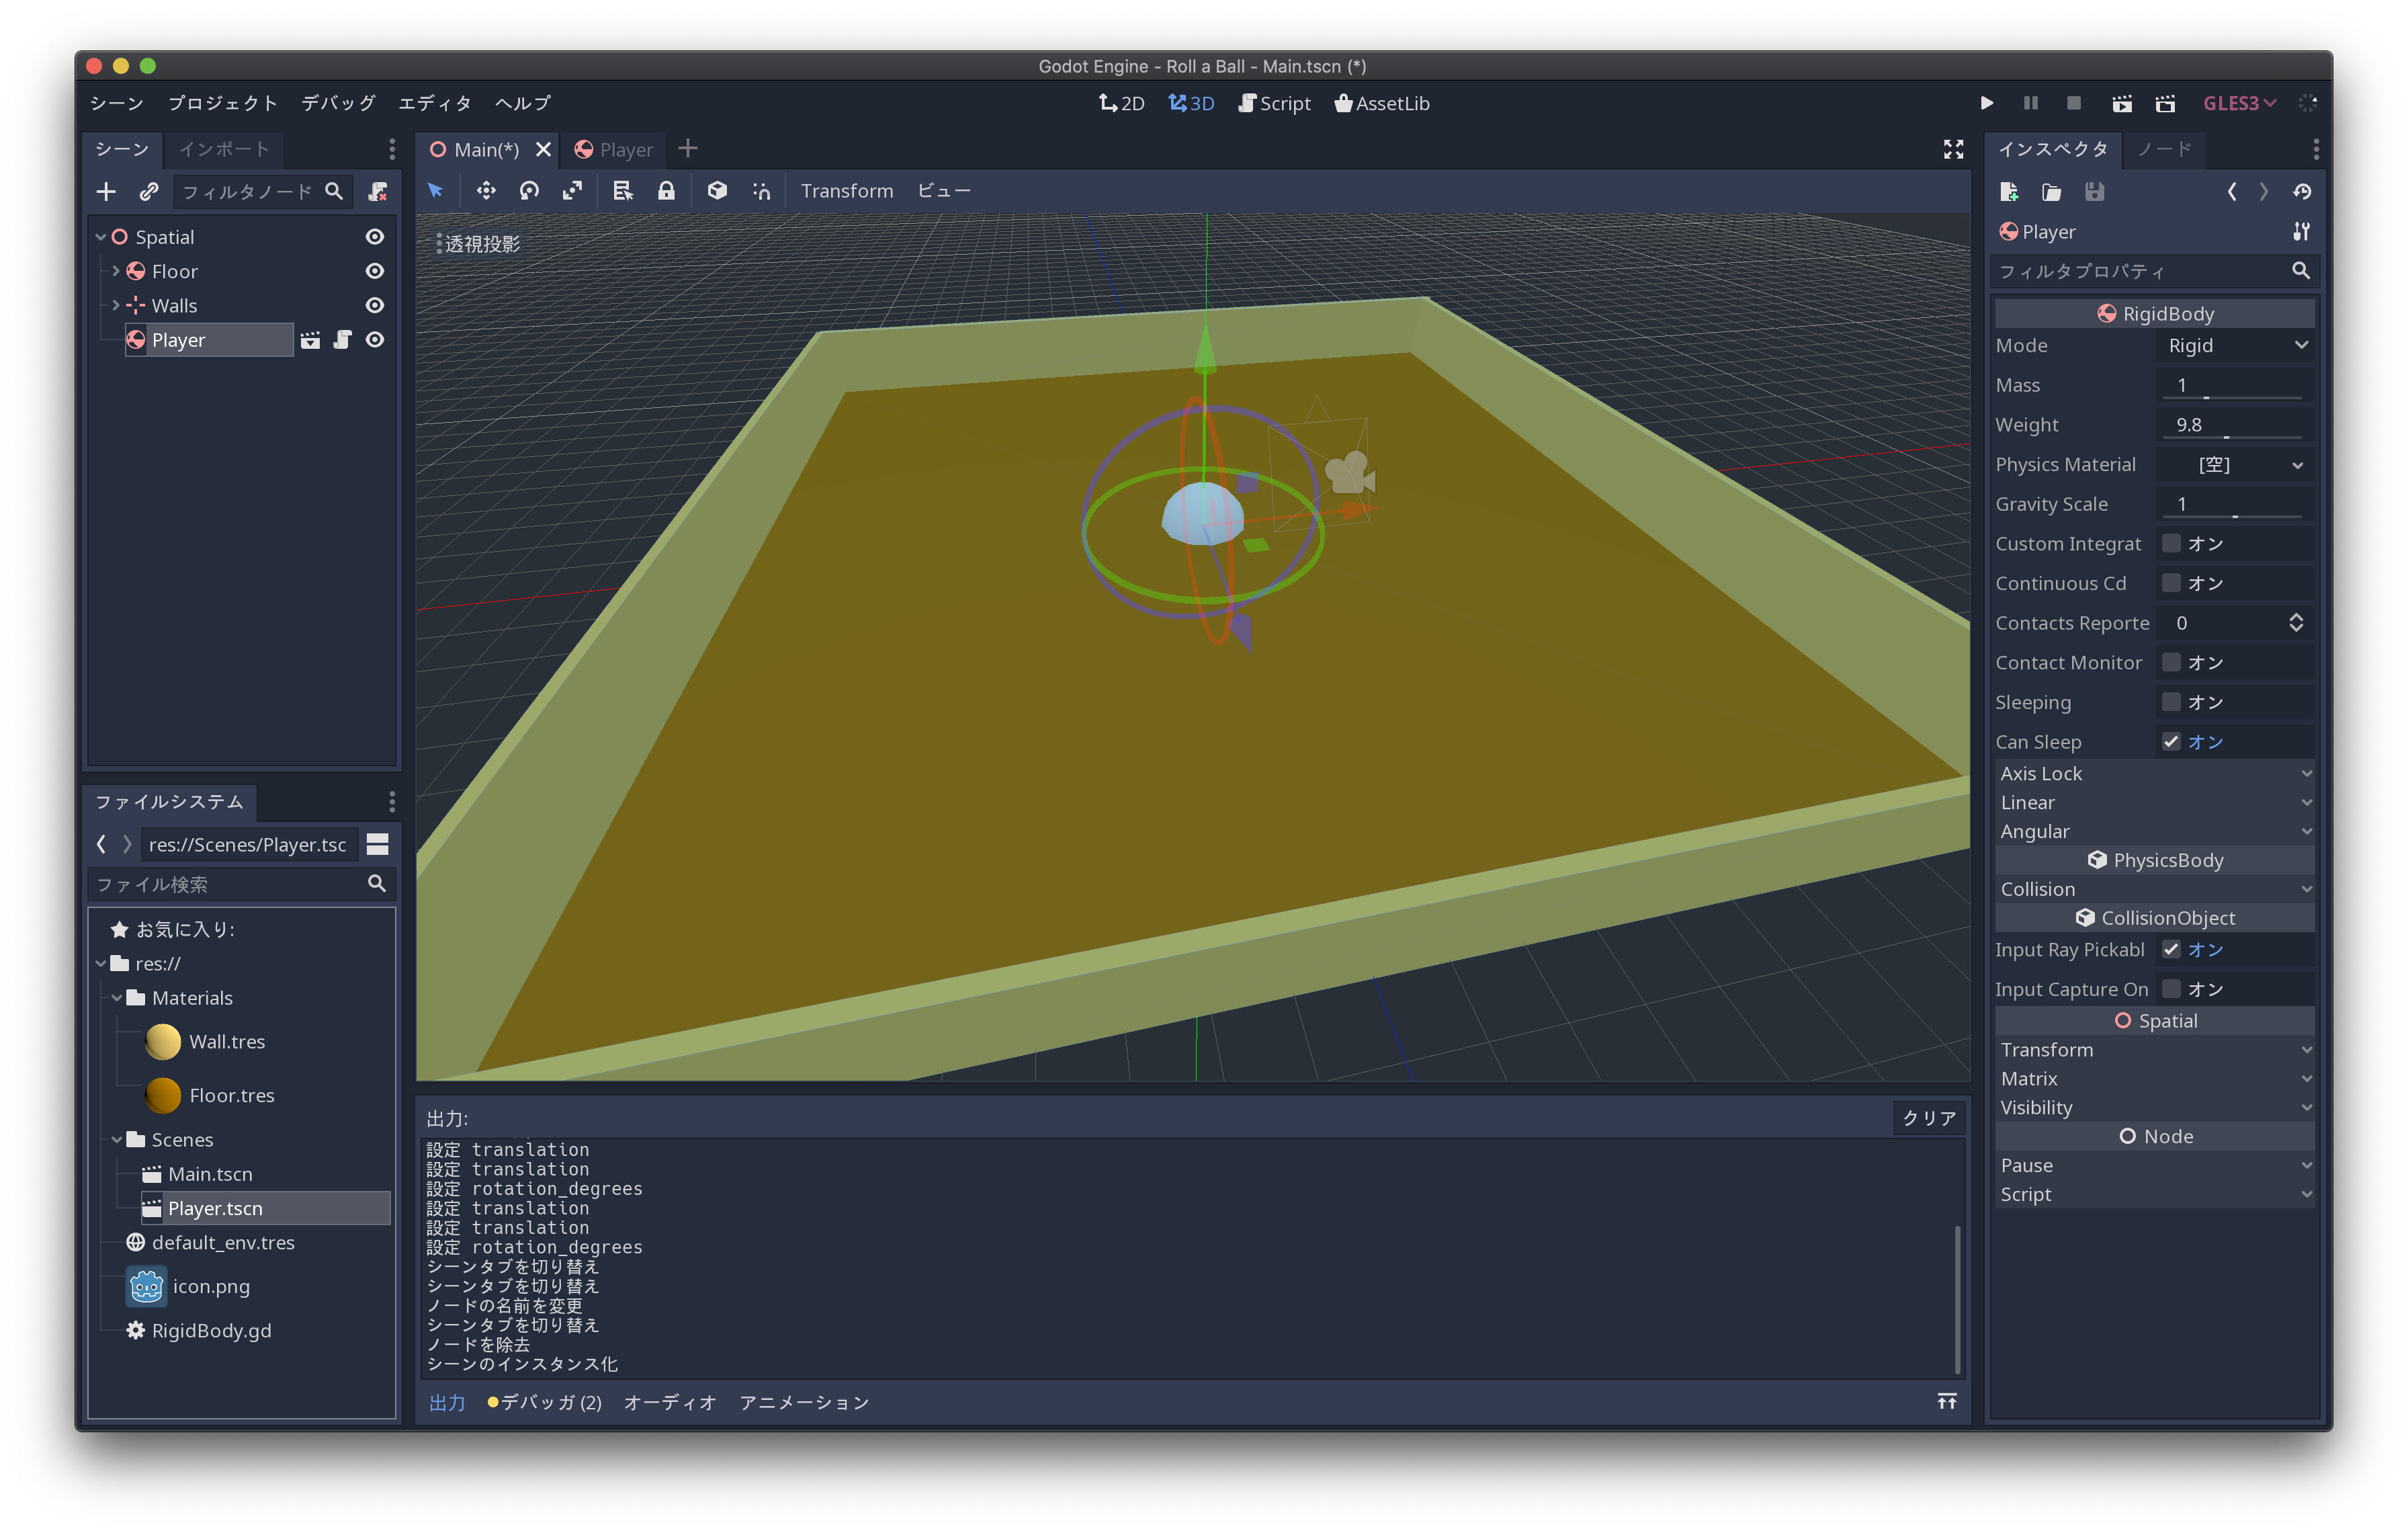
「Main.tscn」をダブルクリックし、「Spacial」ノードに「Player.tscn」をドラッグアンドドロップします
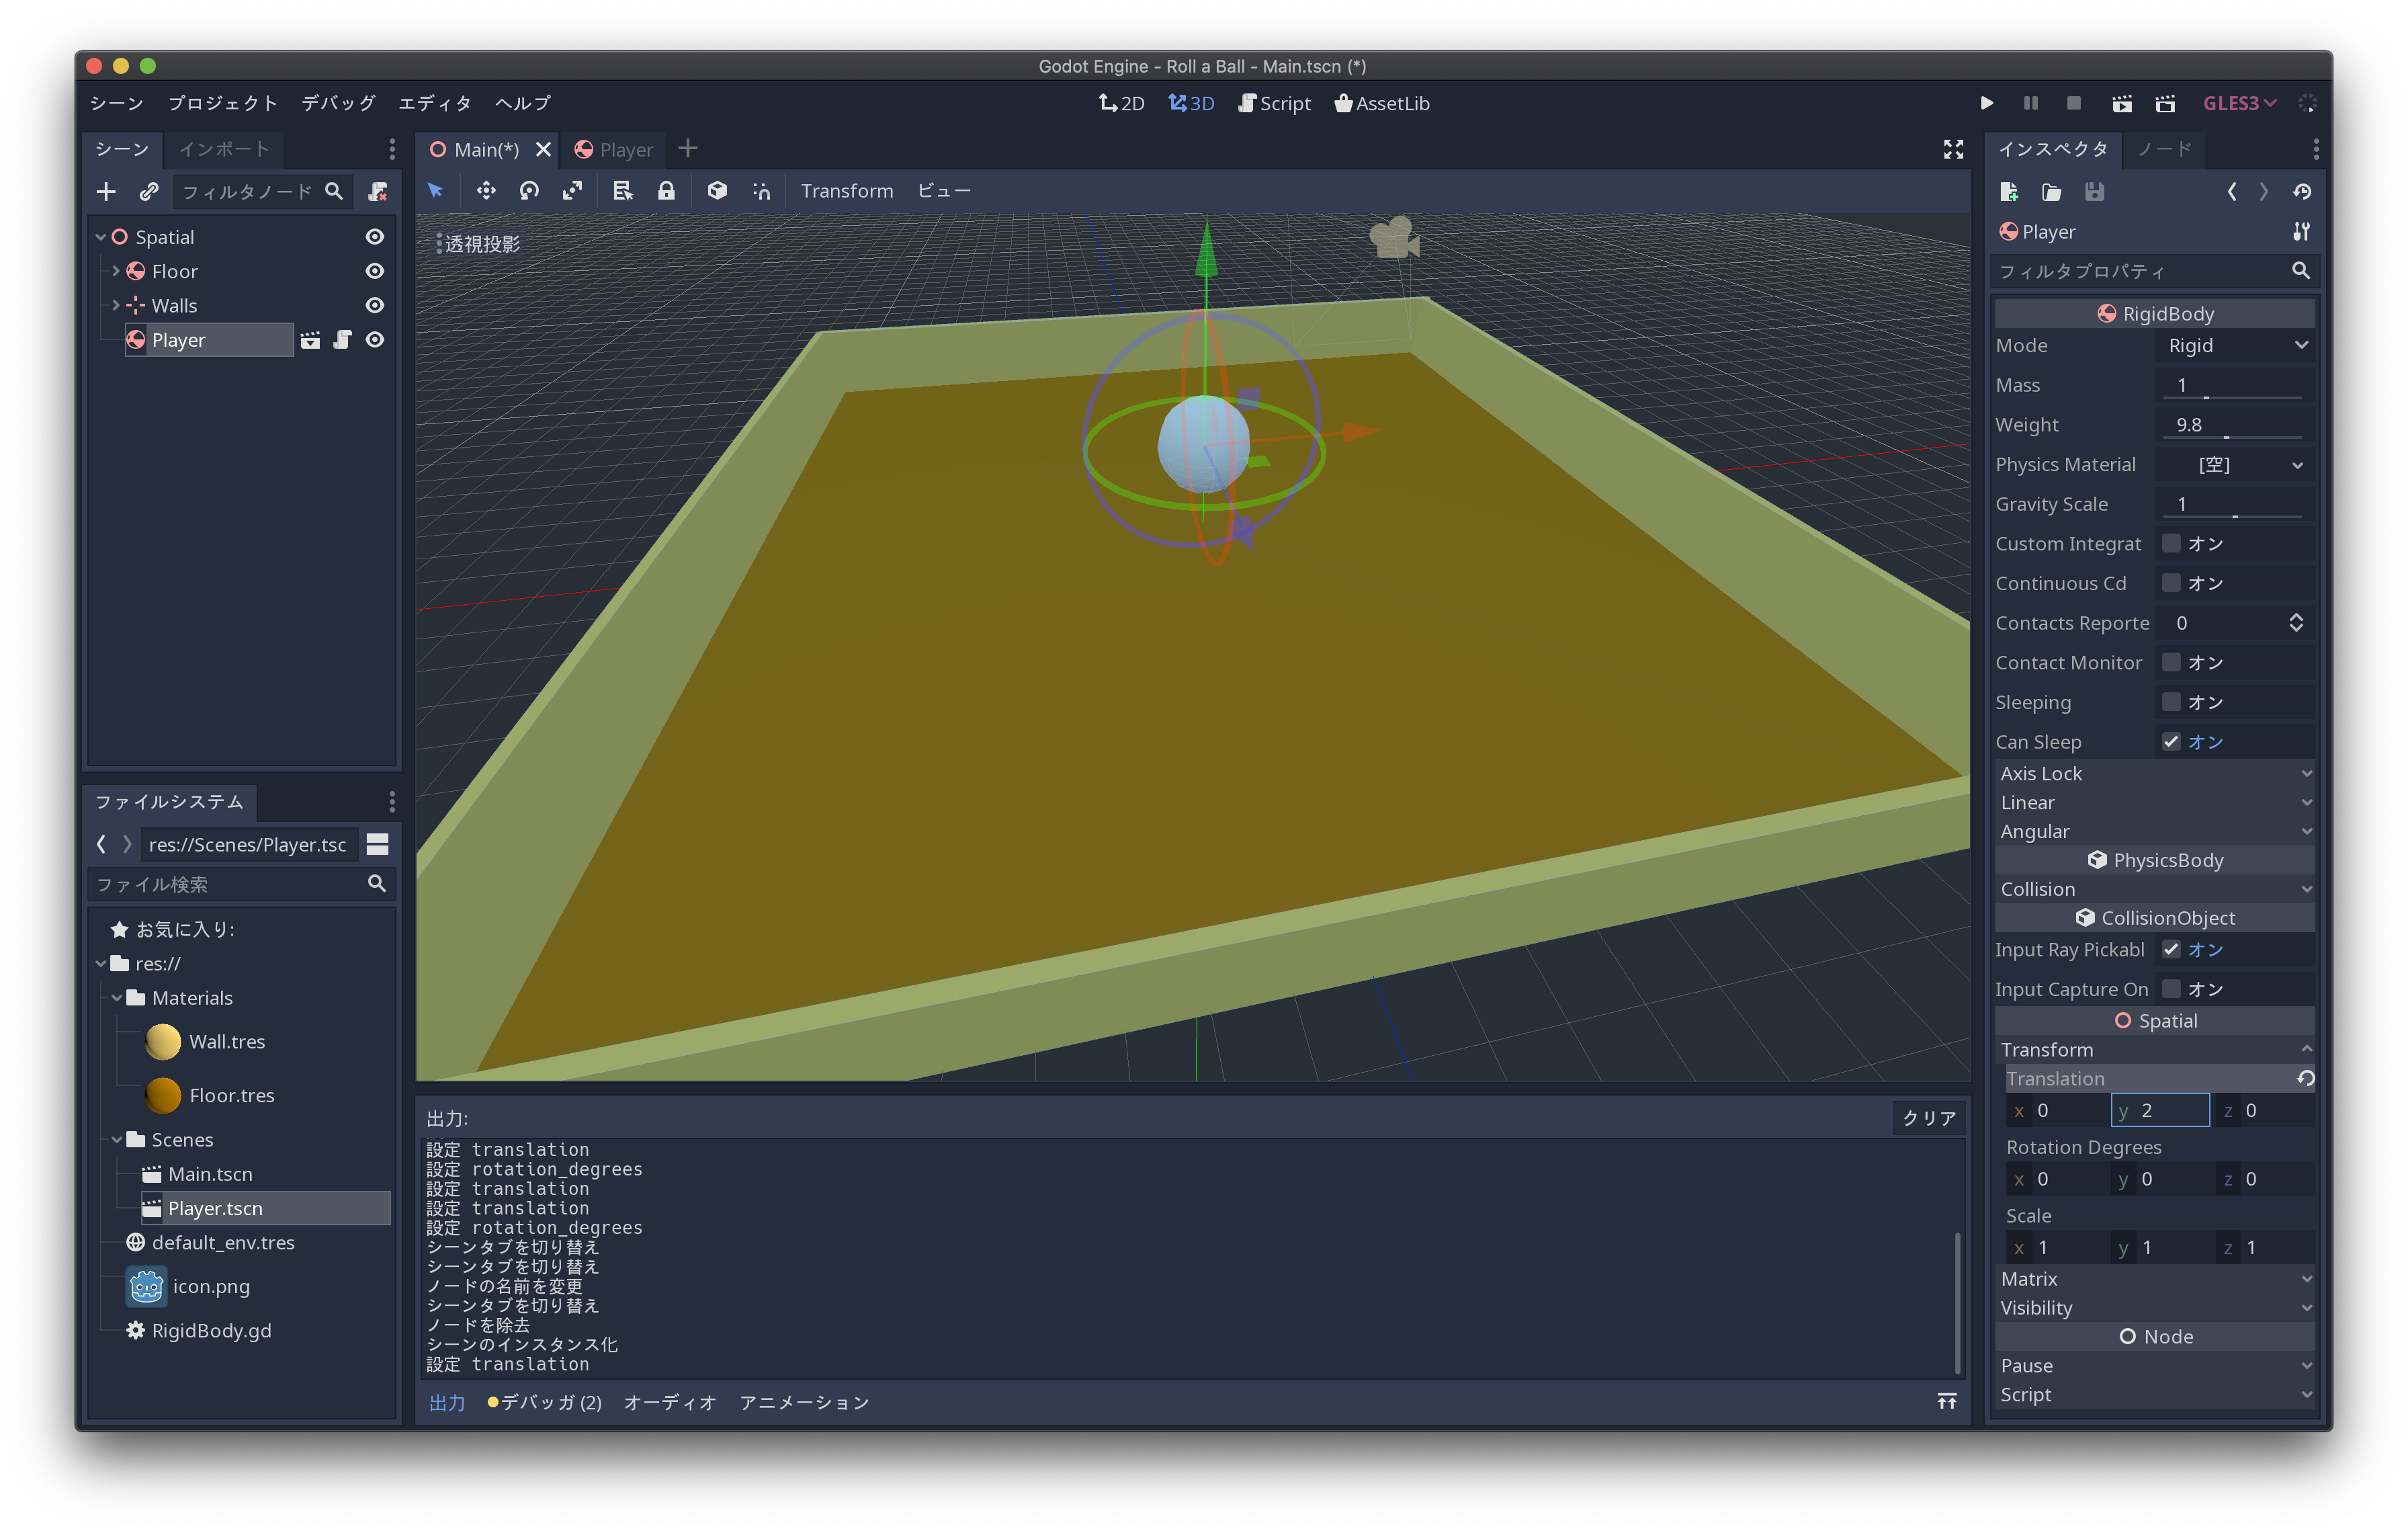
PlayerのTranslateを調整します
床と壁を固定する
忘れていました
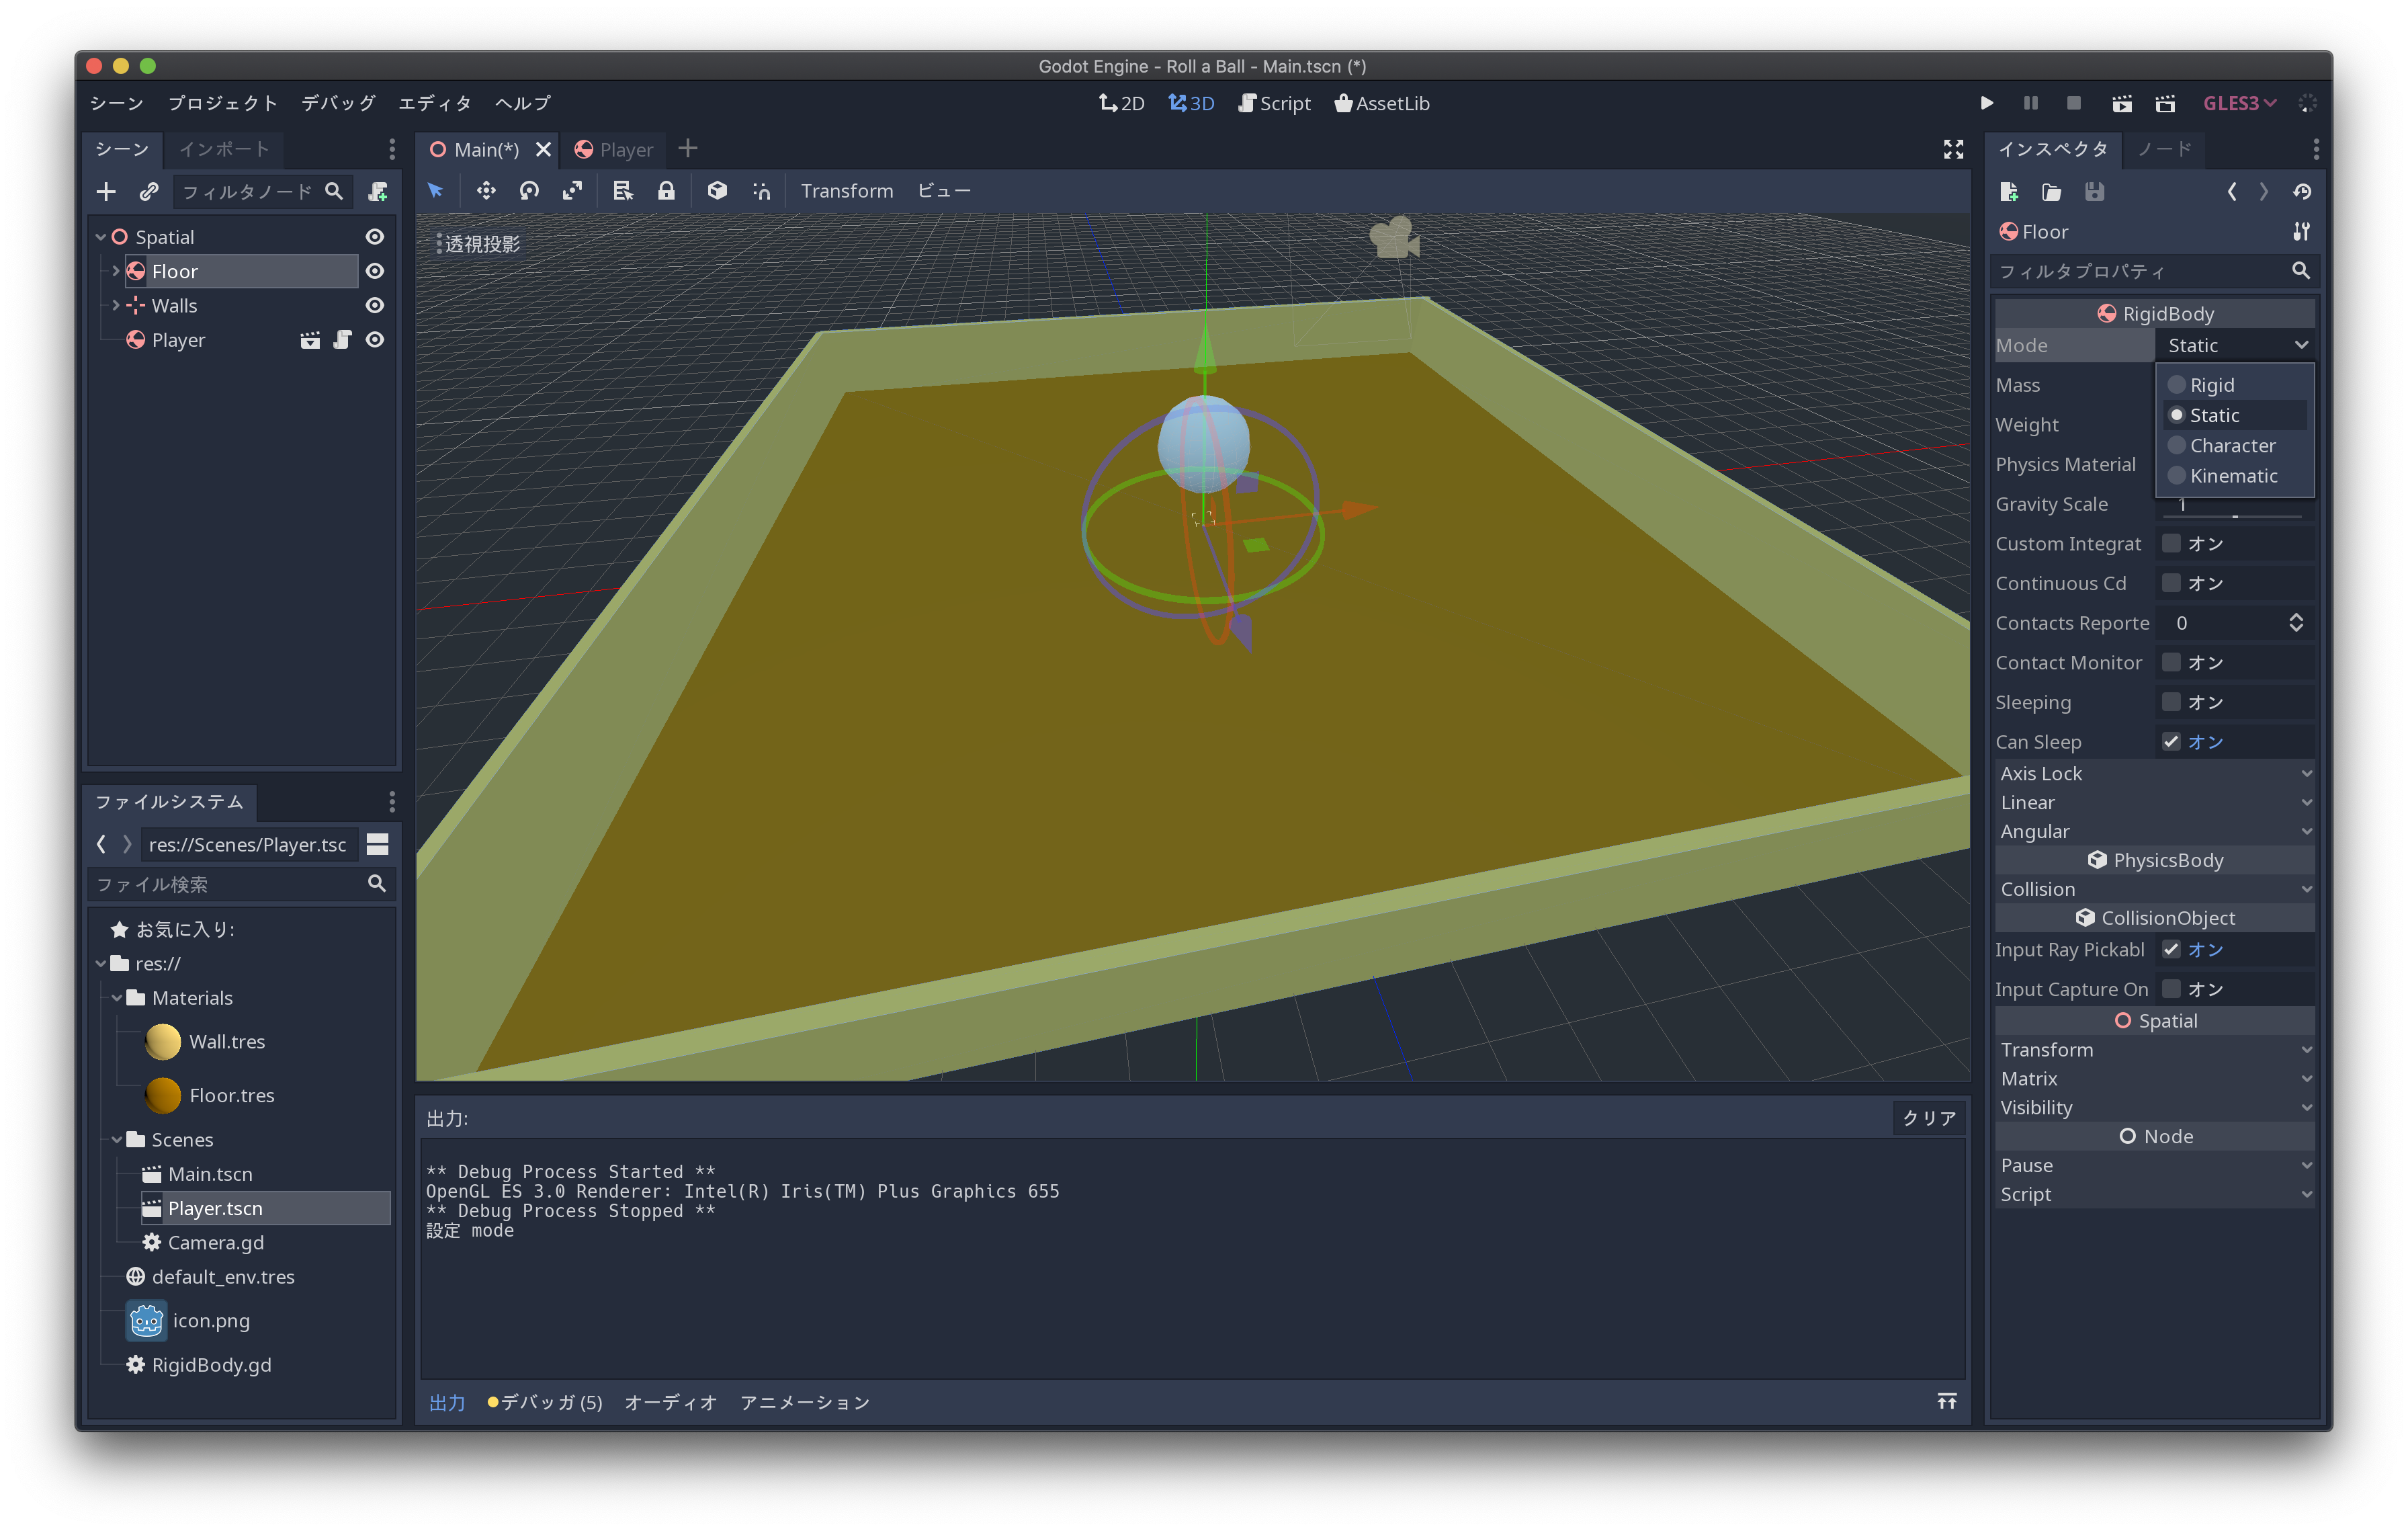
メインシーンのFloorの「Mode」を「Static」にします
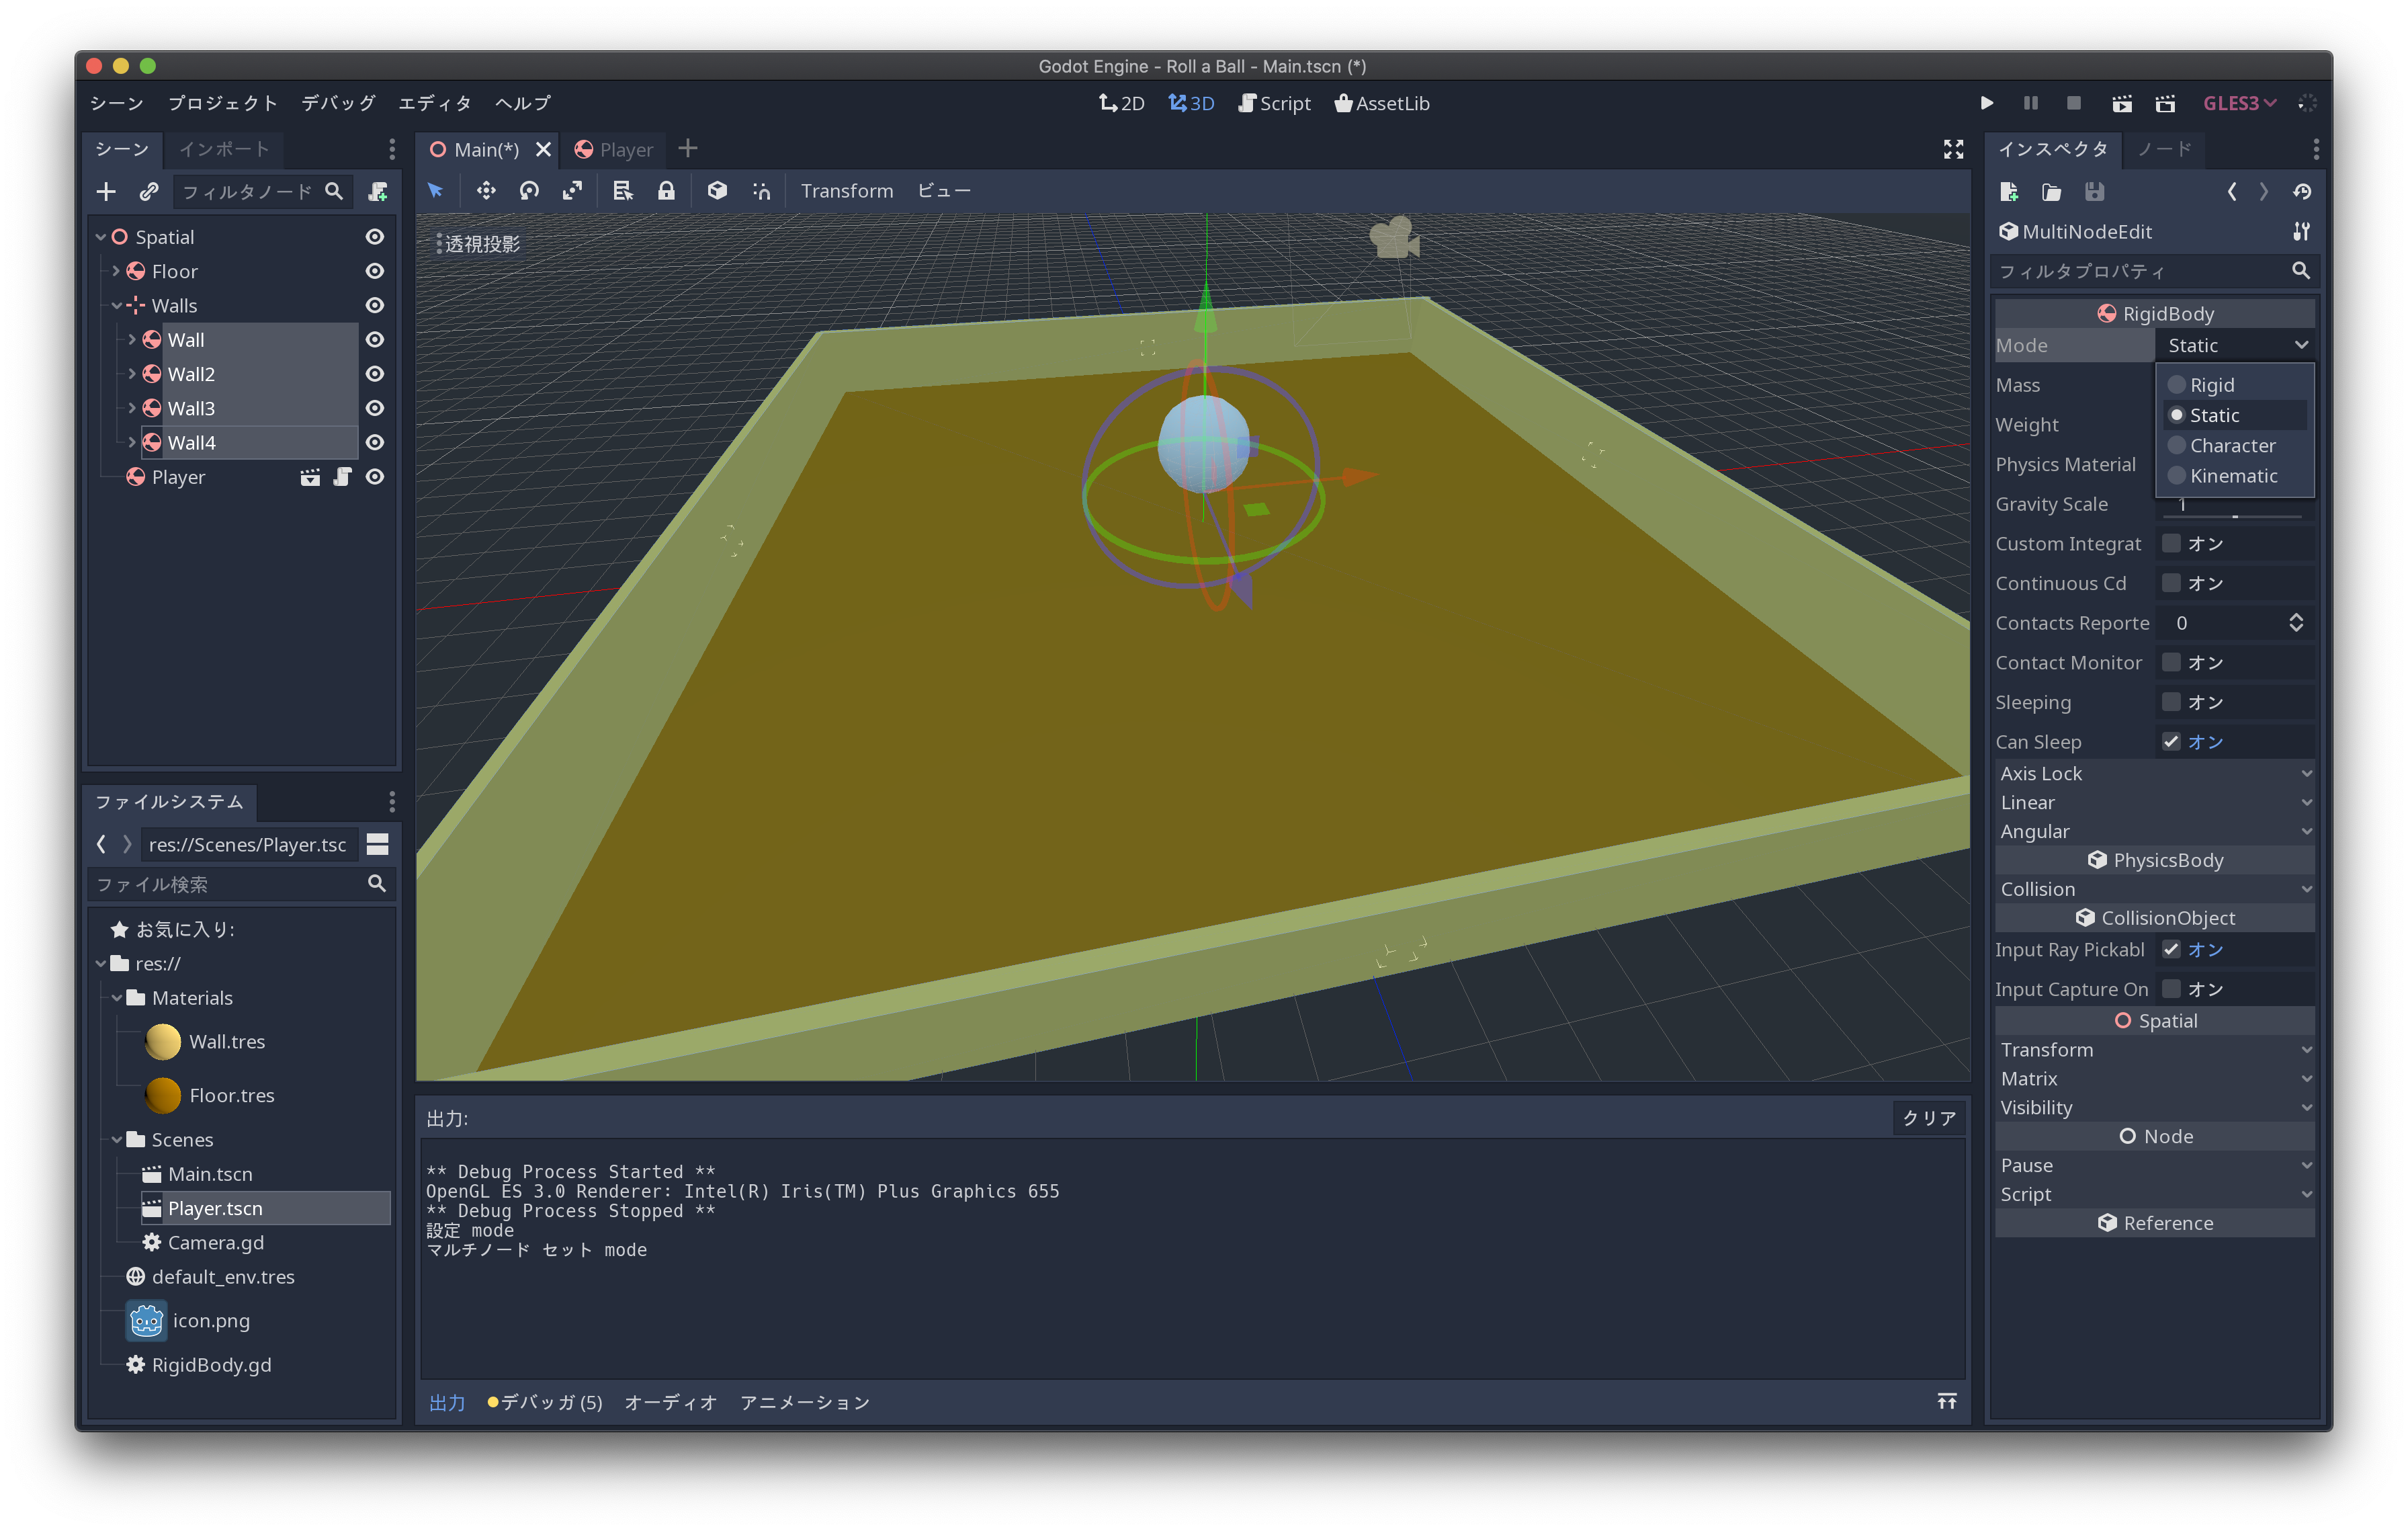
各Wallも同様です
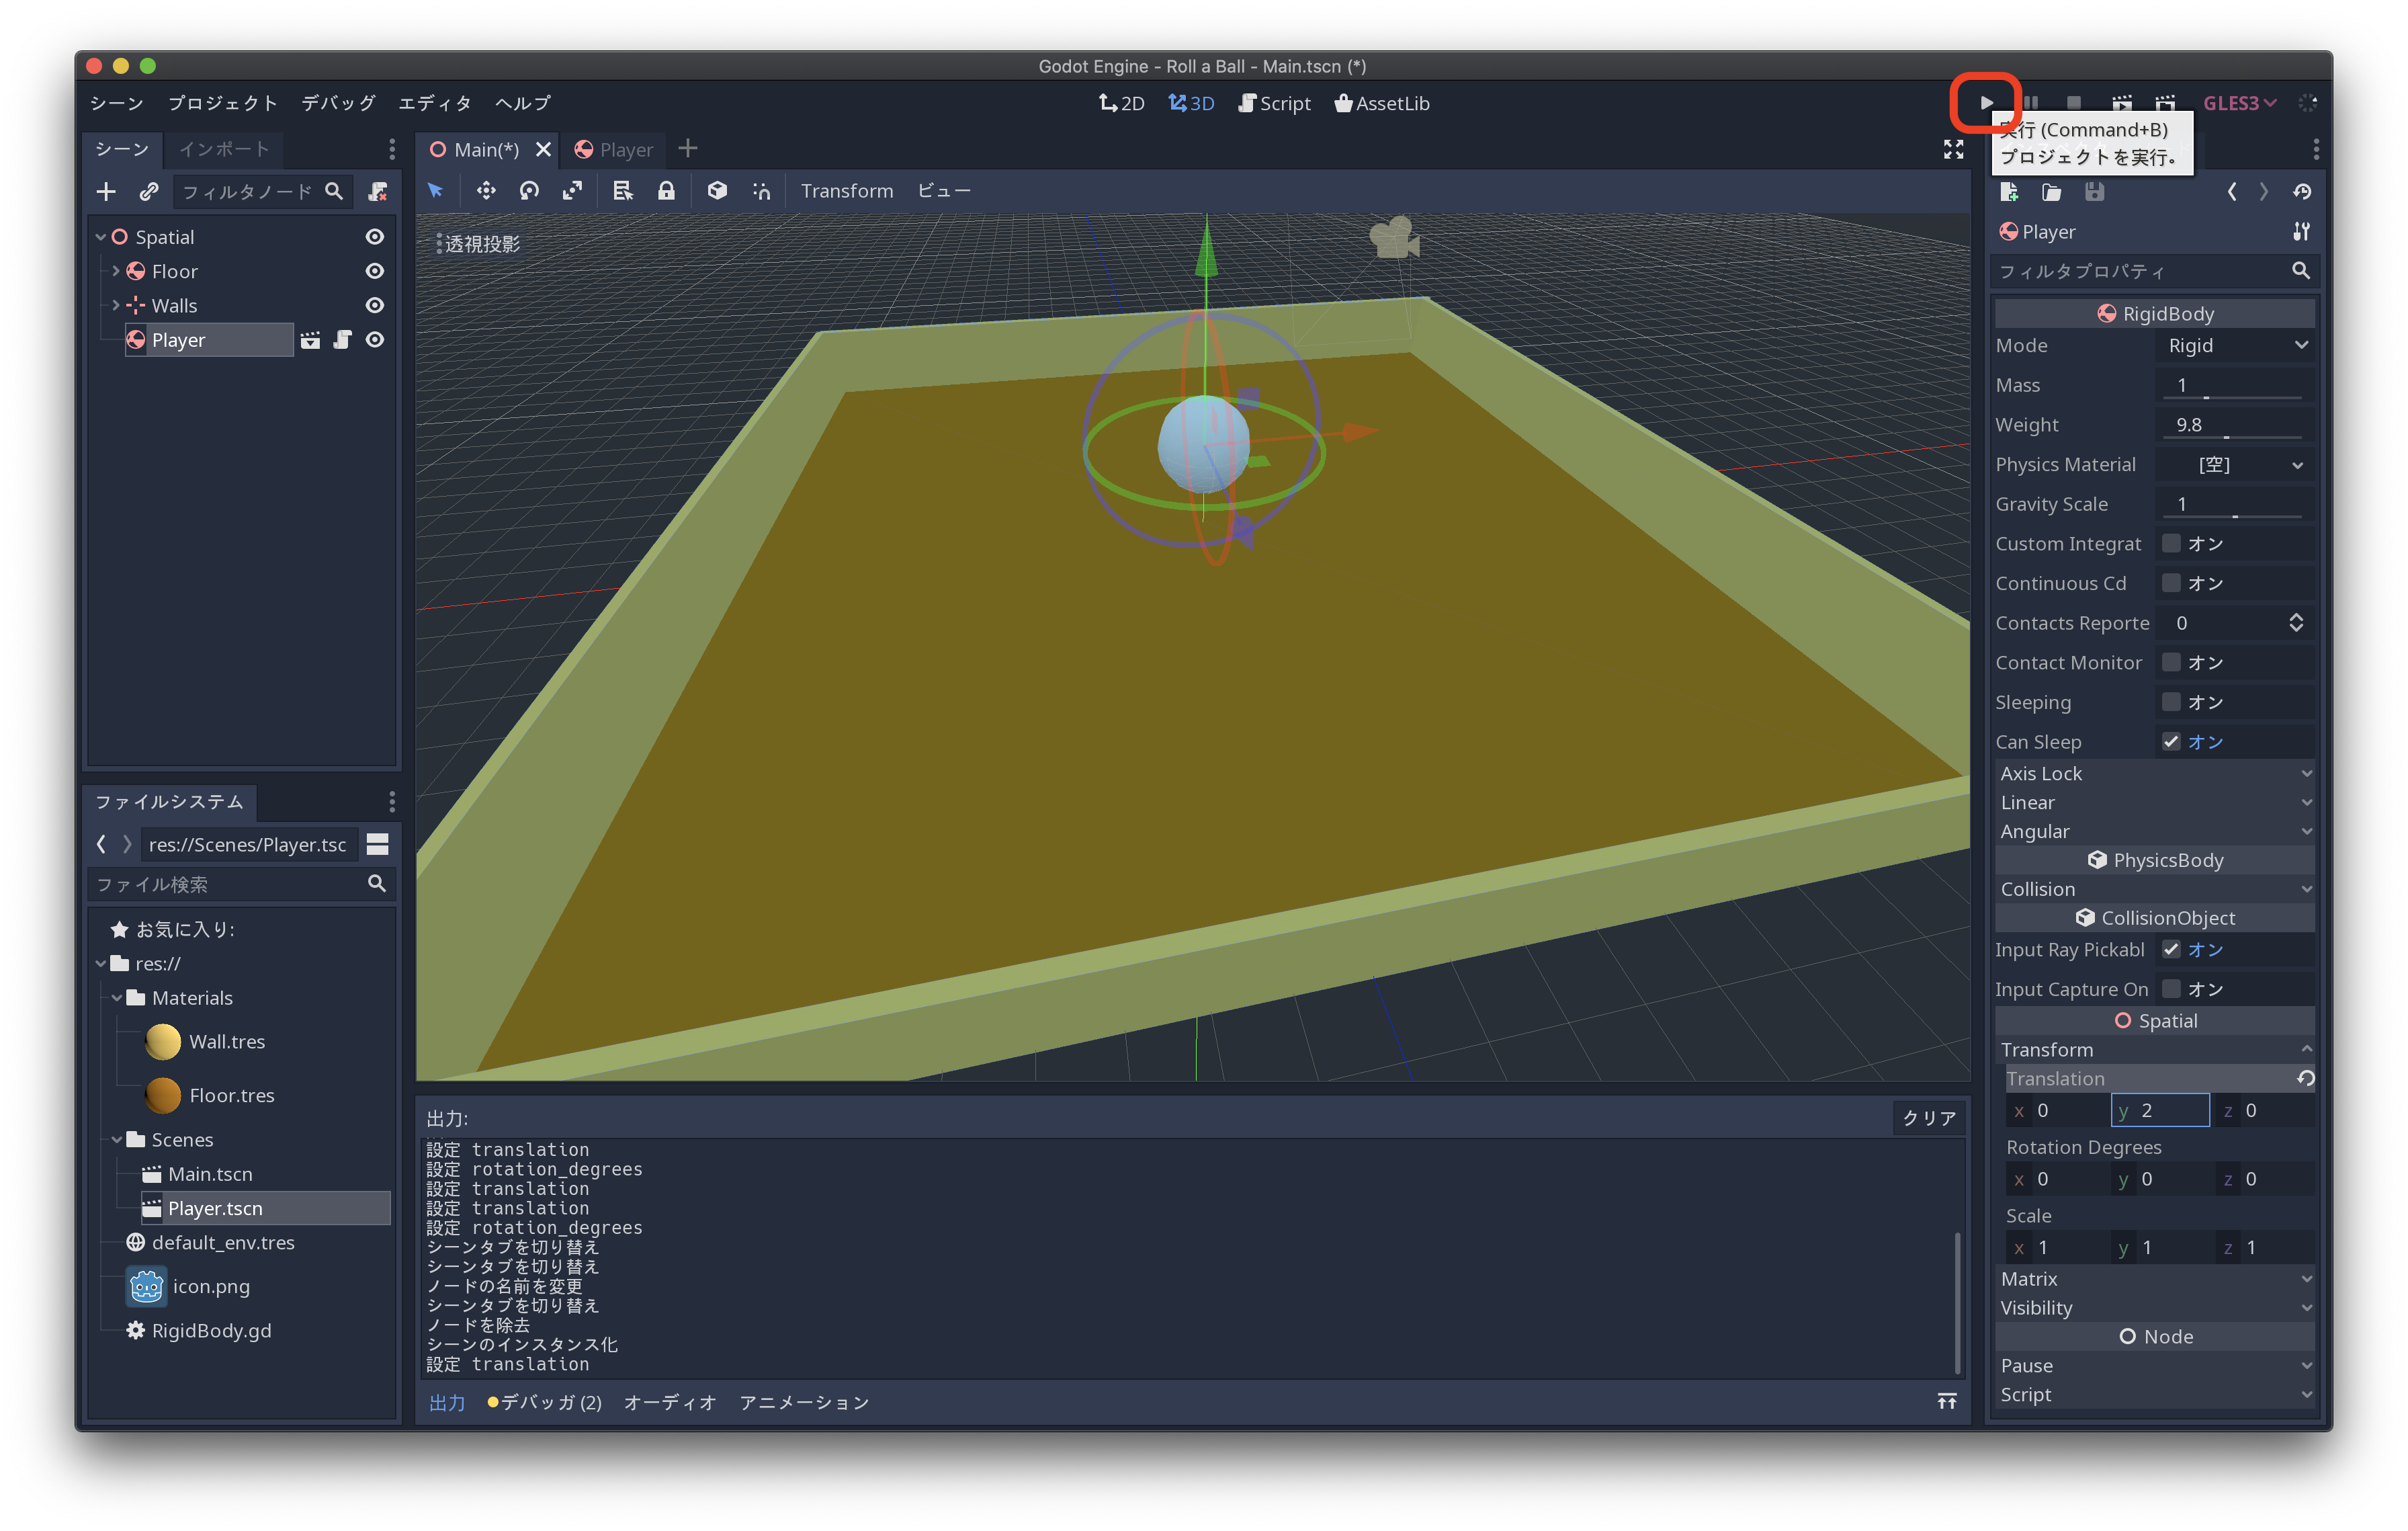
動かしてみる
矢印キーで玉が転がることを確認しましょう
パート4に続きます…
