こんにちは、Yuiです。
引き続き週イチ発信をしていきます。
今週は初めてNext.jsで動的OGPに挑戦したので、そのことについて書きます。
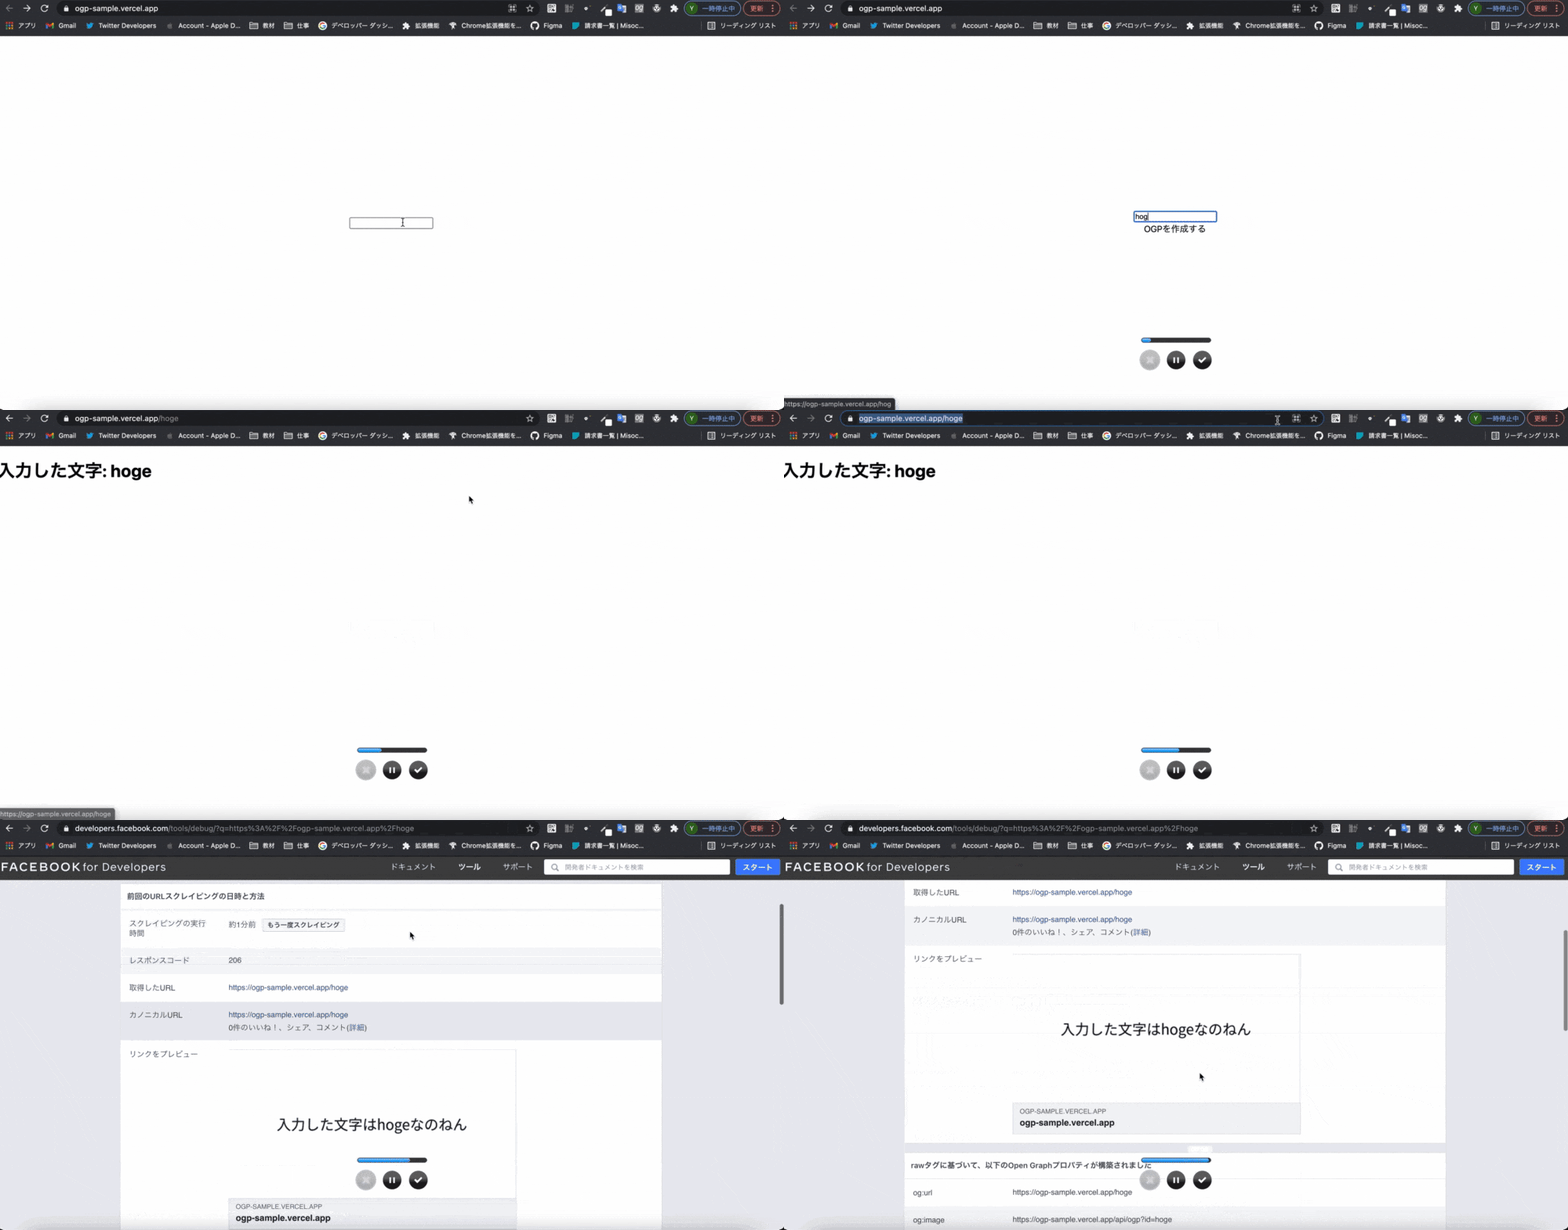
何もスタイルを当ててないので、ものすごくシンプルなものですが、入力した文字をそのままOGPにするというものです。
過去の週イチ発信は以下
- 【React + Typescriptで顔認識】tensorflowを使って画像にマスクをかけるアプリを作った
- 【React + Typescript】ボタン一つでコンポーネントのscssをコピーできるサイトを作った
- ui-componentsに18個のコンポーネントを追加した
- 【Nuxt.js × Tailwind CSS】ボタン一つで有名絵画風の画像にできるサービスをリリースした!
- 【GASでLINE Bot作成】現在地の近くのおすすめのごはん屋さんを教えてくれるLINE Botを作った
雛形作成
まずは雛形作成ということで、Next.js + TypeScriptの雛形を作成します。
npx create-next-app --ts
そして今回canvasでOGPの画像を作成するので、canvasをインポートします。
※バージョンを2.6.1にしている理由は後ほど書きます。
yarn add canvas@2.6.1
ページ構成は以下にしておきます。
fonts/
pages/
 ├ api/
 │ └ ogp.ts
 ├ [id]/
 │ └ index.tsx
 └ index.tsx
OGP用の画像を作成する
まずはOGP用の画像を作成する部分を組みます。
OGP用のサイズは1200*630が良いらしいので1200*630で作ります。
フォントは日本語は文字化けする可能性が高いらしいので、NotoSansJPをfontsフォルダ内において読み込むことにします。
const createOgp = async (
  req: NextApiRequest,
  res: NextApiResponse
): Promise<void> => {
  const { id } = req.query;
  const WIDTH = 1200 as const;
  const HEIGHT = 630 as const;
  const canvas = createCanvas(WIDTH, HEIGHT);
  const ctx = canvas.getContext("2d");
  registerFont(path.resolve("./fonts/NotoSansJP-Regular.otf"), {
    family: "Noto",
  });
  ctx.fillStyle = "#FFF";
  ctx.fillRect(0, 0, WIDTH, HEIGHT);
  ctx.font = "60px ipagp";
  ctx.fillStyle = "#000000";
  ctx.textAlign = "center";
  ctx.textBaseline = "middle";
  const text = "入力した文字は" + String(id) + "なのねん";
  ctx.fillText(text, WIDTH / 2, HEIGHT / 2);
  const buffer = canvas.toBuffer();
  res.writeHead(200, {
    "Content-Type": "image/png",
    "Content-Length": buffer.length,
  });
  res.end(buffer, "binary");
}

export default createOgp;
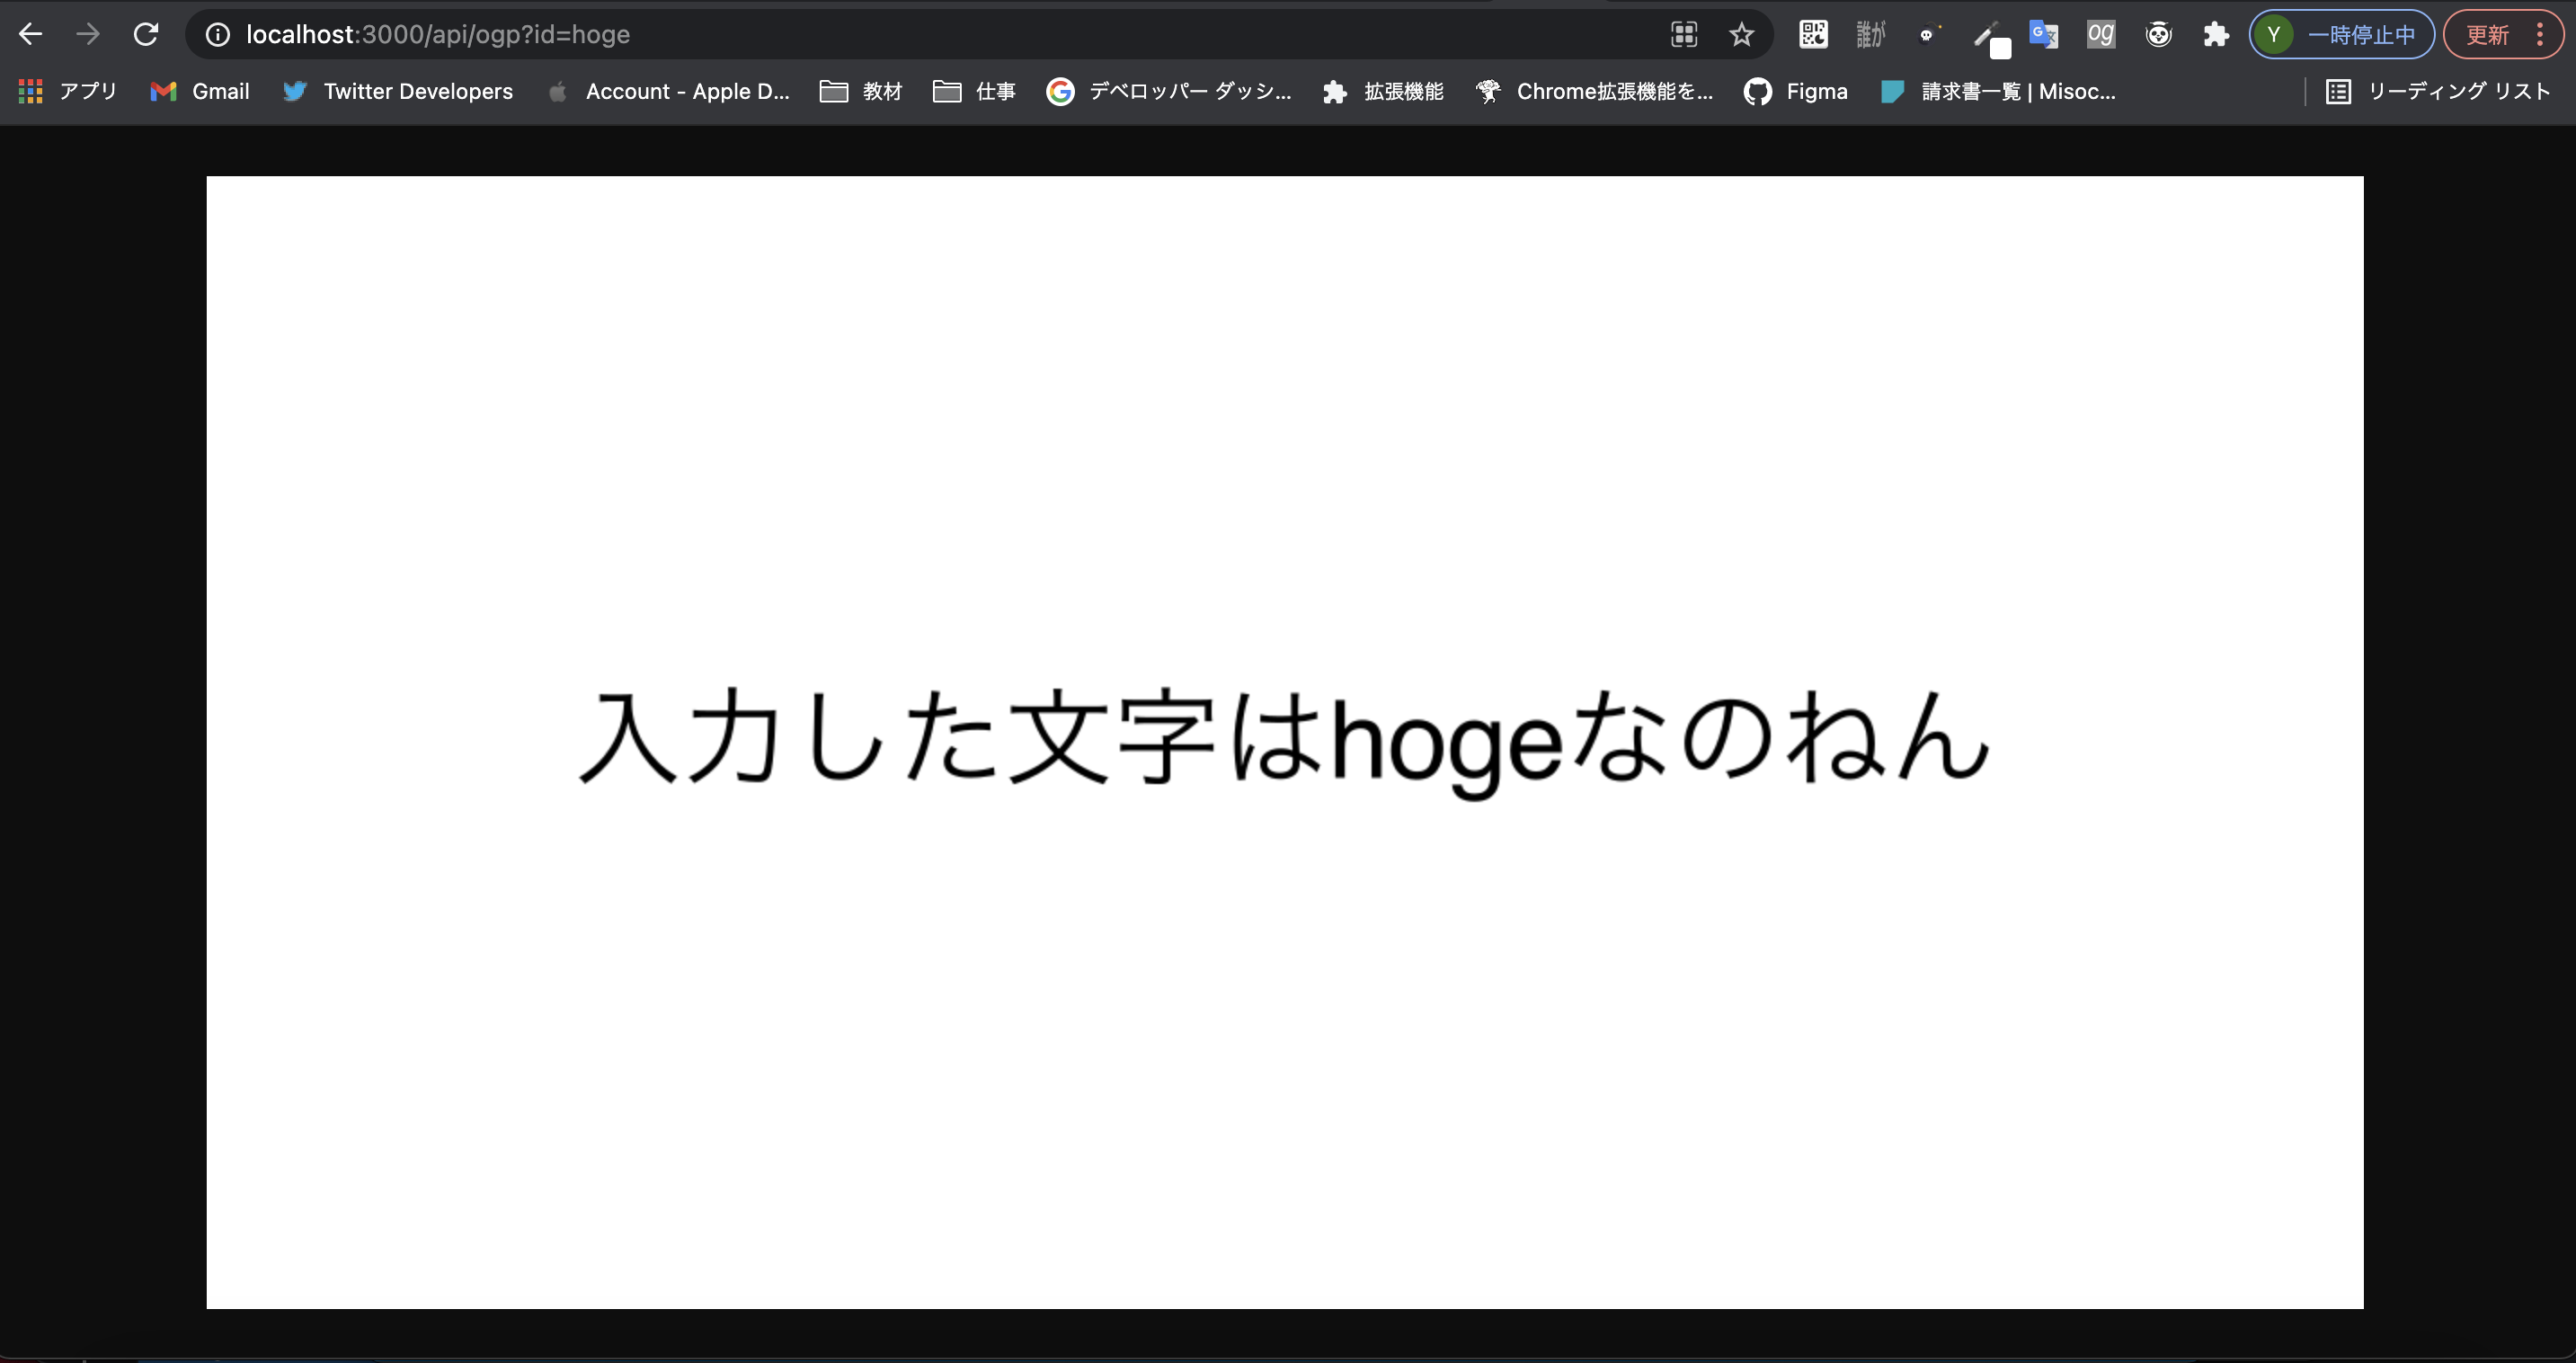
yarn devで開いて、http://localhost:3000/api/ogp?id=hoge を見たときに以下のページが表示されていれば成功です。
後で気が付いたんですが、入力した文字をそのままクエリにするならidじゃなくてtextとかで受け取った方が良いですね。まあ細かい部分は置いておいて、とりあえずOGP用の画像ができました。
それではこれをOGPに設置していきます。
metaを書き換える
それではmeta情報を書き換えます。
Next.jsでは<Head>タグで簡単に切り替えることができるらしいので、その中で直接metaを書きます。
動的OGPなので、idに関してはSSRで処理をしてpropsで渡します。
import React from "react";
import { GetServerSidePropsContext, GetServerSidePropsResult } from "next";
import Head from "next/head";

type Props = {
  id: string;
};

export const getServerSideProps = async (
  context: GetServerSidePropsContext
): Promise<GetServerSidePropsResult<Props>> => {
  if (typeof context.params?.id === "string") {
    return {
      props: {
        id: context.params?.id,
      },
    };
  } else {
    return {
      notFound: true,
    };
  }
};

const Page = ({ id }: Props) => {
  const baseUrl = process.env.NEXT_PUBLIC_BASE_URL ?? "";
  return (
    <>
      <Head>
        <meta
          property="og:image"
          key="ogImage"
          content={`${baseUrl}/api/ogp?id=${id}`}
        />
        <meta
          name="twitter:card"
          key="twitterCard"
          content="summary_large_image"
        />
        <meta
          name="twitter:image"
          key="twitterImage"
          content={`${baseUrl}/api/ogp?id=${id}`}
        />
      </Head>
      <div>
        <h1>入力した文字: {id}</h1>
      </div>
    </>
  );
};
export default Page;
これで、http://localhost:3000/hoge にアクセスをすると、先程のhttp://localhost:3000/api/ogp?id=hoge の画像がOGP画像として設置されます。
あとは必要に応じてindex.tsxで受け取った入力値に応じて個別ページに飛ばすなりしたらOKです。
(以下hogeと入力したら/hogeに飛ばすだけのもの)
import { useState } from "react";
import styles from "../styles/Home.module.css";
import Link from "next/link";

const Home = () => {
  const [text, setText] = useState<string>();
  const inputHandler = (e: { target: { value: string } }) => {
    setText(e.target.value);
  };
  return (
    <div className={styles.container}>
      <main className={styles.main}>
        <input type="text" onChange={inputHandler} />
        {text?.trim() && (
          <Link href={`/${text}`}>
            <a>OGPを作成する</a>
          </Link>
        )}
      </main>
    </div>
  );
};
export default Home;
Vercelにデプロイする
あとはVercelにデプロイをするだけなのですが、普通にデプロイするとcanvasが動きませんでした。
issueに書いてあるとおり、ビルド時にyum installする必要があるみたいです。
そこでビルド時のスクリプトを変えます。
...
  "scripts": {
    "dev": "next dev",
    "build": "next build",
    "now-build": "yum install libuuid-devel libmount-devel && cp /lib64/{libuuid,libmount,libblkid}.so.1 node_modules/canvas/build/Release/ && yarn build",
    "start": "next start",
    "deploy": "now"
  },
...
vercelではnow-buildと書いて、"deploy": "now"で指定をするとbuildの代わりにnow-buildのコマンドを参照してビルドしてくれます。
これでビルドはyarn buildではなく、yarn now-buildで行われることになりました。
また、今回NEXT_PUBLIC_BASE_URLを環境変数で設定しているので、URLをNEXT_PUBLIC_BASE_URLで設定するのを忘れないようにします。
あとはビルドが通るのを待てば完了です。
ちなみに今回デプロイしたのがこちらです→https://ogp-sample.vercel.app/
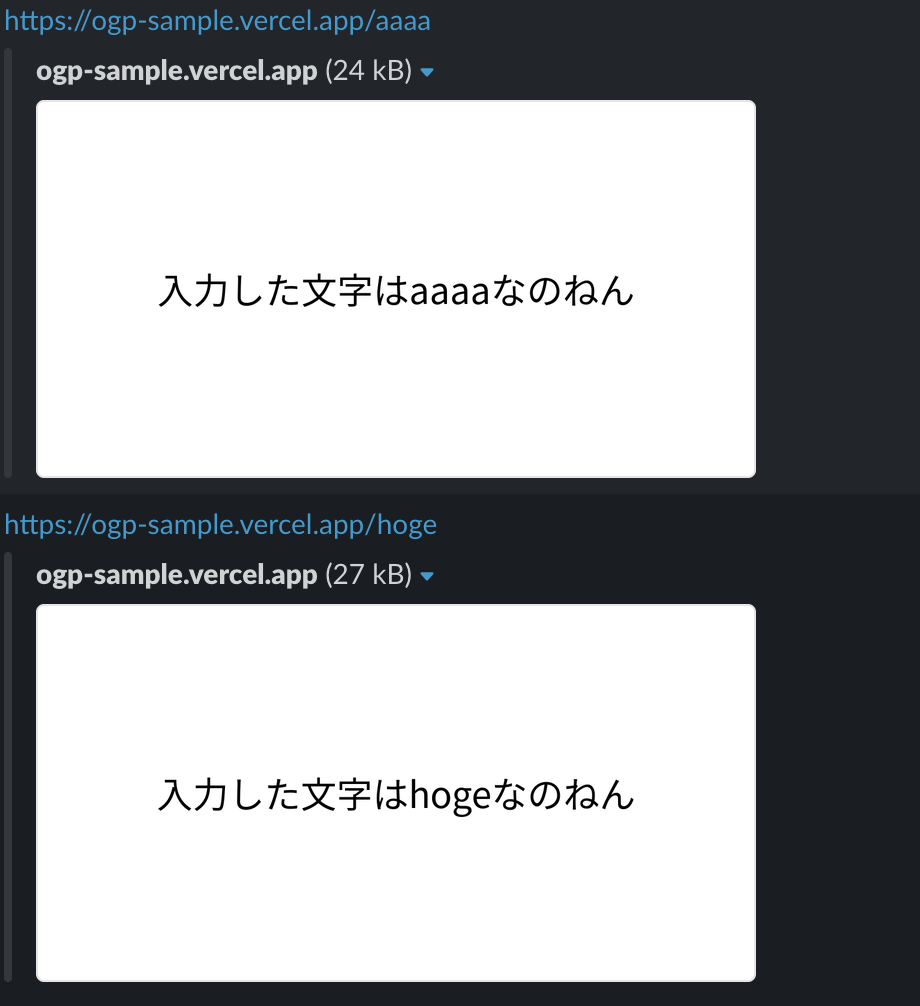
必要に応じて、シェアデバッガーで確認するなり、どこかに貼るなりしてみてください。
こんなふうに動的OGPができているはずです。
ちょっと詰まったところ
最初、canvasを最新バージョンで動かしていたとき、デプロイコマンドでcanvasをインストールするように書いてもどうやっても動きませんでした。
わけがわからなくて公式のissueを読み漁っていたら、2.6.1までダウングレードすると動くというコメントがあったので、試したら動きました。
どうやらcanvas2.7.0以降はnode14に対応してないぽい?です。
参考
https://zenn.dev/tiwu_dev/articles/68d58d4ab710af
https://nextjs.org/docs/basic-features/data-fetching
https://github.com/vercel/vercel/issues/3460
https://github.com/Automattic/node-canvas/issues/1779


