Reduxのサンプル, shopping-cart を学習を兼ねて、自己流にステップ・バイ・ステップでつくってみる。
0. 留意点
- 初心者の覚書です。
- 自分の環境で動くように参考にしたコードを適当に修正している。
- Windows10 64bit , PowerShellなどで動かしている。
- 見栄えを若干よくする為にbootstrap4を利用している
- Visual Studio Code を使用している。
1.環境構築
インストールなど
PowerShell
PS C:\Users\Taro\Desktop> mkdir shop_cart
(中略)
PS C:\Users\Taro\Desktop> cd shop_cart
PS C:\Users\Taro\Desktop\shop_cart> npm init -y
(中略)
PS C:\Users\Taro\Desktop\shop_cart> mkdir src
(中略)
PS C:\Users\Taro\Desktop\shop_cart> cd src
PS C:\Users\Taro\Desktop\shop_cart\src> mkdir actions, components, containers, reducers, api, constants
(中略)
PS C:\Users\Taro\Desktop\shop_cart\src> ni index.js
(中略)
PS C:\Users\Taro\Desktop\shop_cart\src> cd ..
PS C:\Users\Taro\Desktop\shop_cart> npm install --save-dev babel-cli babel-core babel-eslint babel-loader babel-preset-env babel-preset-react babel-preset-stage-2 eslint eslint-loader eslint-plugin-react file-loader html-webpack-plugin webpack webpack-dev-server webpack-cli
(中略)
PS C:\Users\Taro\Desktop\shop_cart> npm install --save react react-dom redux react-redux redux-thunk prop-types
(中略)
PS C:\Users\Taro\Desktop\shop_cart> code .
設定ファイル
.babelrc
{
    "presets": [
        "stage-2","react"
    ]
}
package.json
{
  "name": "shop_cart",
  "version": "1.0.0",
  "description": "",
  "main": "index.js",
  "scripts": {
    "test": "echo \"Error: no test specified\" && exit 1",
    "build": "webpack --progress",
    "start": "webpack-dev-server --watch --progress"
  },
  "keywords": [],
  "author": "",
  "license": "ISC",
  "devDependencies": {
    "babel-cli": "^6.26.0",
    "babel-core": "^6.26.3",
    "babel-eslint": "^8.2.3",
    "babel-loader": "^7.1.4",
    "babel-preset-env": "^1.7.0",
    "babel-preset-react": "^6.24.1",
    "babel-preset-stage-2": "^6.24.1",
    "eslint": "^4.19.1",
    "eslint-loader": "^2.0.0",
    "eslint-plugin-react": "^7.9.1",
    "file-loader": "^1.1.11",
    "html-webpack-plugin": "^3.2.0",
    "webpack": "^4.12.0",
    "webpack-cli": "^3.0.3",
    "webpack-dev-server": "^3.1.4"
  },
  "dependencies": {
    "prop-types": "^15.6.1",
    "react": "^16.4.0",
    "react-dom": "^16.4.0",
    "react-redux": "^5.0.7",
    "redux": "^4.0.0",
    "redux-thunk": "^2.3.0"
  }
}
webpack.configjs
const path = require('path');

module.exports = {
  mode:'development',
    entry: './src/index.js',
    output: {
      path: path.join(__dirname,'dist'),
      filename: 'index.js',
      publicPath: path.join(__dirname,'dist')
    },
    devtool: '#source-map',
    devServer: {
      contentBase: './',
      port: 8080
    },
    module: {
      rules: [
        { test: /\.js$/, exclude: /node_modules/, loader: 'babel-loader' }
      ]
    }
  };
index.html
ルートに置く。
index.html
<!DOCTYPE html>
<html>
  <head>
    <meta charset="UTF-8">
    <title>フルーツ市場</title>
    <link rel="stylesheet" href="https://stackpath.bootstrapcdn.com/bootstrap/4.1.1/css/bootstrap.min.css" integrity="sha384-WskhaSGFgHYWDcbwN70/dfYBj47jz9qbsMId/iRN3ewGhXQFZCSftd1LZCfmhktB" crossorigin="anonymous">
  <body >
      <!-- classでBootsrapに関する設定 -->
    <div class="mx-auto w-75 mt-3"  id="root"></div>

    <script src="dist/index.js"></script>
  </body>
</html>
2.おおまかにReact, Reduxの枠組みをつくる。
Reducerをつくる。
reducers/index.js
const reducer = (state,action)=>{
    return state;
}

export default reducer;
Actionをつくる。
actions/index.js
//引数一個を受ける関数を返す関数。 この引数には実行時、dispatchが割り当てられる。
export const getAllProducts = () => d=>{

}
エントリーポイントをつくる。
index.js
import React from 'react'
import ReactDOM from 'react-dom'
import { createStore, applyMiddleware } from 'redux'
import { Provider } from 'react-redux'
import thunk from 'redux-thunk'
import reducer from './reducers'
import { getAllProducts } from './actions'
const store = createStore(
reducer,
applyMiddleware(thunk)
)
store.dispatch(getAllProducts())
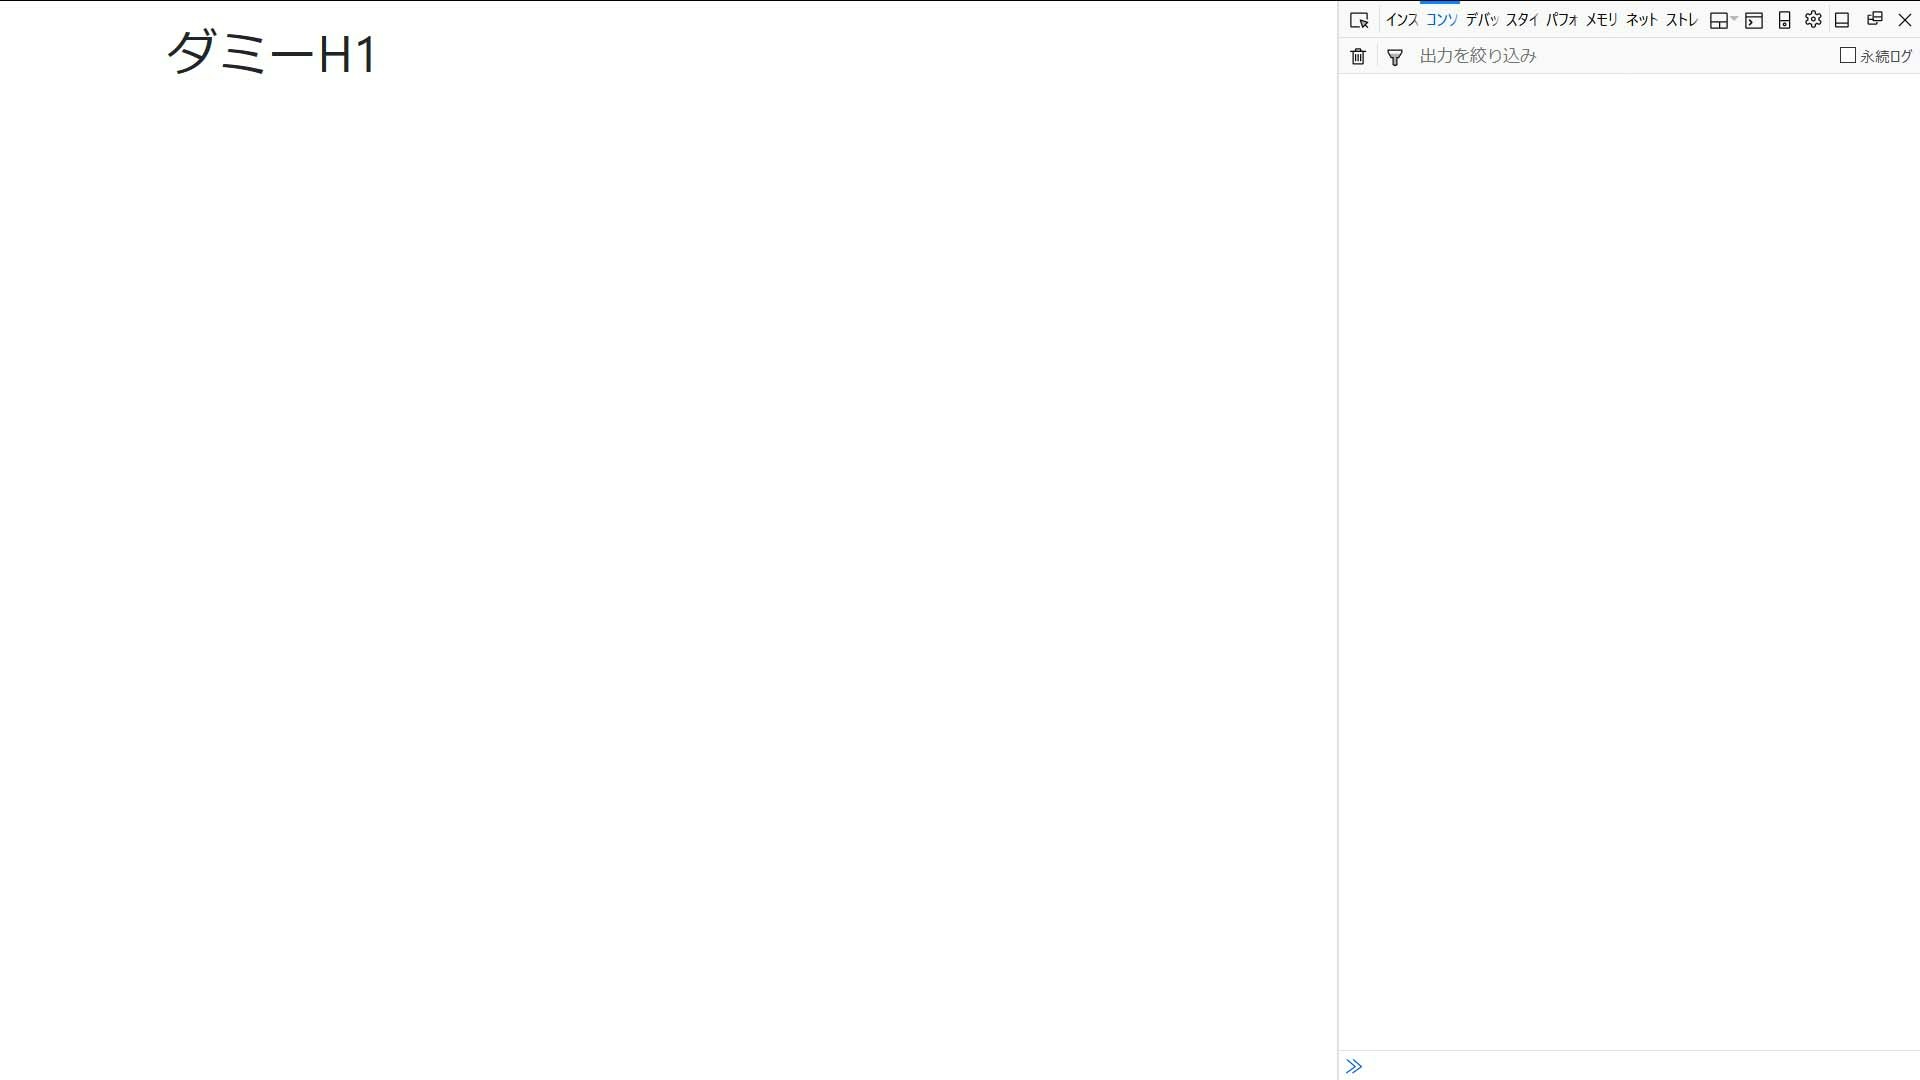
ReactDOM.render(
<Provider store={store}>
<h1>ダミーH1</h1>
</Provider>,
document.getElementById('root')
)
まだ必要ないが、ついでに以下を作成
api/products.json
[
  {"id": 1, "title": "メロン", "price": 900, "inventory": 2},
  {"id": 2, "title": "すいか", "price": 300, "inventory": 10},
  {"id": 3, "title": "ミカン", "price": 200, "inventory": 5}
]
実行
PowerShell
PS C:\Users\Taro\Desktop\shop_cart> npm run build

(中略)

  10% building modules 1/1 modules 0 activei 「wds」: Project is running at http://localhost:8080/

(中略)

i 「wdm」: Compiled successfully.
GitHubの使い方、流儀などよくわかってません。