@tseigoさんとライオンさん主催の勉強会、IoT Kickoff勉強会に参加してきました!
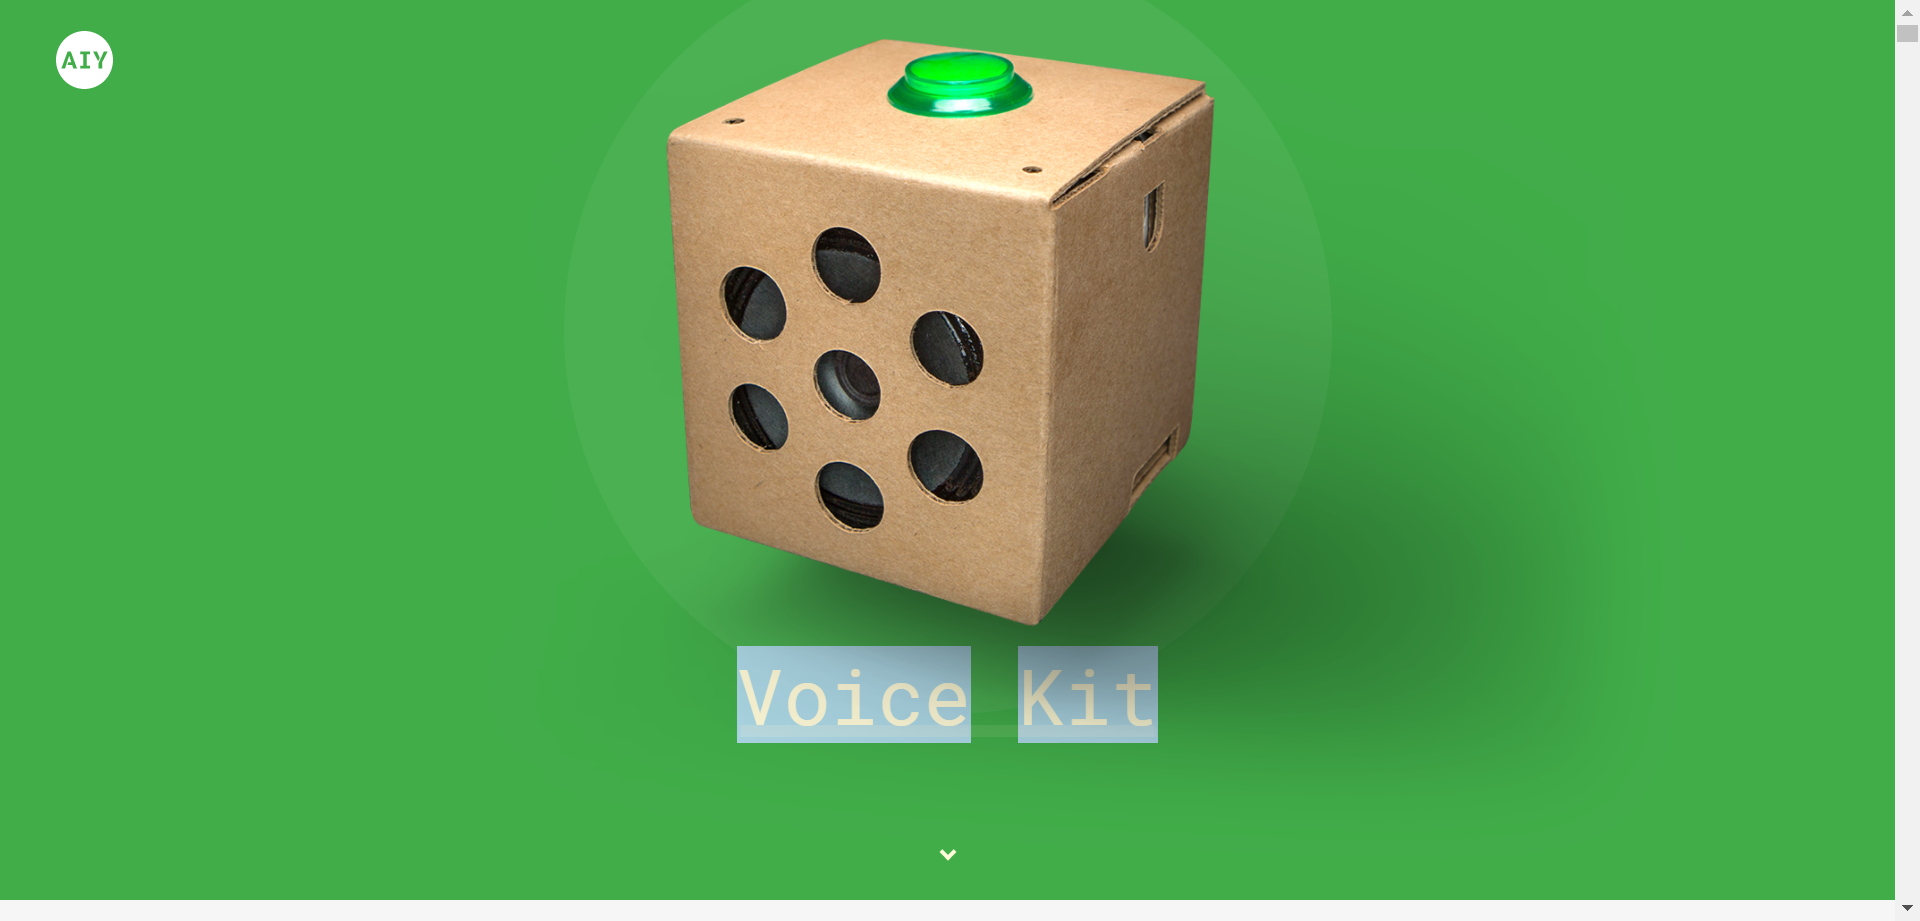
今回は今ホットなAIスピーカーに関して、Google AIY Kitを組み立てました。
IoTもWeb周りもお詳しいお二人にご指導いただきながら進められるので、本当に心強いです!オススメです!!
そろそろ Google AIY Kit つながりそう!GCP込みで。 #iotkickoff pic.twitter.com/lEXeYfvHId
— 1ft_seabass (@1ft_seabass) 2018年1月20日
最終的に、、、、、
GoogleHome(ボタン起動、、、汗汗) pic.twitter.com/fQb1KUi3BI
— takahirochiku (@Hiro_Chiku) 2018年1月21日
帰宅後にもう一回やったら「OK google」に反応してくれず、仕方なくwith_buttonバージョンにしちゃいましたが、、、ハンズオンではバッチリ聞き取ってくれました。
ここに至るまで作業時間わずか2時間ほど、、、、ライオンさんが事前に準備して下さったおかげです、、、、涙
ちなみに、Nefryもありました!!
IoTKickoffに NefryBT R2 を3台備品増やしましたー。いつでも試せるようにします。(少し前に買ったけど今日はじめて納入) #NefryBT #iotkickoff pic.twitter.com/uMnTxmqDMq
— 1ft_seabass (@1ft_seabass) 2018年1月20日
初めて Raspberry Pi用のOS、Raspbianも触りました。少しずつRaspbianに慣れたいと思います。
〇Raspbianでのスクショ方法
超基本、定番のスクショを取るところから、、、、いろんな方法があるようですが、簡単な scrotをやってみます。
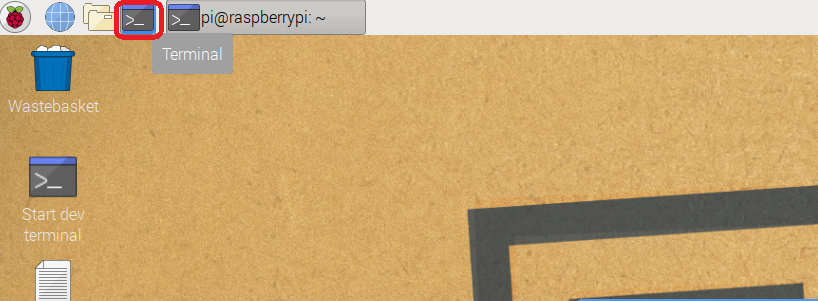
まずterminalを開いて、、、
' sudo apt-get install scrot 'と入力してEnter
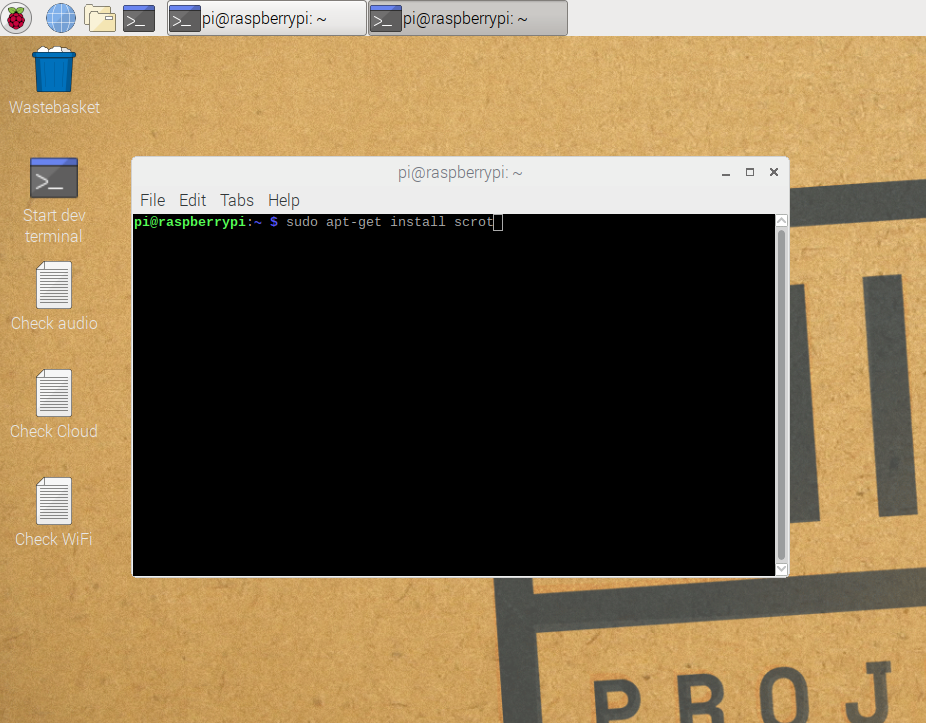
installが始まります。
(下記はすでに済みの表示です)
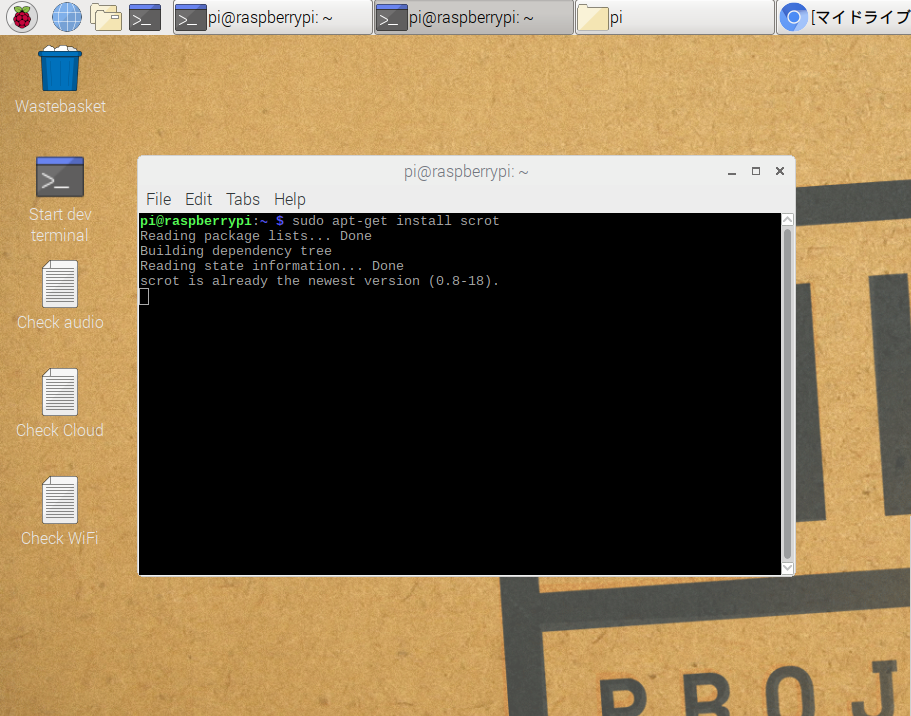
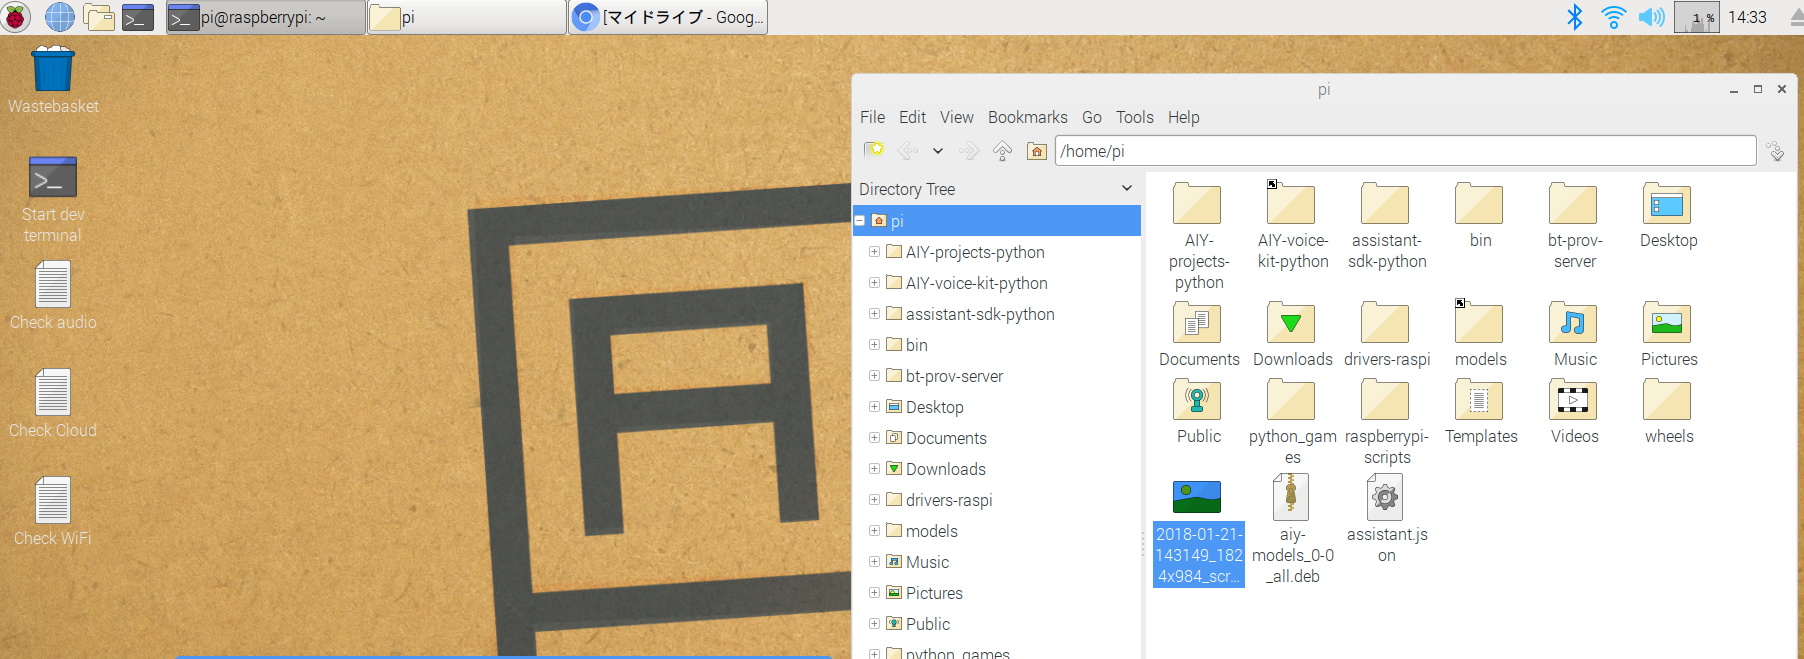
スクショされたイメージがhome/pi配下に保存されます。
今まであまりTerminalを使わずに過ごしてきましたが、、、、汗 Raspbianで少し学ぶことが出来ました!!
