WebSocketに関する説明とWebSocketを利用した簡単なサンプルを作成してみました。
まずは、WebSocketについて説明します。
WebSocketとは
WebSocketとはブラウザとサーバとの間で双方向通信を行うための通信企画です。使用例としてはWeb会議やチャットなどがあります。
WebSocket API
WebSocketにドキュメントがあります。重要な概念としては以下があります。
- コンストラクタ
- インスタンスプロパティ
- インスタンスメソッド
- イベント
コンストラクタで接続先のURLを設定します。
イベントでWebSocketが接続に成功した時やエラーが発生した時やWebSocketの接続が終わった場合の管理ができます。
WebSocket利用したサンプル
WebSocketはクライアント(ブラウザ)側とサーバ側の実装が必要です。サーバ側の実装から始めていきます。
まずはterminalを開いてフォルダを作成できるPATHに移動してください。
# WebSocketのサンプルアプリケーションを作成するフォルダを作成します。
mkdir websocket_sample
cd websocket_sample

# プロジェクト用のpackage.jsonファイルが作成します。
npm init -y
package.jsonに"type": "module"を追加します。
package.jsonが以下のようになっていればOKです。
{
  "name": "websocket_sample",
  "version": "1.0.0",
  "description": "",
  "main": "index.js",
  "scripts": {
    "test": "echo \"Error: no test specified\" && exit 1"
  },
  "keywords": [],
  "author": "",
  "license": "ISC",
  "type": "module"
}
# wsはWebSocketのクライアントとサーバの機能を持つライブラリです。
# wsをインストールします。
npm install ws

# index.jsを作成します。
touch index.js
index.jsにコードを記述します。
import { WebSocketServer } from 'ws';
var wss = new WebSocketServer({ port: 8080 });

wss.on('listening',function(){
  console.log('server listening');
});

wss.on('connection', function(websocket) {
  websocket.on('message', function(message) {
    console.log("Received: " + message);

    wss.clients.forEach(function(client){
      client.send('Received: ' + message+' : '+new Date());
    });
  });

  websocket.on('close', function(){
    console.log('I lost a client');
  });
});
先ほど作成したプログラムを実行します。
node index.js
クライアント側の実装を行います。
先ほどのフォルダとは別にindex.htmlを作成します。
touch index.html
index.htmlには以下のコードを書きます。
<!DOCTYPE html>
<html lang='ja'>
<head>
    <meta charset='UTF-8'>
    <meta name='viewport' content='width=device-width, initial-scale=1.0'>
    <meta http-equiv='X-UA-Compatible' content='ie=edge'>
    <title>Document</title>
</head>
<body>
  <input type='button' id='button' value='送信'>
  <script>
    // WebSocketプロトコルの場合はws, wssを指定する
    var webSocket = new WebSocket('ws://127.0.0.1:8080');
    // Socket 接続が完了した時の処理
    webSocket.addEventListener('open', (event) => {
      console.log('Socket 接続成功');
    });
    // サーバーからデータを受け取る処理
    webSocket.addEventListener('message', (event) => {
      console.log(event.data);
    });
    // Socket 接続が終了した時の処理
    webSocket.addEventListener('close', (event) => {
      console.log('Socket 接続終了');
    });
    // Socket 接続でエラーが発生した時の処理
    webSocket.addEventListener('error', (event) => {
      console.log('Socket 接続でエラーが発生しました');
    });
    document.addEventListener('DOMContentLoaded', (event) => {
      // サーバーにデータを送る
      document.getElementById('button').addEventListener('click', function(event){
        webSocket.send('hello');
      });
    });
  </script>
</body>
</html>
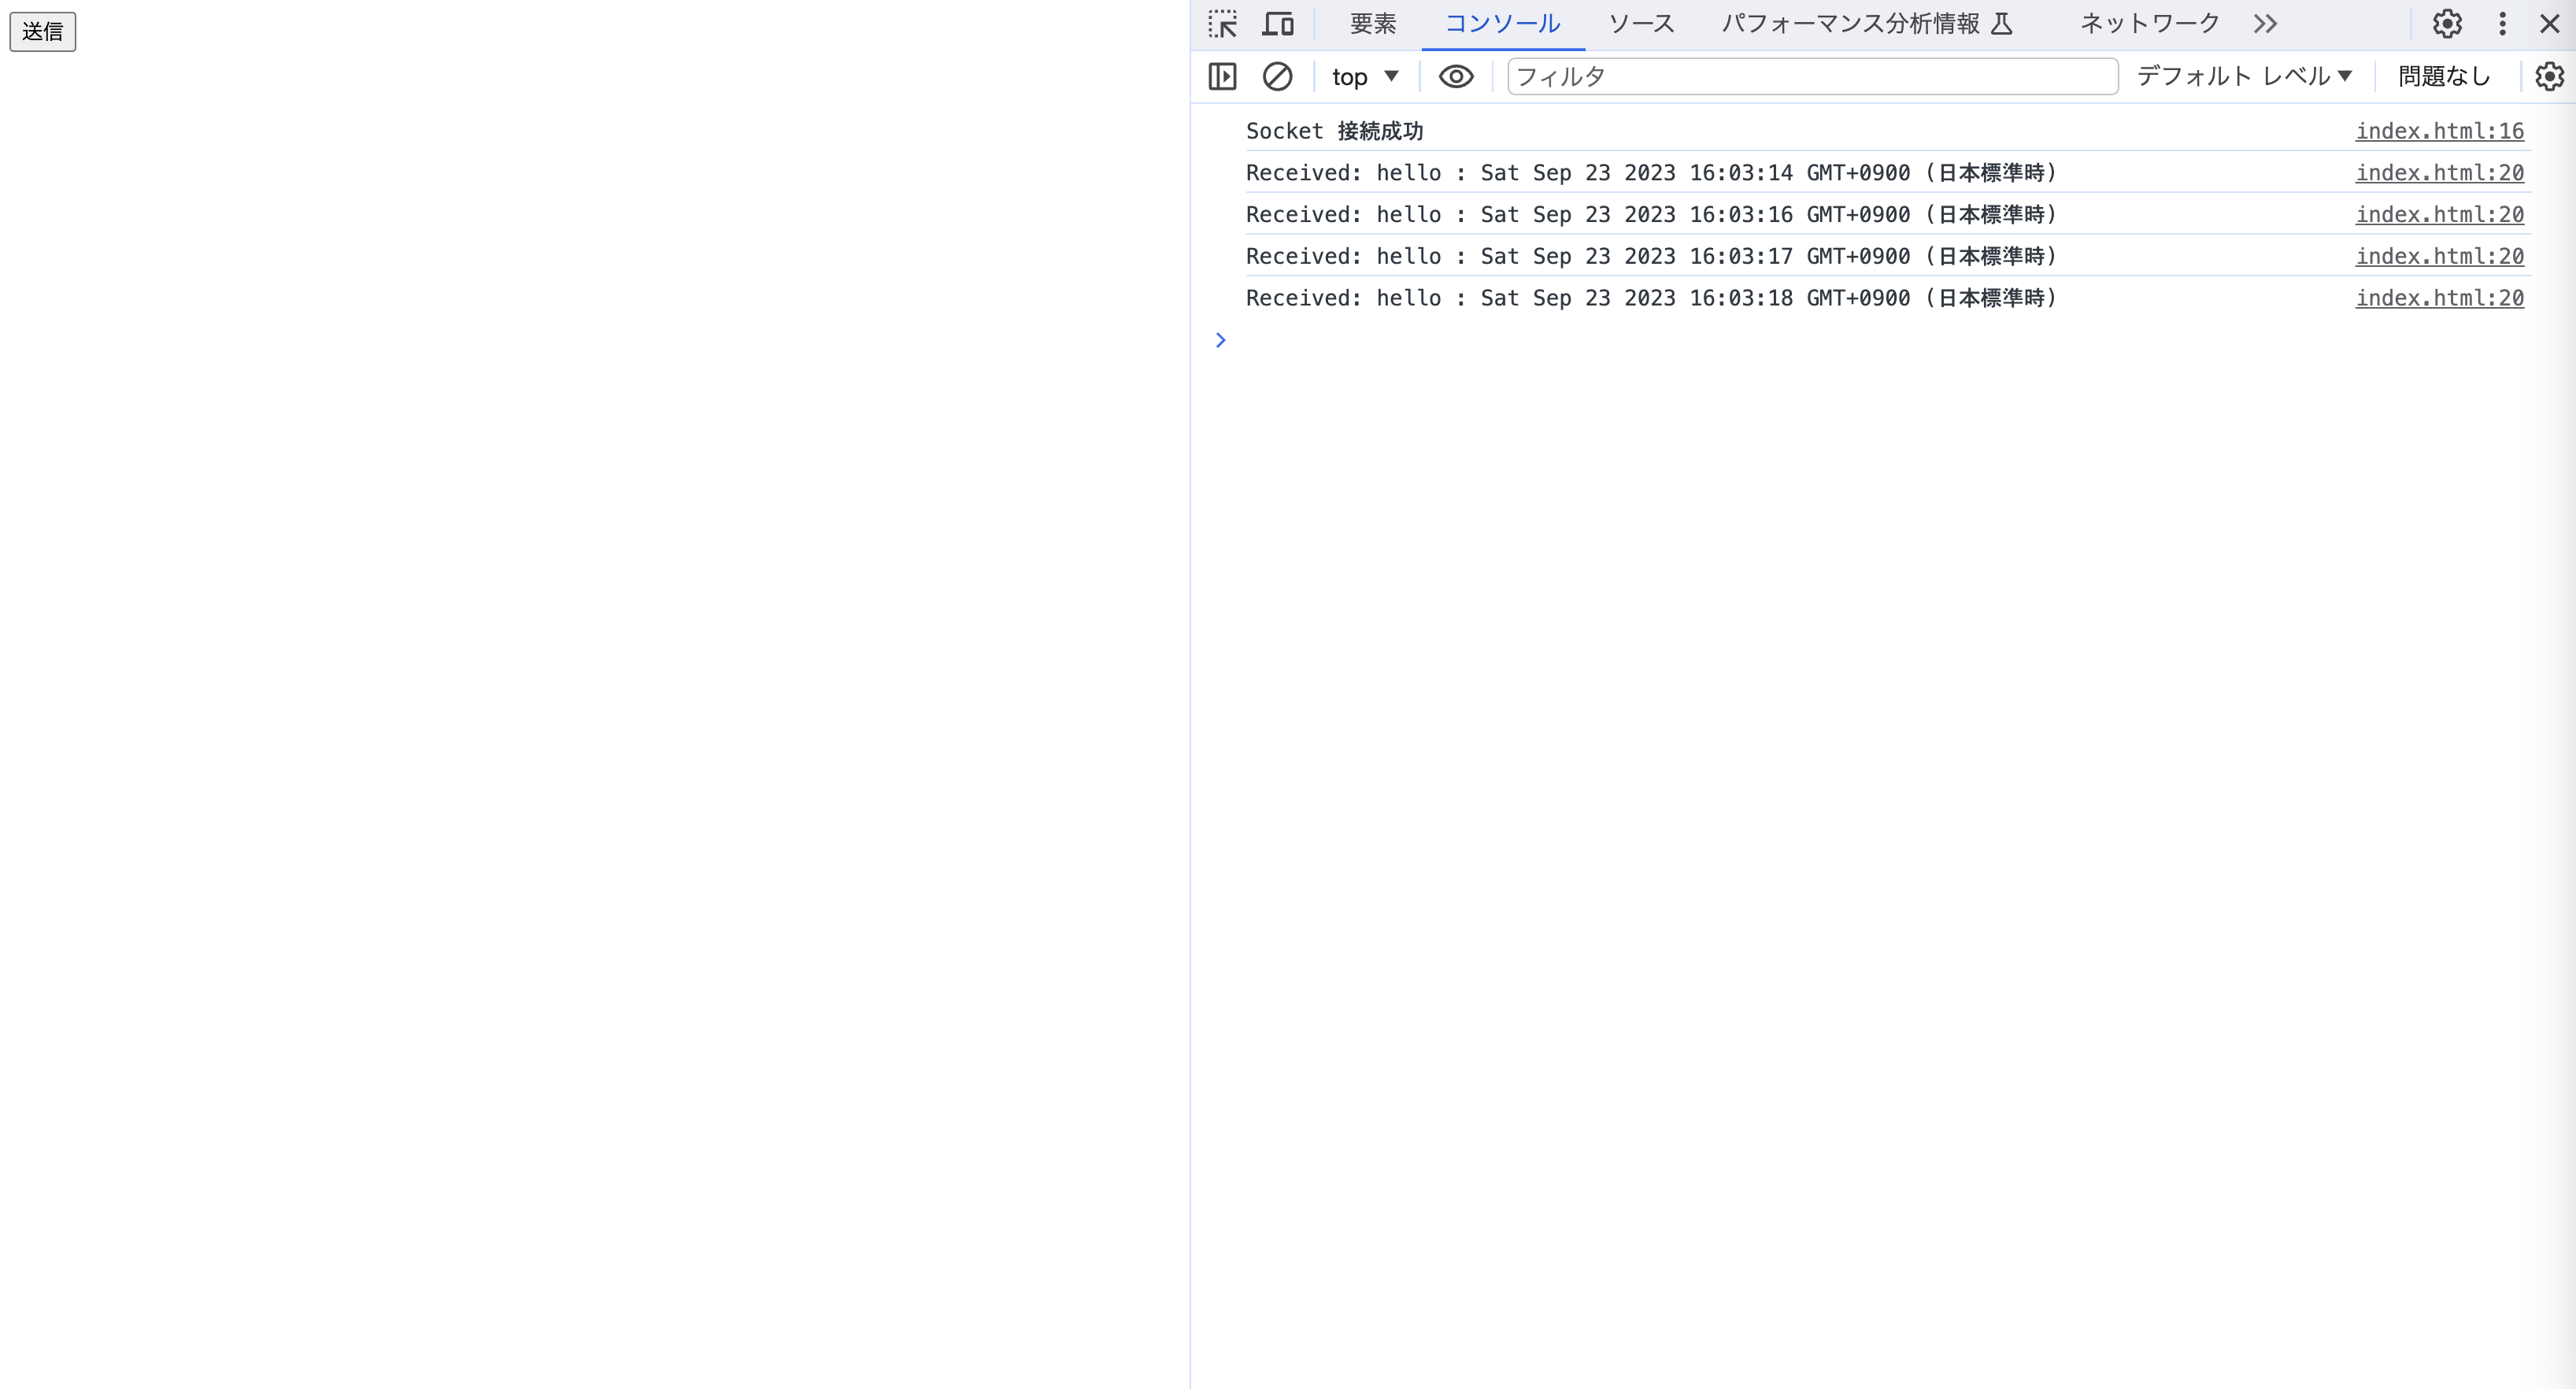
コードが完成したのでindex.htmlファイルをブラウザで開いてみましょう。

このように送信ボタンが表示されていればOKです。
開発者ツールを開いて(cmd + opt + i)接続を確認しましょう。
送信ボタンを押すとサーバにリクエストが送信され、サーバからも値が返ってくることがわかります。
wiには他のAPIやイベントも記載されています。
