もくじ
https://tera1707.com/entry/2022/02/06/144447
やりたいこと
以前、AIチャットクライアントを作成し、AIモデルのサービスとしてgithub modelsを使った。
今回は、AIモデルサービスとして、Azure OpenAIを使って、同じことをしたい。
やったこと
下の記事で、Azure OpenAIでAIモデルサービスを使うまでのやり方をメモした。
今回は続きで、そのAIモデルサービスを使ったC#/WPFコードをかくところをやる。
...といっても、github modelsの時のコードにほんの少し変更を加えるだけで、動くものができてしまった。
その変更点を挙げておこうと思う。
実際のコード
下にコードを置いた。(feature/AzureopenAIServiceブランチ)
そのブランチとmainブランチの差分が今回の変更点。
MainWindow.xaml.cs
using Azure.AI.OpenAI;
using Microsoft.Extensions.AI;
using ModelContextProtocol.Client;
using System.ClientModel;
using System.Diagnostics;
using System.Windows;

namespace AIChatJikken;

public partial class MainWindow : Window
{
    public MainWindow()
    {
        InitializeComponent();

        PromptBox.Text = "休日のパパはなにをしていますか?";
-       Key.Text = "ここにgithub modelsのキーを入れてください";
+       Key.Text = "ここにAzure OpenAIのキーを入れてください。";
    }

    private async void Button_Click(object sender, RoutedEventArgs e)
    {
        SendButton.IsEnabled = false;
        var prompt = PromptBox.Text;

        if (prompt is null)
            return;

        ResponseBlock.Text = await GetCompletionAsync(prompt, Key.Text);
        SendButton.IsEnabled = true;
    }

    public async Task<string> GetCompletionAsync(string prompt, string key)
    {
        // MCPサーバー起動時のパラメータの設定
        var clientTransport = new StdioClientTransport(new()
        {
            // MCPサーバーのexeは、@"C:\Program Files\MyMcpServer\MyMcpServer.exe"に置くことにする。引数は無し。
            Command = @"C:\Program Files\MyMcpServer\MyMcpServer.exe",
            Arguments = [],
            Name = "My Mcp Server",
        });

        // MCPクライアントを作成(ここで、MCPサーバーが起動する)
        var mcpClient = await McpClientFactory.CreateAsync(clientTransport!);

        // ツールの名前を列挙
        var mcpTools = await mcpClient.ListToolsAsync();
        foreach (var tool in mcpTools)
        {
            Debug.WriteLine($"MCPサーバーのツール名:{tool.Name}");
        }

        //-------------------------------

        var chatOption = new ChatOptions
        {
            ToolMode = ChatToolMode.Auto,
            Tools = [.. mcpTools]
        };

        // github modelsのキーを入れる
        var credential = new ApiKeyCredential(key);

-       // github modelsのエンドポイントを指定
-       var openAIOptions = new OpenAIClientOptions()
-       {
-           Endpoint = new Uri("https://models.github.ai/inference")
-       };

        // LLMのモデルを指定

-       var aiClient = new OpenAIClient(credential, openAIOptions)
+       var aiClient = new AzureOpenAIClient(new Uri("https://myendpoint.openai.azure.com/"), credential)
-                           .GetChatClient("openai/gpt-4o")
+                           .GetChatClient("gpt-4o-mini")
                            .AsIChatClient();

        var chatClient = aiClient.AsBuilder()
                                    .UseFunctionInvocation()
                                    .Build();

-       var chatmsg = new ChatMessage(ChatRole.User, prompt);
+       var chatmsg = new ChatMessage(Microsoft.Extensions.AI.ChatRole.User, prompt);

        // チャットを送信
        var res = await chatClient.GetResponseAsync([chatmsg], chatOption);

        //-------------------------

        // MCPクライアントを終了(ここで、MCPサーバーが終了する)
        await mcpClient.DisposeAsync();

        return res.Text;
    }
}
.csproj(Azure系のライブラリを追加)

github models → Azure OpenAIに変えたときにいじったコードはこれだけ。
そのほかは、github modelsのときと同じ。
注意
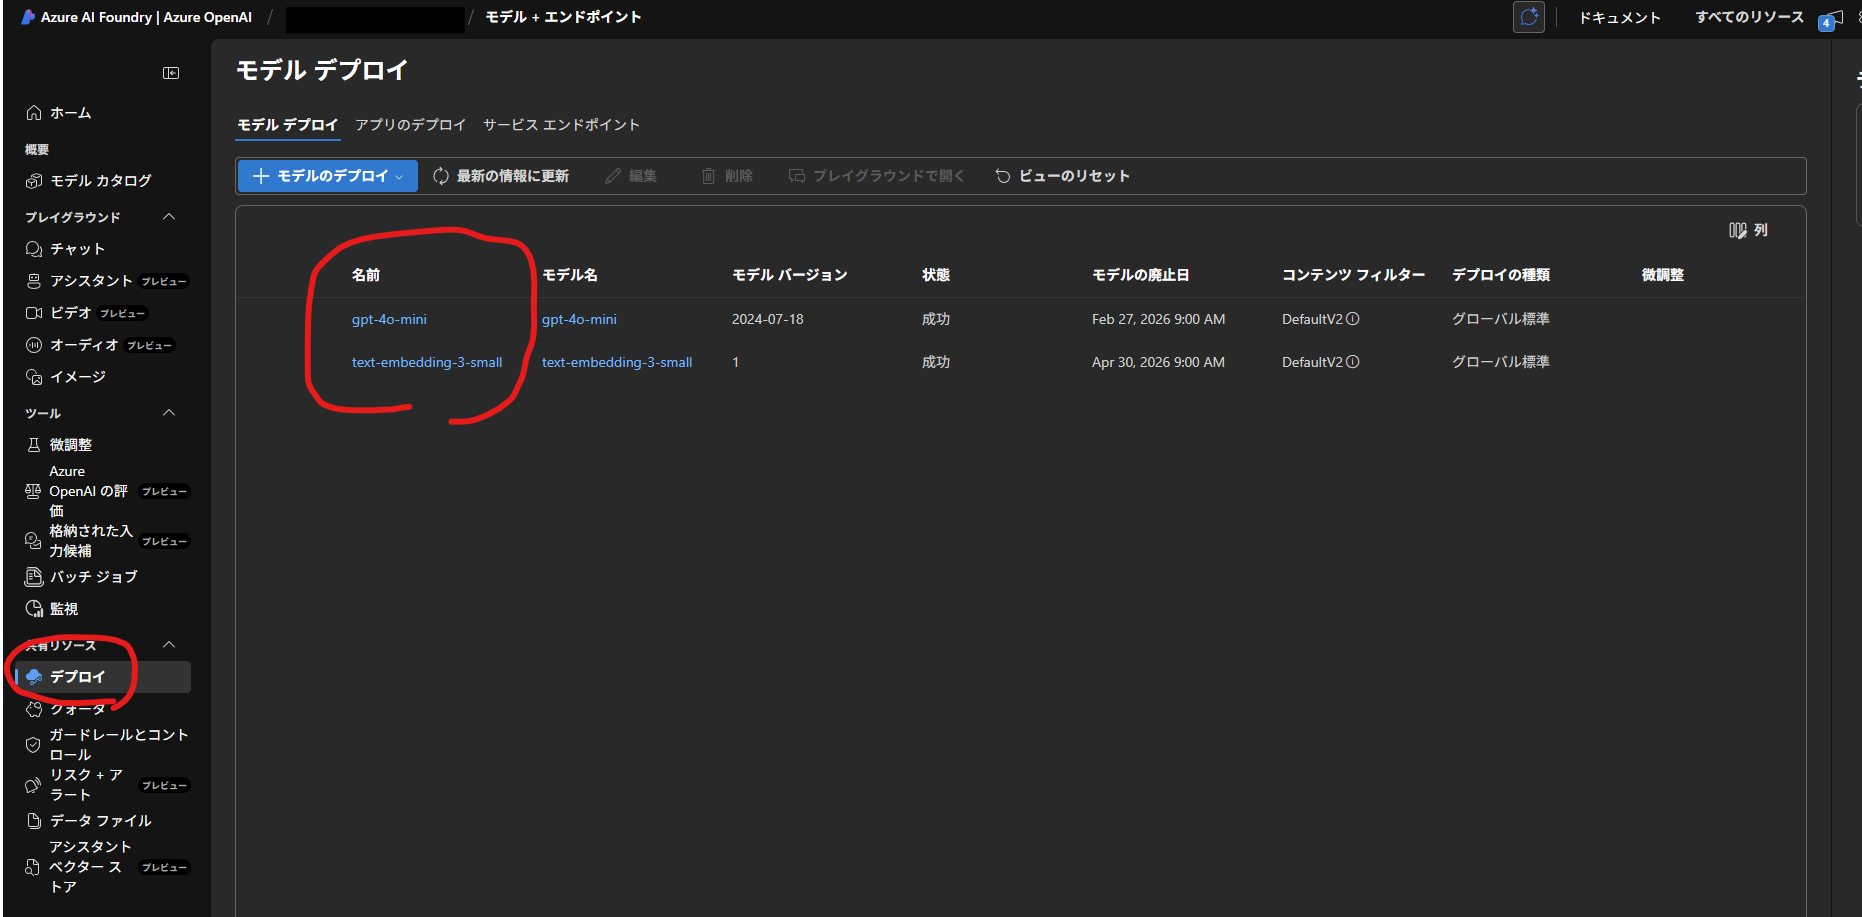
モデルの名前(openai/gpt-4oなど)は、
github modelsでの名前openai/gpt-4oから、 → Azure OpenAIでの名前gpt-4o-miniに変えた。
Azure OpenAIでの名前は、ポータルの下記に出ているモデル名。
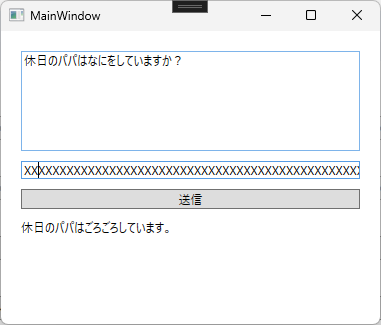
動く様子
github modelsのときとなにも変わらないが、こんな感じ。
参考
Azure AI Foundry
Azure OpenAIのアカウント作成・設定等を行うポータル