こんにちは!tatata-keshiです![]()
今回はFlutterで入力欄を表示し、さらに入力欄に書き込まれた内容を変数として使用する方法についてまとめてみました!
この記事はFlutter歴約1週間の人が書いています!間違ったことを記載していても寛大な心で教えていただけると幸いです![]()
まずは見た目を作る
はじめにシンプルな入力欄とボタンの画面を以下のように作成します。
  @override
  Widget build(BuildContext context) {
    final ButtonStyle buttonStyle = FilledButton.styleFrom(
      backgroundColor: Colors.blueAccent,
    );

    return Scaffold(
      appBar: AppBar(
        title: Text('テストアプリ'),
        backgroundColor: Colors.lightBlueAccent,
      ),
      body: Padding(
        padding: const EdgeInsets.all(16.0),
        child: Column(
          children: [
            Padding(
              padding: const EdgeInsets.only(bottom: 16.0),
              child: TextField(),
            ),
            FilledButton(
              onPressed: () {
                print('ボタンが押されました!');
              },
              style: buttonStyle,
              child: Row(
                mainAxisAlignment: MainAxisAlignment.center,
                children: [Text('送信する')],
              ),
            ),
          ],
        ),
      ),
    )
  }
見た目としてはこんな感じです
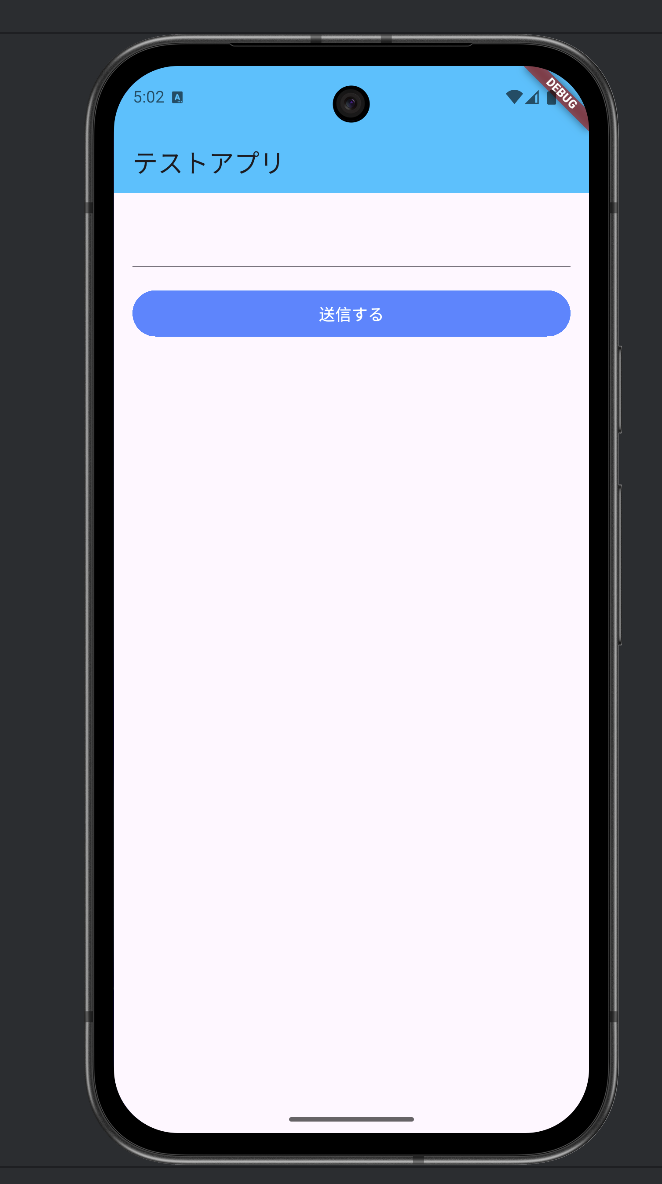
それぞれのパーツについて簡単に解説します!
テキスト入力欄
TextFieldというウィジェットを用いることでテキスト入力欄を画面に追加できます。
なお、ボタンとの間に余白を追加するためPaddingで囲っています。
Padding(
  padding: const EdgeInsets.only(bottom: 16.0),
  child: TextField(),
),
ボタン
どうやらボタンのウィジェットは何種類かありそうですが、今回はFilledButtonウィジェットを使用しました。
onPressedにはボタンが押された際のコールバック処理、childrenには内包する子要素を入れるみたいです。
今回はボタンのスタイルを設定したかったのでbuttonStyleという変数を宣言し、それをFilledButtonのstyleに渡しています。
ボタンスタイルをまとめた変数はFilledButton.styleFromを用いることで作成できるみたいですね![]()
final ButtonStyle buttonStyle = FilledButton.styleFrom(
  backgroundColor: Colors.blueAccent,
);

// 省略

FilledButton(
  onPressed: () {
    print('ボタンが押されました!');
  },
  style: buttonStyle,
  child: Row(
    mainAxisAlignment: MainAxisAlignment.center,
    children: [Text('送信する')],
  ),
),
入力した内容をコンソールに表示させたい
この状態でエミュレータを起動しボタンを押下すると、コンソール上にボタンが押されました!と出力されます。
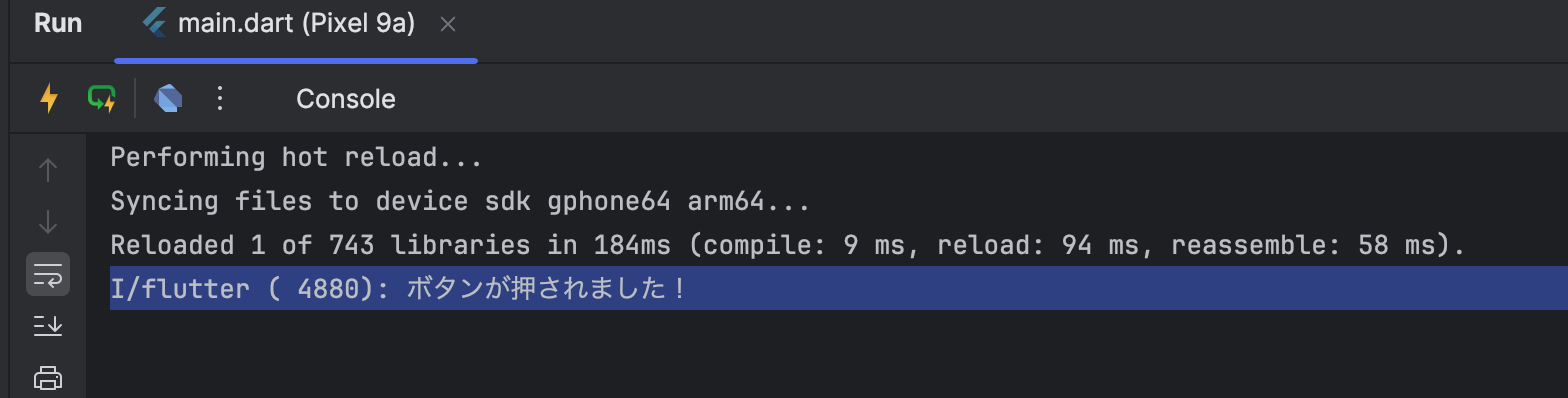
ここからは、ボタンが押された際に入力欄の内容をコンソールに出力するように書き換えていきます。
入力欄の内容を変数に入れる
TextEditingControllerを使用することで、入力欄の内容を監視し変更された際に何かしら処理を実行するといったことができます。
以下のように書き換えることで、入力欄の中身をコンソールに出力できます。
  @override
  Widget build(BuildContext context) {
    final ButtonStyle buttonStyle = FilledButton.styleFrom(
      backgroundColor: Colors.blueAccent,
    );

    // 変数controllerを追加
    final TextEditingController controller = TextEditingController();

    return Scaffold(
      appBar: AppBar(
        title: Text('テストアプリ'),
        backgroundColor: Colors.lightBlueAccent,
      ),
      body: Padding(
        padding: const EdgeInsets.all(16.0),
        child: Column(
          children: [
            Padding(
              padding: const EdgeInsets.only(bottom: 16.0),
              // TextFieldのパラメータに変数controllerを渡す
              child: TextField(controller: controller),
            ),
            FilledButton(
              onPressed: () {
                print(controller.text); // 入力されたテキストを出力させる
              },
              style: buttonStyle,
              child: Row(
                mainAxisAlignment: MainAxisAlignment.center,
                children: [Text('送信する')],
              ),
            ),
          ],
        ),
      ),
    );
  }
}
まとめ
このように、TextEditingControllerを用いることによりTextFieldに入力された内容を変数として使用できます。
これにより、入力欄を用いた実装の幅が広がりそうですね![]()