チャットアプリについて
トップページ
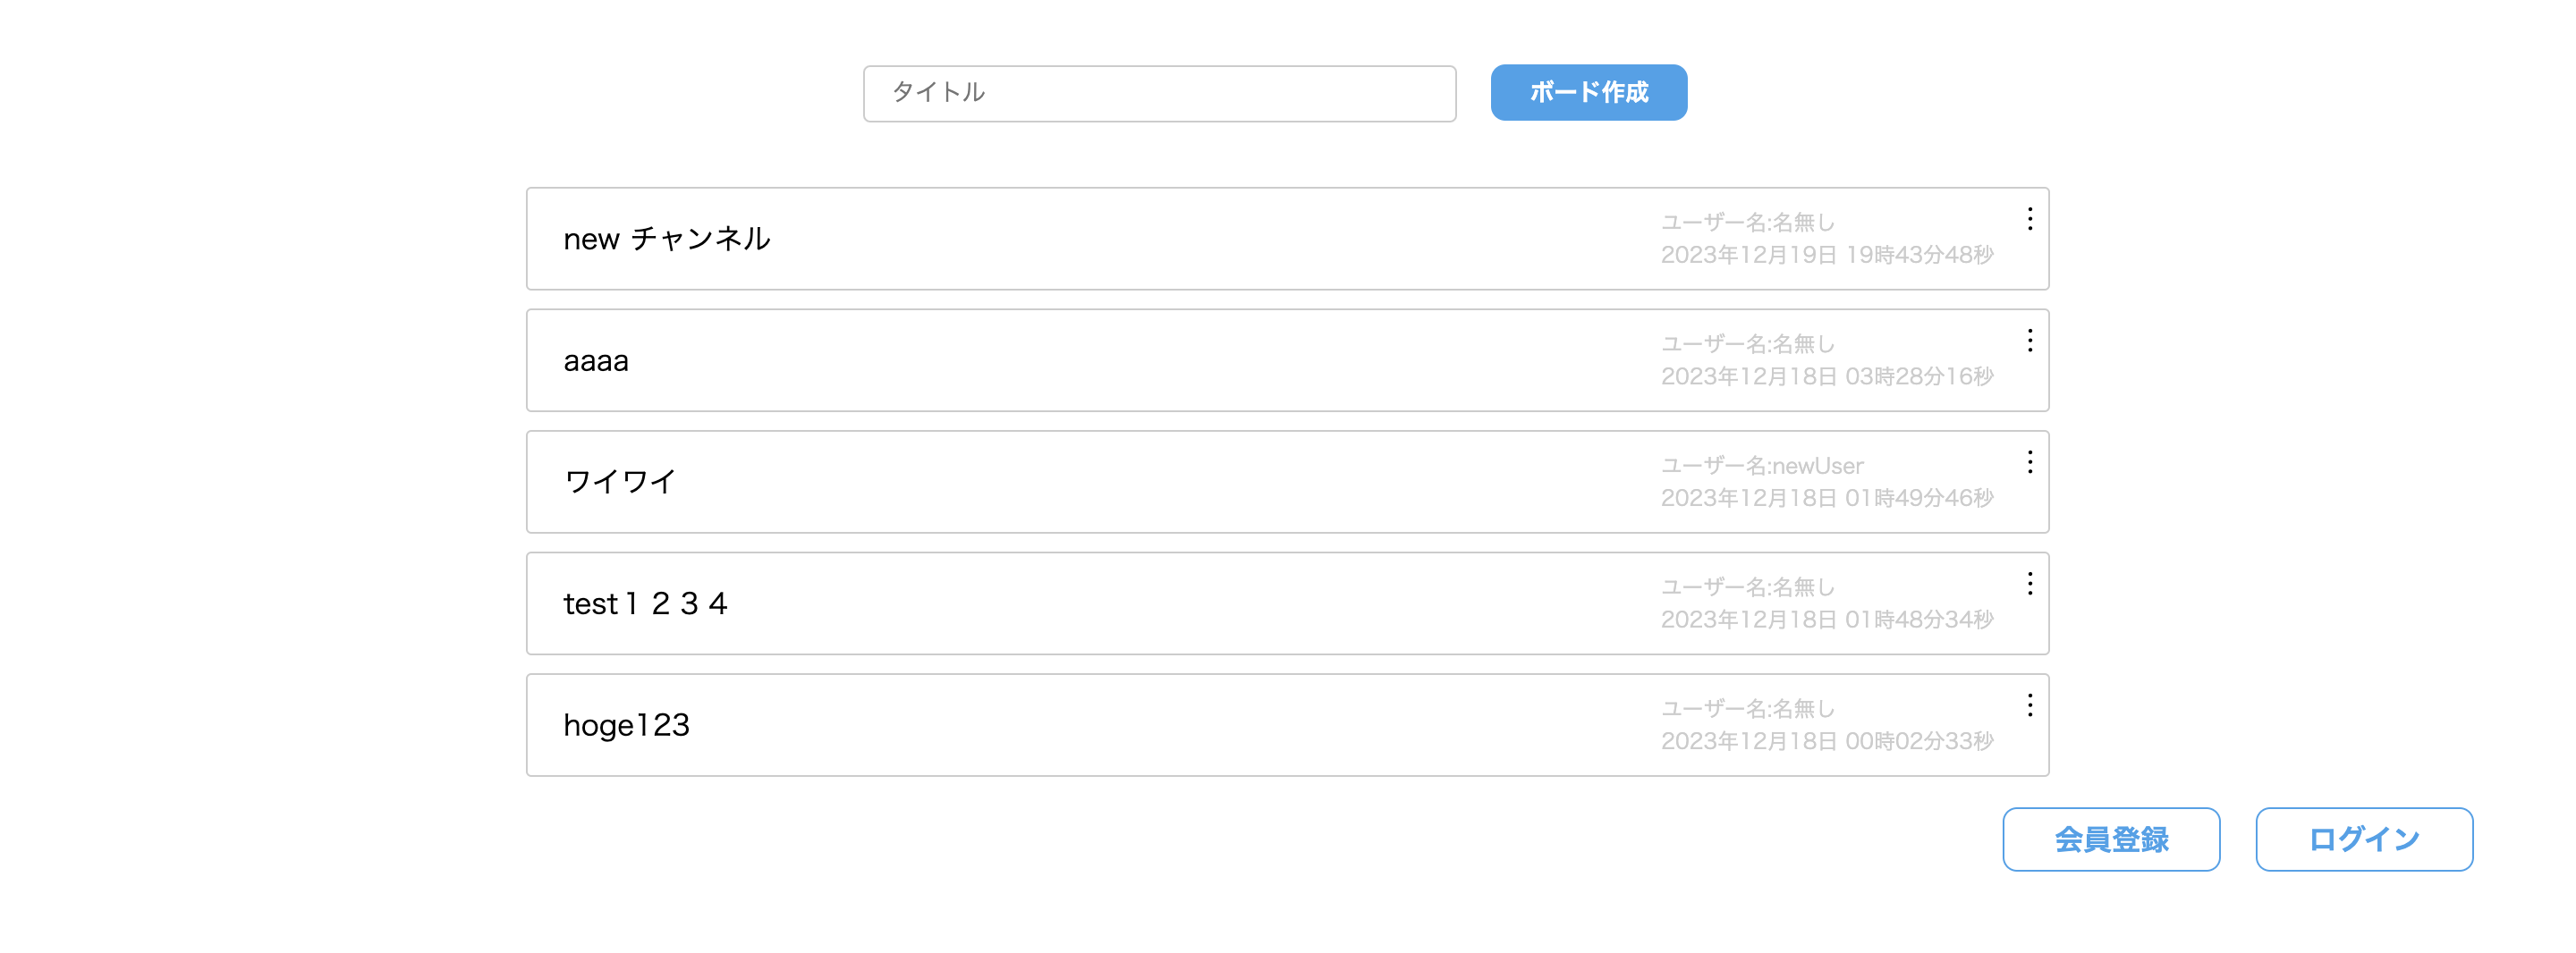
トークページ

node.jsをインストールする
MacOS
nodebrewを使ってインストールしてください
Windows
公式サイトからインストールしてください
開発環境の構築
Expressのインストール
$ cd Desktop
$ mkdir chat-app
$ cd chat-app
$ npm install -g express-generator
$ express --view=ejs
$ npm install
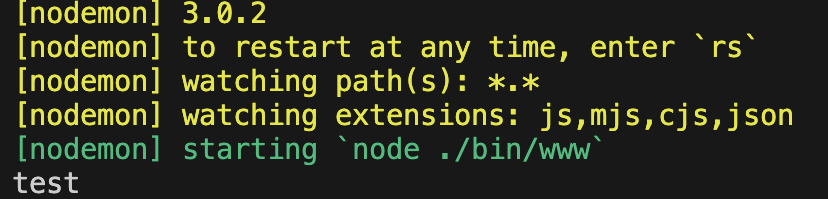
$ npm start
上記にアクセスした画像のように表示されていればOK

開発効率を上げるモジュールをインストールする
モジュールをインストールするにはまず、webアプリケーションを止める必要があります。
control+Cで止めることができます。
$ npm install -g nodemon
$ nodemon
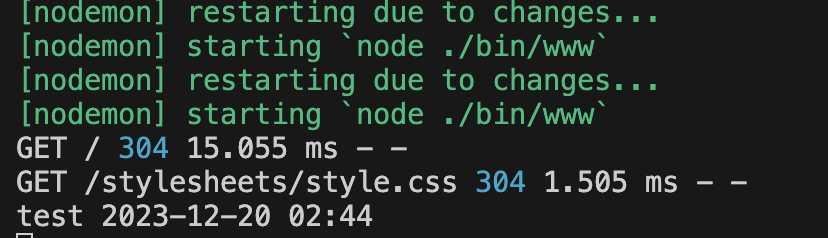
nodemon は、Node.jsアプリケーションの開発を支援するためのツールの一つです。
通常、Node.jsアプリケーションを開発する際には、ソースコードの変更があるたびに手動でサーバーを再起動する必要がありますが、nodemonはこの作業を自動化してくれます。
npmのコマンドについては以下の記事を参考にしてください。
PostgresSQLのインストール
MacOS
nodebrewを使ってインストールしてください
Windows
公式サイトからインストールしてください
PostgresSQLを起動する
MacOS
$ brew services start postgres
$ psql postgres
Windows
- SQL Shell (psql)を起動します
- 接続時に、パスワード以外、各質問に対して何も入力せずにenterキーを押してください
- 下記のように表示されればOK
postgres=#
databaseの作成
postgres=# CREATE DATABASE chat_app_db;
postgres=# \c chat_app_db;
chat_app_db=#
tableの作成
CREATE TABLE channel (
  channel_id SERIAL PRIMARY KEY,
  channel_title VARCHAR(255) NOT NULL,
  created_at TIMESTAMP NOT NULL
);

CREATE TABLE messages (
  message_id SERIAL PRIMARY KEY,
  channel_id SERIAL NOT NULL,
  message VARCHAR(255) NOT NULL,
  created_at TIMESTAMP NOT NULL
);
sqlのコマンド一覧とCRUD操作について
Node.jsとdatabaseの接続
入力フォームを作ります
views/index.ejsを変更します
<body>
  <div>
    <form action="/" method="post">
     <input type="text" name="title" placeholder="タイトル" required>
     <button>作成</button>
    </form>
  </div>
</body>
formのactionというのはリクエストを送るURL、今回だと/
formのmethodというのはリクエストを送るときの形式、今回はpost
routes/index.jsを変更します
const express = require('express');
const router = express.Router();

/* GET home page. */
router.get('/', (req, res, next) => {
  res.render('index', { title: 'Express' });
});

router.post('/', (req, res, next) => {
  const title = req.body.title;
  console.log(title);
});

module.exports = router;
フォームから送られたリクエストをreq.body.[name属性]この形で取得することができます。
今回だとindex.ejsに記述したinputダグのname属性はtitleなのでreq.body.titleで取得できます。
そのパラメータをconsole.logでターミナルに出力といった流れの処理を書いています。
フォームに値を入力して作成のボタンを押した後にサーバーで値が取得されているか見てみてください。
入力フォームに入れた文字がコンソールに表示されていればOKです。
dayjsを使って日付を取得する
作成ボタンを押したタイミングの日にちと時間を取得したいのですが、課題1でやったように処置を描くのはめんどくさいので、モジュールを使って日にちと時間を取得します。
npm install --save dayjs
routes/index.jsを変更します
const express = require('express');
const router = express.Router();
const dayjs = require('dayjs'); // 追加

/* GET home page. */
router.get('/', (req, res, next) => {
  res.render('index', { title: 'Express' });
});

router.post('/', (req, res, next) => {
  const title = req.body.title;
  const createdAt = dayjs().format('YYYY-MM-DD HH:mm'); // 追加
  console.log(title, createdAt);
});

module.exports = router;
フォームに値を入力して、サーバーで入力した値の後ろに日付が表示されていれば完了です
npm installで取得したモジュールはconst dayjs = require('dayjs');で使用できます。
データベースと接続する
Node.jsでデータベースに接続するためにはライブラリが必要です。
今回使うpostgressSQLのライブラリをインストールします。
npm install --save pg pg-pool
chat-app/dbConnection.jsを作成します。
dbConnection.js
const Pool = require('pg-pool');

// 環境変数を使用してセキュアに設定
const dbConfig = {
  database: process.env.DB_NAME || 'chat_app_db',
  user: process.env.DB_USER || '',
  password: process.env.DB_PASSWORD || '',
  host: process.env.DB_HOST || 'localhost',
  port: process.env.DB_PORT || 5432,
};

// コネクションプールの作成
const pool = new Pool(dbConfig);

// コネクションがエラーを発生させた場合のハンドリング
pool.on('error', (err) => {
  console.error('Unexpected error on idle clients', err);
  process.exit(-1); // アプリケーションの異常終了
});

module.exports = pool;
DB_USERとDB_PASSWORDは自分の設定したものを入力してください。
webサイトからデータベースにデータを登録する
routes/index.jsを変更します
const express = require('express');
const router = express.Router();
const dayjs = require('dayjs');
const pool = require('../dbConnection'); // データベース接続用のプールを読み込み

/* GET home page. */
router.get('/', (req, res, next) => {
  res.render('index', { title: 'Express' });
});

// 非同期処理を扱うためにasyncを追加
router.post('/', async (req, res, next) => {
  try {
    const title = req.body.title;
    const createdAt = dayjs().format('YYYY-MM-DD HH:mm');

    // データベースに挿入するためのクエリを定義
    const insertQuery = 'INSERT INTO channel (channel_title, created_at) VALUES ($1, $2)';

    // データベースへの挿入を非同期に実行
    await pool.query(insertQuery, [title, createdAt]);

    // トップページにリダイレクト
    res.redirect('/');
  } catch (error) {
    console.error(error);
    // エラーハンドリング: サーバーエラーが発生した場合は500をクライアントに返す
    res.status(500).send('サーバーエラー');
  }
});

module.exports = router;
フォームに値を入力してデータベースにカラムが追加されていればOKです
select * from channel;