Twitterを眺めていたら、GitHub CopilotのようなAIコーディングアシスタントを見つけたので動かしてみます。
GPUはNVIDIA Tesla V100(32GB)を使います。
GPUドライバ + Docker + NVIDIA Container Toolkitがあれば動くのでセットアップしていきます。
1.GPUサーバの作成
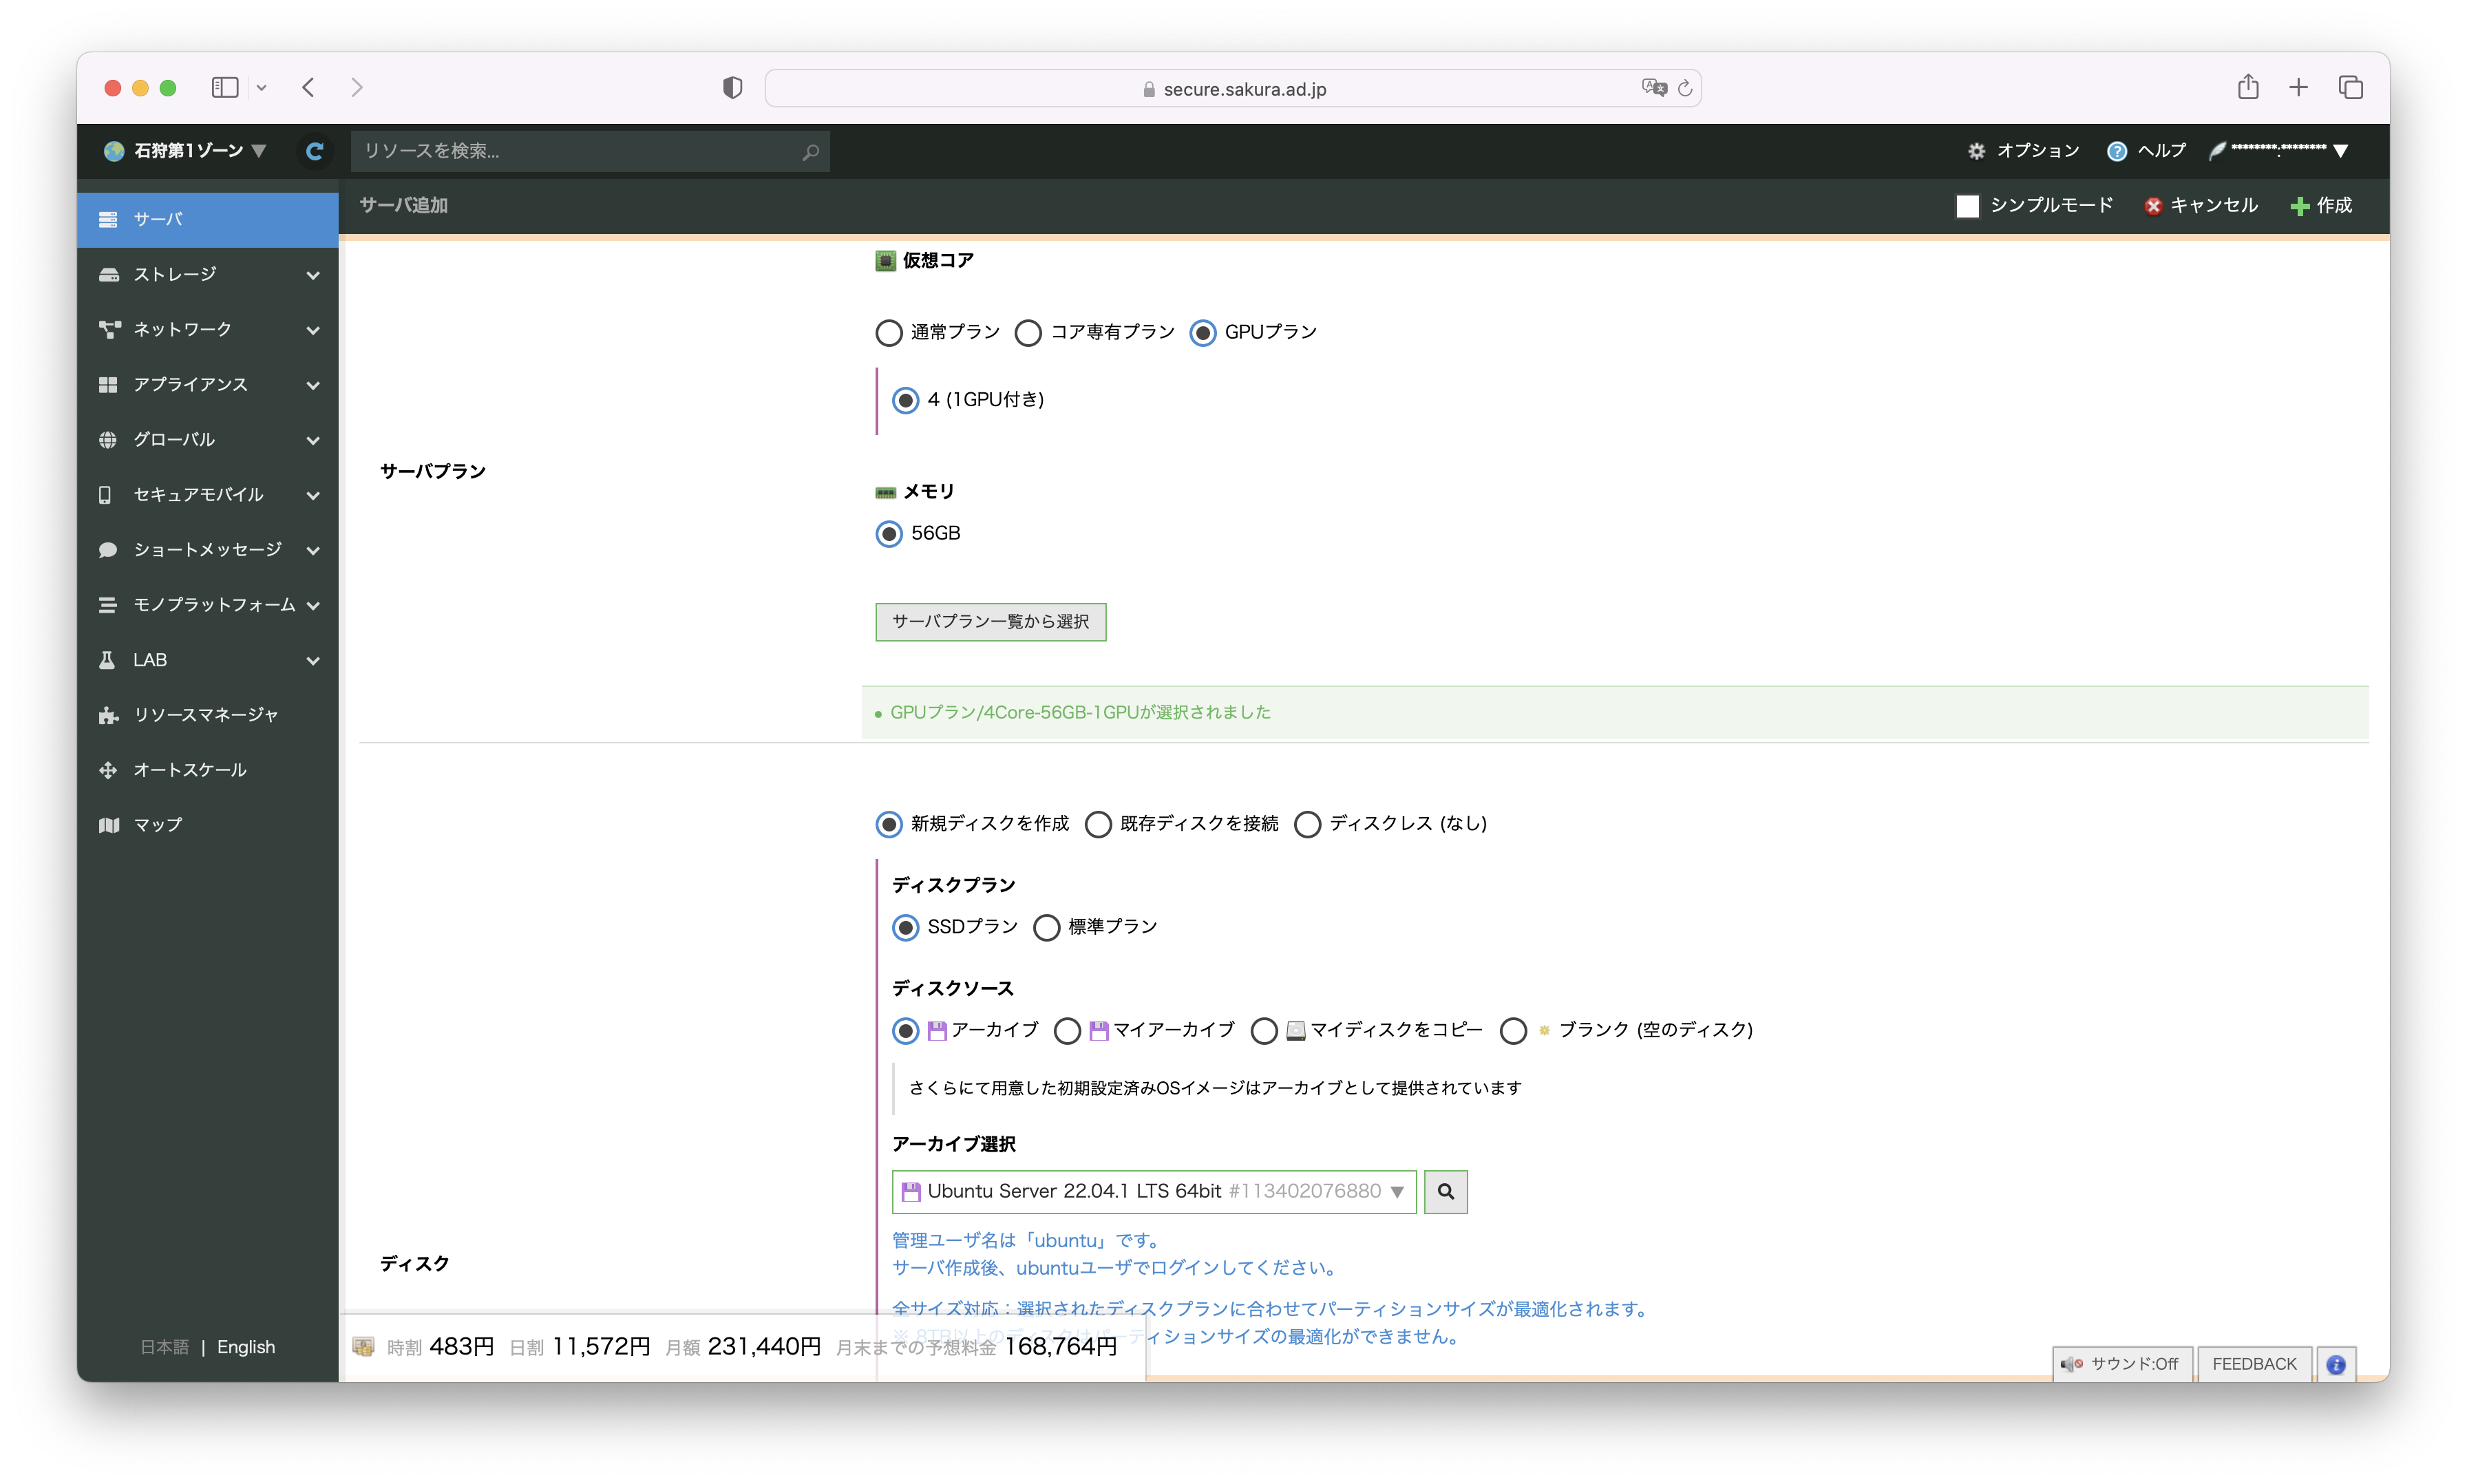
さくらのクラウドのコントロールパネルから、石狩第1ゾーンを選択し、サーバ追加画面を開きます。
サーバプランは GPUプラン を選択、ディスクのアーカイブは Ubuntu 22.04.1 LTS を選択します。
ディスクサイズは 100GB を選択します。
2.GPUドライバのインストール
GPUサーバが完成したら、SSHでログインします。
NVIDIAのドキュメント通りにインストールを行う。
https://docs.nvidia.com/datacenter/tesla/tesla-installation-notes/index.html
$ sudo apt-get install linux-headers-$(uname -r)
$ distribution=$(. /etc/os-release;echo $ID$VERSION_ID | sed -e 's/\.//g')
$ wget https://developer.download.nvidia.com/compute/cuda/repos/$distribution/x86_64/cuda-keyring_1.0-1_all.deb
$ sudo dpkg -i cuda-keyring_1.0-1_all.deb
$ sudo apt-get update
$ sudo apt-get -y install cuda-drivers
インストールが終わったら再起動を行う。
3.Docker + NVIDIA Container Toolkitのインストール
$ curl https://get.docker.com | sh \
   && sudo systemctl --now enable docker

$ distribution=$(. /etc/os-release;echo $ID$VERSION_ID) \
      && curl -fsSL https://nvidia.github.io/libnvidia-container/gpgkey | sudo gpg --dearmor -o /usr/share/keyrings/nvidia-container-toolkit-keyring.gpg \
      && curl -s -L https://nvidia.github.io/libnvidia-container/$distribution/libnvidia-container.list | \
            sed 's#deb https://#deb [signed-by=/usr/share/keyrings/nvidia-container-toolkit-keyring.gpg] https://#g' | \
            sudo tee /etc/apt/sources.list.d/nvidia-container-toolkit.list

$ sudo apt-get update
$ sudo apt-get install -y nvidia-container-toolkit
$ sudo nvidia-ctk runtime configure --runtime=docker
$ sudo systemctl restart docker
動作確認
$ sudo docker run --rm --runtime=nvidia --gpus all nvidia/cuda:11.6.2-base-ubuntu20.04 nvidia-smi
Sun Apr  9 14:01:25 2023
+---------------------------------------------------------------------------------------+
| NVIDIA-SMI 530.30.02              Driver Version: 530.30.02    CUDA Version: 12.1     |
|-----------------------------------------+----------------------+----------------------+
| GPU  Name                  Persistence-M| Bus-Id        Disp.A | Volatile Uncorr. ECC |
| Fan  Temp  Perf            Pwr:Usage/Cap|         Memory-Usage | GPU-Util  Compute M. |
|                                         |                      |               MIG M. |
|=========================================+======================+======================|
|   0  Tesla V100-PCIE-32GB            On | 00000000:00:04.0 Off |                    0 |
| N/A   33C    P0               37W / 250W|   4734MiB / 32768MiB |      0%      Default |
|                                         |                      |                  N/A |
+-----------------------------------------+----------------------+----------------------+

+---------------------------------------------------------------------------------------+
| Processes:                                                                            |
|  GPU   GI   CI        PID   Type   Process name                            GPU Memory |
|        ID   ID                                                             Usage      |
|=======================================================================================|
+---------------------------------------------------------------------------------------+
4.Tabbyの起動
キャッシュ用のディレクトリを作成
mkdir -p data/hf_cache && chown -R 1000 data
コンテナ起動
sudo docker run \
  --gpus all \
  -it --rm \
  -v "./data:/data" \
  -v "./data/hf_cache:/home/app/.cache/huggingface" \
  -p 5000:5000 \
  -e MODEL_NAME=TabbyML/J-350M \
  -e MODEL_BACKEND=triton \
  --name=tabby \
  tabbyml/tabby
~~~出力省略~~~
+----------------------------------+------------------------------------------------------------------------------------------------------------------------------------------------------------------------------------------------------+
| Option                           | Value                                                                                                                                                                                                |
+----------------------------------+------------------------------------------------------------------------------------------------------------------------------------------------------------------------------------------------------+
| server_id                        | triton                                                                                                                                                                                               |
| server_version                   | 2.29.0                                                                                                                                                                                               |
| server_extensions                | classification sequence model_repository model_repository(unload_dependents) schedule_policy model_configuration system_shared_memory cuda_shared_memory binary_tensor_data statistics trace logging |
| model_repository_path[0]         | /home/app/.cache/huggingface/hub/models--TabbyML--J-350M/snapshots/98b1f9c187990a17466a92e2c8bf9393a3c72772/triton                                                                                   |
| model_control_mode               | MODE_NONE                                                                                                                                                                                            |
| strict_model_config              | 0                                                                                                                                                                                                    |
| rate_limit                       | OFF                                                                                                                                                                                                  |
| pinned_memory_pool_byte_size     | 268435456                                                                                                                                                                                            |
| cuda_memory_pool_byte_size{0}    | 67108864                                                                                                                                                                                             |
| response_cache_byte_size         | 0                                                                                                                                                                                                    |
| min_supported_compute_capability | 6.0                                                                                                                                                                                                  |
| strict_readiness                 | 1                                                                                                                                                                                                    |
| exit_timeout                     | 30                                                                                                                                                                                                   |
+----------------------------------+------------------------------------------------------------------------------------------------------------------------------------------------------------------------------------------------------+


2023-04-09 14:07:04,977 DEBG 'triton' stderr output:
I0409 14:07:04.976879 385 grpc_server.cc:4819] Started GRPCInferenceService at 0.0.0.0:8001

2023-04-09 14:07:04,978 DEBG 'triton' stderr output:
I0409 14:07:04.977280 385 http_server.cc:3477] Started HTTPService at 0.0.0.0:8000

2023-04-09 14:07:05,021 DEBG 'triton' stderr output:
I0409 14:07:05.021190 385 http_server.cc:184] Started Metrics Service at 0.0.0.0:8002

2023-04-09 14:07:05,182 DEBG 'server' stderr output:
INFO:     Started server process [337]
INFO:     Waiting for application startup.
~~~出力省略~~~
Waiting for application startup. というログが出力されたら使えるようになります。
5.Tabbyを使ってみる
ローカルからTabbyを使うためにssh port forwardingを行います。
クライアントから別のsshターミナルを開き以下のコマンドでGPUサーバにSSH接続します。
$ ssh -L 5000:localhost:5000 ubuntu@<GPUサーバのIPアドレス>
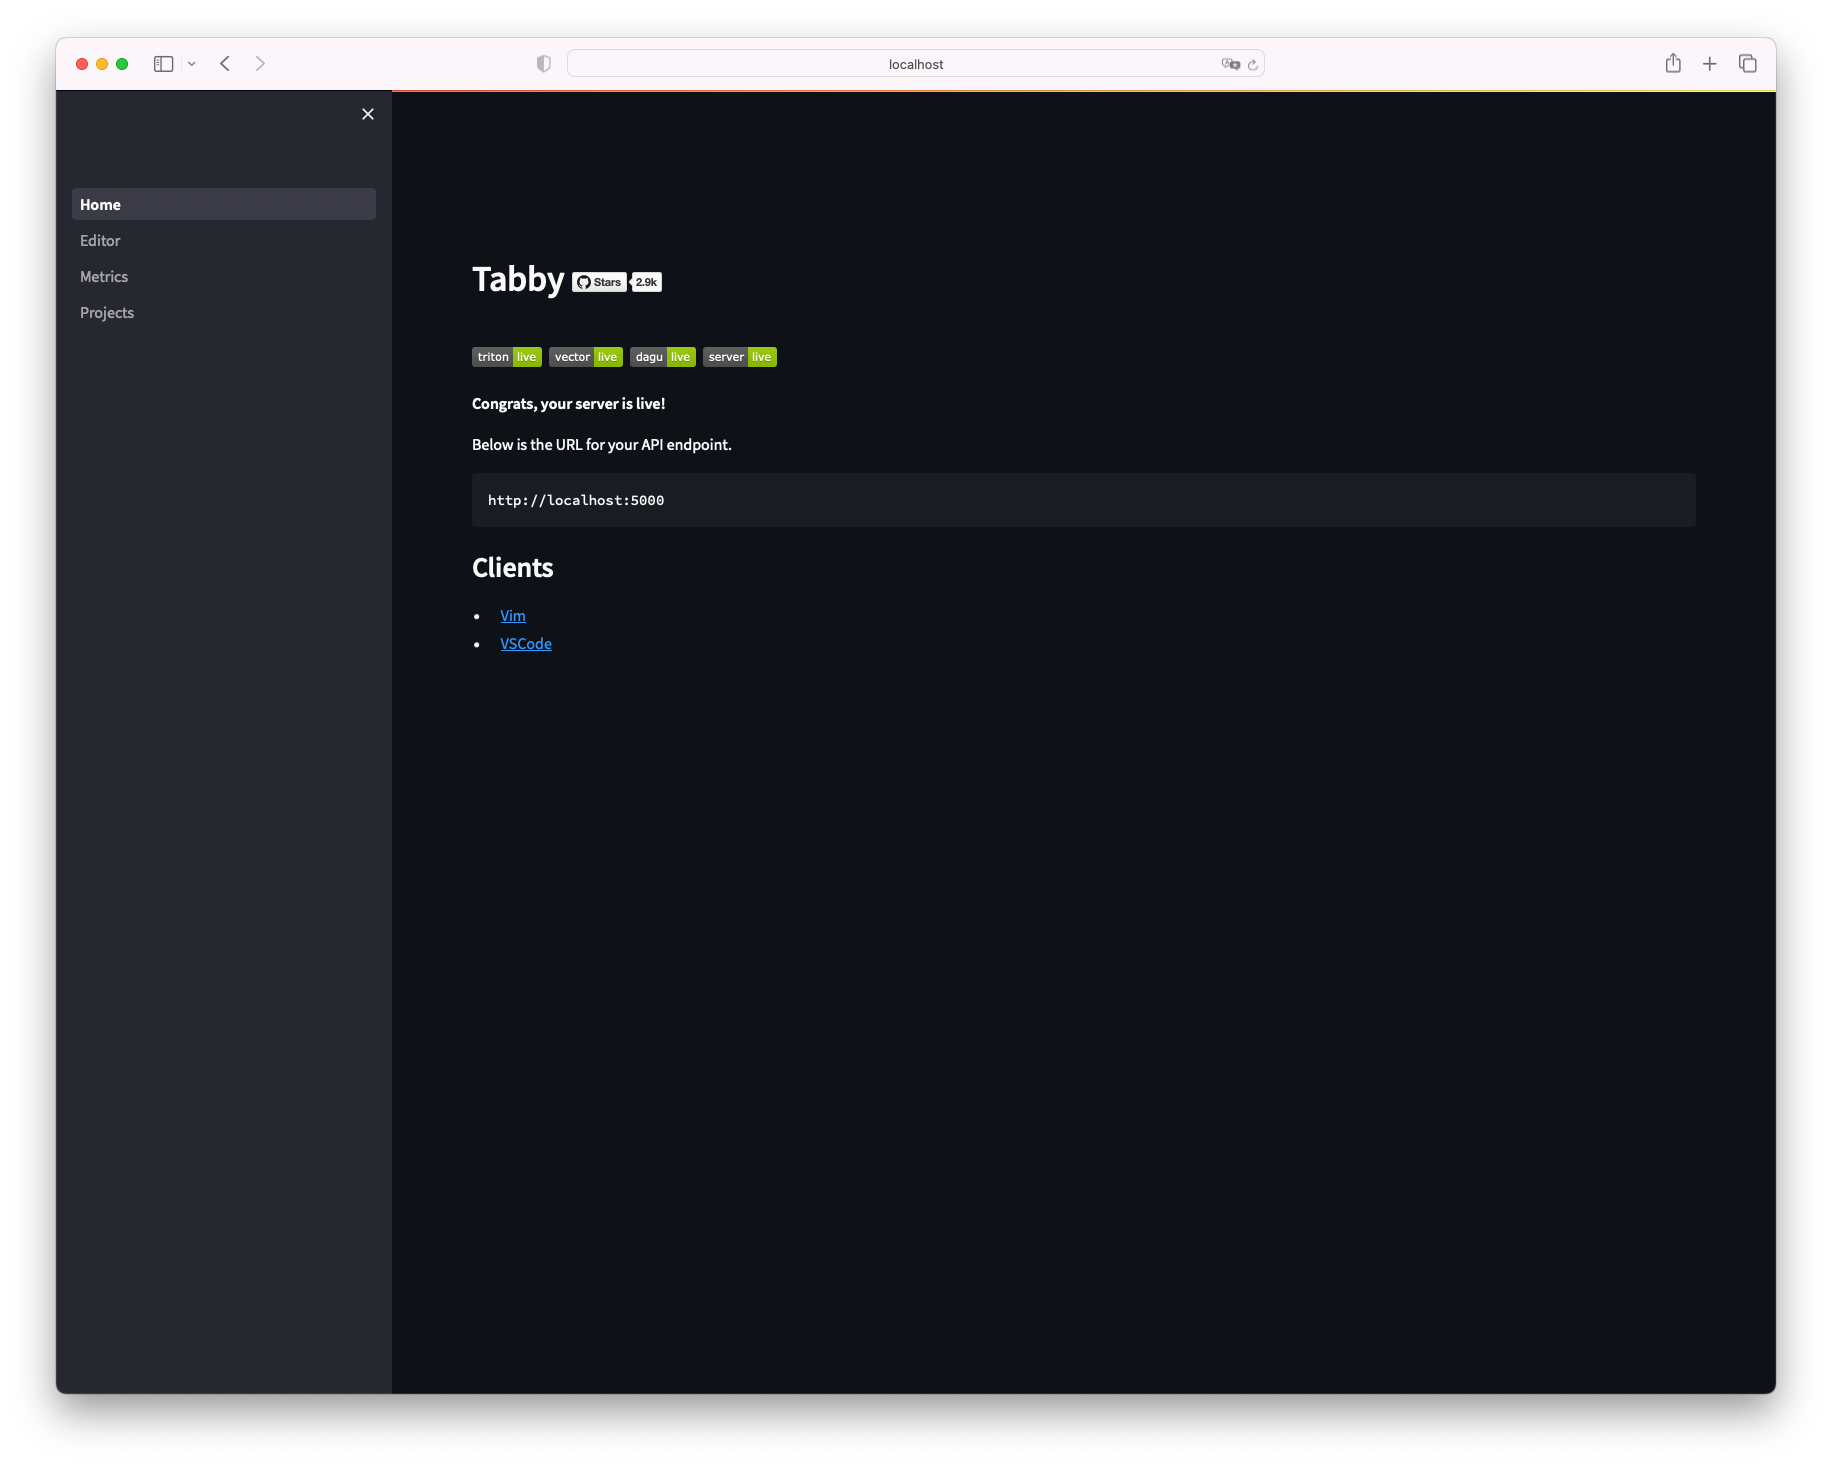
ssh接続後ローカルのブラウザから、 http://localhost:5000/_admin にアクセスします。
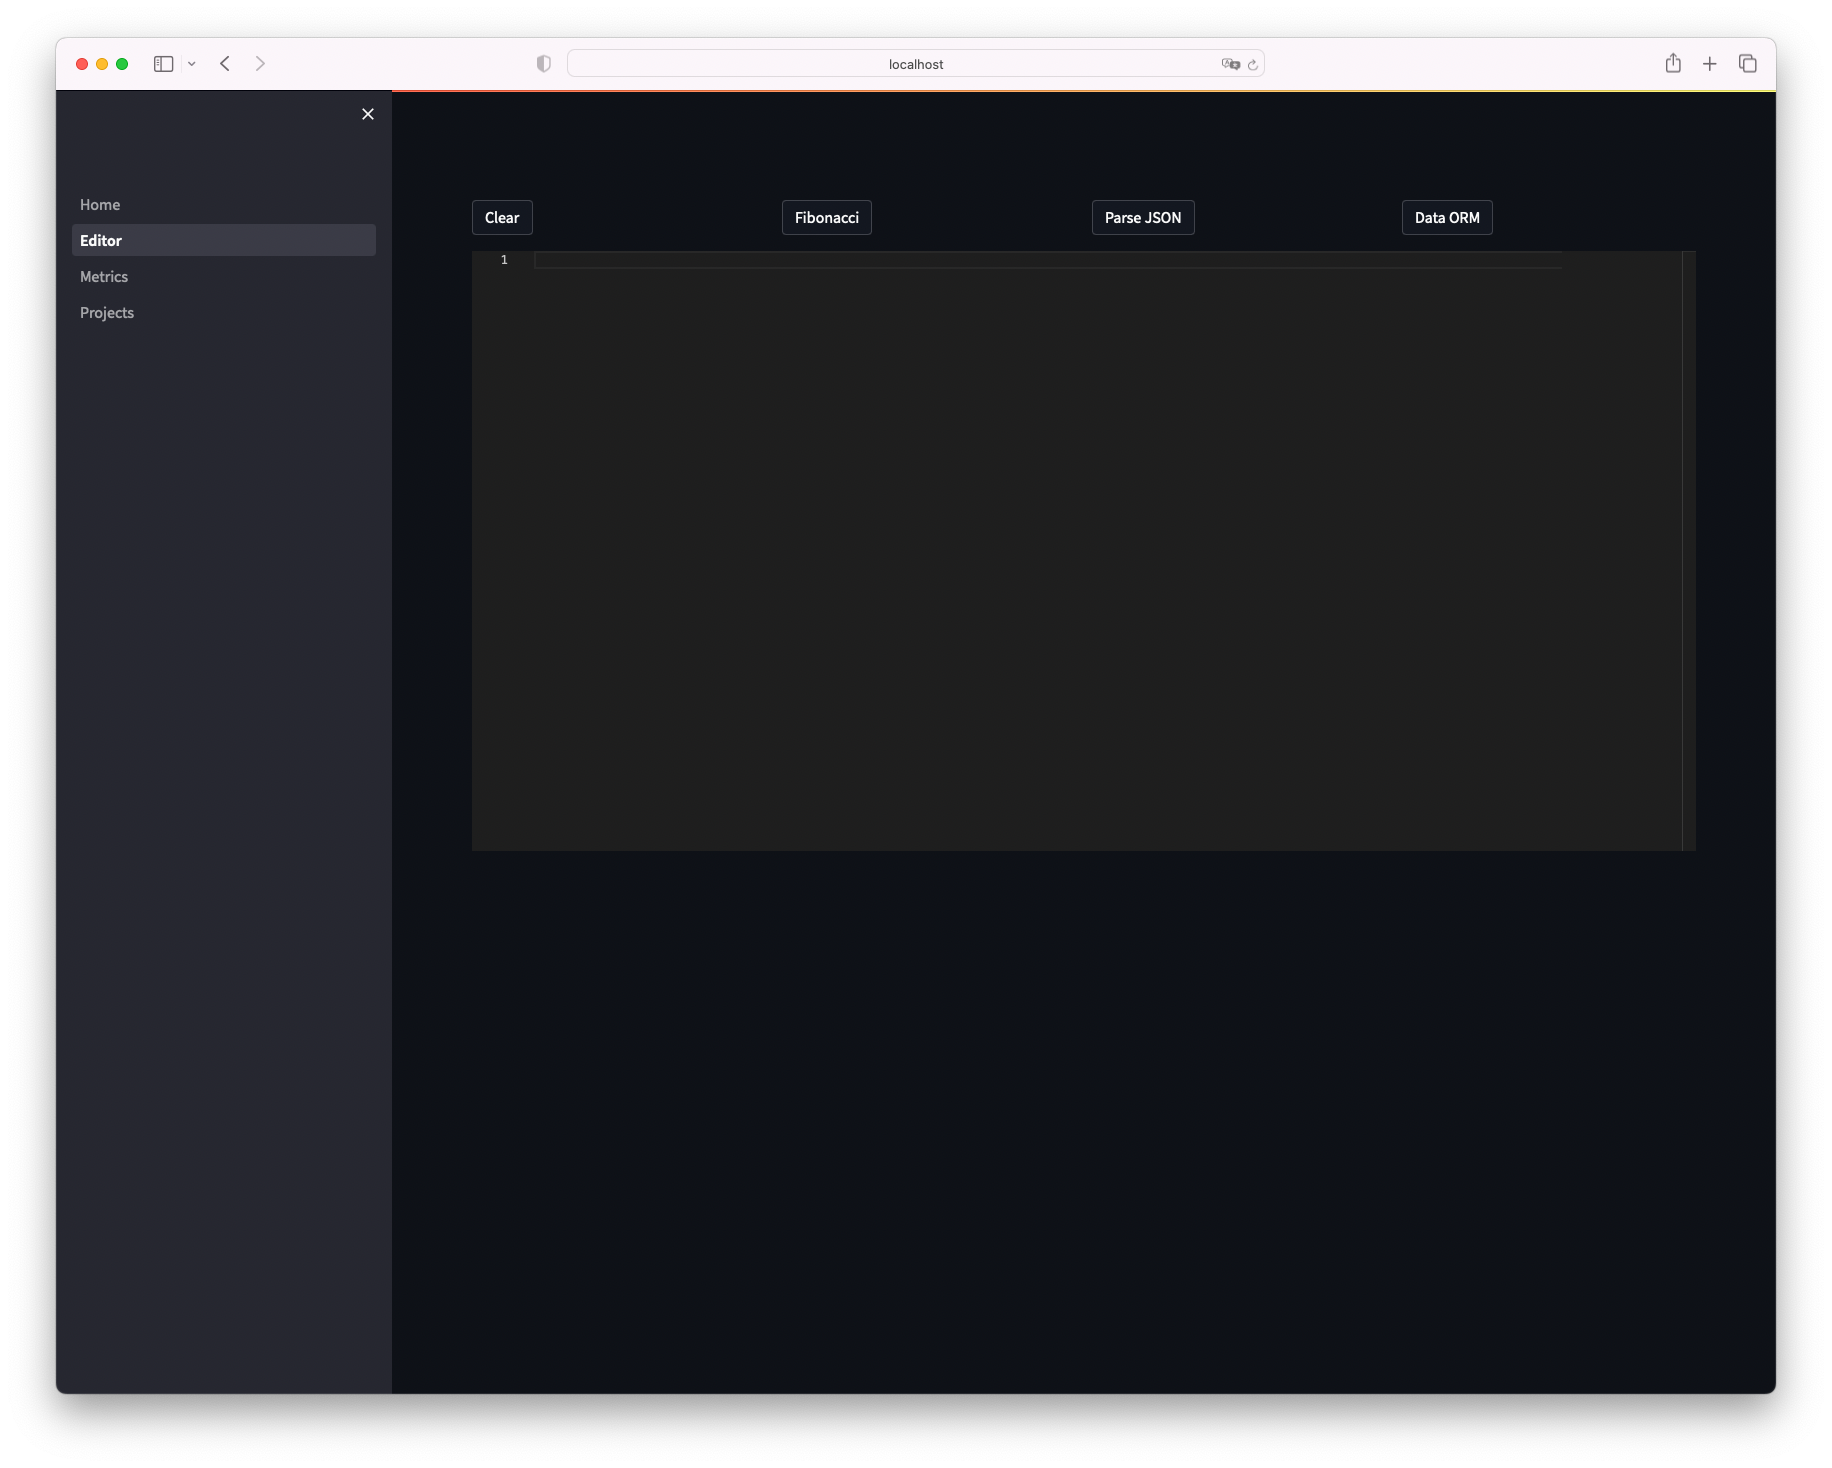
Tabbyにアクセスできました、左メニューのEditorをクリックします。
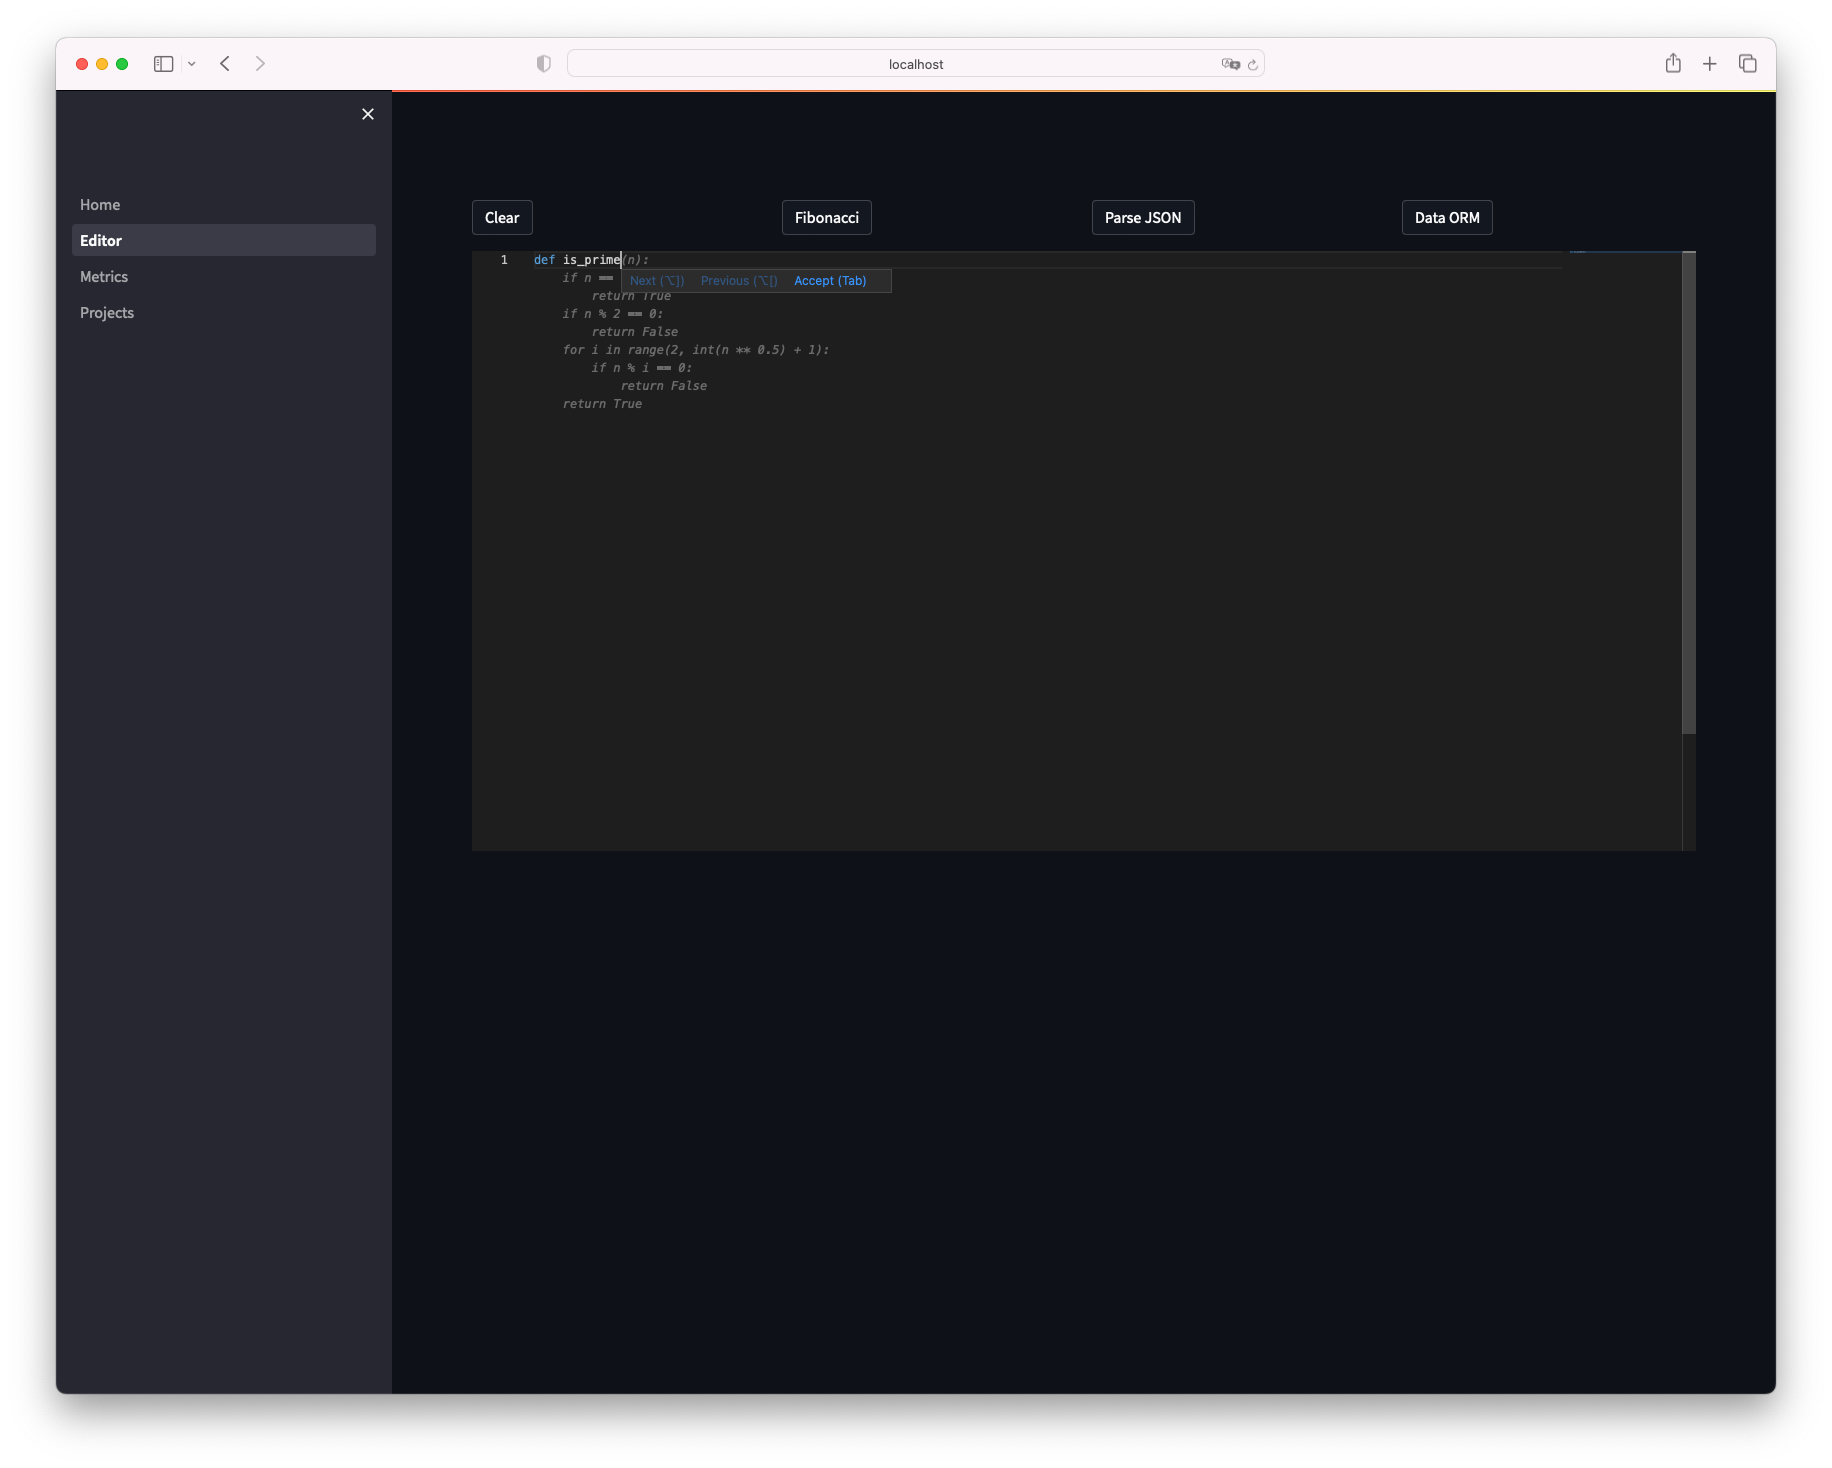
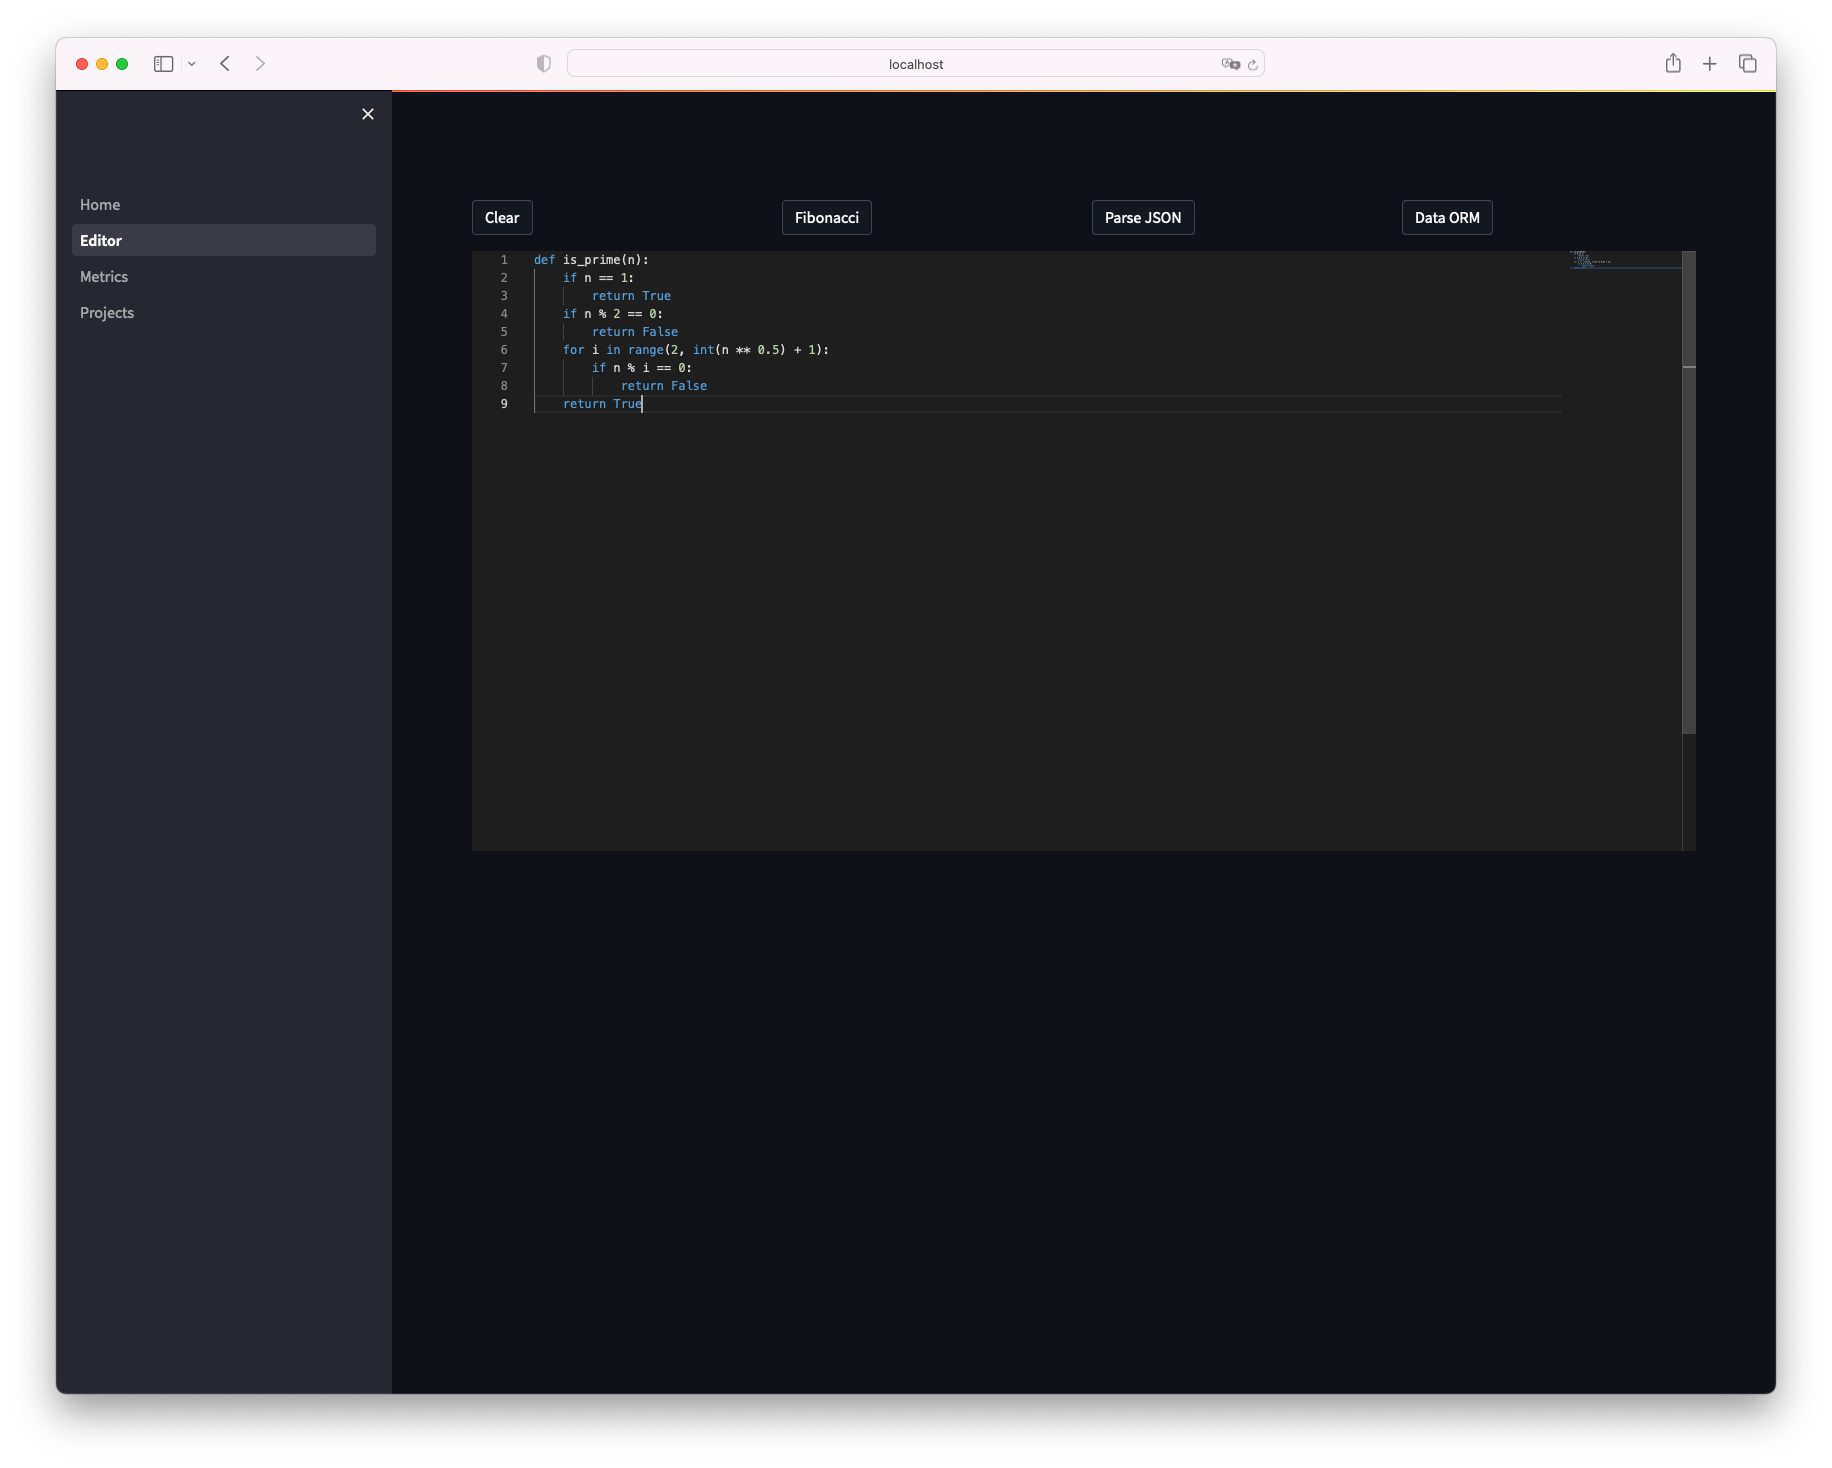
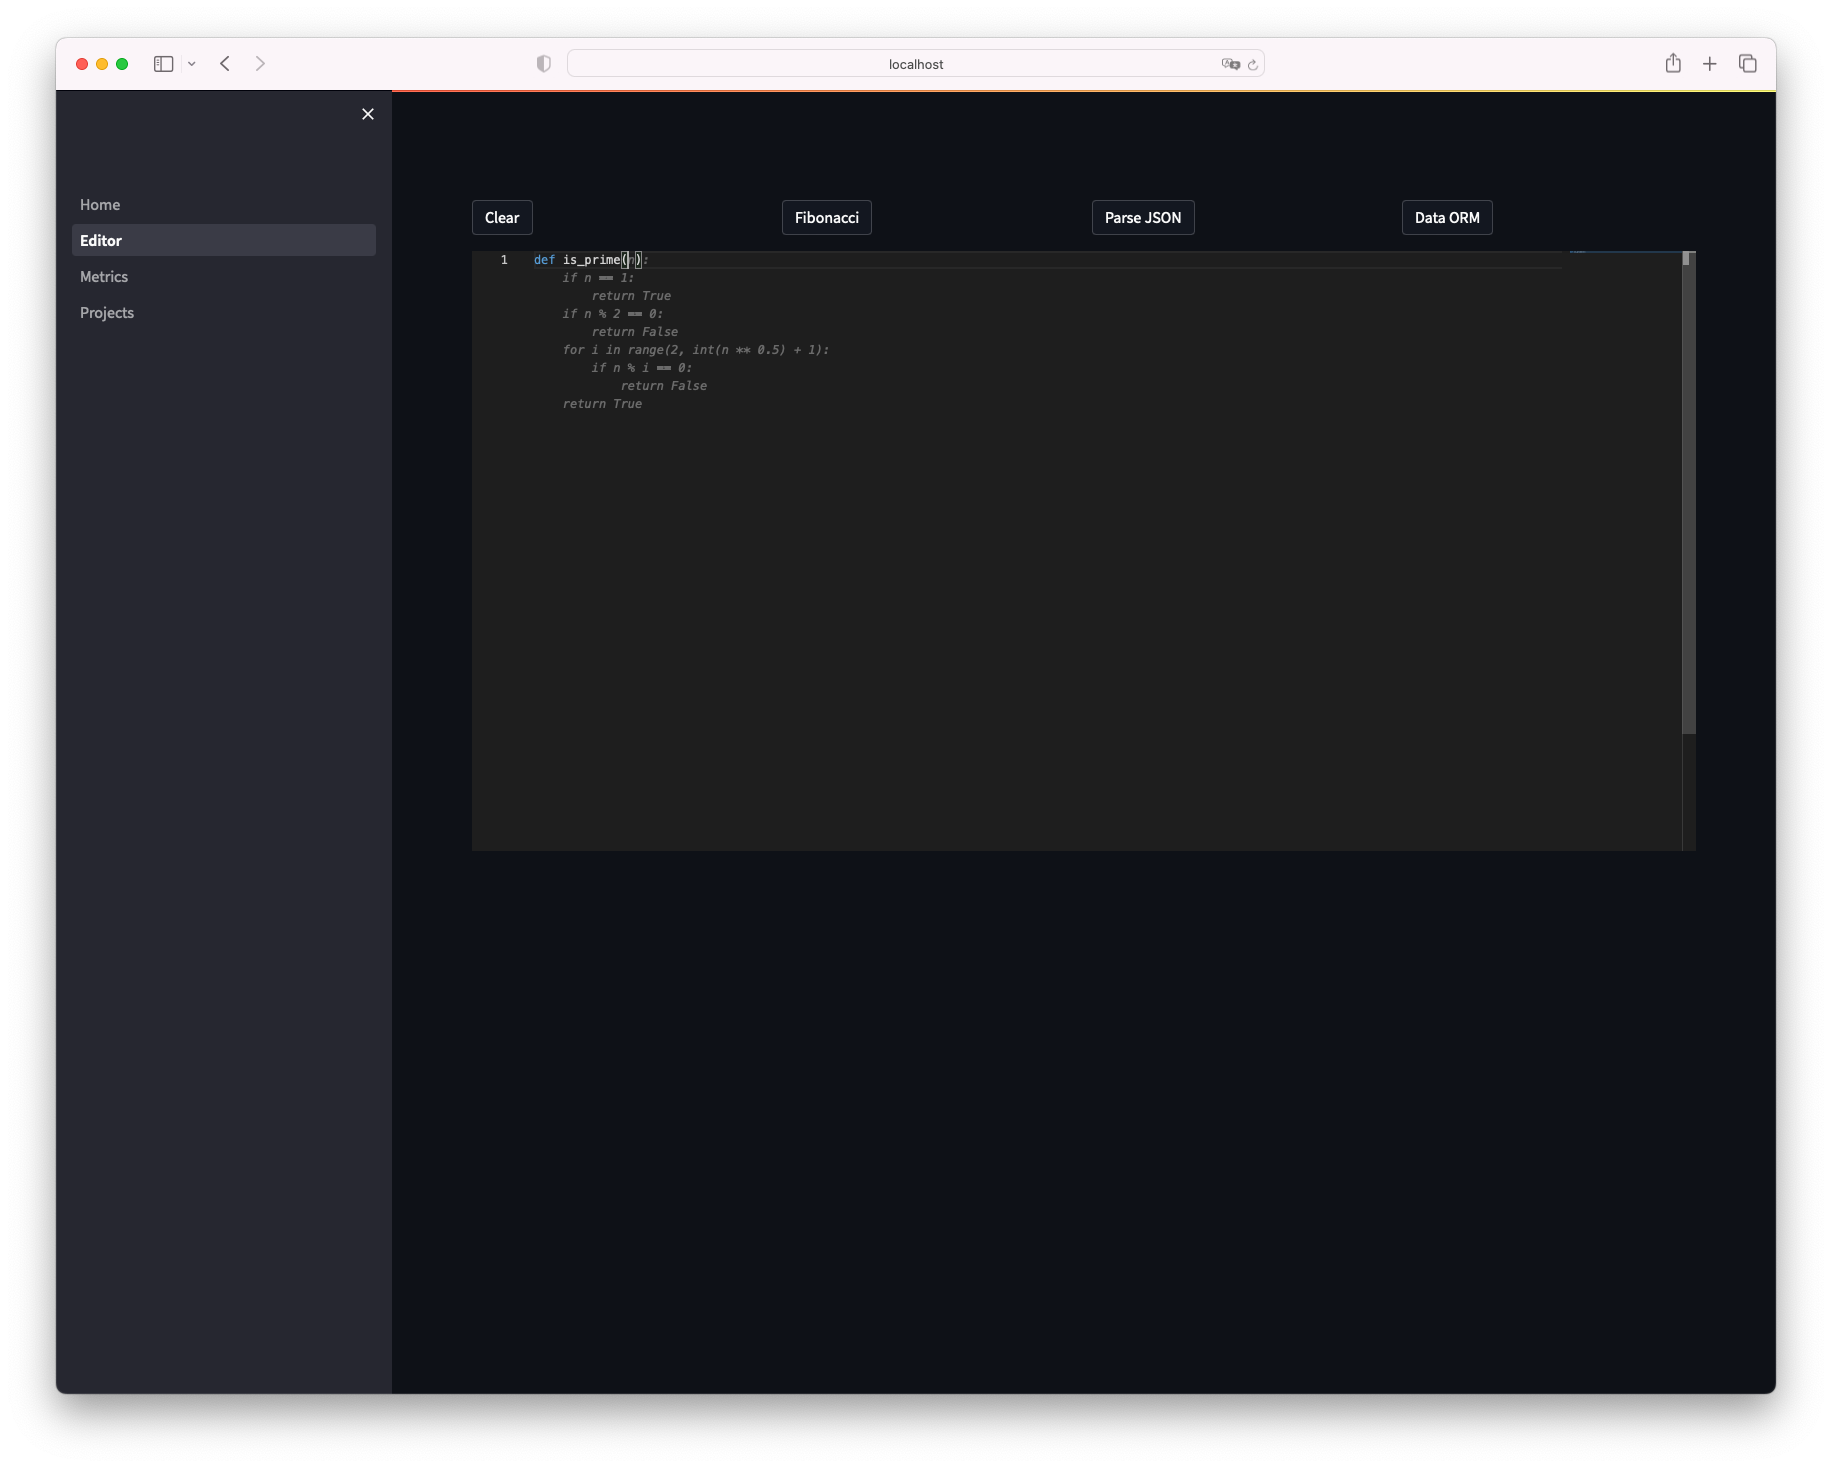
エディタが開きました、試しに素数を判定する関数をpythonで作ります。
def is_prime と入力しただけで補完が効き、関数が出来上がってしまいました。
感想
- GitHub Copilotが登場した時は、びっくりしましたがまさか自分のサーバでも同様のことができるとは驚きました。
- リポジトリを覗いてみるとdocker-composeファイルが用意されているので、継続的に使うのであればcomposeを使った方がいいかもしれません。
- VimやVScodeとも連携できるので組み合わせて使ってどの程度使えるか今後試していきたいと思いました。(筆者はPyCharm使い)
