前回は、JTAppleCalendarを使って、簡単にカレンダーの表示をしてみました、(前回の記事はこちら)
まだ、見栄えは十分ではないので、もう少し整えていこうと思います。
月の表示
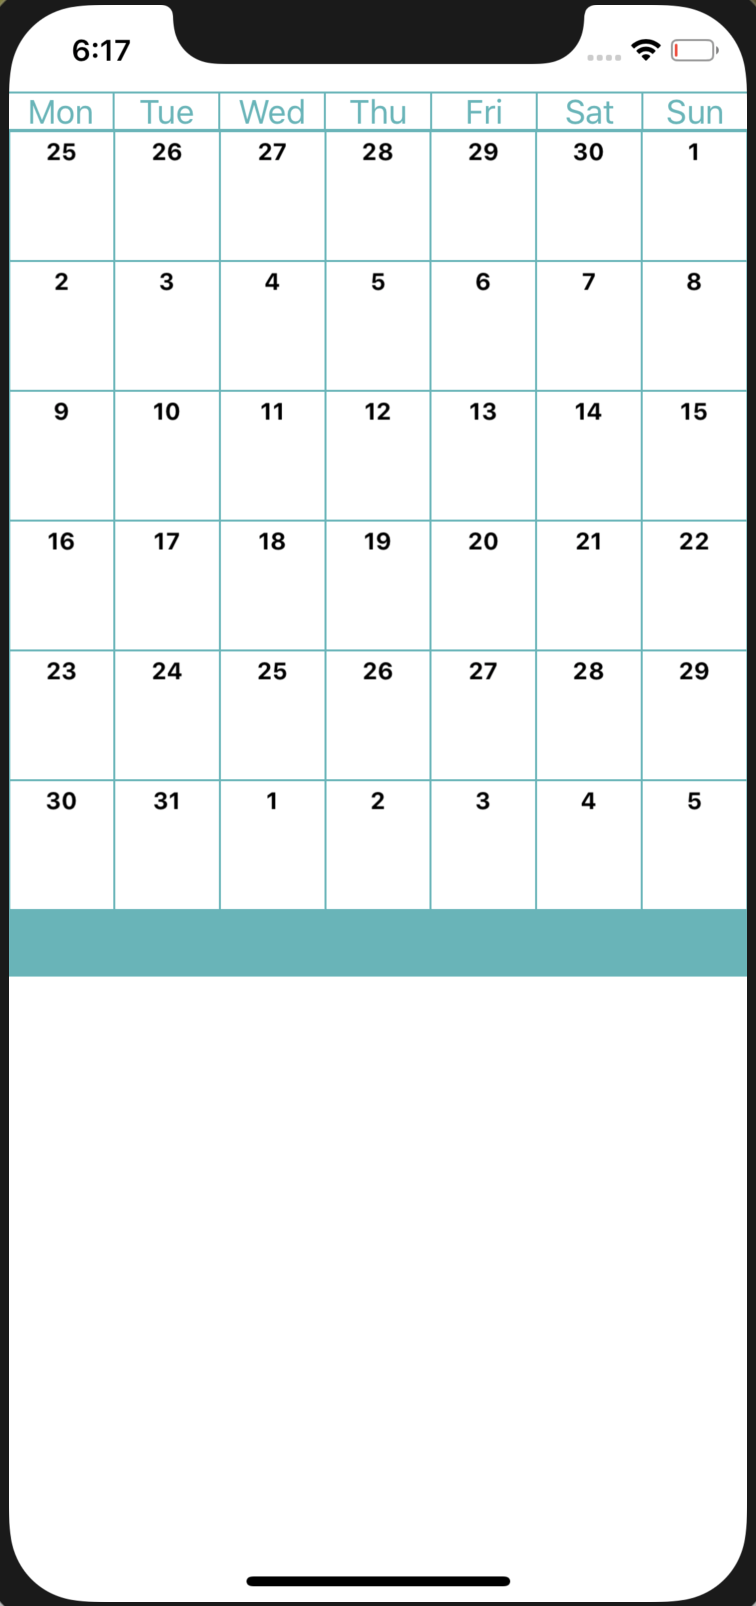
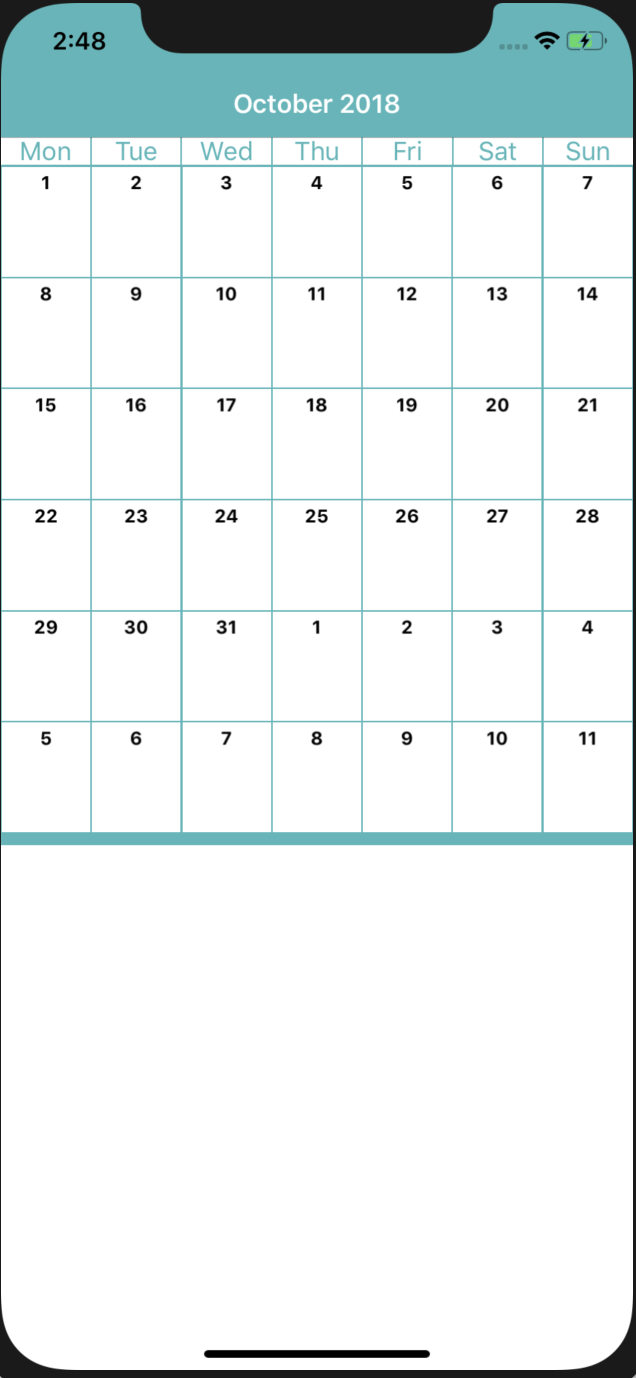
今の状態だと、今見ているのが何年の何月かわかりません...なので、まずはそれを表示できるようにしようと思います。こんな感じに変えていきます。
 → → →
→ → → 
1.NavigationBarを追加
まずは、Main.storyboardに月を表示するためのNavigationBarを追加していきましょう。
今回は、カレンダーに使った色と同じ色になるようにします。つい、CalendarのViewControllerで編集しようとして、あれ!?できない!?って焦りますが、NavigationControllerの方で編集です。知っててもたまに間違える...。
また、デフォルトでは半透明色になるので、今回はそれも解除します。(Translucentのチェックを外す。)

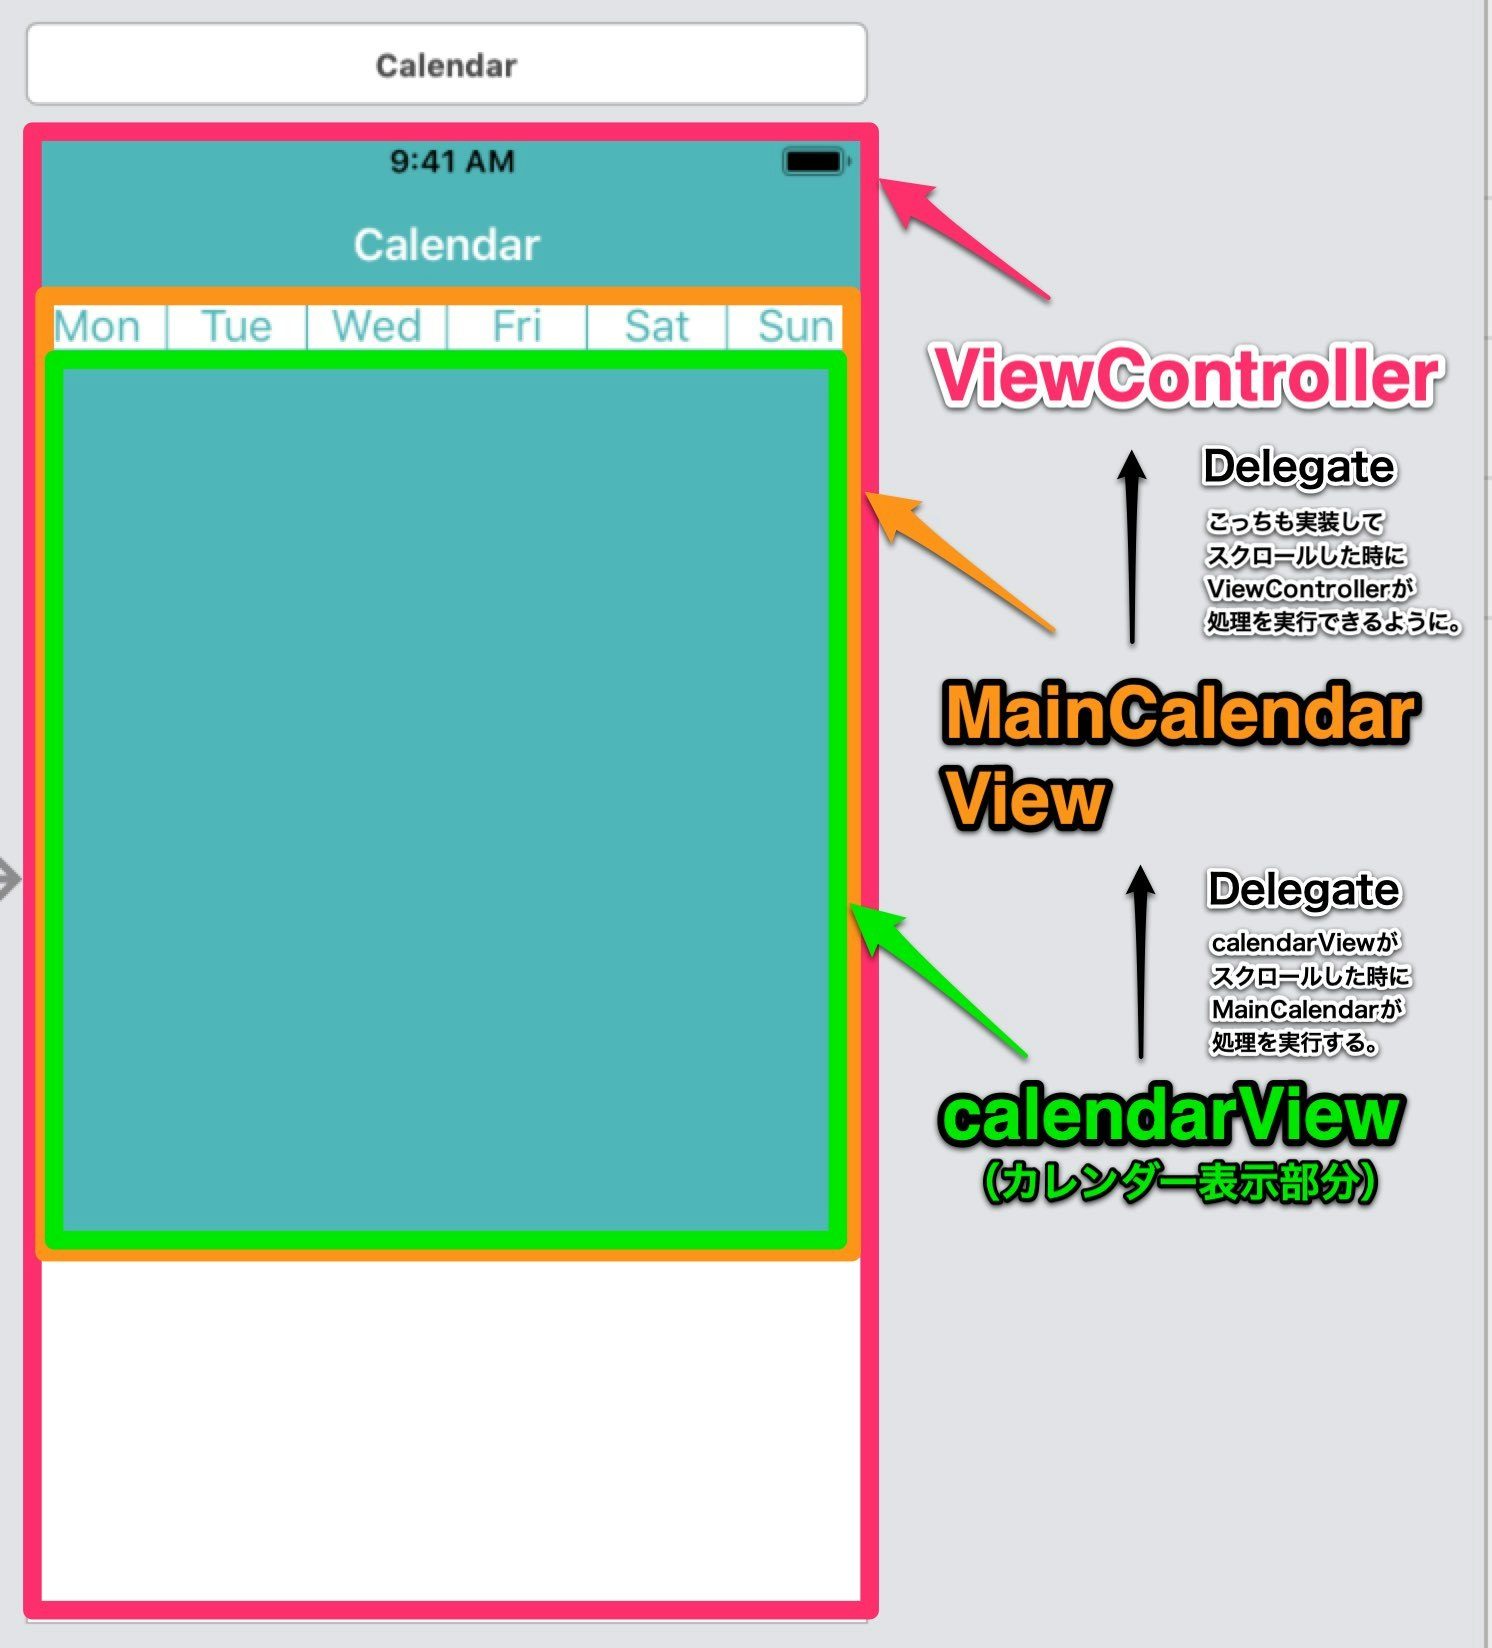
2.MainCalendarViewDelegateの作成・設定
今回、MainCalendarViewに、JTAppleCalendarのカレンダーであるcalendarViewがあり、calendarViewがスクロールされた時に呼ばれるdelegateはMainCalendarView内にあります。
つまり、calendarViewがスクロールされた時は、MainCalendarViewがそれを感知して、何かしらの処理を実行できます。
しかし、今の状態では、calendarViewがスクロールされた事を、ViewControllerが感知し処理を実行(今回は月を表示)する事ができません。なので、MainCalendarViewからViewControllerに継承できるように、Delegateを設定しましょう。
まず、MainCalendarView.swiftにMainCalendarViewDelegateを書いていきます。
protocol MainCalendarViewDelegate: class {
    func changeMonth(month: String)
}
続いて、MainCalendarViewにdelegateを宣言しましょう。現在の日付を保存しておく変数として、currentMonthも宣言します。
var currentMonth: String!
var calendarDelegate: MainCalendarViewDelegate?
ここで、currentMonthを変更するchangeCurrentMonthメソッドも書いておきましょう。
    func changeCurrentMonth(from visibleDates: DateSegmentInfo) {
        guard let startDate = visibleDates.monthDates.first?.date else {
            return
        }
        let month = Calendar(identifier: .gregorian).dateComponents([.month], from: startDate).month
        let monthName = DateFormatter().monthSymbols[Int(month!)-1]
        let year = Calendar(identifier: .gregorian).component(.year, from: startDate)
        currentMonth = monthName + " " + String(year)
    }
では、次に、実際に、スクロールされた時に、monthChangedメソッドを実行するようにコードを書きます。monthChangedextension MainCalendarView: JTAppleCalendarViewDelegateの中に書きます。
    func calendar(_ calendar: JTAppleCalendarView, didScrollToDateSegmentWith visibleDates: DateSegmentInfo) {
        self.changeCurrentMonth(from: visibleDates)
        calendarDelegate?.changeMonth(month: currentMonth)
    }
これで、下準備は全て終わりです。月表示のコードを書いていきましょう。
3.ViewControllerで月表示
まず、MainCalendarViewを宣言します。関連付けも忘れずに。
合わせて、現在の月をいれておく変数currentMonthも宣言しておきましょう。currentMonthが変更されたら、navigationItemのタイトルが変更されるようにしておきます。
    @IBOutlet var mainCalendar: MainCalendarView!
    var currentMonth: String! = String() {
        didSet {
            self.navigationItem.title = currentMonth
        }
    }
viewDidLoad()内にdelegateの設定をします。ついでに、今日の日付にスクロールするコードも入れておきましょう。(デフォルトは、表示の限界設定している過去の日付が最初に表示される。)
mainCalendar.calendarDelegate = self
mainCalendar.calendarView.scrollToDate(Date())
最後に、currentMonthを実際に変更します。
extension ViewController: MainCalendarViewDelegate {
    func changeMonth(month: String) {
        currentMonth = month
    }
}
完成!
しっかり表示されている月が表示されています!