はじめに
この記事では、前回の記事で作成したCloud Integration (CPI) -> Open Connector -> Google Driveの連携をUI5のアプリケーションから呼び出します。
※シリーズ先頭の記事はこちら

メインテーマはUI5アプリケーションとCPIとの連携、サブテーマはUI5でType Scriptを使用することです。
作成したソースはGitHubから参照できます。
※UI5でのType Scriptの使用については、過去に以下の記事を書いています。
ステップ
- CPIのDestinationを登録
- UI5プロジェクトを作成
- ファイルアップロード機能の実装
- Cloud Foundryにデプロイ
- Cloud Foundryから実行
1. CPIのDestinationを登録
Destinationの登録に必要な情報は、Process Integration(プラン:integration-flow)のインスタンスのサービスキーから取得します。

以下のDestinationを登録します。

| 項目 | 設定値 |
|---|---|
| Name | 任意 |
| Type | HTTP |
| URL | サービスキーのURL |
| Client ID | サービスキーのclientid |
| Client Secret | サービスキーのclientsecret |
| Token Service URL | サービスキーのtokenurl |
2. UI5プロジェクトを作成
Type Scriptを使用するため、easy-ui5のts-appのテンプレートを使用します。
以下のコマンドを実行します。
yo easy-ui5 ts-app
質問には以下のように答えます。
? How do you want to name this application? file2googledrive
? Which namespace do you want to use? miyasuta
? Which framework do you want to use? SAPUI5
? Which framework version do you want to use? 1.108.0
? Who is the author of the application? Mio Yasutake
? Would you like to create a new directory for the application? Yes
? Would you like to initialize a local github repository for the application? Yes
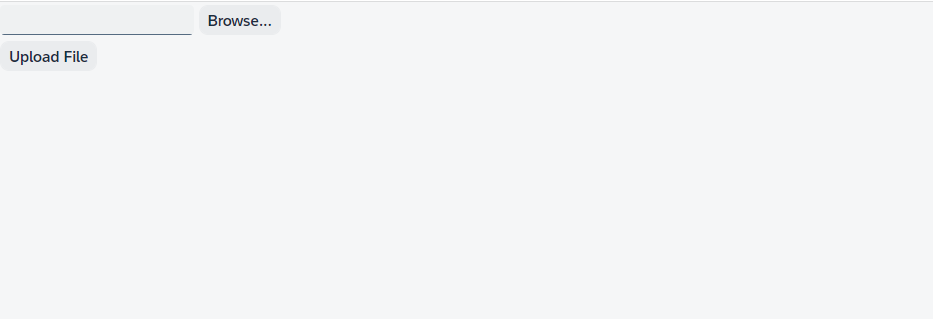
プロジェクトが生成されたら、npm startで実行します。
以下の画面が表示されます。

3. ファイルアップロード機能の実装
FileUploaderというコントロールを使ってファイルをアップロードします。
3.1. ビュー
FileUploaderはデフォルトではリクエストをmultipart/form-dataで送信します。今回使用するCPIのiFlowはファイルをFormDataではなくBodyに受け取るので、useMultipart="false"を指定します。これに伴い、sendXHR="true"を設定する必要があります。
<mvc:View
	controllerName="miyasuta.file2googledrive.controller.Main"
	displayBlock="true"
	xmlns="sap.m"
	xmlns:l="sap.ui.layout"
	xmlns:u="sap.ui.unified"
	xmlns:mvc="sap.ui.core.mvc">

	<l:VerticalLayout>
		<u:FileUploader
			id="fileUploader"
			useMultipart="false"
			sendXHR="true"
			uploadUrl="cpi/http/googleDriveIntegration"
			uploadComplete="handleUploadComplete"/>
		<Button
			text="Upload File"
			press="handleUploadPress"/>
	</l:VerticalLayout>

</mvc:View>
3.1. コントローラー
コントローラーには2つのメソッドを定義します。
①handleUploadPress
"Upload File"ボタンが押されたときに動くイベントハンドラです。iFlowがヘッダにファイル名(filename)を受け取る仕様になっているため、ファイルを送信する前にヘッダパラメータを設定しています。ヘッダパラメータの設定はsendXHR="true"を指定した場合のみ可能となっています。
②handleUploadComplete
アップロードが完了したときに動くイベントハンドラです。ステータスコードを見て成功/失敗を判断してメッセージを返します。
import BaseController from "./BaseController";
import formatter from "../model/formatter";
import FileUploader from "sap/ui/unified/FileUploader";
import FileUploaderParameter from "sap/ui/unified/FileUploaderParameter";
import Event from "sap/ui/base/Event";
import MessageToast from "sap/m/MessageToast";


/**
 * @namespace miyasuta.file2googledrive.controller
 */
export default class Main extends BaseController {
	private formatter = formatter;

	public async handleUploadPress(): Promise<void> {
		const oFileUploader = this.byId("fileUploader") as FileUploader;
		await oFileUploader.checkFileReadable();

		//set headers
		oFileUploader.removeAllHeaderParameters();
		const fileName = oFileUploader.getValue();
		oFileUploader.addHeaderParameter(new FileUploaderParameter({
			name: "filename",
			value: fileName
		}));

		oFileUploader.upload();
	}

	public handleUploadComplete(oEvent: Event): void {
		const iHttpStatusCode = oEvent.getParameter("status") as number
		let	sMessage: string;

		if (iHttpStatusCode) {
			sMessage = iHttpStatusCode === 200 ? "Upload Success" : "Upload Error";
			MessageToast.show(sMessage);
		}
	}

}
3.3. xs-app.json
BTPのDestinationを使用してCPIのiFlowを呼びだすため、xs-app.jsonをwebappフォルダの直下に作成します。今回呼び出すiFlowはCSRFトークンを受け取らない設定になっているので、"csrfProtection": falseを指定します。
{
    "welcomeFile": "/index.html",
    "routes": [
      {
          "source": "^/cpi/(.*)$",
          "target": "/$1",
          "destination": "CPI",
          "authenticationType": "xsuaa",
          "csrfProtection": false
      },
      {
        "source": "^(.*)",
        "target": "$1",
        "authenticationType": "xsuaa",
        "service": "html5-apps-repo-rt"
      }
    ]
  }
4. Cloud Foundryにデプロイ
以下の記事に従ってデプロイ用の設定を追加し、デプロイします。
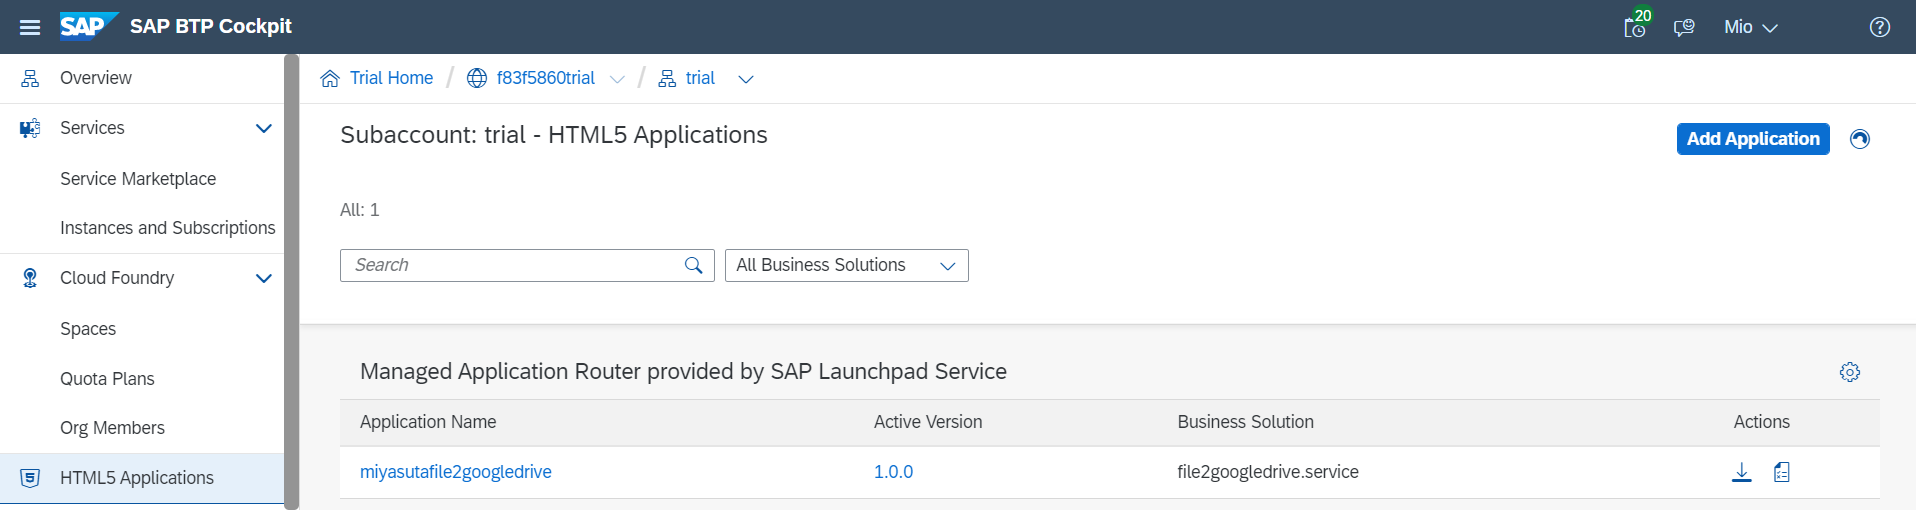
5. Cloud Foundryから実行
デプロイするとHTML5 Applicationsからアプリを実行します。
ファイルを選択してアップロードすると、"Upload Success"というメッセージが出力されます。
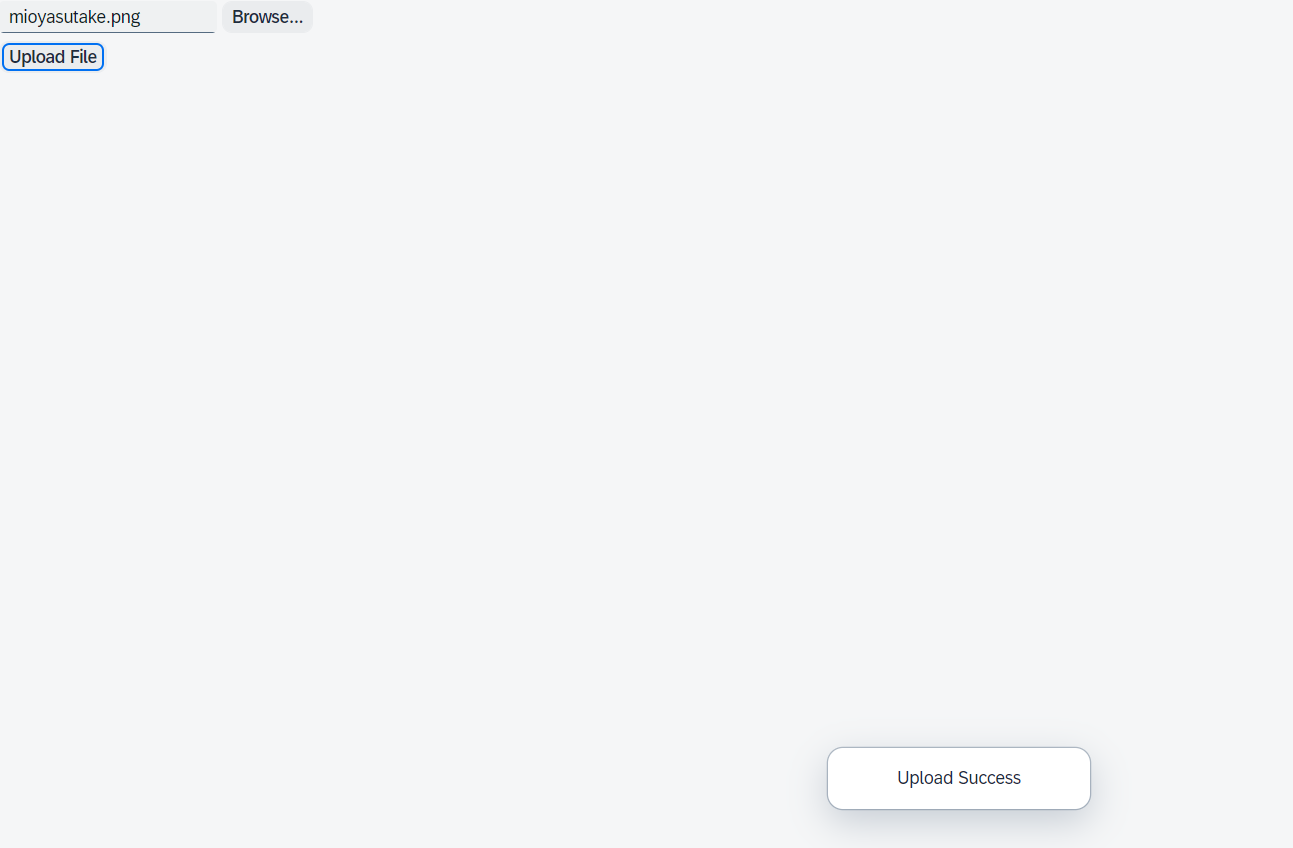
Google Drive側にファイルが連携されています。

ネットワークタブで確認すると、レスポンスタイムが6.44秒と、なぜかPostmanから実行したとき(約13秒)と比べてだいぶ速くなっていました。
