はじめに
Flutterに手を出して3ヶ月が経ちました。FlutterアプリをBirtiseでCI/CD構築するときにハマったので、こうすれば上手くいったという手順を書き残しておきます。
「この手順は不要」「この順番の方が良い」などのアドバイス大歓迎です。
開発環境、使用ツール
- ターゲット
- iOS
- 言語
- Flutter/Dart
- エディタ
- Android Studio, Xcode
- リポジトリ
- GitHub
- CI/CDツール
- Bitrise
構築手順
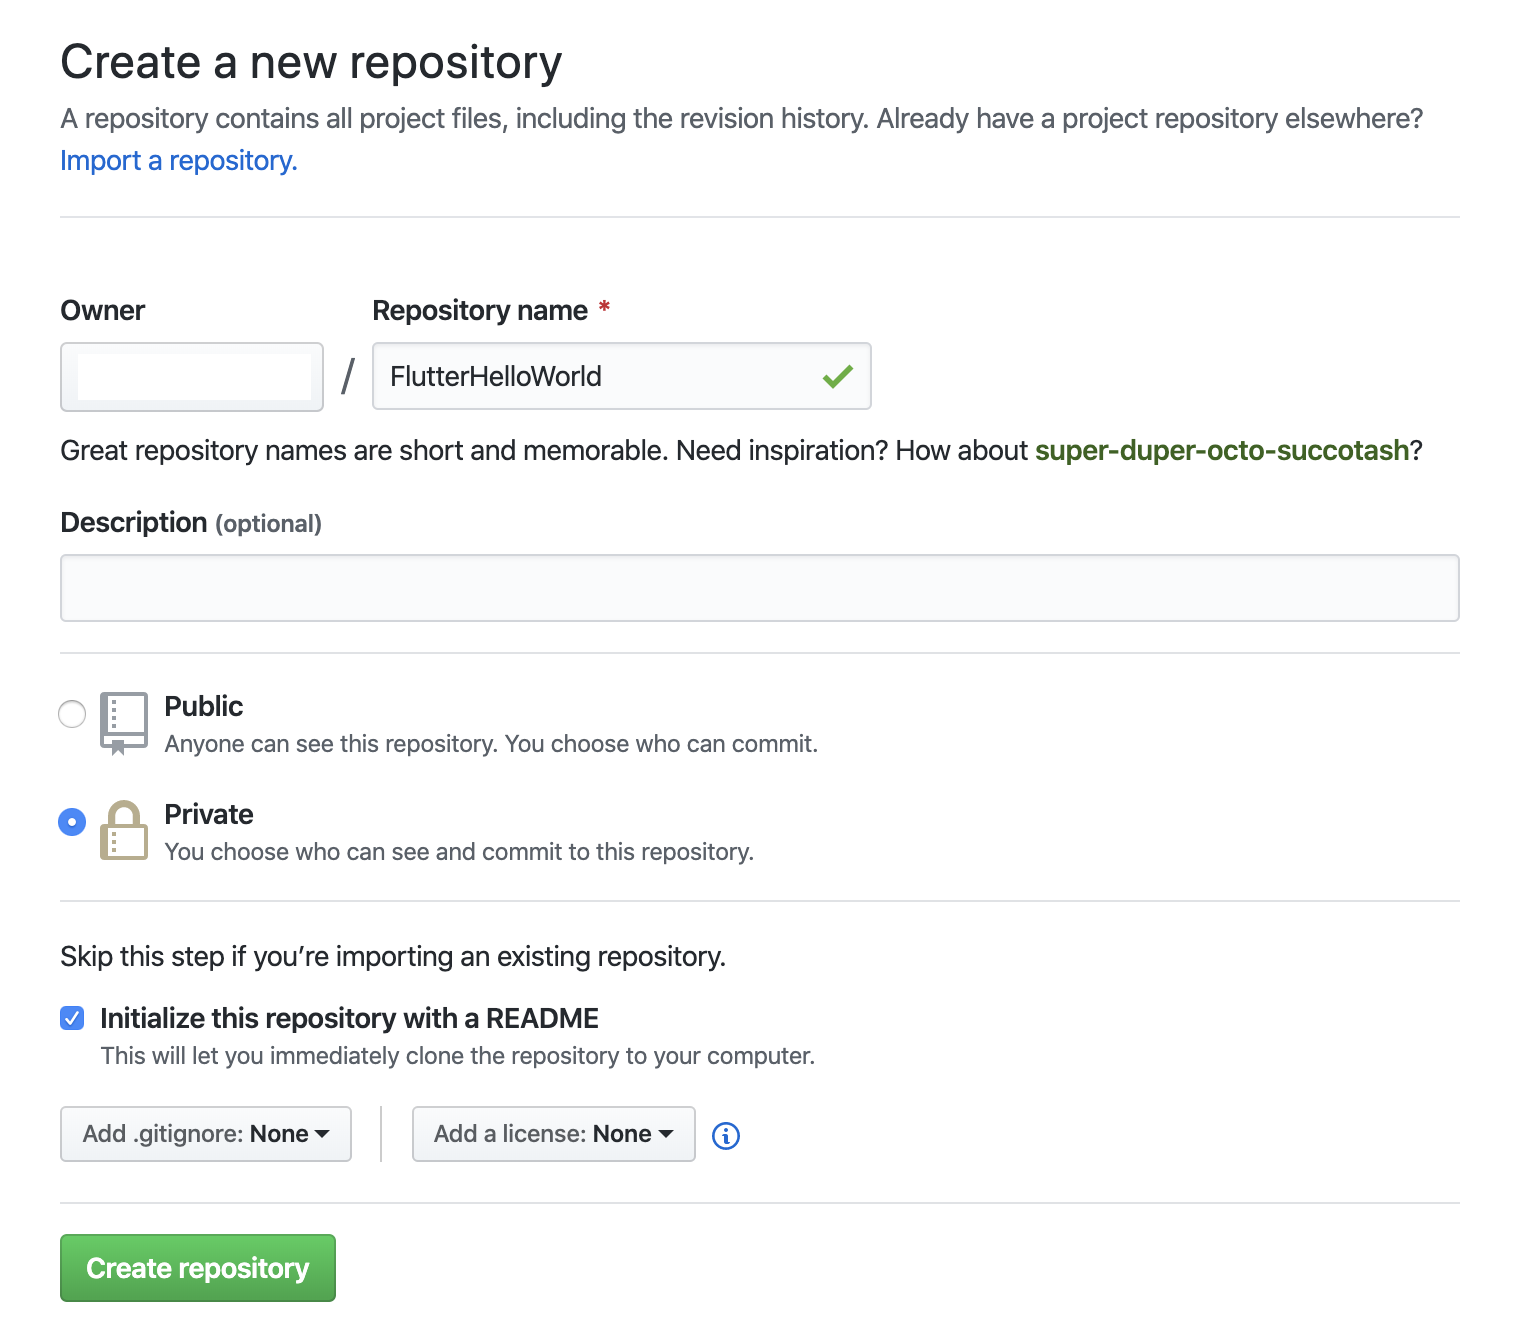
GitHub リポジトリ作成
GitHub にログイン
新規リポジトリ名を入力 (例)FlutterHelloWorld
Public または Private を選択
(任意) Initialize this repository with a README を選択
[Create Repository] を押下
ローカルPC(の適当なディレクトリ)にクローンする
$ cd ~/workspace
$ git clone git@github.com:YOURNAME/FlutterHelloWorld.git
Flutter プロジェクト作成
Android Studioを起動
Start a new Flutter project を選択
Flutter Application を選択し [Next] を押下
以下の項目を入力し [Next] を押下
- Project name
- helloworld
- Flutter SDK path
- /Users/YOURNAME/development/flutter
- Project location
- /Users/YOURNAME/workspace/FlutterHelloWorld
以下の項目を入力し [Finish] を押下
- Company domain
- YOURCOMPANY.com
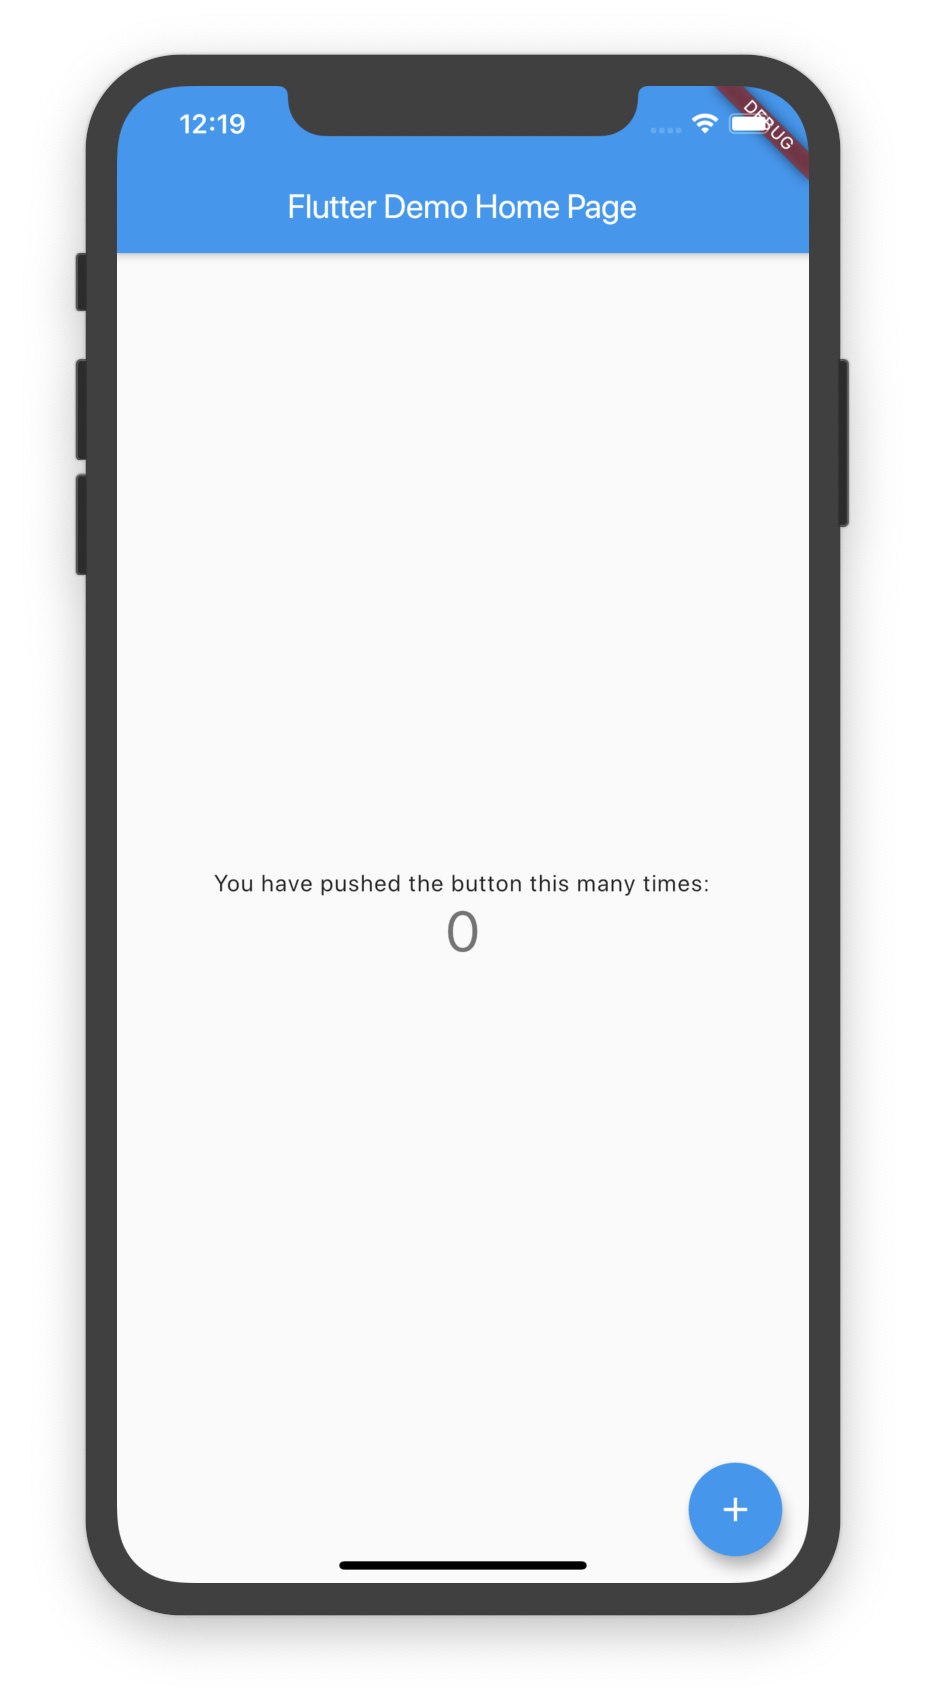
エミュレータ(iOS)で動作確認。FlutterのHelloWorldアプリが動くこと
いったんGitHubにコミットする
$ pwd
/Users/YOURNAME/workspace
$ cd FlutterHelloWorld
$ ls
README.md	helloworld
$ git add helloworld
$ git commit -m 'first commit'
Apple Developerの設定
Apple Developer を開く
Account を押下し、自分のApple IDでログイン
Certifictes, Identifiers & Profiles を開く
Identifiers を選択し、(+) を押下
App IDs を選択し [Continue] を押下
以下の項目を入力し [Continue] を押下
- Description
- 説明文(例:flutter hello world)
- Bundle ID
- (Explicitを選択)com.YOURCOMPANY.helloworld
[Register] を押下
App Store Connectの設定
App Store Connect にログインする。
マイApp を開く
[+] > 新規App を選択
以下の項目を入力し [作成] を押下
- プラットフォーム
- iOS
- 名前
- Flutter Hello World
- プライマリ言語
- 日本語
- バンドルID
- flutter hello world - com.YOURCOMPANY.helloworld
- SKU
- 任意の文字列
- ユーザアクセス
- アクセス制限あり または アクセス制限なし
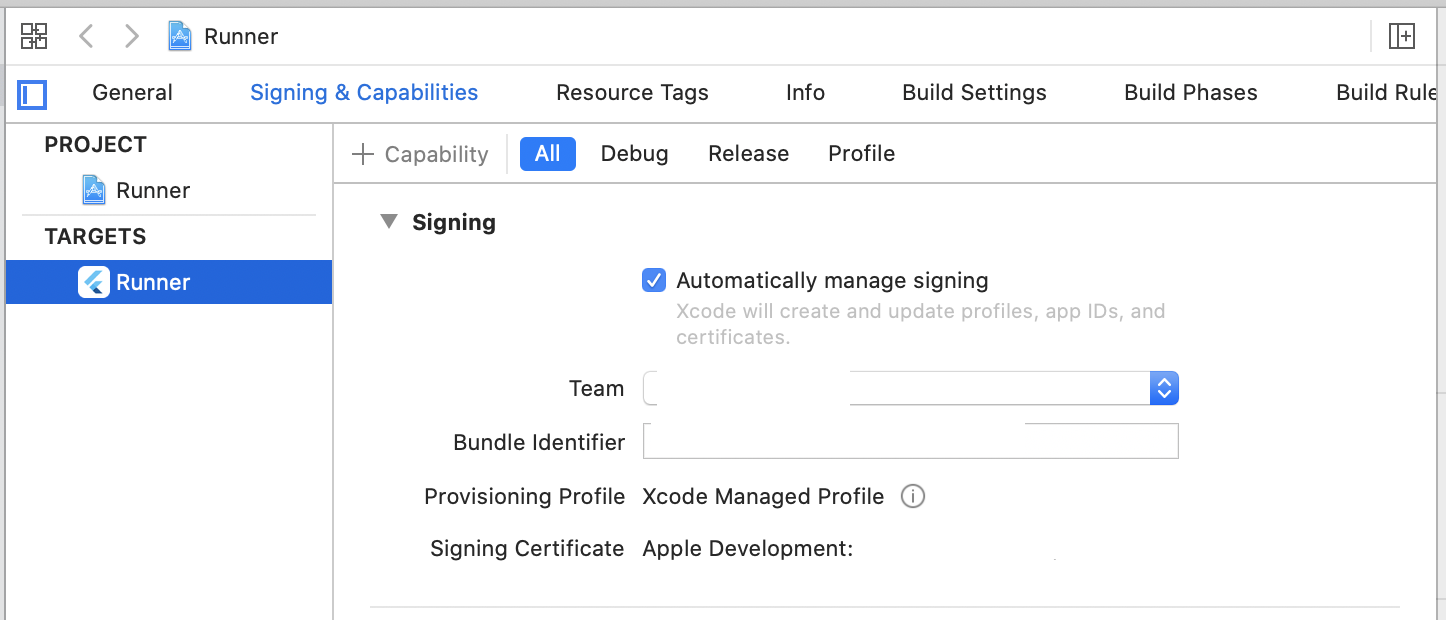
FlutterアプリにApple署名証明書の設定
Android Studioにて ios ディレクトリを右クリック > Flutter > Open iOS module in Xcode を選択し、Xcodeを開く。
TARGETS > Runner > Signing & Capabilities > All を開く
Signing > Team にて 自分のチーム名を選択すると Signing Certificateのエラーが消えること
app-store用のアーカイブを作成
スキームに Generic iOS Device を選択
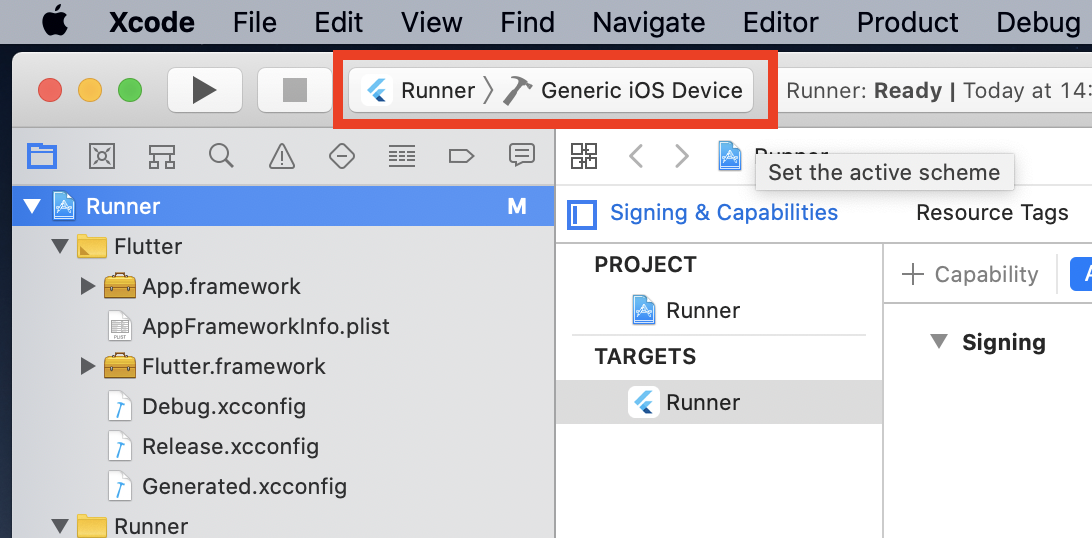
メニューから Product > Archive を選択し、アプリをアーカイブ
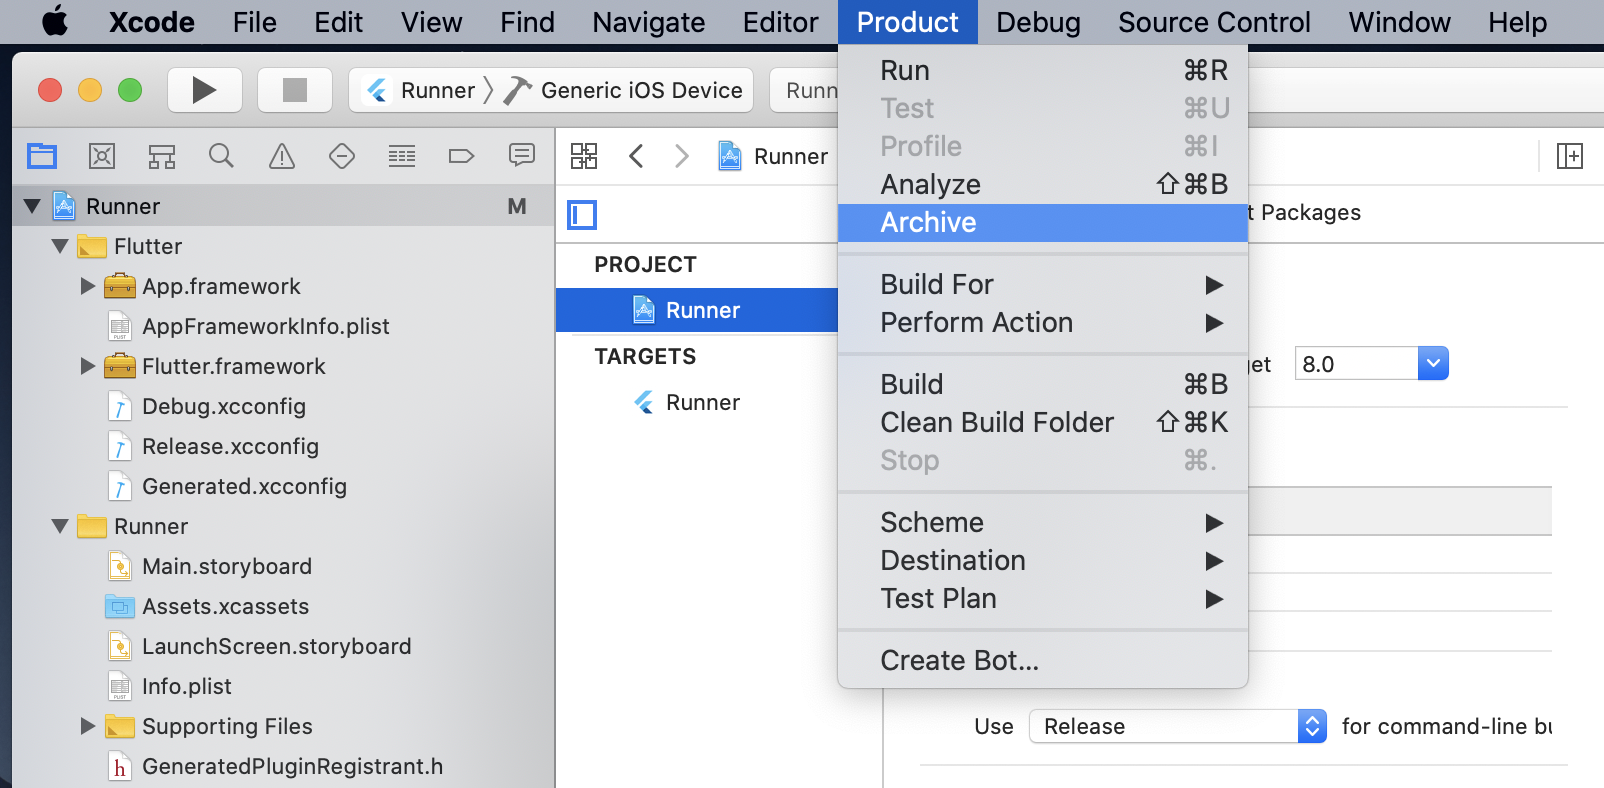
アーカイブが成功すると開く、オーガナイザウィンドウにて [Distribute App] を押下

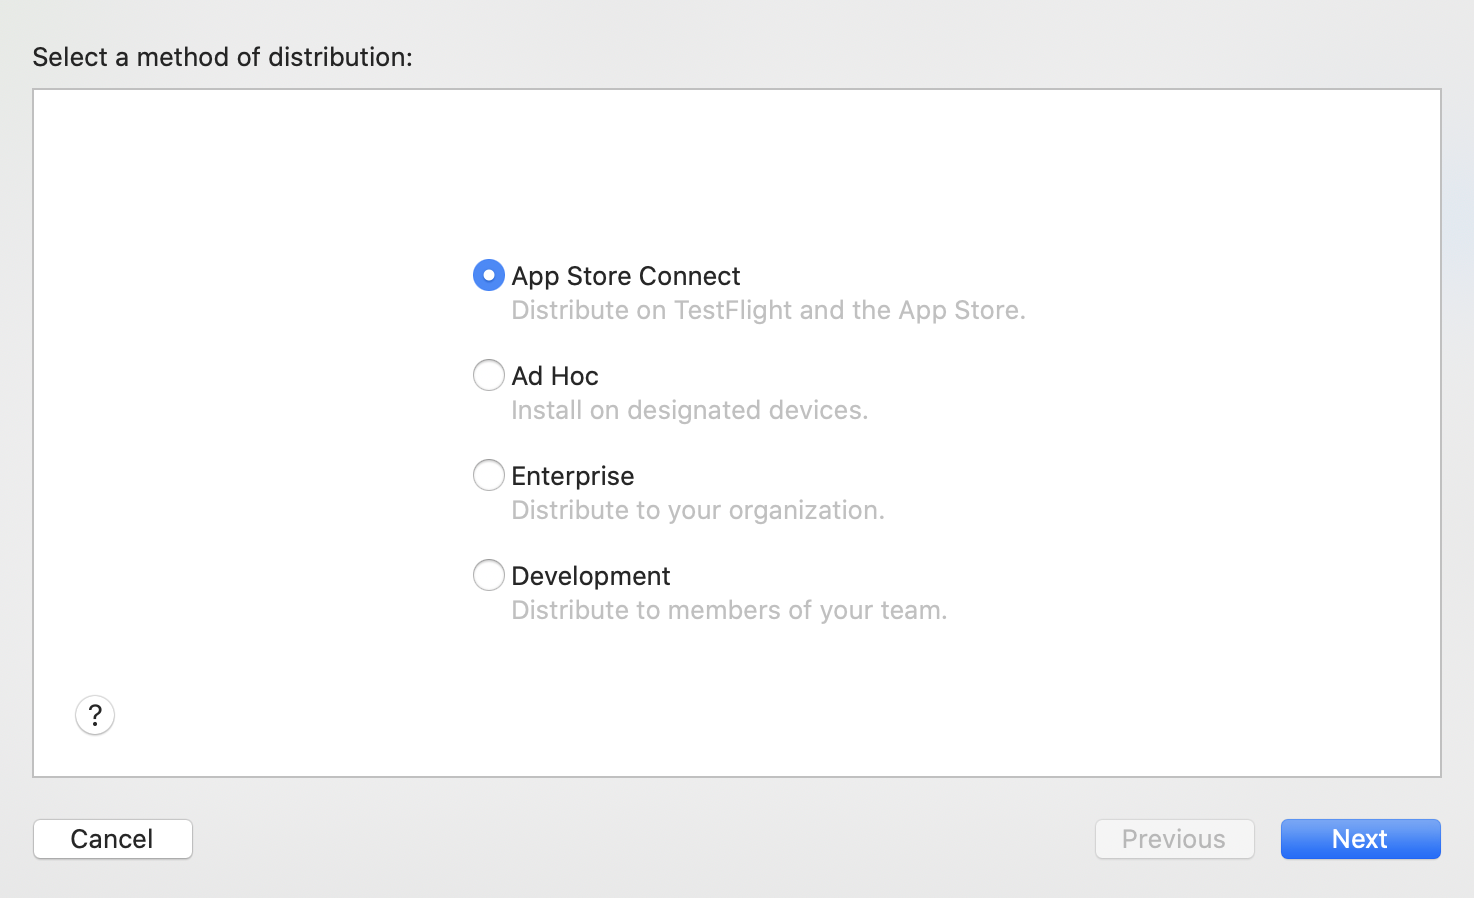
App Store Connect を選択し [Next] を押下
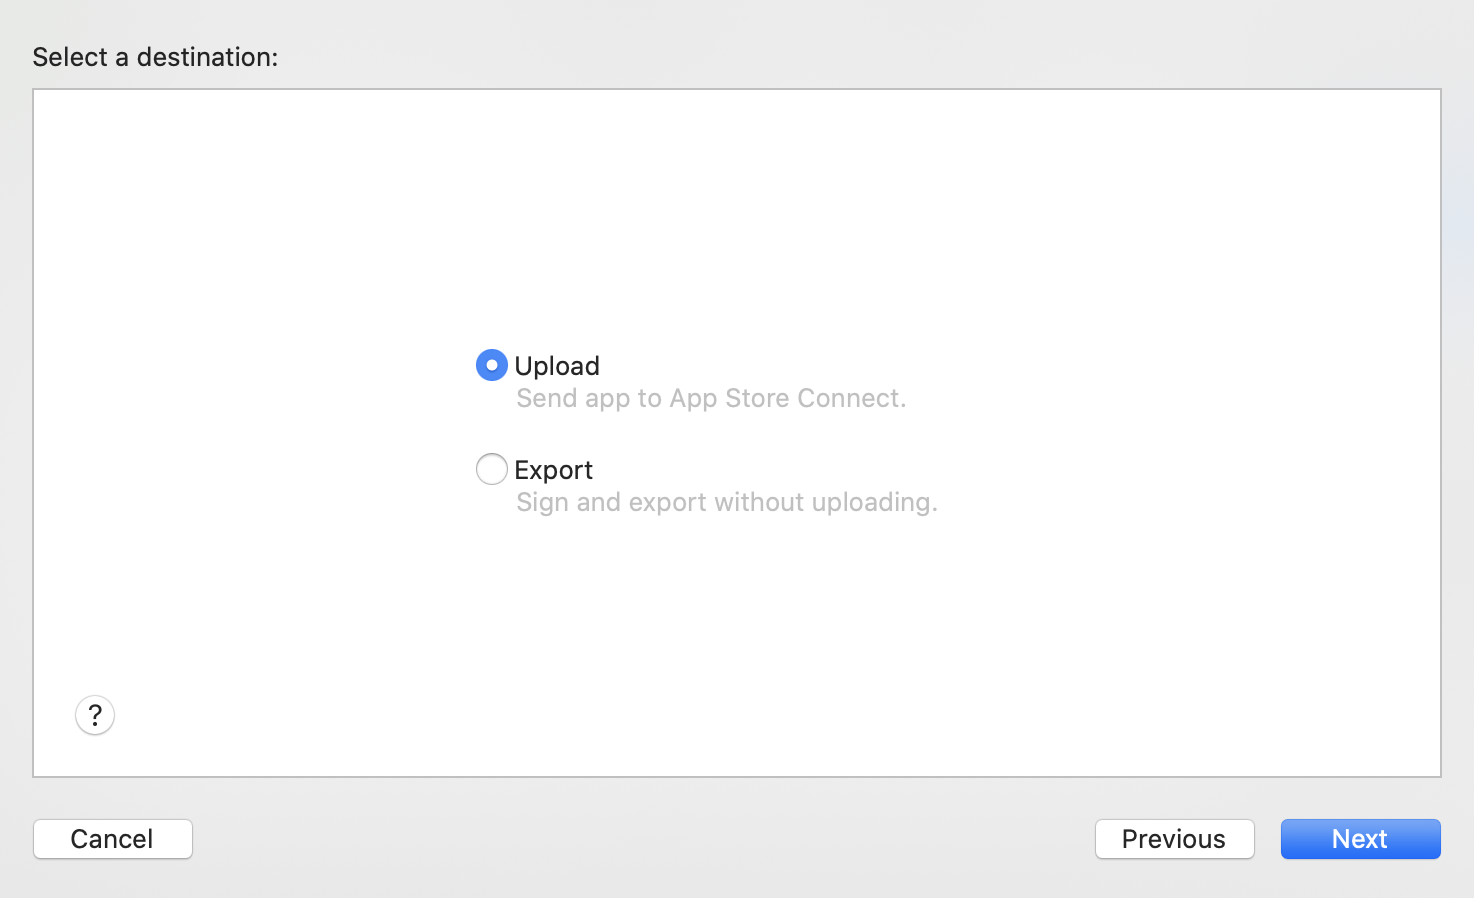
Upload を選択し [Next] を押下
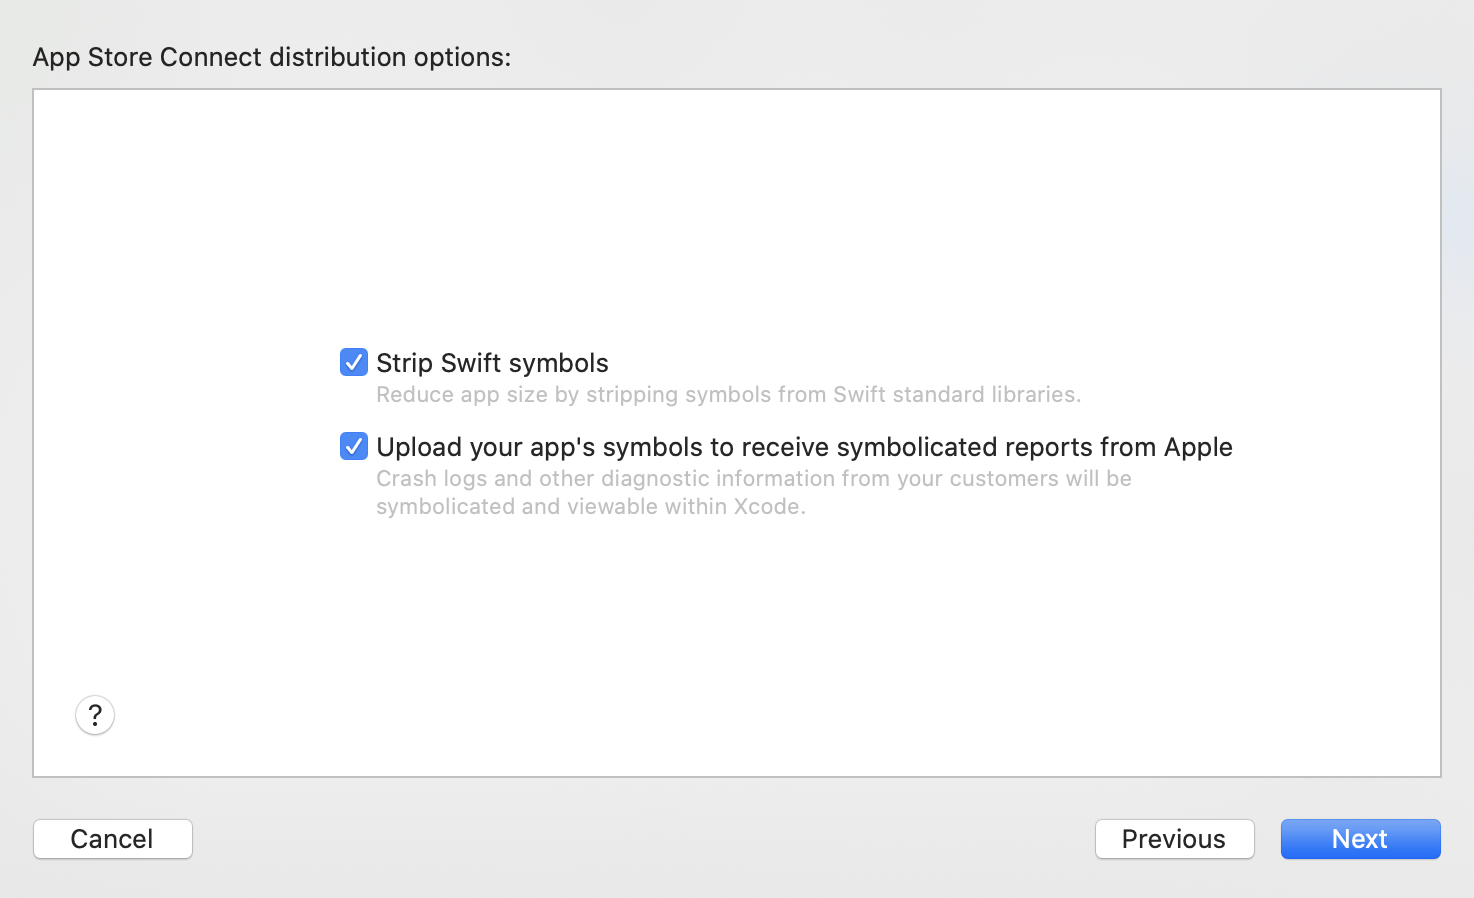
デフォルト(チェックON)のまま [Next] を押下
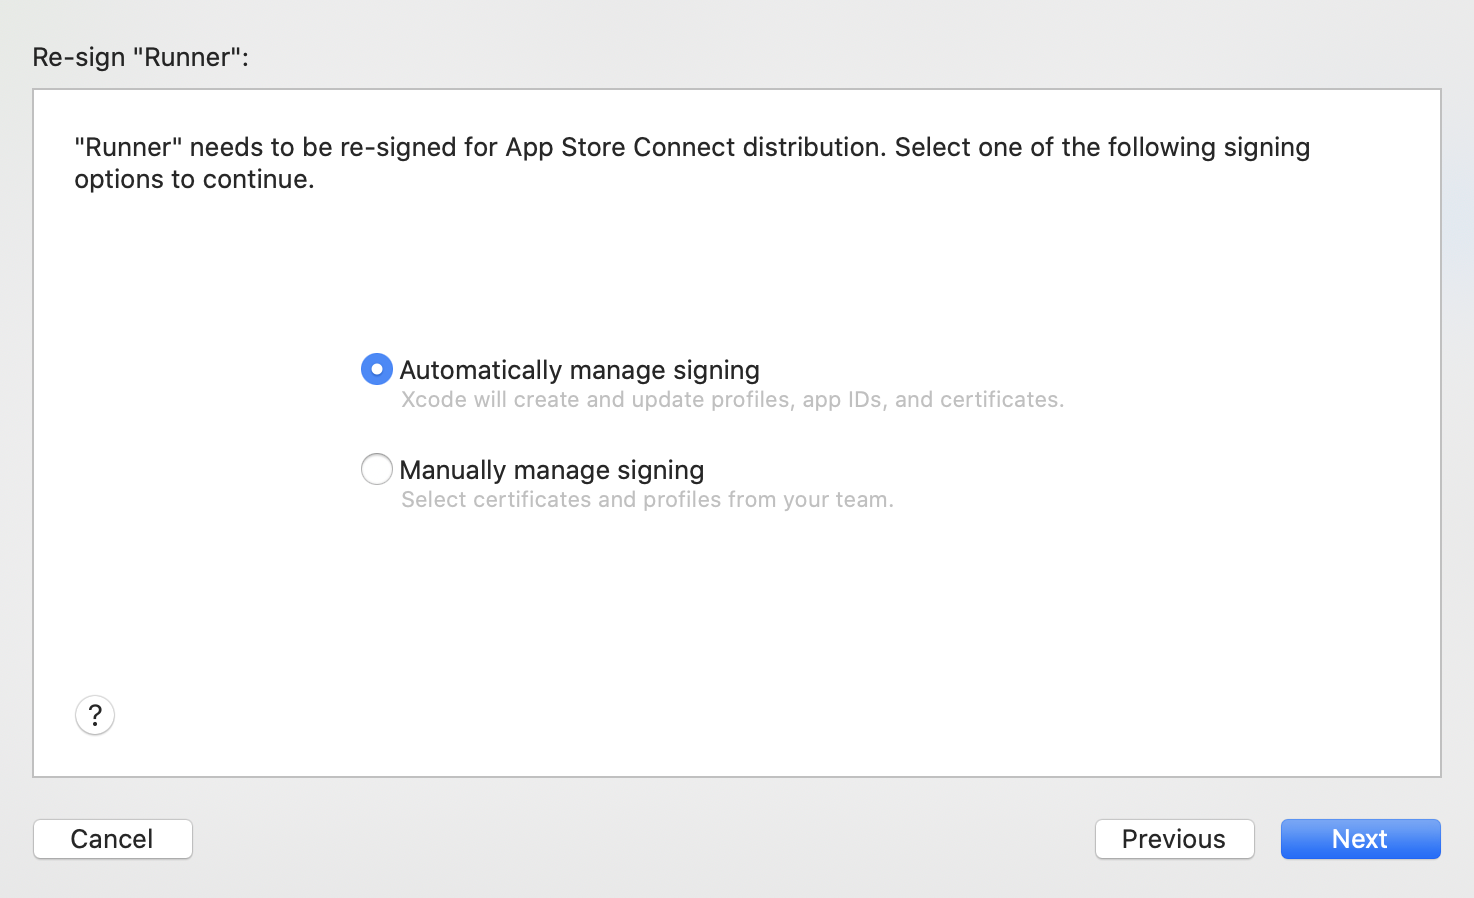
Automatically manage signing を選択し [Next] を押下
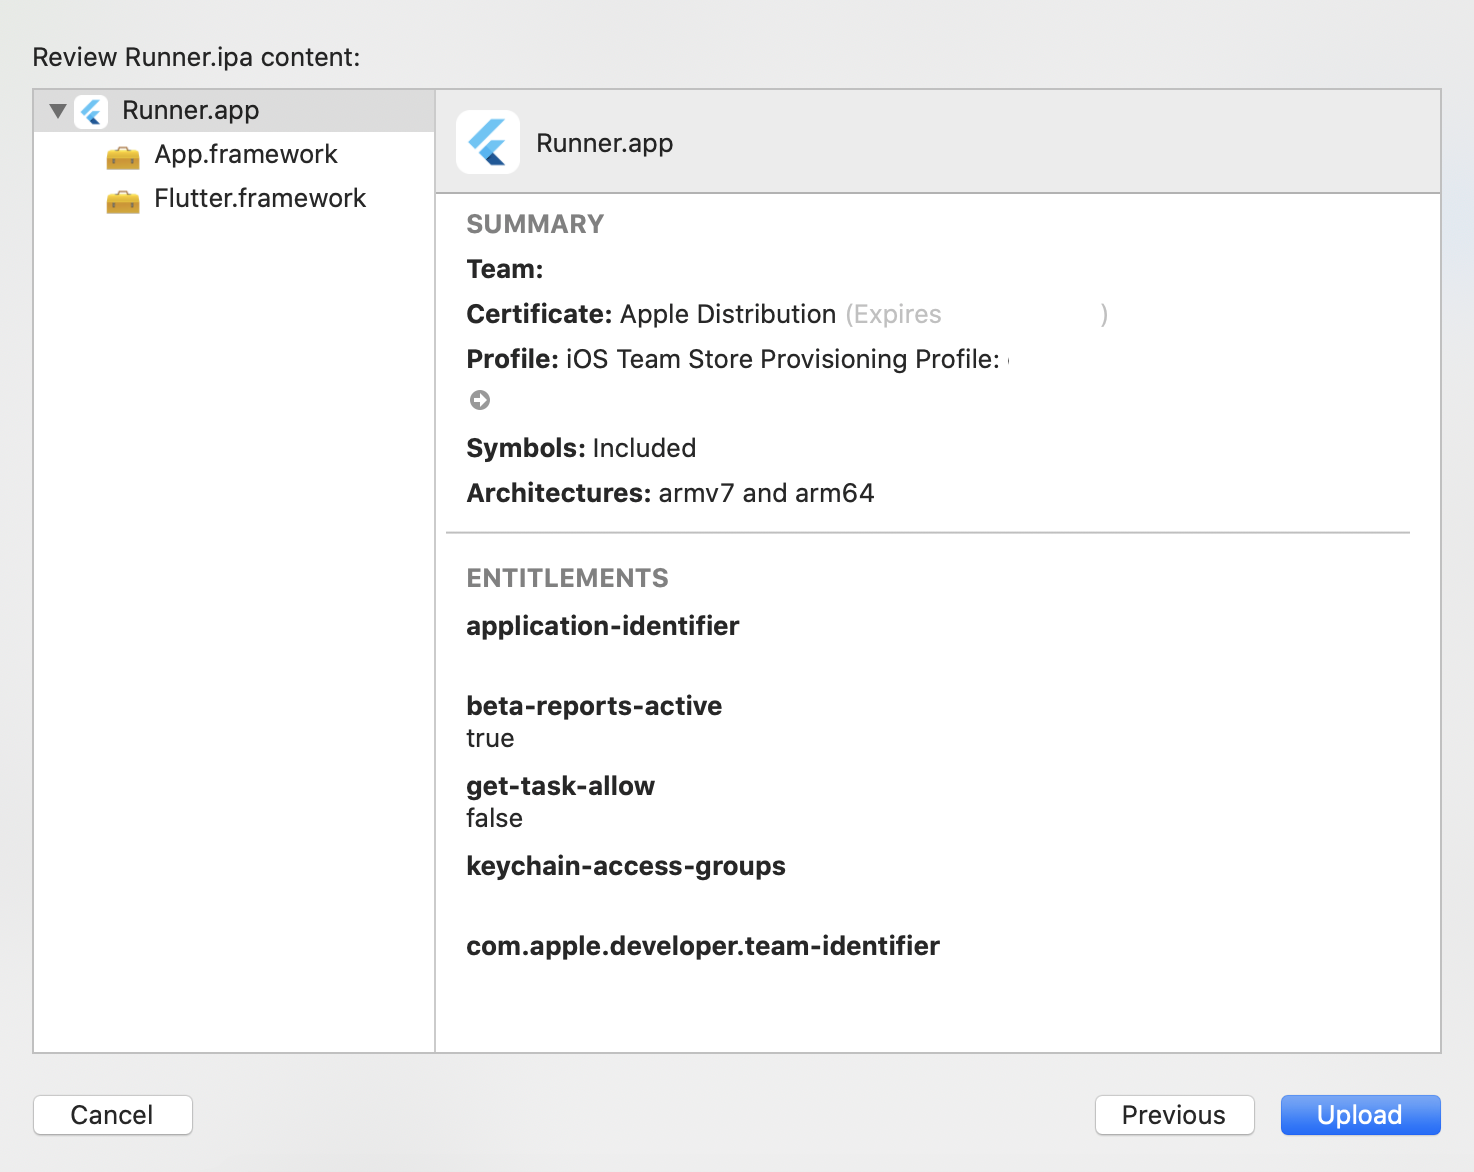
[Upload] を押下
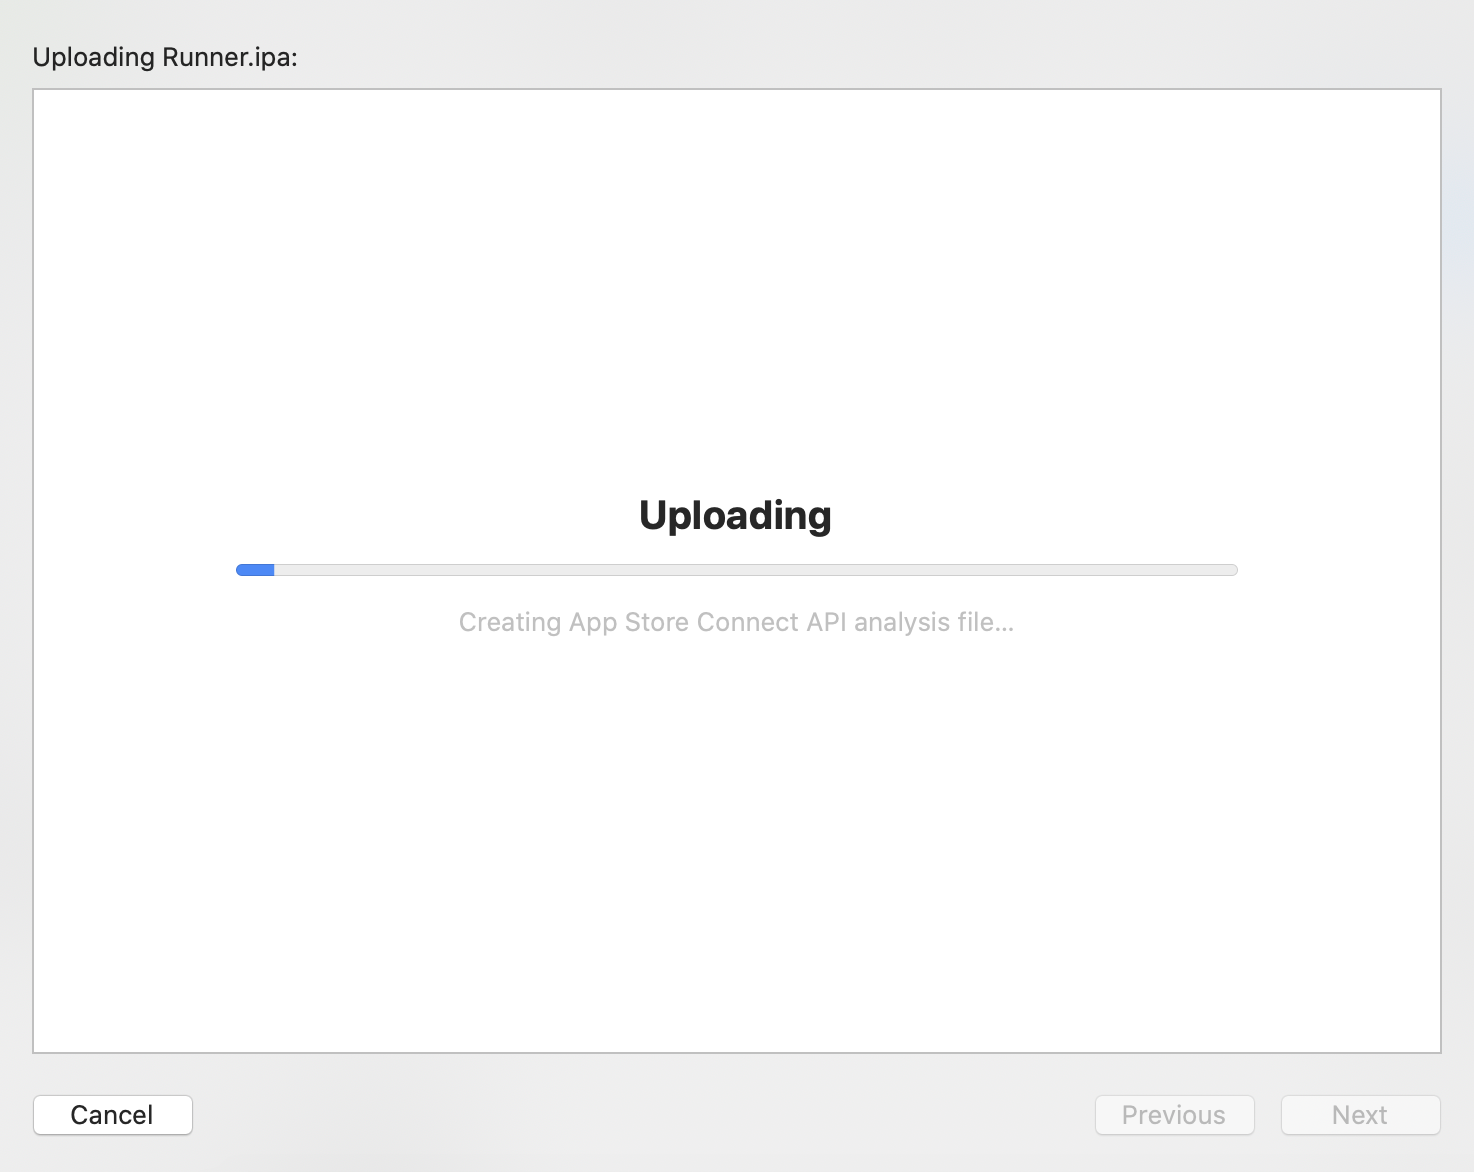
Uploadが完了するまで、しばらく待つ
完了したら [Done] を押下
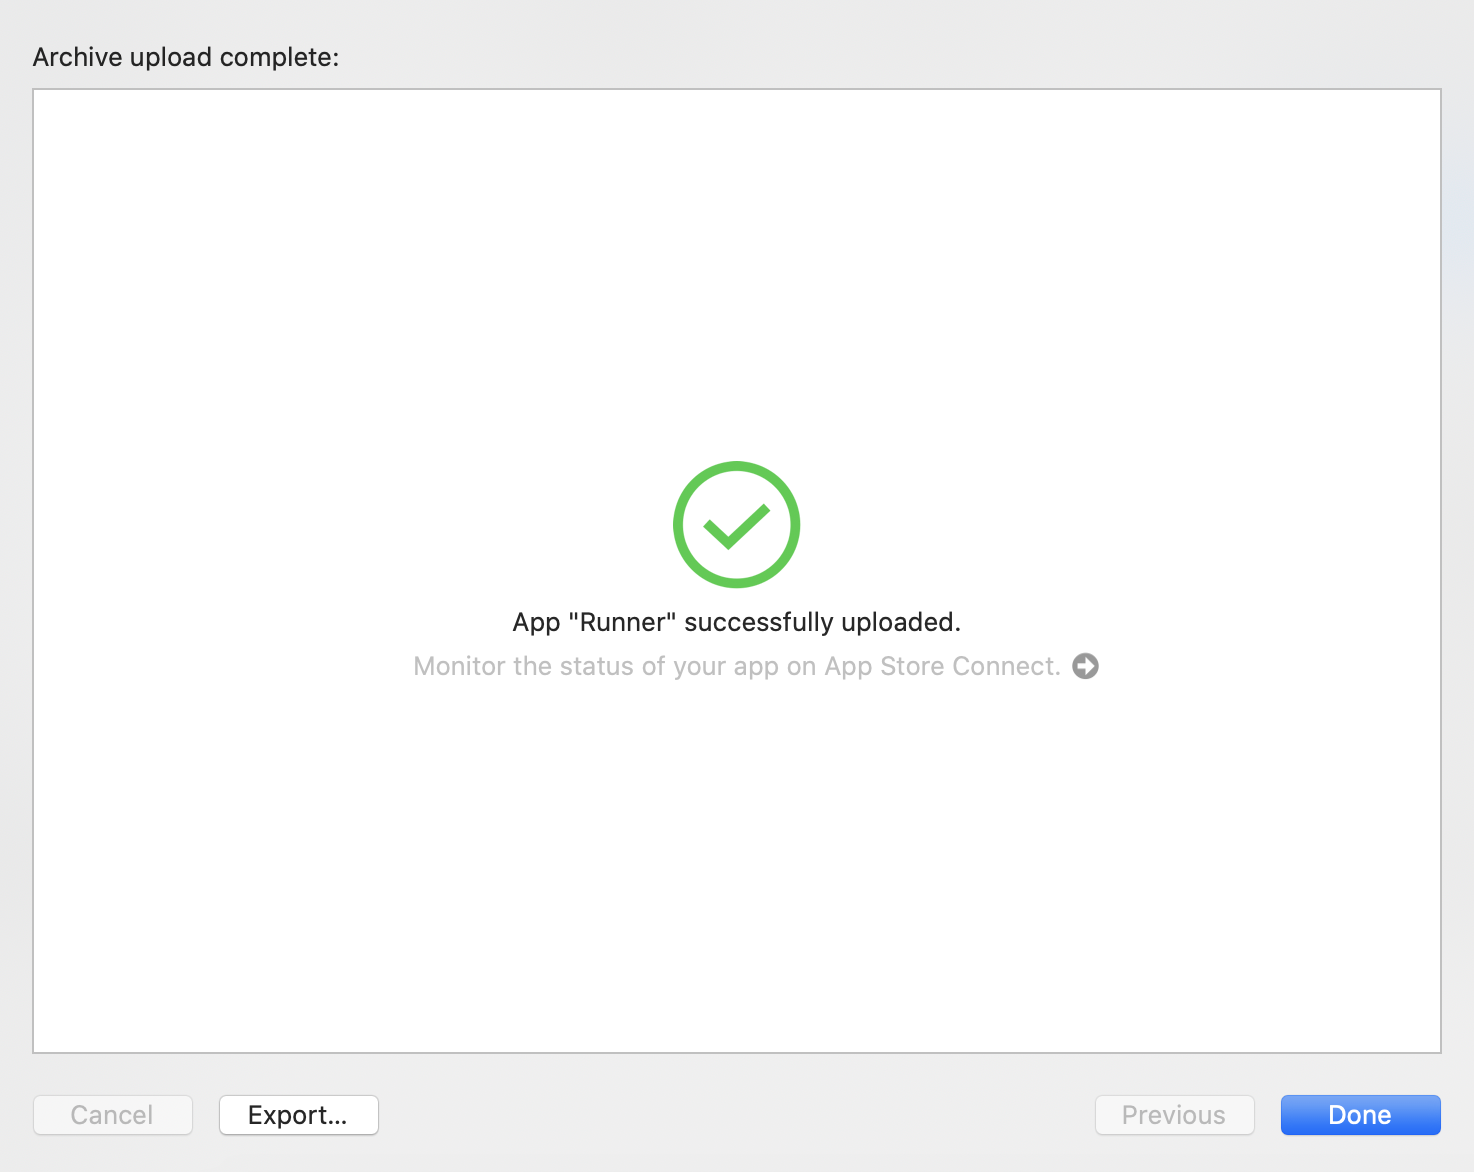
App Store Connectにアプリがアップロードされていることを確認する。
Bitrise Appを作成
Bitrise にログイン
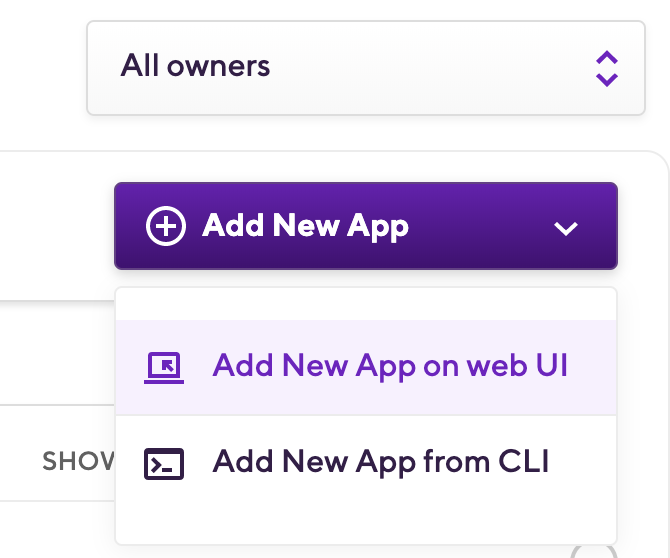
Add New App > Add New App on Web UI を選択
- CHOOSE ACCOUNT
- (組織名)
- SET PRIVACY OF THE APP
- Public or Private

[Next] を押下
GitHubリポジトリを選択(例: FlutterHelloWorld)
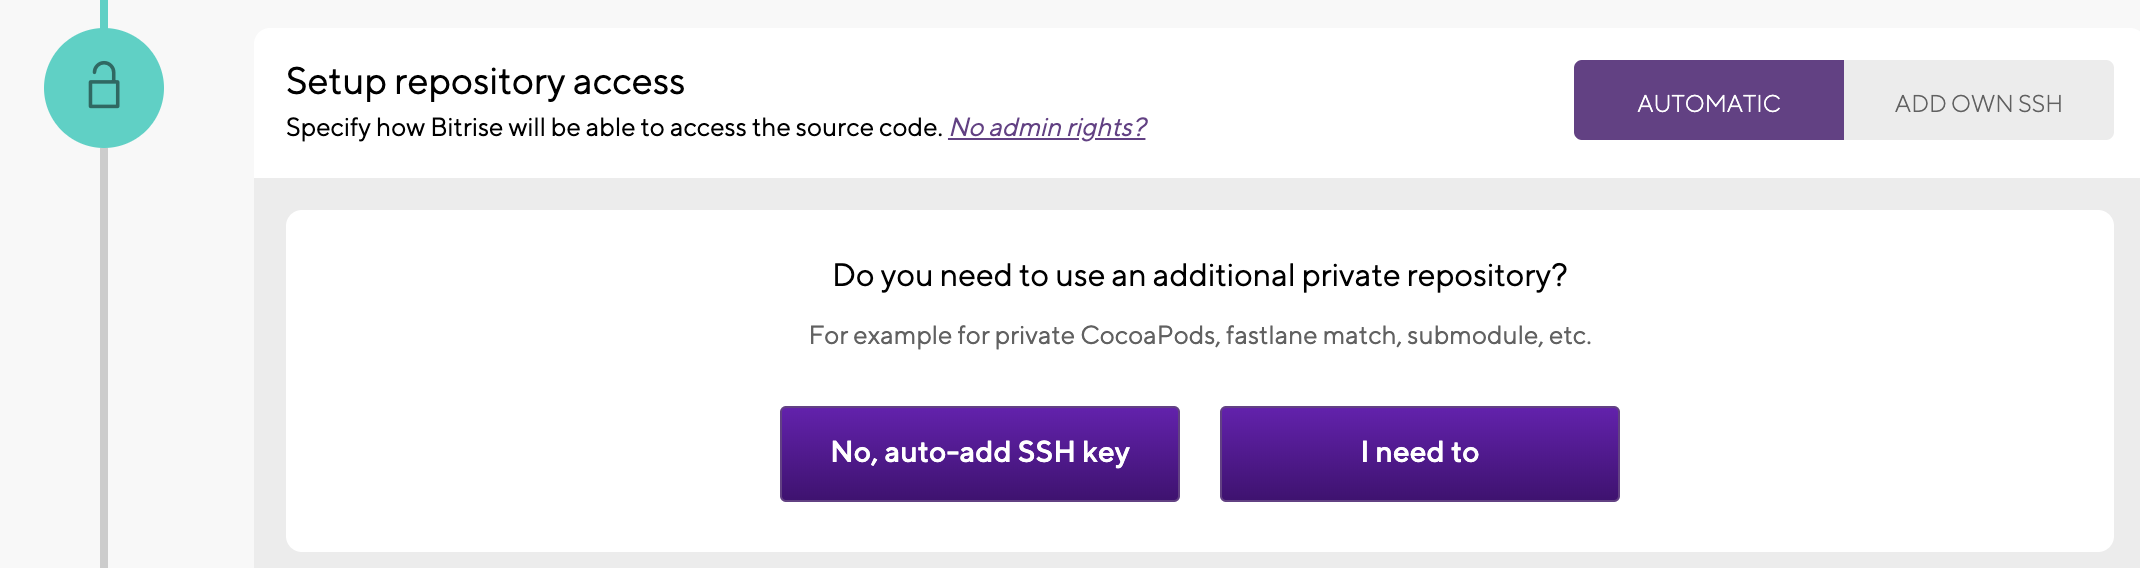
Setup Repository accessで [I need to] を押下
SSH Public key をコピーし、GitHubを開く
GitHubアカウントの Settings > SSH and GPG keys > [New SSH Key] を押下
- Title
- (任意の名前)
- Key
- コピーしたSSH Public key
[Add SSH Key] を押下
Bitrise に戻り、 [I've added the SSH key] を押下
- Choose branch
- master
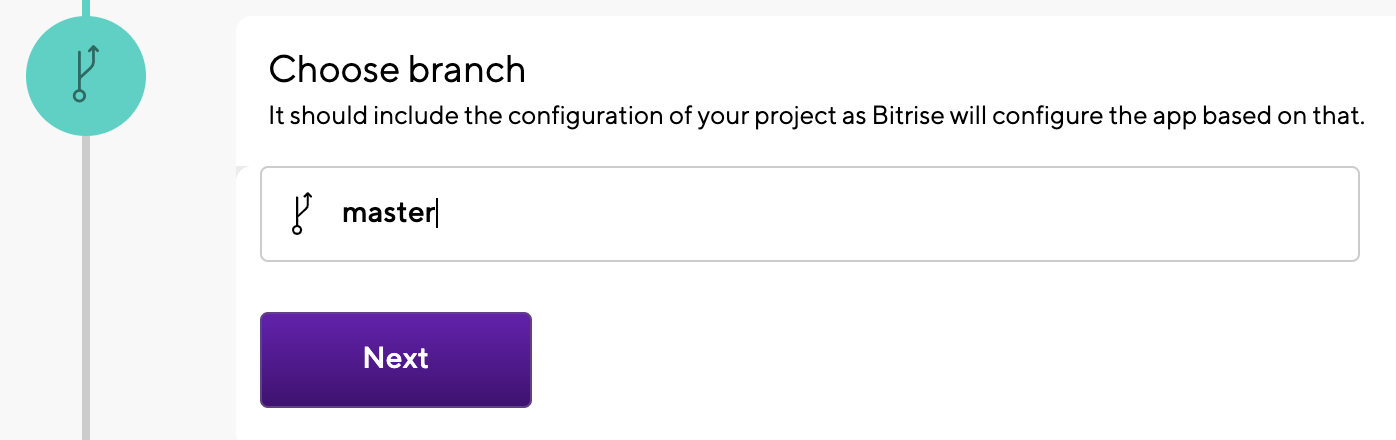
[Next] を押下
Validationが実行される。

問題なければ、Project build configurationでFlutterが検出される。
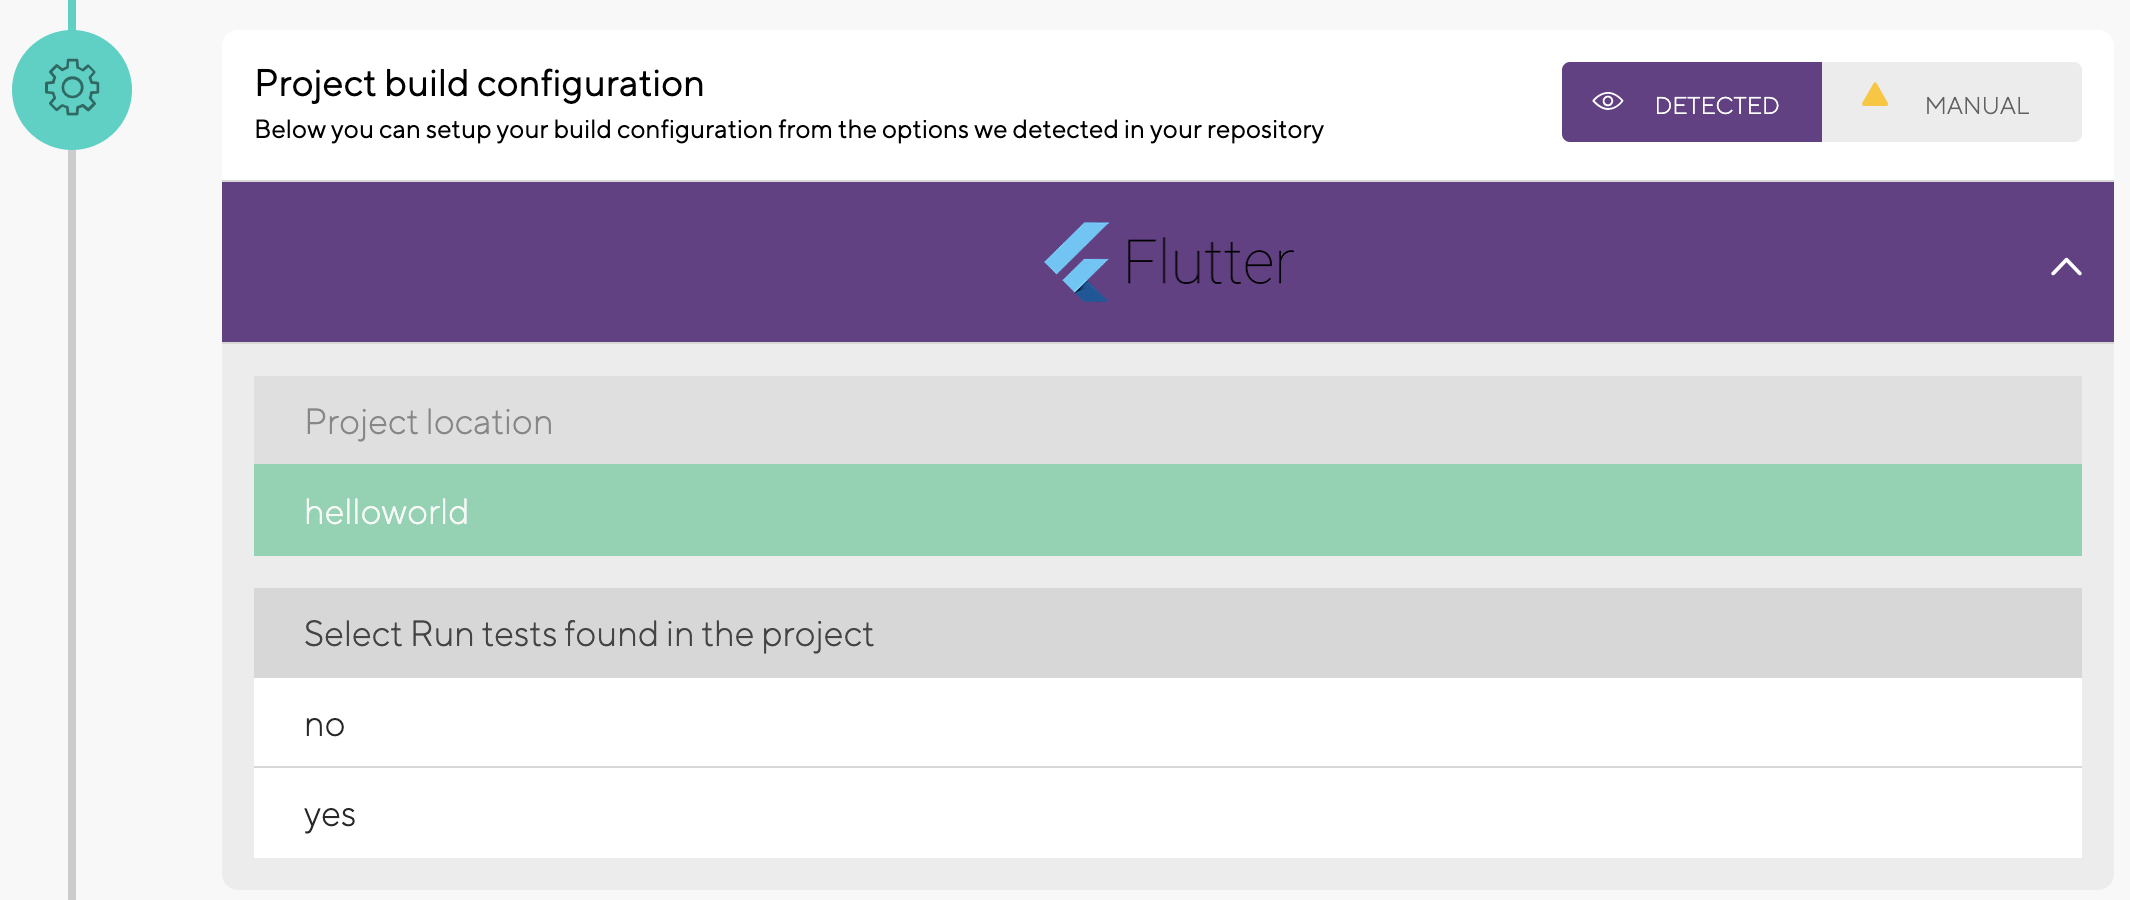
Selected project build configuration で以下を選択
- Project location
- helloworld
- Run tests found in the project
- yes
- Project or Workspace path
- helloworld/ios/Runner.xcworkspace
- Scheme name
- Runner
- ipa export method
- app-store
- Flutter stack
- Xcode 11.1.x, on macOS 10.14.6 (Mojave)
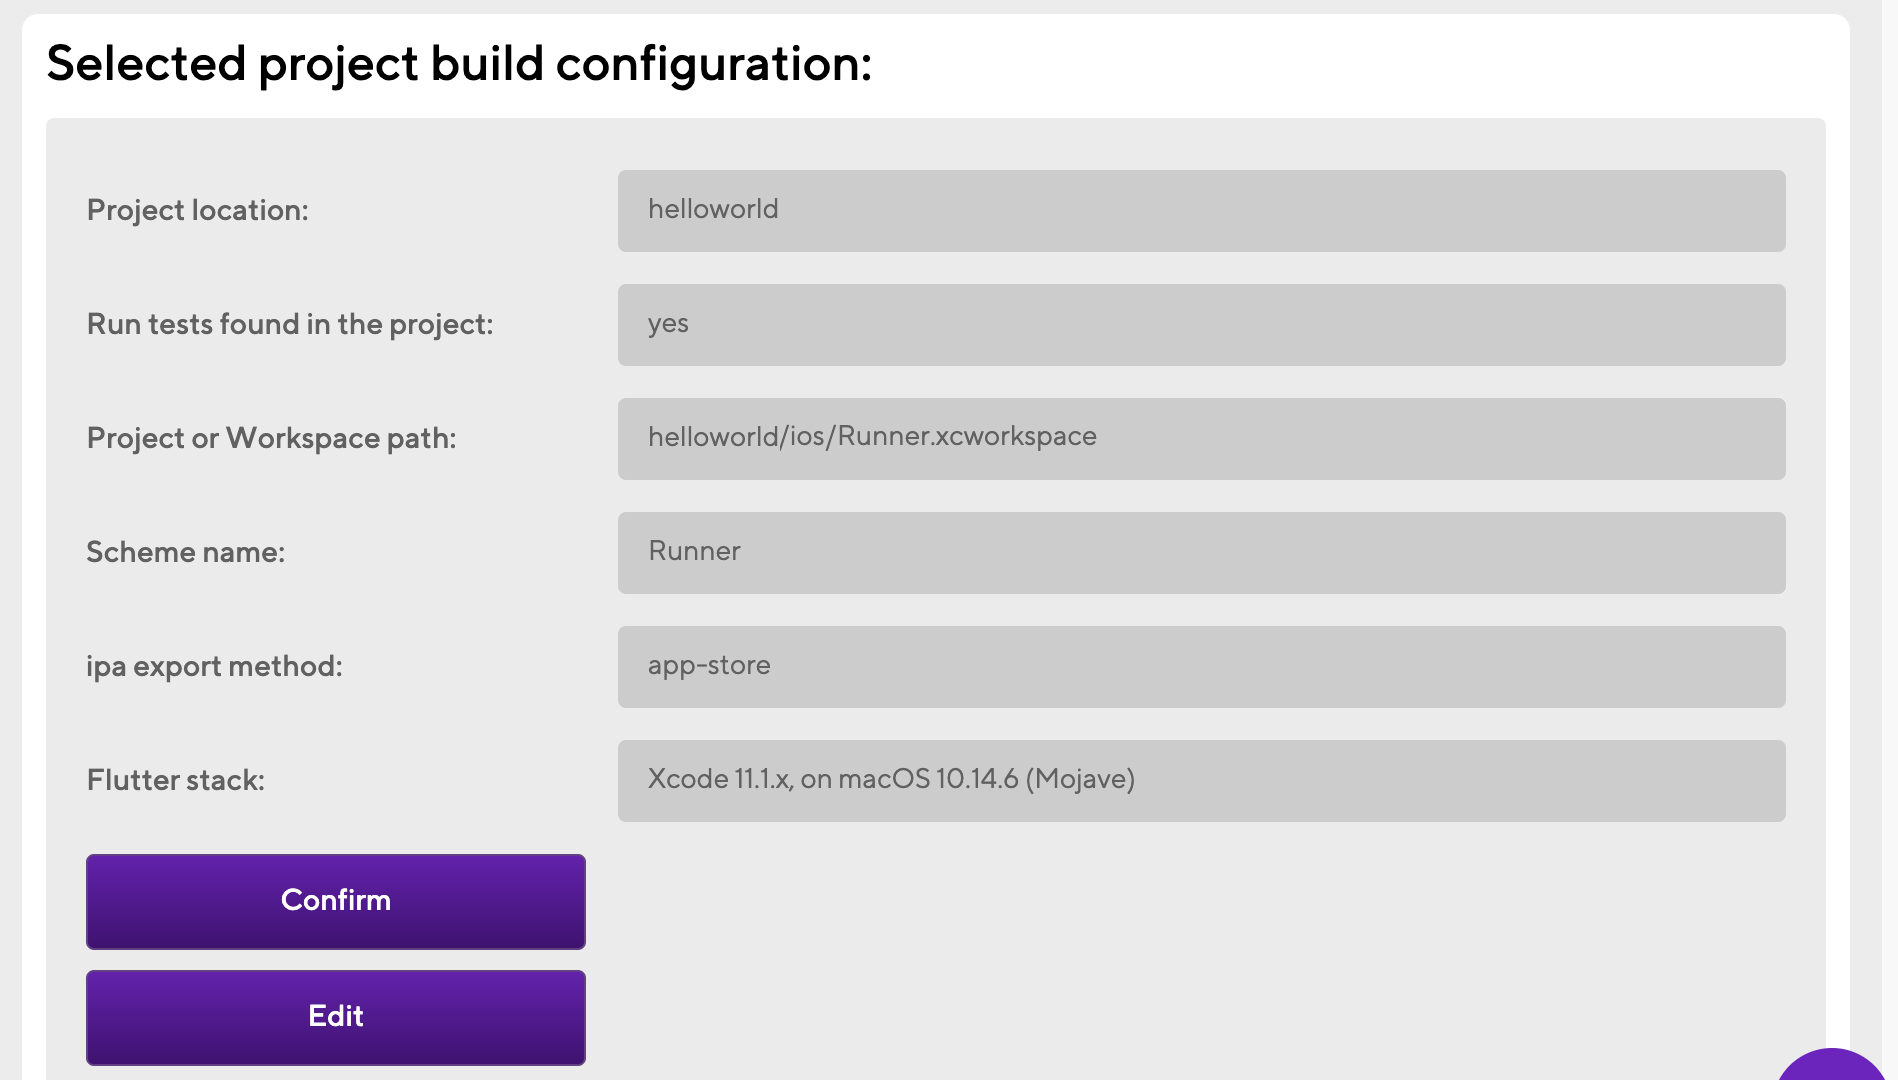
[Confirm] を押下
App Icon は [Skip for Now] を押下
Webhook setup は [Skip the Webhook registration.] を押下
[We've kicked off your first test build for you!] を押下
初回のprimaryビルドが実行される。
初回は失敗しても気にしない。以降の手順で設定を見直す。
Bitrise primary Workflow の設定
※Workflowを修正したら、こまめに [⌘+S] で保存すること(けっこう忘れがち)
Bitrise Workflow Editorを開き、primary を選択する。
各Stepのバージョンを最新にする。(Always latest)
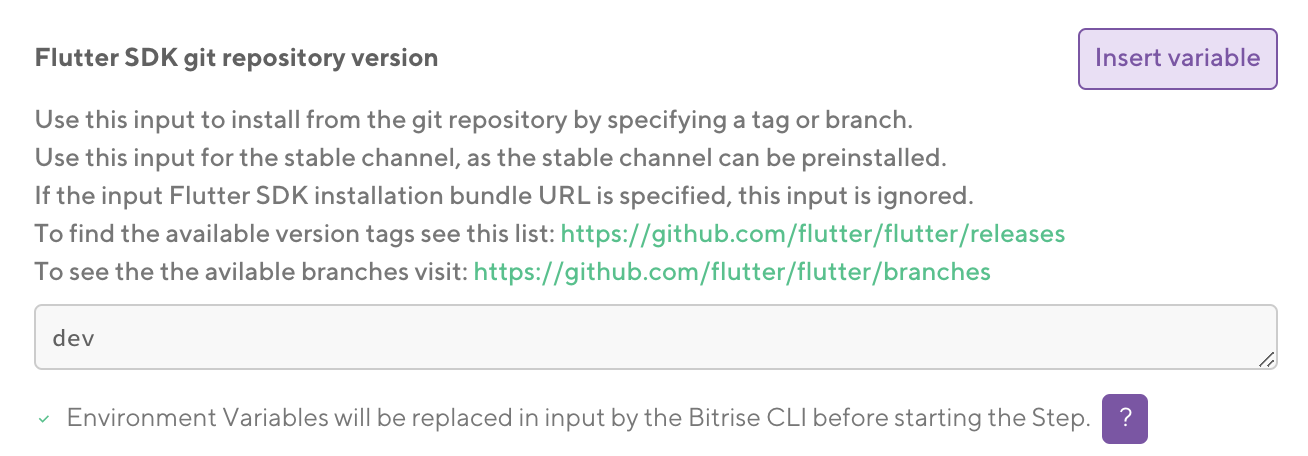
以下を修正する。
- Flutter Install
- Flutter SDK git repository version
- dev
primary Workflow のビルドを実行。今度は成功するはず。
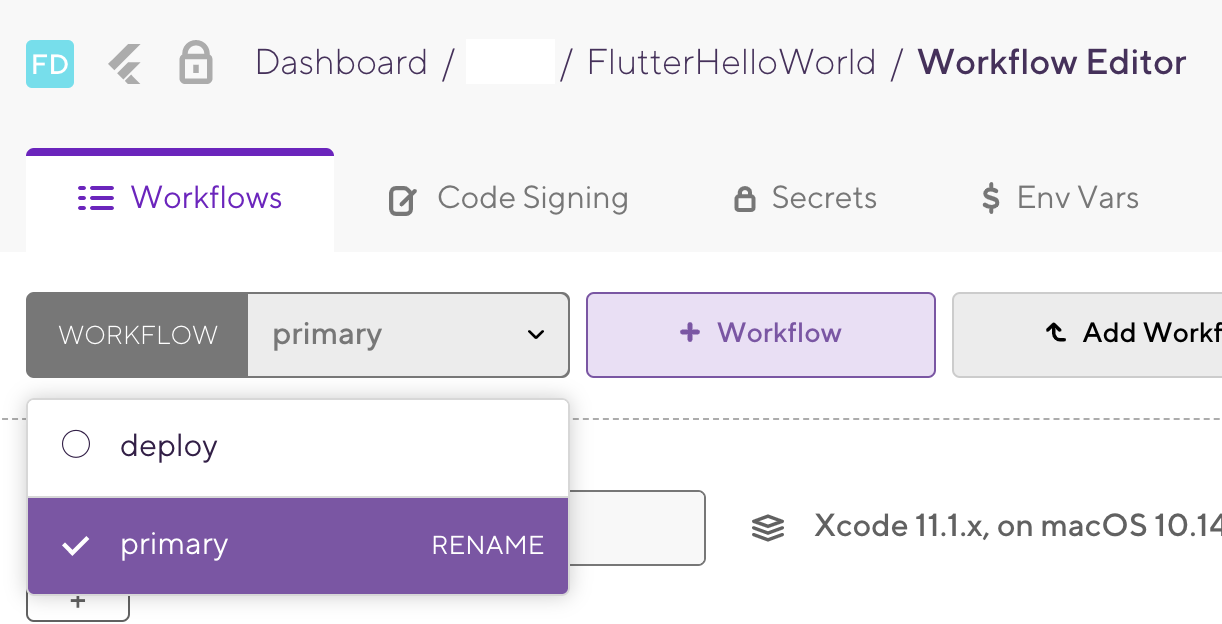
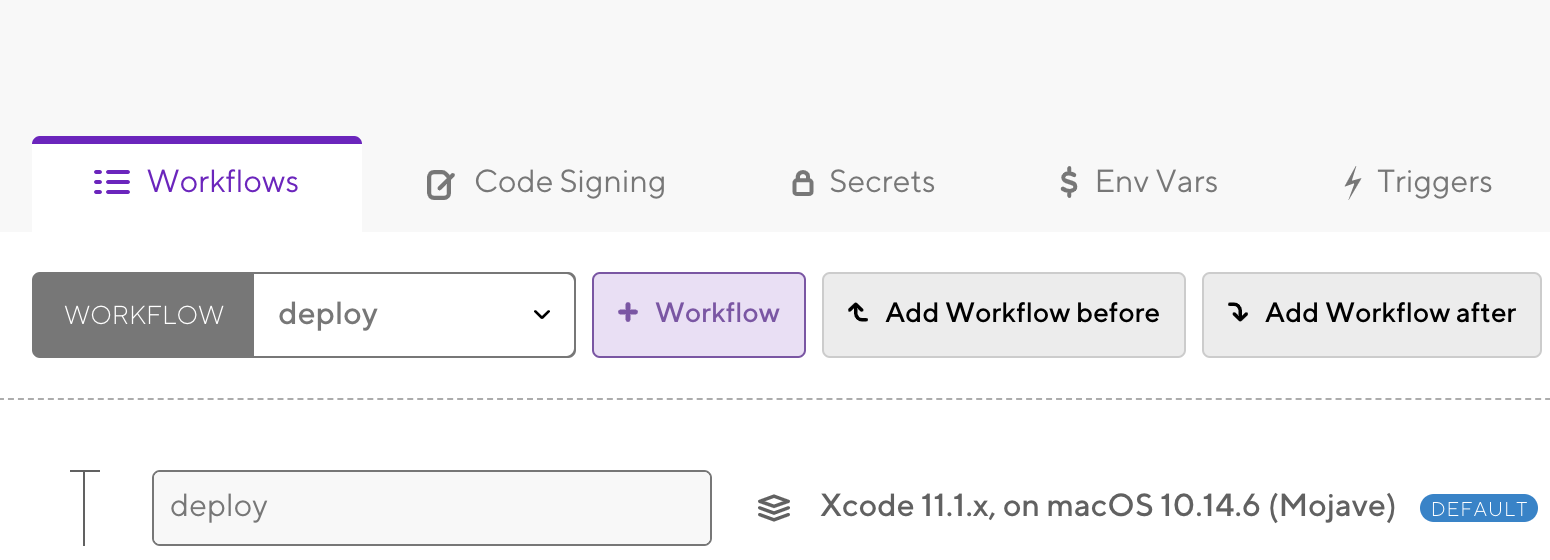
Bitrise deploy Workflow の設定
Bitrise Workflow Editorを開き、deploy を選択する。
各Stepのバージョンを最新にする。(Always latest)
以下を修正する。
-
Cetrificate and profile installer
このStepは使わないので削除 -
Flutter Install
- Flutter SDK git repository version
- dev
- iOS Auto Provision
Flutter Test と Flutter Buildの間に追加
- Distribution type
- app-store
- The Developer Portal team ID
- 自分のチームID
- Configuration Name
- Release
- Should the step try to generate Provisioning Profiles ...
- yes
- Xcode Archive & Export for iOS
- Select method for export
- app-store
- Deploy to Bitrise.io - Apps, Los, Artifacts
- Enable public page for the App?
- true
- Deploy to iTunes Connect - Application Loader
Bitrise.io Cache:Push の後に追加
- Apple ID
- 自分のApple ID
- Password
- 自分のApple IDのパスワード
- Application Specific Password
- App用パスワード(※)
※AppleID Websiteにアクセスし、 App用パスワード > パスワードを生成 をクリックすると生成できる。
Bitrise Code Signing の設定
Bitrise Workflow Editor の Code Signing を開く。
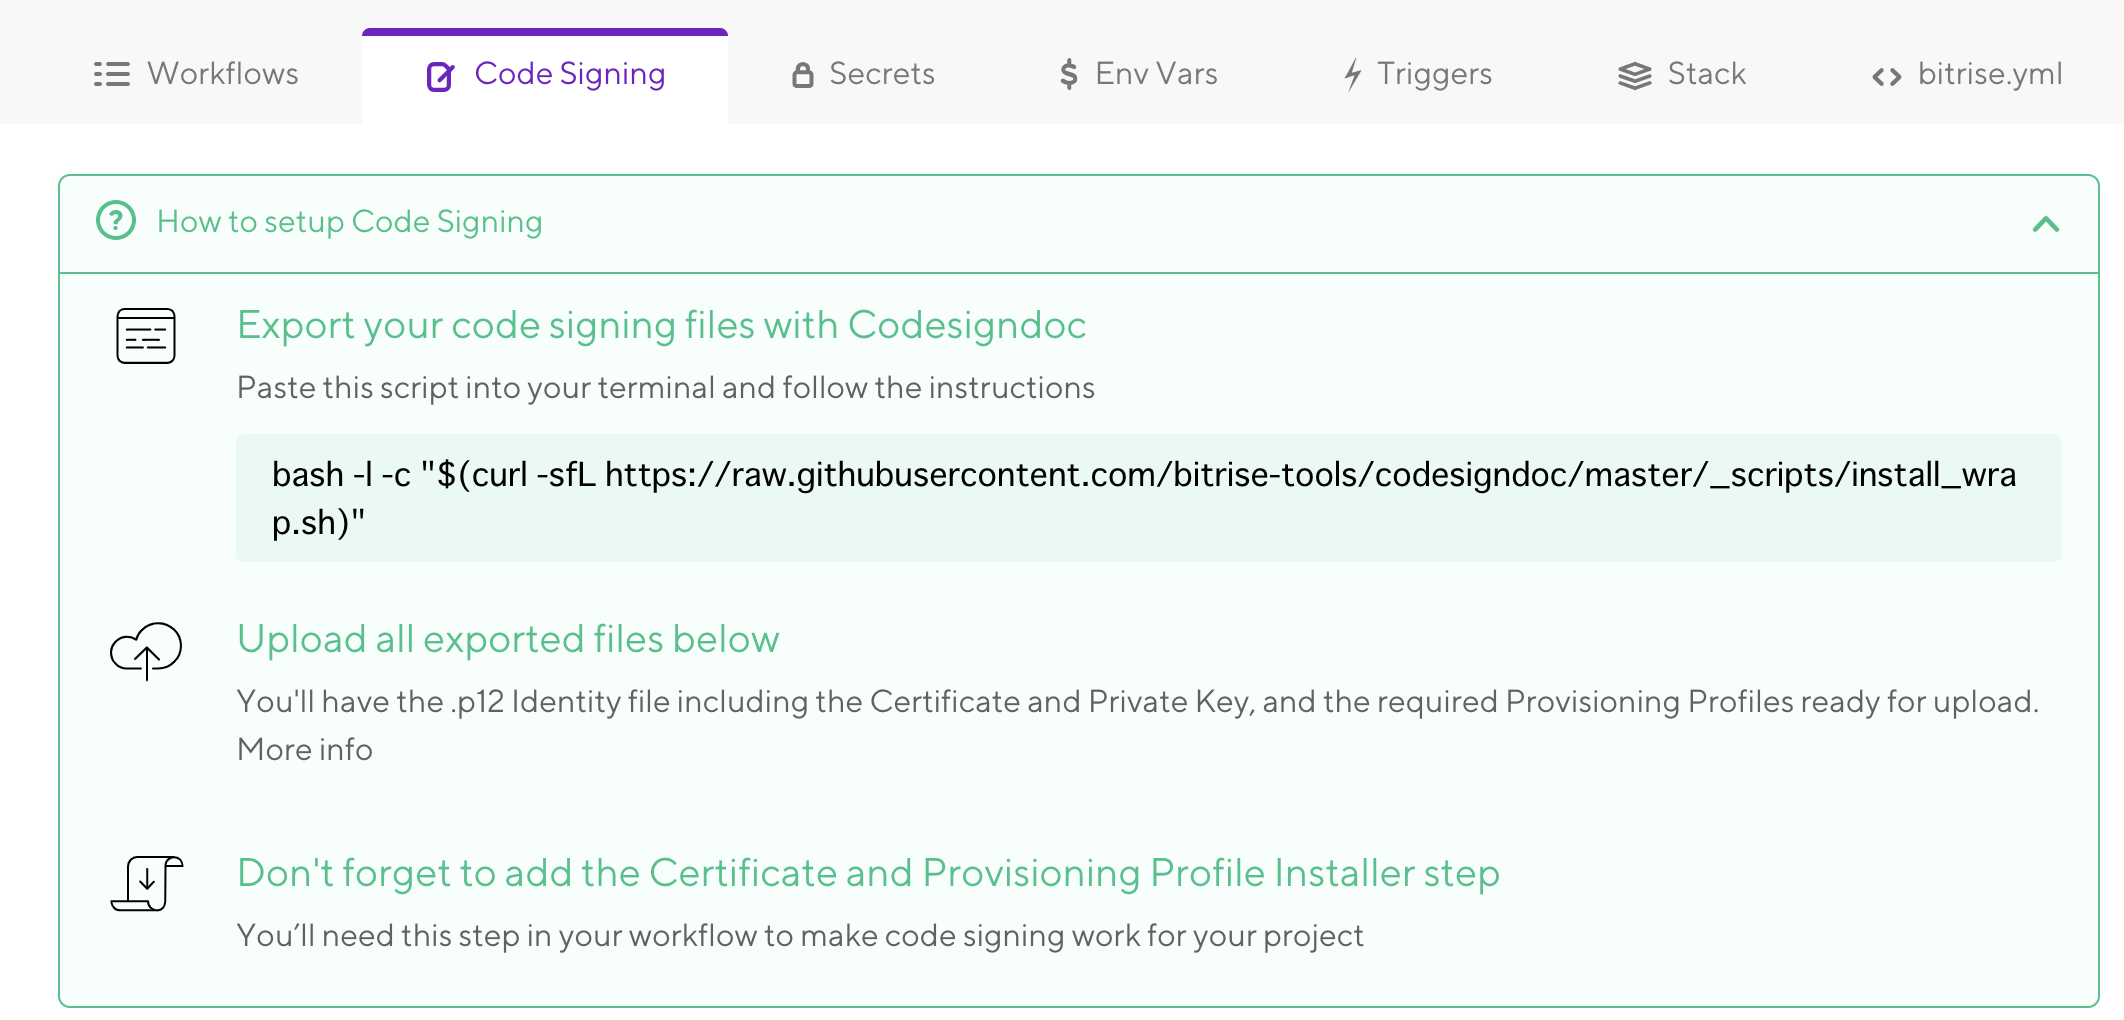
Runner.xcworkspaceがあるディレクトリで、以下のコマンドを実行
$ cd ~/workspace/FlutterHelloWorld/helloworld2/ios

$ ls
Flutter			Runner.xcodeproj
Runner			Runner.xcworkspace

$ bash -l -c "$(curl -sfL https://raw.githubusercontent.com/bitrise-tools/codesigndoc/master/_scripts/install_wrap.sh)"
いろいろなチェックが走るので、しばらく待つ。
Select the ipa export method
Please select from the list:
[1] : development
[2] : app-store
[3] : ad-hoc
[4] : enterprise
(type in the option's number, then hit Enter) [1] :
[1] : development を選択
Select the Provisioning Profile to sign target with bundle ID: com.YOURCOMPANY.helloworld
Please select from the list:
[1] : iOS Team Provisioning Profile: * (XXXXXXXX-XXXX-XXXX-XXXX-XXXXXXXXXXXX)
[2] : iOS Team Provisioning Profile: com.YOURCOMPANY.helloworld (XXXXXXXX-XXXX-XXXX-XXXX-XXXXXXXXXXXX)
(type in the option's number, then hit Enter) [1] :
アプリのバンドルIDと合致するProfileを選択
Do you want to collect another ipa export code sign files
(select NO to finish collecting codesign files and continue) [yes/NO]:
yes を入力
Select the ipa export method
Please select from the list:
[1] : development
[2] : app-store
[3] : ad-hoc
[4] : enterprise
(type in the option's number, then hit Enter) [1] :
[2] : app-store を選択
Do you want to collect another ipa export code sign files
(select NO to finish collecting codesign files and continue) [yes/NO]:
no を入力
Do you want to upload the provisioning profiles and certificates to Bitrise? [yes/no] :
no を入力
生成された 〜.mobileprovision と 〜.p12 ファイルをBitriseにドラッグドロップする。
アップロードが完了したら、〜.mobileprovision と 〜.p12 ファイルはローカルPCから削除する。(うっかりGitHubにあげないように)
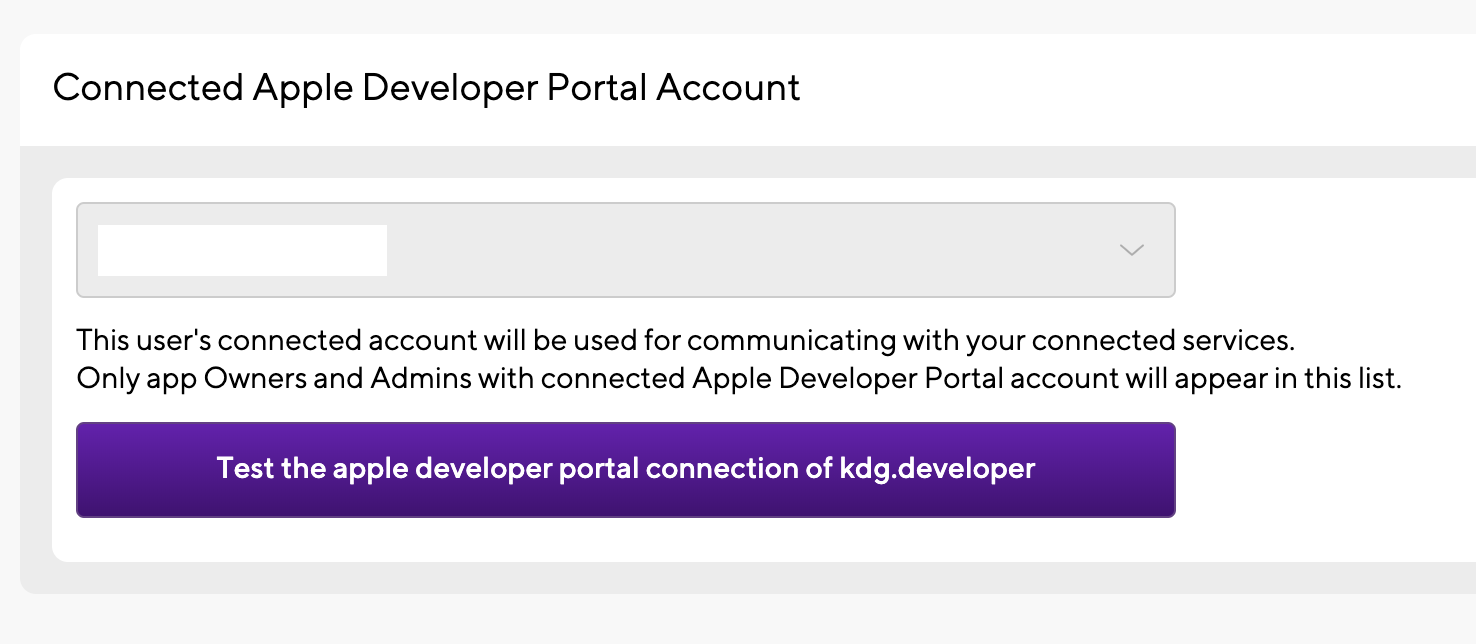
Teamの設定確認
Bitrise App FlutterHelloWorld の Team タブを選択

Connected Apple Developer Portal Account に正しいアカウントが設定されているか確認すること。
deployビルドの確認
pubspec.yamlの以下をインクリメントし、アプリのバージョンを上げる。
version: 1.0.0+2
TestFlightの輸出コンプライアンス対策として、info.plistに以下を追加。
- App Uses Non-Exempt encryption
- NO

commit, pushする。
$ git add .
$ git commit -m 'build2'
$ git push
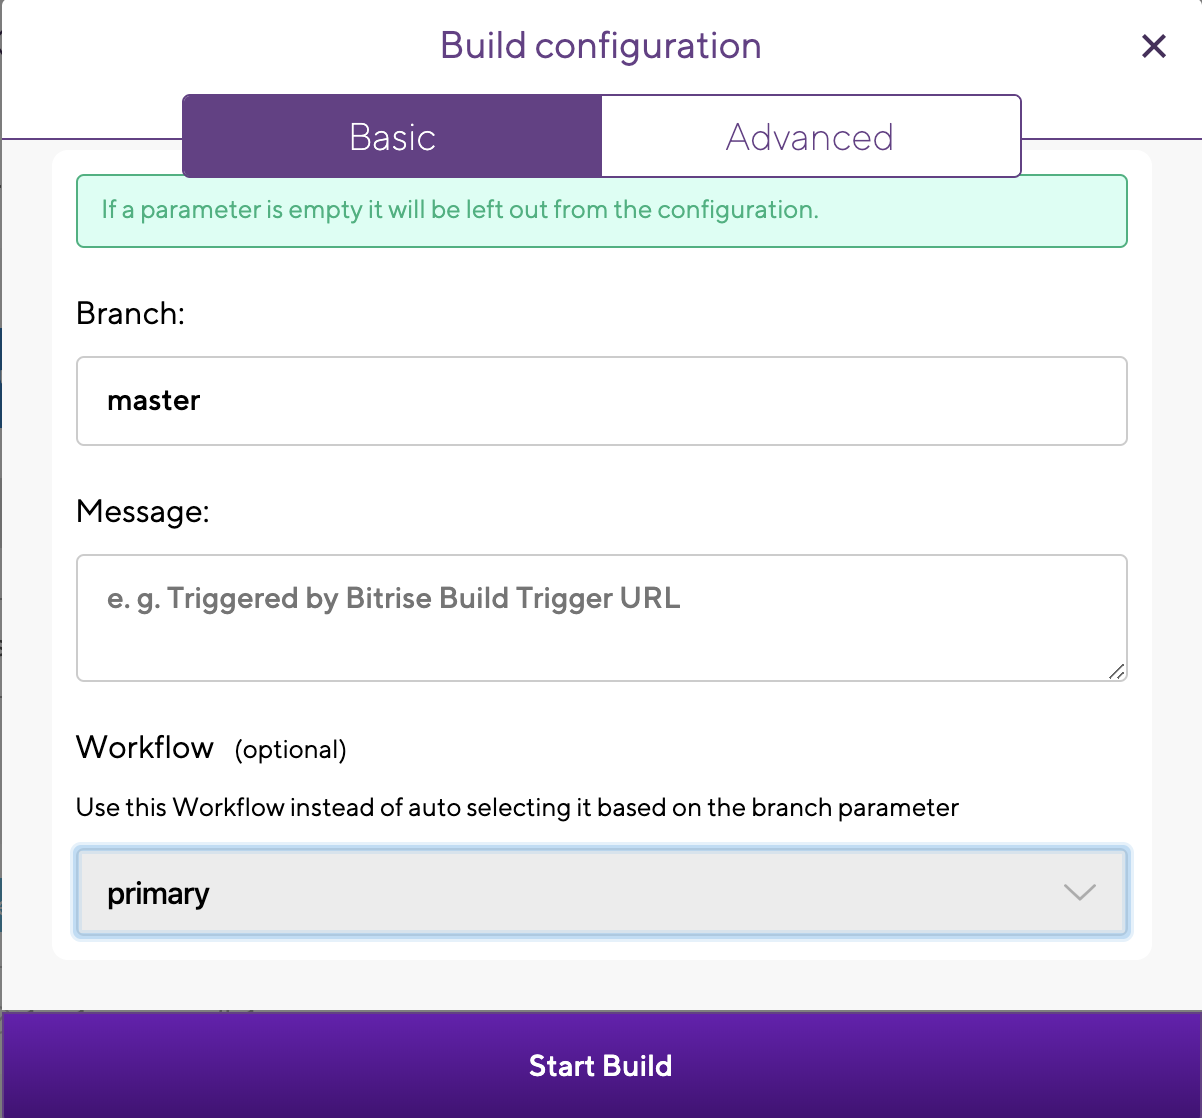
Bitrise deploy Workflow のビルドを実行。
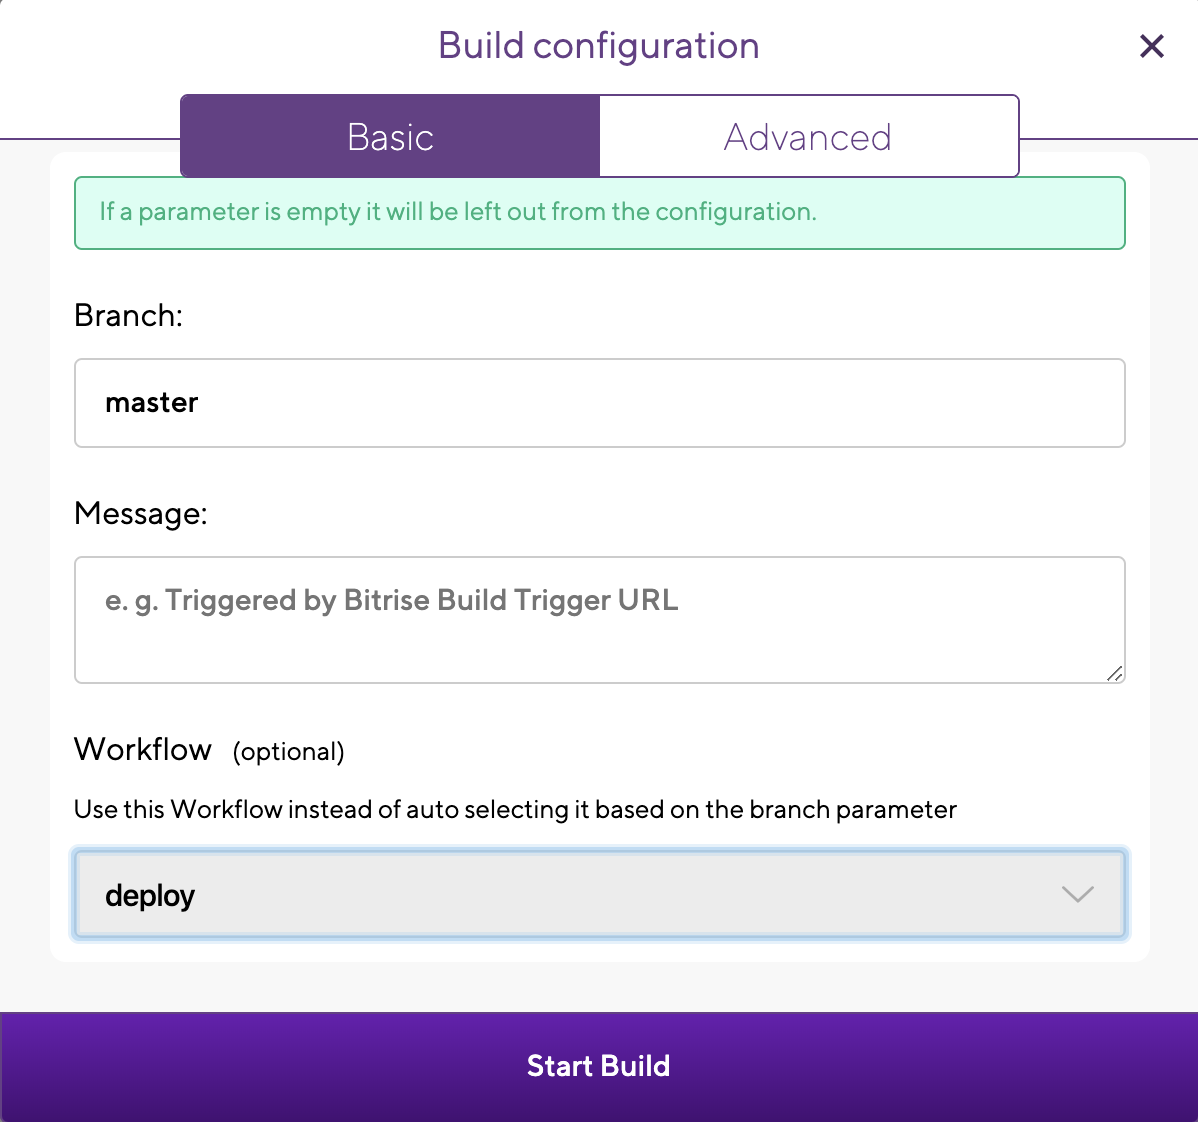
ビルドが成功し、TestFlightにFlutter Hello Worldアプリがアップロードされることを確認する。
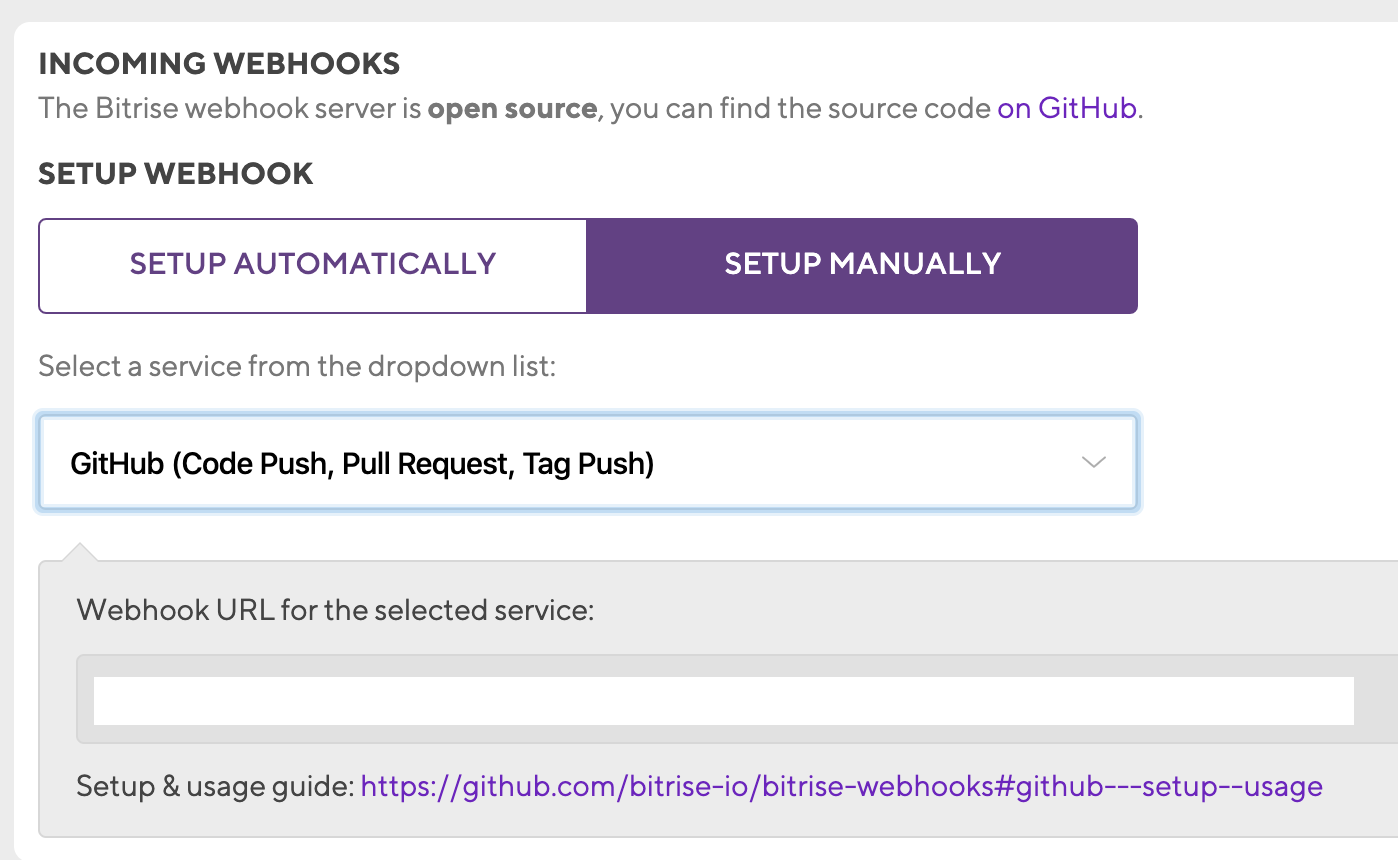
BitriseとGitHubのWebhook設定
Bitrise App FlutterHelloWorld の Code タブを選択

INCOMINC WEBHOOKS の [SETUP MANUALLY] を押下
GitHub(Code Push, Pull Request, Tag Push) を選択
Webhook URLをコピーする
GitHub にログイン
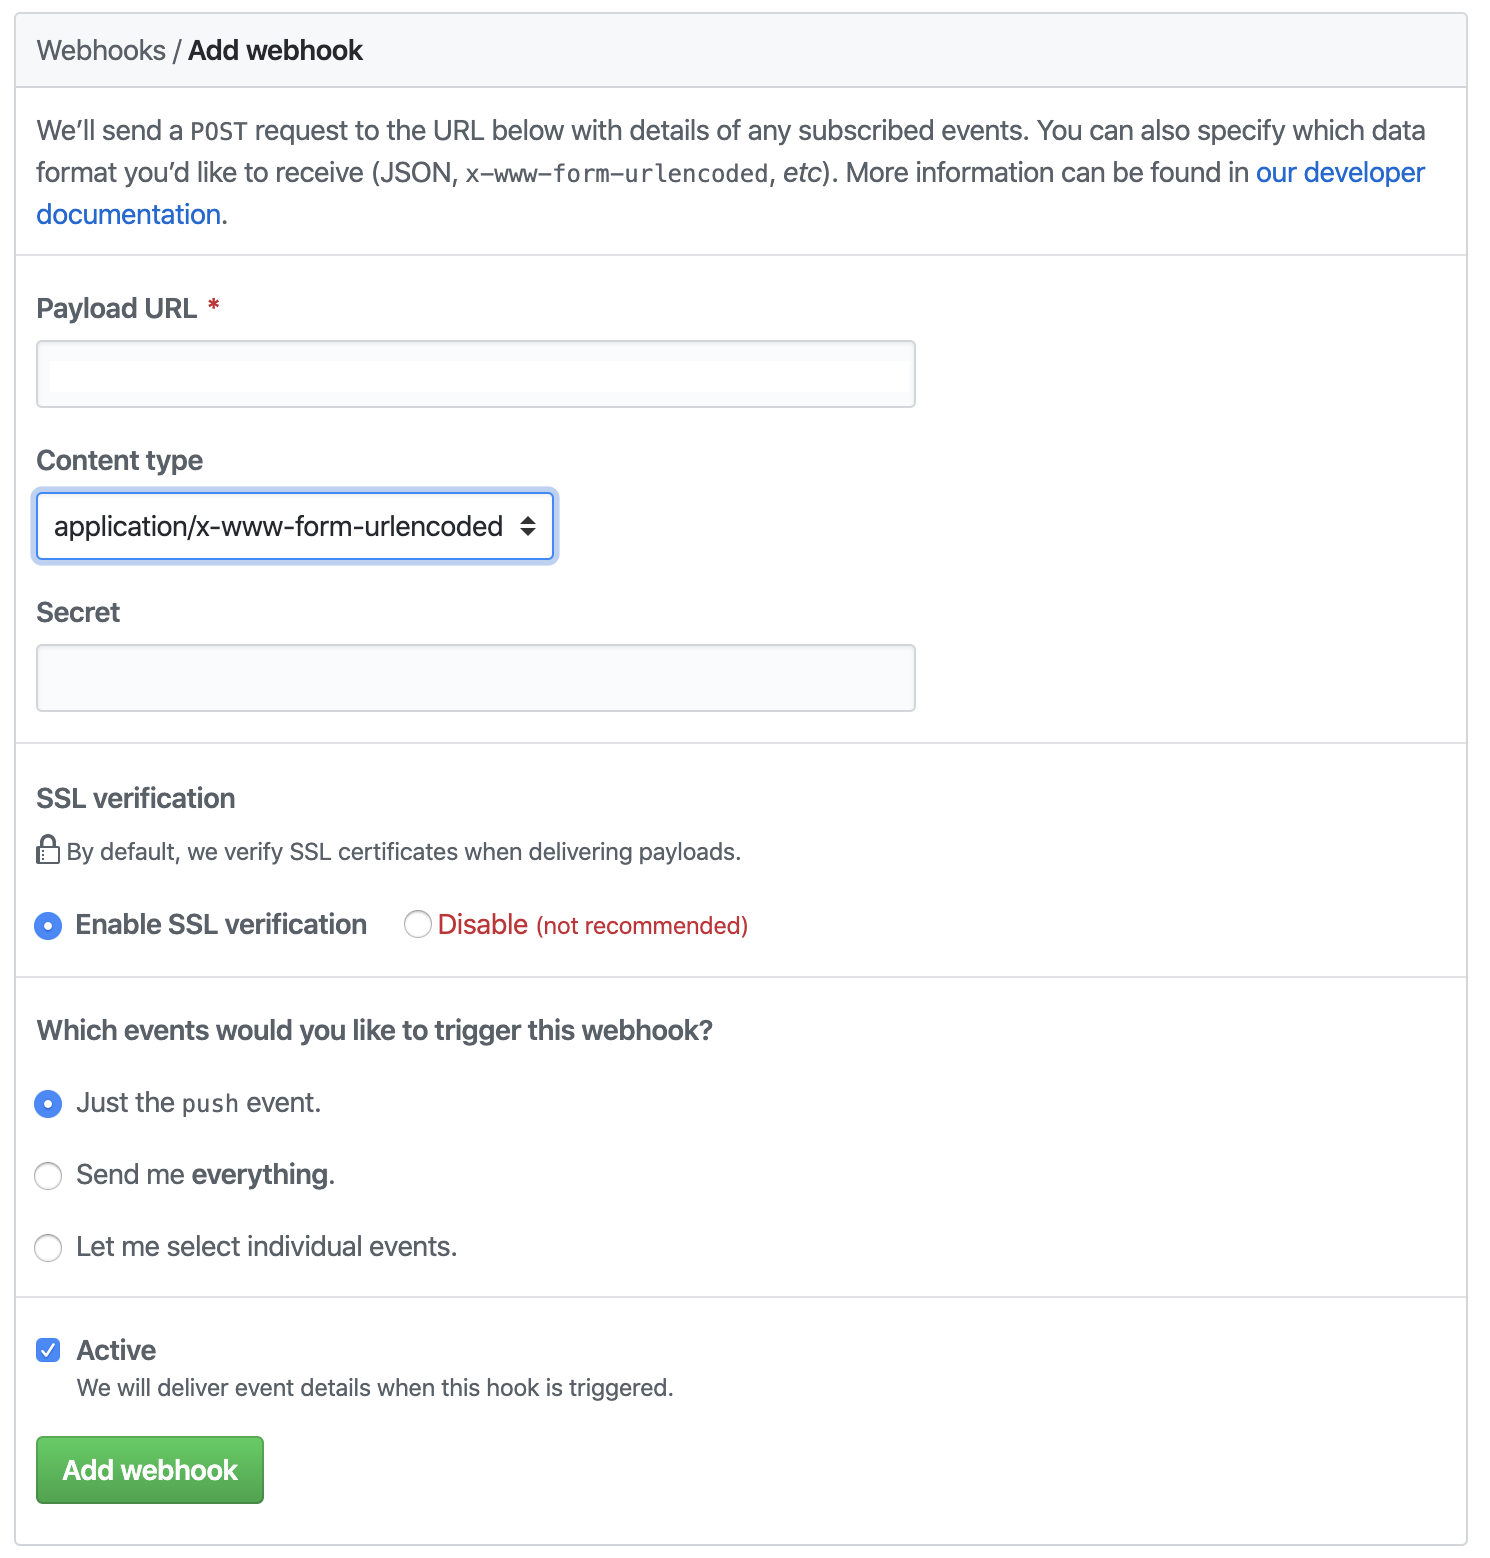
FlutterHelloWorld リポジトリの Settings > Webhooks > [Add webhook] を押下

Payload URL に先ほどのWebhook URLを貼り付け、[Add webhook] を押下
GitHubにPushするとBitriseの自動ビルドを実行する設定
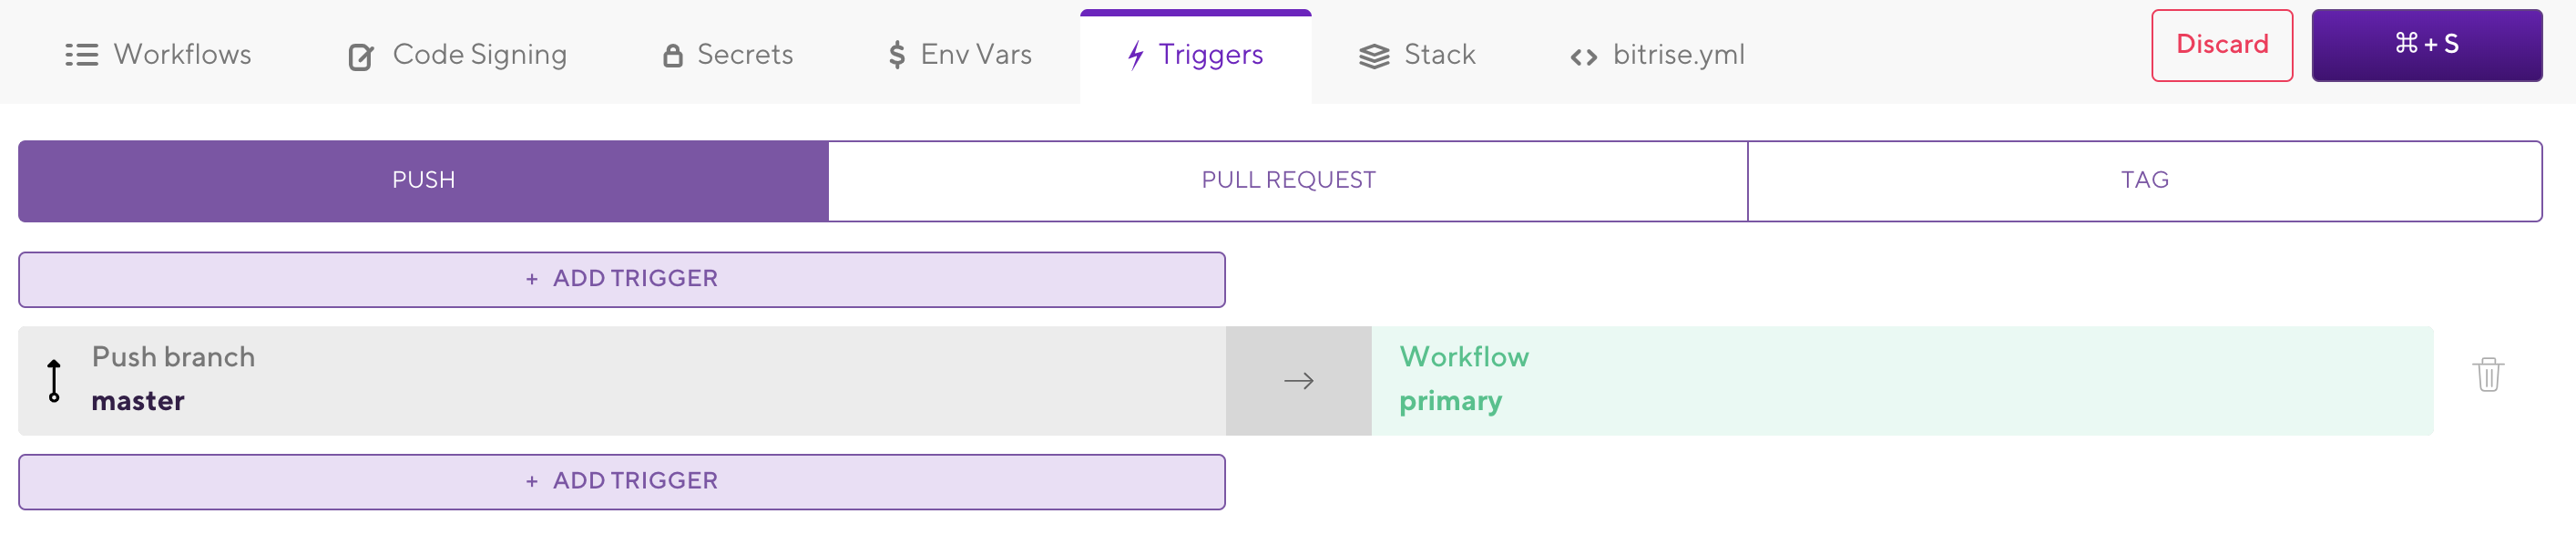
Bitrise Workflow Editor の Triggers を開く。
PUSHトリガに以下を設定
- Push branch
- master
- Workflow
- primary
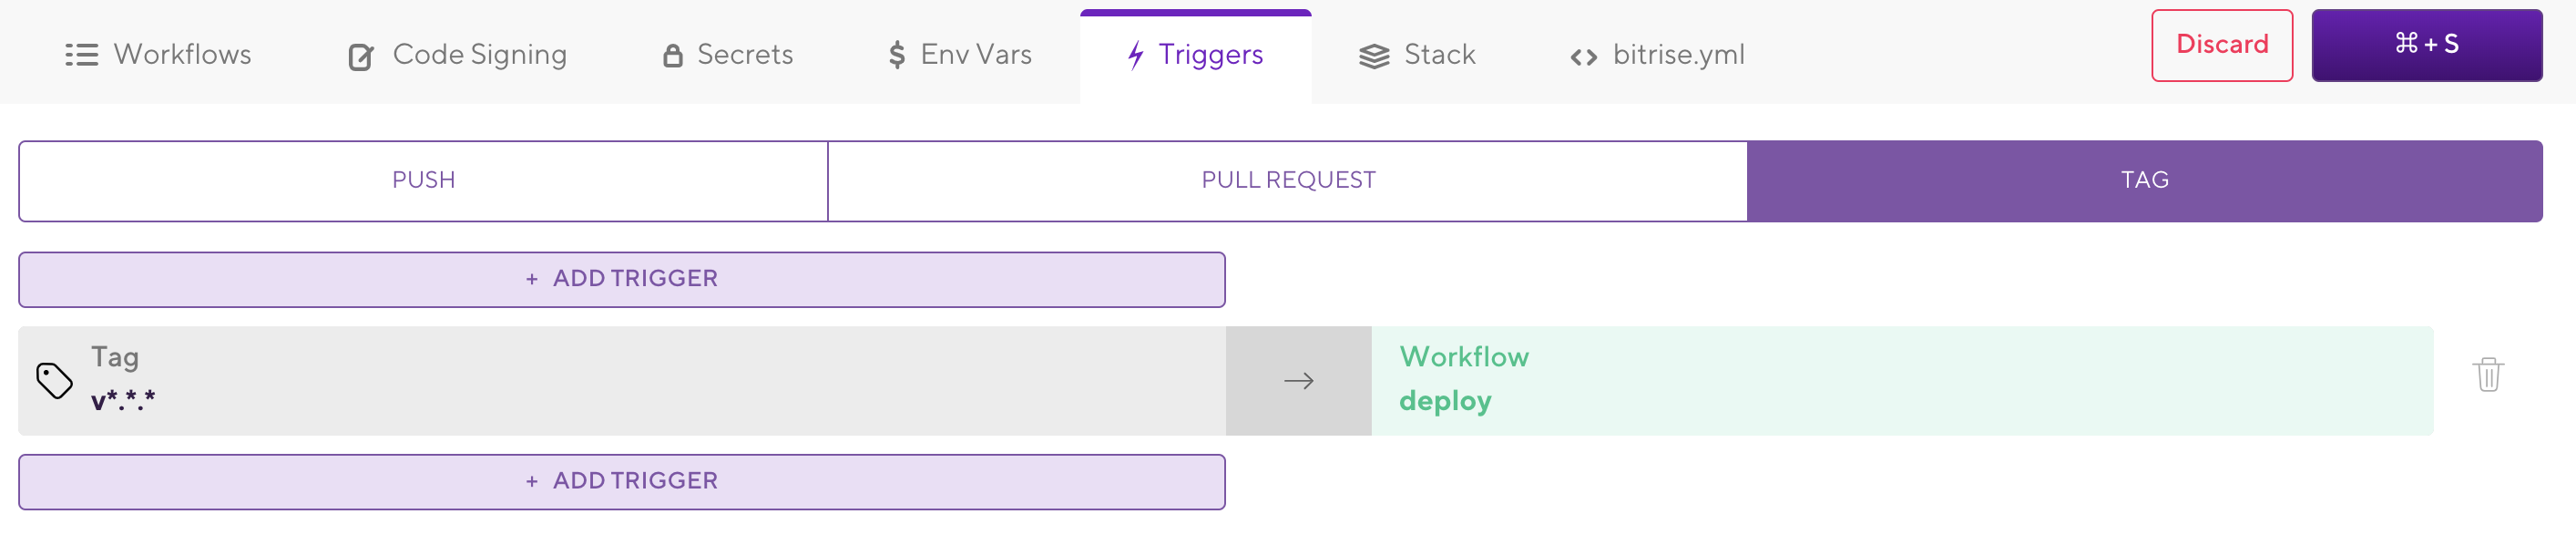
TAGトリガに以下を設定
- Tag
- v\*.\*.\*
- Workflow
- deploy
([⌘+S] での保存を忘れずに)
Bitrise自動ビルド確認(primary)
アプリのバージョンをあげる。
version: 1.0.0+3
commit, pushする。
$ git add .
$ git commit -m 'build3'
$ git push
Bitriseのprimary Workflowが自動実行され、成功すること。
Bitrise自動ビルド確認(deploy)
バージョンのtagをつけて、pushする。
$ git tag v1.0.0+3
$ git push origin v1.0.0+3
Bitriseのdeploy Workflowが自動実行され、成功すること。