この記事はTakumi Akashiro ひとり Advent Calendar 2020の5日目の記事になります。
前置き
昨日に引き続いて、オーバーレイするアプリケーションを作っていきます。
現在の状況は
| 課題 | 備考 |
|---|---|
|
|
WindowFlagsに「FramelessWindowHint」をセット |
|
|
「WA_TranslucentBackground」を有効にする |
|
|
「WA_TransparentForMouseEvents」を有効にする |
|
|
WindowFlagsに「WindowStaysOnTopHint」をセット |
|
|
WindowFlagsに「Tool」をセット QSystemTrayIconでタスクトレイに登録 コンテキストメニューからアプリケーションを終了 |
|
|
常に対象アプリのウィンドウに追従させたい |
本日は最後の「指定の位置にある」を対応していきます。
ウィンドウ位置の取得
指定の位置、つまりオーバーレイ対象のウィンドウの位置を探してかぶせる、という感じですね。
ウィンドウの位置の特定にはWinApiを利用するので、ctypesを使います。
簡単に書くと以下の通りです。
今回のオーバーレイ対象は最後にお世話になった日から幾星霜、メモ帳先生でございます。
# !python3
# encoding:utf-8
import ctypes
import ctypes.wintypes

user32 = ctypes.windll.user32


def get_handle(process_name):
    return user32.FindWindowW(process_name, 0)

def get_rect(window_handle):
    rect = ctypes.wintypes.RECT()
    user32.GetWindowRect(window_handle, ctypes.pointer(rect))

    return rect

if __name__ == "__main__":
    window_handle = get_handle("notepad")
    rect = get_rect(window_handle)
    print((rect.left, rect.top), (rect.right, rect.bottom))
簡単ですね!!!!
では、トップレベルのWidgetのsetGeomerty(x, y, w, h)に
(rect.left, rect.top, rect.right - rect.left, rect.bottom - rect.top)を渡せば完了ですね!!!!!!
……本当にそうだったのでしょうか?
正しいウィンドウ位置を取得する
結論からいうと、この方法ではダメでした…
# !python3
# encoding:utf-8
import ctypes
import ctypes.wintypes

from PySide2 import QtCore
from PySide2 import QtGui
from PySide2 import QtWidgets

user32 = ctypes.windll.user32


def get_handle(process_name):
    return user32.FindWindowW(process_name, 0)

def get_rect(window_handle):
    rect = ctypes.wintypes.RECT()
    user32.GetWindowRect(window_handle, ctypes.pointer(rect))

    return rect

class Window(QtWidgets.QWidget):
    def __init__(self, *args, **kwargs):
        super().__init__(*args, **kwargs)

        self.setAttribute(QtCore.Qt.WA_TranslucentBackground)
        self.setAttribute(QtCore.Qt.WA_TransparentForMouseEvents)
        self.setWindowFlags(QtCore.Qt.FramelessWindowHint|QtCore.Qt.WindowStaysOnTopHint)

        handle = get_handle("Notepad")
        if handle:
            rect = get_rect(handle)
            self.setGeometry(rect.left, rect.top, rect.right - rect.left, rect.bottom - rect.top)

        hbox = QtWidgets.QHBoxLayout()
        vbox = QtWidgets.QVBoxLayout()
        hbox.addLayout(vbox)

        label = QtWidgets.QLabel("Overlay!!!!")
        label.setStyleSheet("background:transparent; color: rgba(0, 0, 0, 128);font-family: impact;font-size:72px;")

        label.setAlignment(QtCore.Qt.AlignCenter)
        vbox.addWidget(label)
        self.setLayout(hbox)

        self.setStyleSheet("background-color: rgba(233, 0, 0, 128);")

    def paintEvent(self, event):
        # NOTE: WA_TranslucentBackgroundフラグが立つと背景色が描画されなくなるので、paintEvent側で描画する。
        painter = QtGui.QPainter(self)
        painter.fillRect(0, 0, self.width(), self.height(), painter.background())


if __name__ == "__main__":
    app = QtWidgets.QApplication()

    window = Window()
    window.show()
    exit(app.exec_())
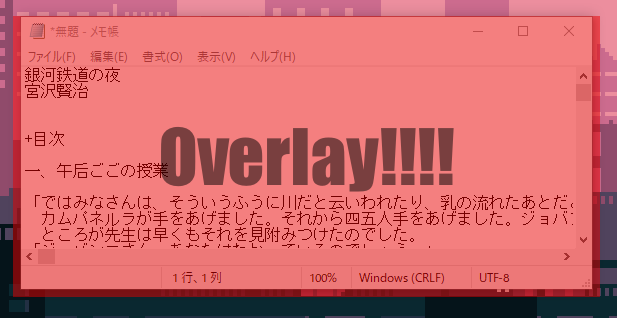
はい、メモ帳のウィンドウの際の部分を少し覆ってしまっていますね。
仕方ないので、Microsoftのドキュメントを読んでみます。
備考
Windows Vista 以降では、WindowRect にドロップシャドウが占める領域が含まれるようになりました。ドロップシャドウを除いたウィンドウの境界を取得するには、DwmGetWindowAttribute で DWMWA_EXTENDED_FRAME_BOUNDS を指定してください。
GetWindowRect function (winuser.h) - Win32 apps | Microsoft Docs
というわけでドキュメントに指示された通り、DwmGetWindowAttribute を使ってみます。
# https://docs.microsoft.com/en-us/windows/win32/api/dwmapi/ne-dwmapi-dwmwindowattribute
DWMWA_EXTENDED_FRAME_BOUNDS = 9

def get_rect(window_handle):
    rect = ctypes.wintypes.RECT()
    ctypes.windll.dwmapi.DwmGetWindowAttribute(window_handle, DWMWA_EXTENDED_FRAME_BOUNDS, ctypes.pointer(rect), ctypes.sizeof(rect))

    return rect
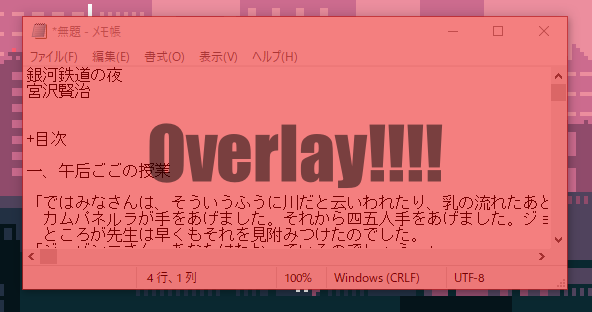
ちゃんとぴったり表示されています
いい感じですね!
常にウィンドウにくっつけるはずだった……が?
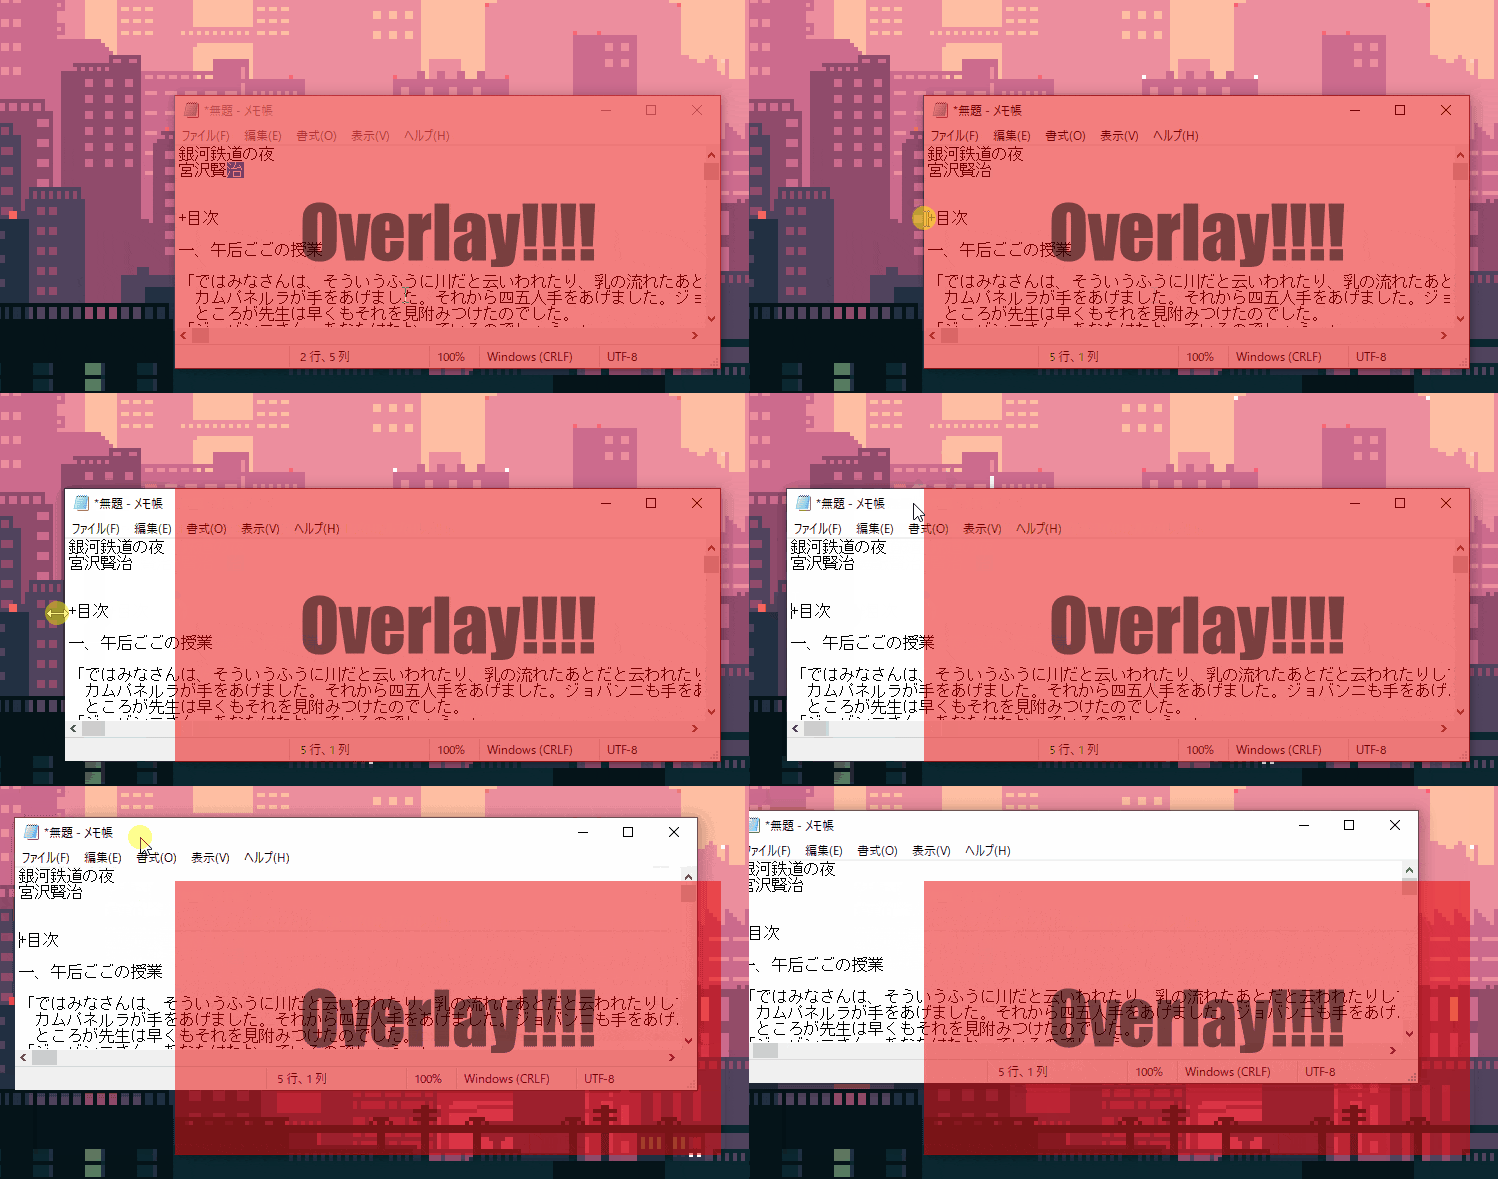
ですが、サイズ変更やウィンドウ位置を変更すると当然、オーバーレイウィンドウは追尾しません。
ウィンドウサイズの変更や、位置の変更のイベントさえ取れれば簡単にできるはず……
……と思ってたのですが、2日ぐらい調べて簡単には出来ないことが分かりました……
ああ……AdventCalenderのストックが減っていく……
というわけで妥協します。
QtCore.QTimerを使います。
QTimer はいい感じに時間を測って、指定時間経過後にSignalを送ってくれるタイマーです。
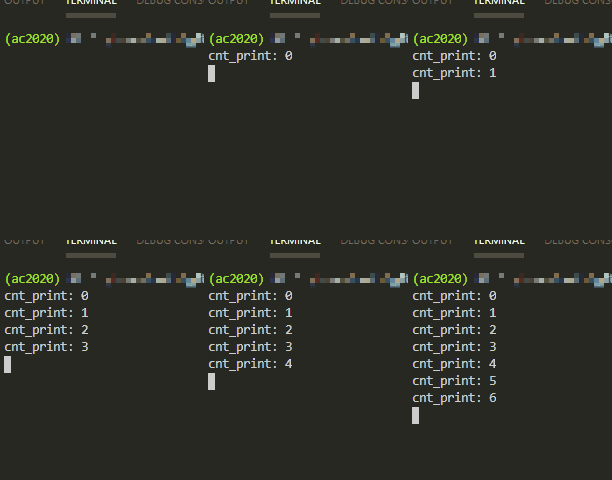
ちょっと簡単に使ってみましょう。
# !python3
# encoding:utf-8
from PySide2 import QtCore
from PySide2 import QtWidgets

class Counter(object):
    def __init__(self):
        super().__init__()
        self.cnt = 0

    def cnt_print(self):
        print(f"cnt_print: {self.cnt}")
        if self.cnt >= 30:
            QtWidgets.QApplication.quit()

        self.cnt += 1

if __name__ == "__main__":
    app = QtWidgets.QApplication()
    counter = Counter()

    timer = QtCore.QTimer()
    timer.timeout.connect(counter.cnt_print)
    # 500ms すなわち .5秒ごとに実行する
    timer.start(500)

    exit_code = app.exec_()

    exit(exit_code)
これである程度の同期は達成できそうです。
総決算
というわけで今までの総決算がこちらです。
# !python3
# encoding:utf-8
import ctypes
import ctypes.wintypes

from PySide2 import QtCore
from PySide2 import QtGui
from PySide2 import QtWidgets

user32 = ctypes.windll.user32

# https://docs.microsoft.com/en-us/windows/win32/api/dwmapi/ne-dwmapi-dwmwindowattribute
DWMWA_EXTENDED_FRAME_BOUNDS = 9

class Window(QtWidgets.QWidget):
    def __init__(self, *args, **kwargs):
        super().__init__(*args, **kwargs)

        self.setAttribute(QtCore.Qt.WA_TranslucentBackground)
        self.setAttribute(QtCore.Qt.WA_TransparentForMouseEvents)
        self.setWindowFlags(QtCore.Qt.Tool|QtCore.Qt.FramelessWindowHint|QtCore.Qt.WindowStaysOnTopHint)

        self.handle = self.__get_handle("Notepad")
        if self.handle:

            self.timer = QtCore.QTimer(self)
            self.timer.timeout.connect(self.__windows_resize)
            self.timer.start(10)

        hbox = QtWidgets.QHBoxLayout()
        vbox = QtWidgets.QVBoxLayout()
        hbox.addLayout(vbox)

        label = QtWidgets.QLabel("Overlay!!!!")
        label.setStyleSheet("background:transparent; color: rgba(0, 0, 0, 128);font-family: impact;font-size:72px;")

        label.setAlignment(QtCore.Qt.AlignCenter)
        vbox.addWidget(label)

        self.setLayout(hbox)

        self.setStyleSheet("background-color: rgba(233, 0, 0, 128);")

    @staticmethod
    def __get_handle(process_name):
        return user32.FindWindowW(process_name, 0)

    def __windows_resize(self):
        rect = ctypes.wintypes.RECT()
        ctypes.windll.dwmapi.DwmGetWindowAttribute(self.handle, DWMWA_EXTENDED_FRAME_BOUNDS, ctypes.pointer(rect), ctypes.sizeof(rect))
        self.setGeometry(rect.left, rect.top, rect.right - rect.left, rect.bottom - rect.top)

    def paintEvent(self, event):
        painter = QtGui.QPainter(self)
        painter.fillRect(0, 0, self.width(), self.height(), painter.background())


class TaskTray_Icon(QtWidgets.QSystemTrayIcon):
    def __init__(self, *args, **kwargs):
        super().__init__(*args, **kwargs)

        menu = QtWidgets.QMenu()

        quit_action = menu.addAction("Quit")
        quit_action.triggered.connect(self.__quit)

        self.setContextMenu(menu)

        pixmap = QtGui.QPixmap(QtCore.QSize(32, 32))
        pixmap.fill(QtGui.QColor("red"))
        icon = QtGui.QIcon(pixmap)

        self.setIcon(icon)

    def __quit(self):
        QtWidgets.QApplication.quit()


if __name__ == "__main__":
    app = QtWidgets.QApplication()
    trayicon = TaskTray_Icon()
    trayicon.show()

    window = Window()
    window.show()

    exit_code = app.exec_()

    exit(exit_code)
いい感じですね!
締め
とりあえず、形になったので御の字ですが、途中までHook方向でどうにかできないか悩んでいたので
記事には全く現れないですけど、作業カロリー高めでしたね。
……と、なんかやり切った風に書いてますけど、
実はこれ、大きな問題を抱えているんですよね……
「WA_TransparentForMouseEvents」をセットするとその要素と子以下の操作が全て下に透過します。
つまりボタンを作っても……
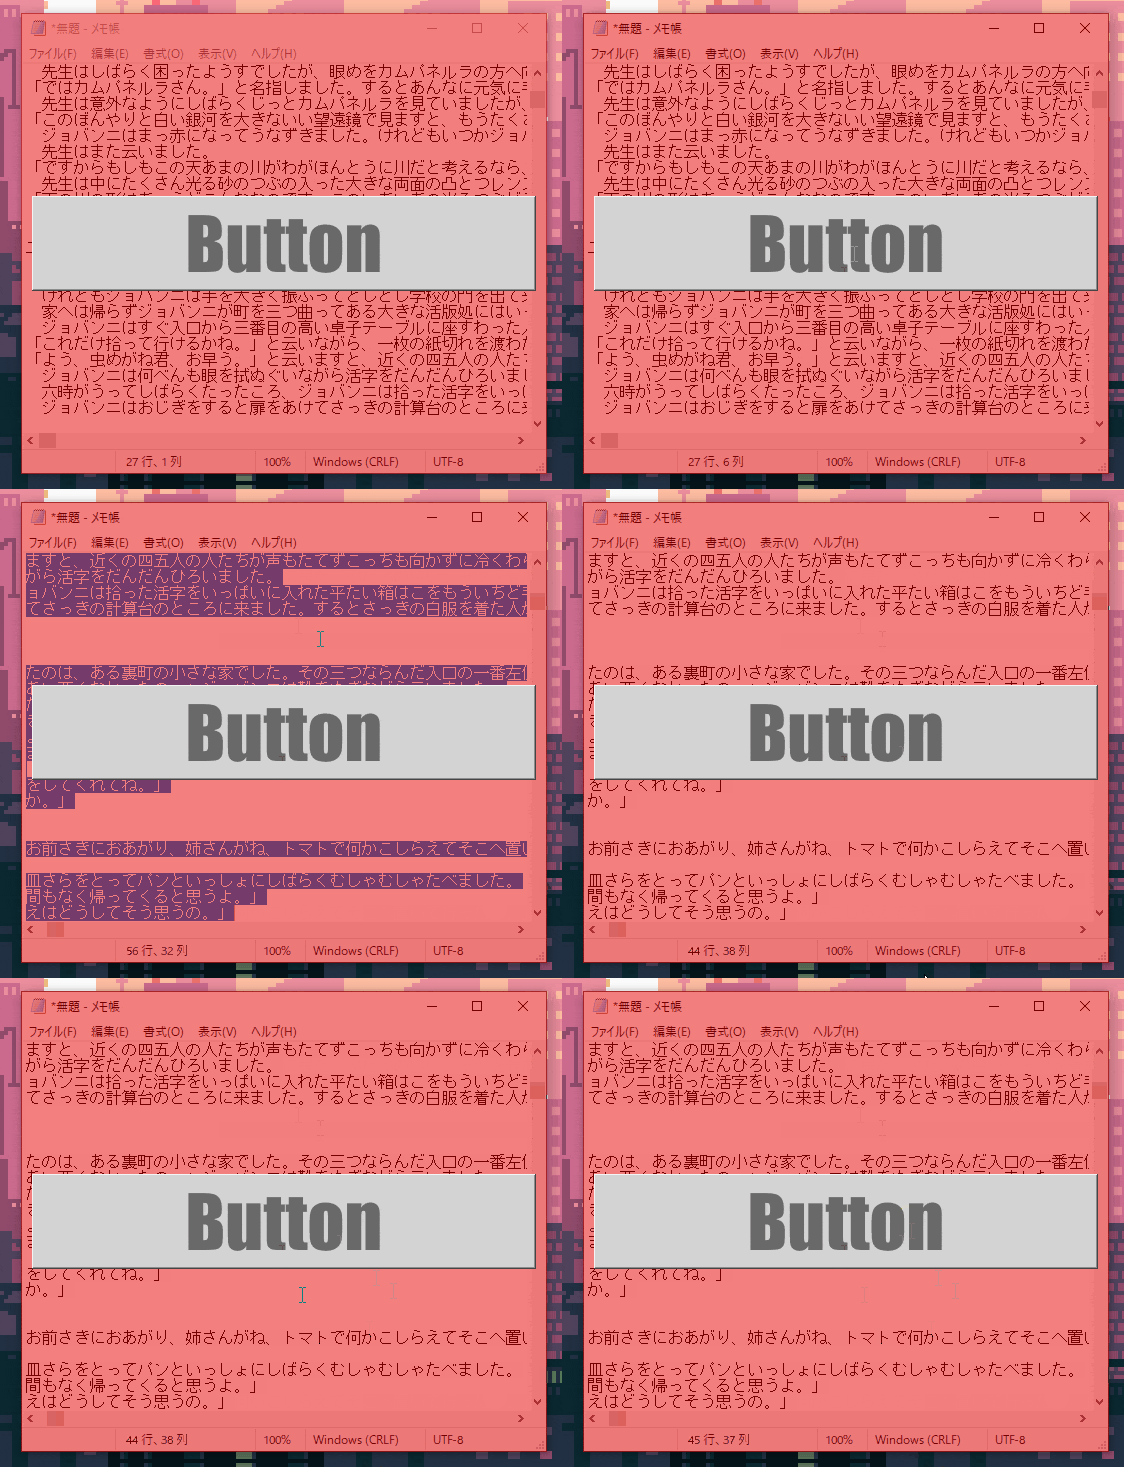
はい、押せません。
背景用のWidgetを作って、そっちにセットしても、今度は不透明部分のみマウスオーバーがトップレベルWidgetに吸われます。
現時点の自分の把握している解決策は半透明の背景を使わないことです。
完全に透明であれば、この通り
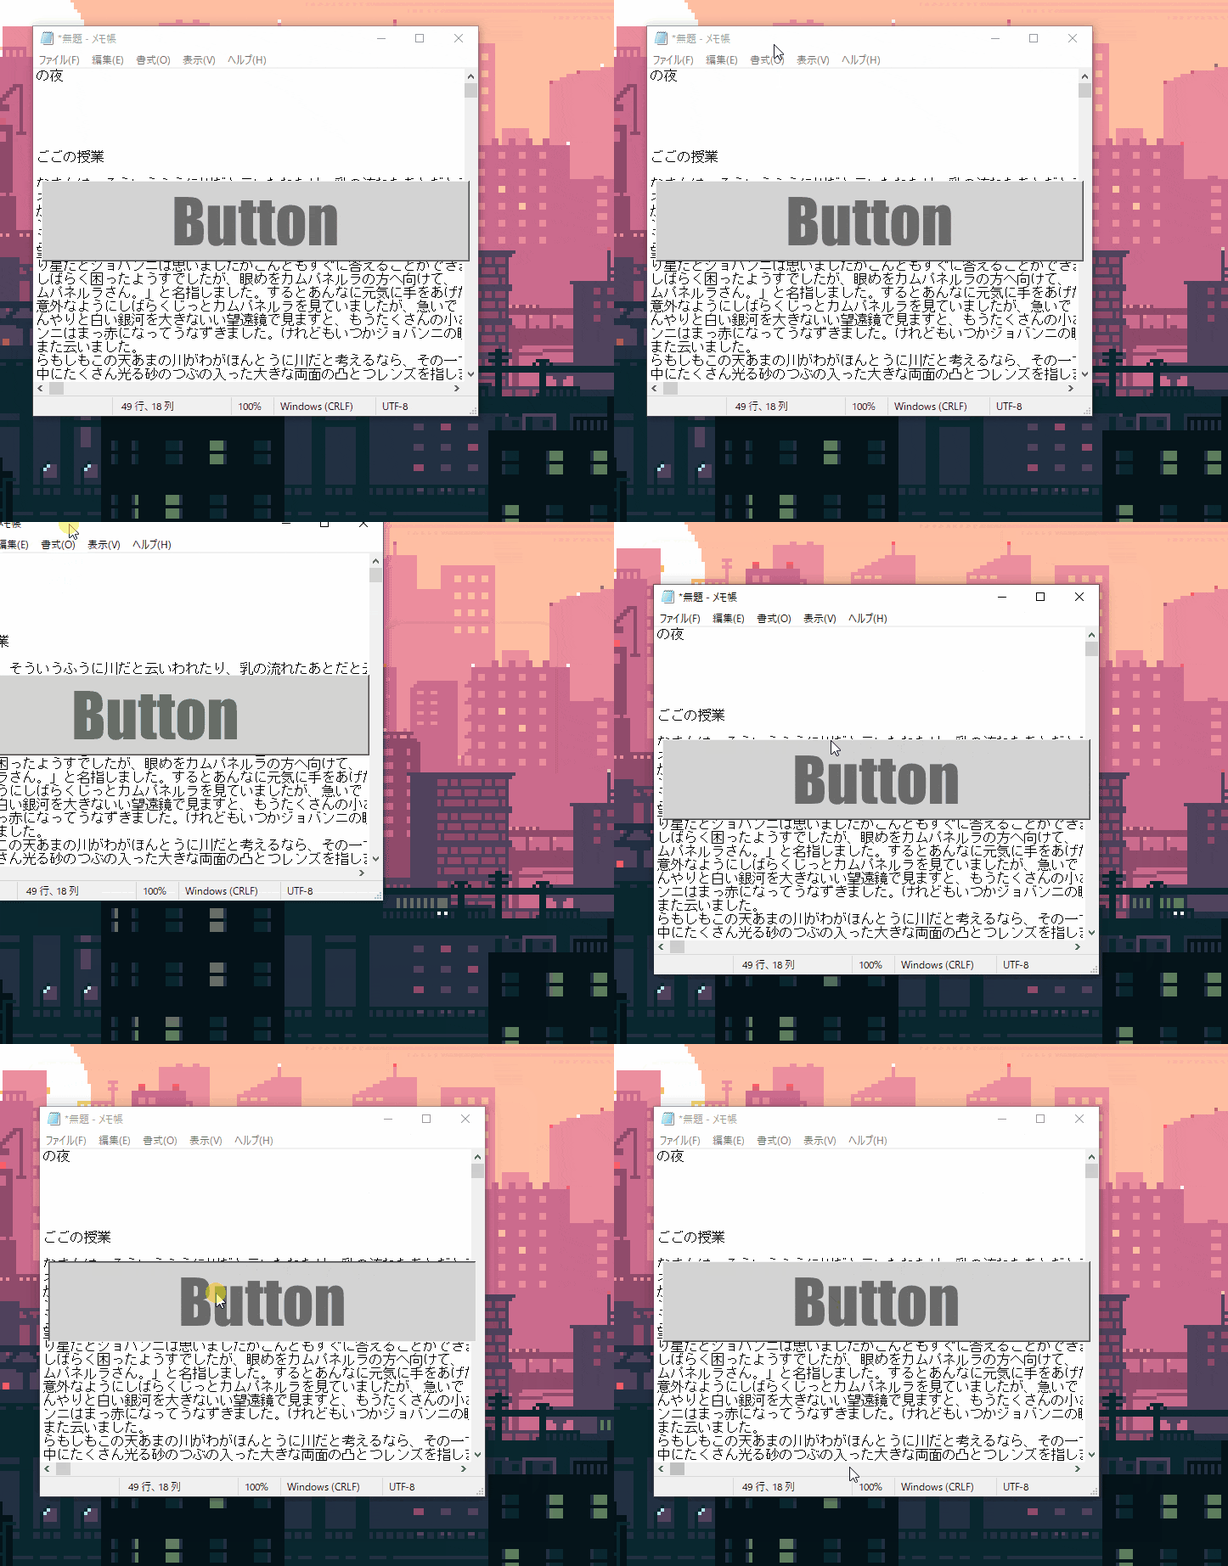
ボタンは押せるけど、背景は無事通過します。
いい感じ…とは程遠いですが、これでオーバーレイウィンドウ自体はどうにか作れそうですね。
記事自体は何とも言えない感じで終わってしまいましたが、
Qtでタスクトレイに登録する方法やWindowFlagやWidgetAttributeの細かい話は知らなかったので、
この一連の記事を書くためにいろいろ調べて、少しは有意義な時間を過ごせたかもしれません。
というわけで今日の評価は
| 評価ラベル | ランク(5段階だった) |
|---|---|
| おすすめ度 | +1000 |
| 難易度 | +4000 |
| ニッチ | +5000 |
| 汎用性 | +3000 |
| WindowsApiに屈した | -5000 |
| 半透明オーバーレイが実現できなかった | -10000 |
| 記念日祝いに取り寄せた バウムクーヘンがおいしかった |
+20000 |
| Result | 18000 |
明日はゆるい記事を書きます。
では、また明日!
