【経緯】
Javaの入門書である「スッキリわかるJava入門」を読み終わったので、なにかWebアプリを作ってみたいと思ったのがきっかけです。
ちょうど業務でSpring Bootが使われていたので勉強を始めたのですが、チュートリアルが少なく苦労しているので、備忘録的にまとめてみようと思います。
【対象読者】
Javaの入門書を読み終わって、これからWebアプリを作ってみたいと思っているひと向けです。
「とりあえず動かすこと」を優先にまとめています。
【この記事でやること】
- ブラウザでHello Worldを表示させてみる
- Getで値を渡してみる
- Postで値を渡してみる
【開発環境】
- OS:Windows 10 Pro
- IDE:IntelliJ IDEA 2021.2.2(Community Edition)
- Java:openjdk 11.0.2 2019-01-15
- Spring Boot:2.5.6
【準備編】
ここでは、環境構築の際に参考にしたサイトをまとめています。
■IntelliJのインストール
IntelliJのダウンロード元
https://www.jetbrains.com/ja-jp/idea/download/#section=windows
CommunityでOKです。
■Javaのインストール
openjdk 11.0.2のダウンロード元
https://jdk.java.net/archive/
MySQLのインストールで参考にしたサイト
https://www.javadrive.jp/start/install/index1.html
コマンドプロンプトでjava --versionと入力して下記のように表示されれば、インストール完了です。
>java --version
openjdk 11.0.2 2019-01-15
OpenJDK Runtime Environment 18.9 (build 11.0.2+9)
OpenJDK 64-Bit Server VM 18.9 (build 11.0.2+9, mixed mode)
【実装編】
■Hello worldを表示させる
- Spring initializrでプロジェクトを作成
Spring initializrで簡単にプロジェクトを用意することができます。
設定を下記のようにして、GENERATEしてください。
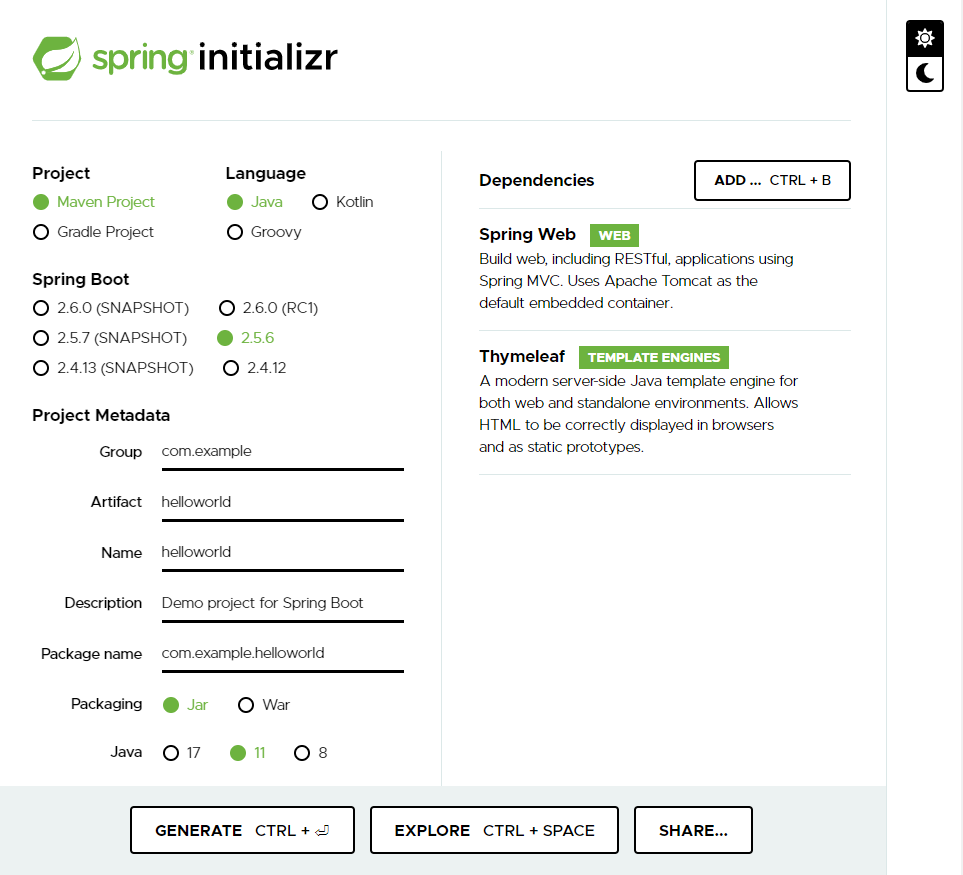
- Projectではビルド自動化ツールを選択します。どちらも外部ライブラリを自動で持ってきてくれるすぐれものです。
- Artifactをhelloworldにします。プロジェクト名になります。NameとPackage nameも自動で変更されます。
- DependenciesはADDを押すといろいろ選択できます。今回はSpring WebとThymeleafを選択します。ThymeleafはSpring Boot推奨のHTMLテンプレートエンジンです。
- IntelliJでプロジェクトを開く
- GENERATEを押すとzipファイルがDLされるので解凍する。
- 解凍したフォルダを任意の場所に配置。(今回は
C:\work\helloworldに配置) - IntelliJでhelloworldフォルダを開く。
- 開くとMavenが自動で必要なjarをDLしてくれる。
初期状態は下のような感じです。
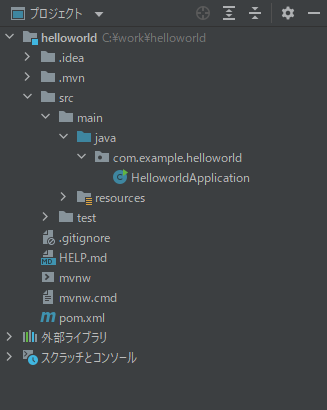
-
HelloworldApplication.javaはMainメソッドが入っているクラスです。このクラスからSpring Bootは起動します。
- コントローラーの作成
src\main\javaのcom.example.helloworldにcontrollerパッケージを作成し、HelloworldController.javaを作成します。
package com.example.helloworld.controller;

import org.springframework.stereotype.Controller;
import org.springframework.web.bind.annotation.RequestMapping;

@Controller
public class HelloworldController {
  @RequestMapping("/")
  private String index(){
    return "hello";
  }
}
-
@Controllerはコントローラークラスにつけるアノテーションです。 -
@RequestMapping("/")はhttp://localhost:8080/にアクセスした際にリクエストを受け取ることを意味します。 -
return "hello"はtemplatesフォルダのhello.htmlを呼び出すことを意味します。
- Thymeleafテンプレートの作成
src\main\resources\templatesにhello.htmlを作成します。templatesフォルダがない場合は作成してください。
<!DOCTYPE html>
<html xmlns:th="http://www.thymeleaf.org">
<head>
  <meta charset="UTF-8">
  <title>Hello World</title>
</head>
<body>
  <h1>Hello World</h1>
</body>
</html>
- Thymeleafを使用する場合は
<html>タグを<html xmlns:th="http://www.thymeleaf.org">とするようです。
- 動作確認
それでは、動作確認してみましょう。
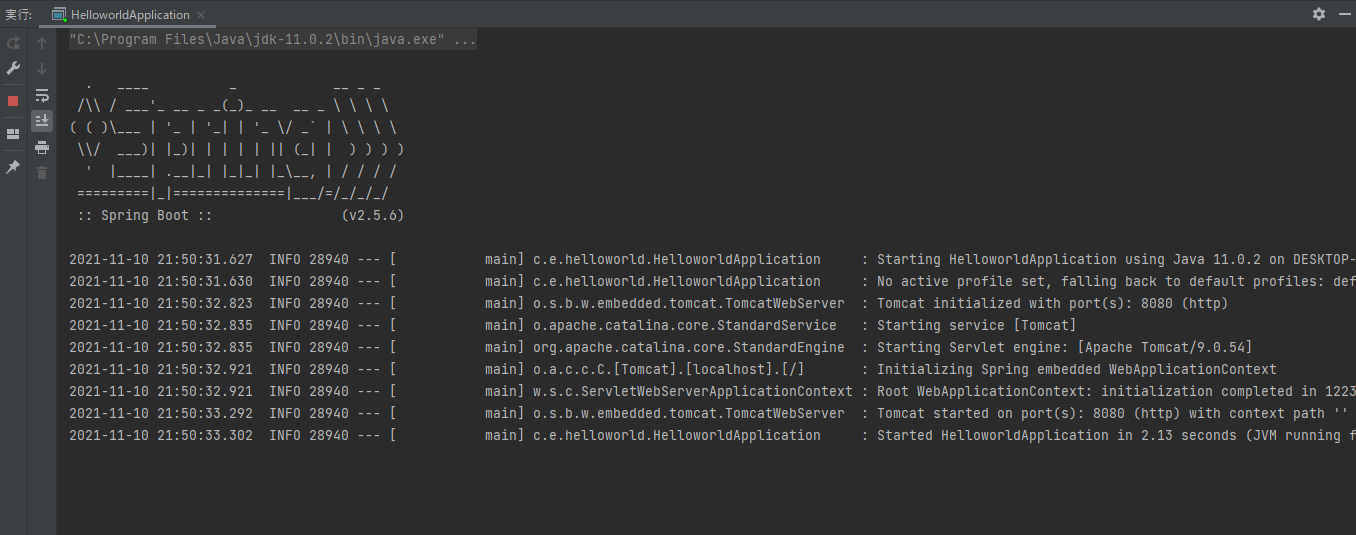
実行のショートカットキーAlt + Shift + F10を押してHelloworldApplicationを選択します。
下のように表示されれば、ローカルサーバーの起動完了です。
(別途サーバー環境を用意しなくて良いので、めっちゃ簡単です。)
ブラウザでhttp://localhost:8080/にアクセスするとHello Worldが表示されます。
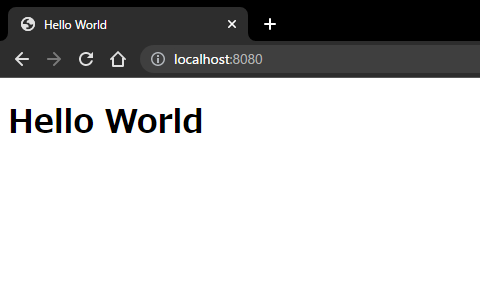
めっちゃ簡単に表示できてしまいました。
■Getで値を渡してみる(GetMapping)
続いて、そのまま同じプロジェクトでGetの値を表示してみましょう。
- コントローラーの修正
HelloworldController.javaを修正します。
package com.example.helloworld.controller;

import org.springframework.stereotype.Controller;
import org.springframework.web.bind.annotation.RequestMapping;

@Controller
public class HelloworldController {
  @RequestMapping("/")
  private String index(){
    return "hello";
  }

  @GetMapping("/get-message")
  private String getMessage(@RequestParam("message") String message, Model model){
    model.addAttribute("message",message);
    return "get_message";
  }
}
-
@GetMapping("/get-message")はGetリクエストを受け付けるためのアノテーションです。 -
@RequestParamを指定することで、リクエストの値をmessageに格納します。 -
model.addAttribute("message",message);とすることで、Thymeleafに値を渡すことができます。
- Thymeleafテンプレートの作成
src\main\resources\templatesにget_message.htmlを作成します。
<!DOCTYPE html>
<html xmlns:th="http://www.thymeleaf.org">
<head>
  <meta charset="UTF-8">
  <title>Hello World</title>
</head>
<body>
  <h1>Hello World</h1>
  <p>Getで受け取ったメッセージは下記です。</p>
  <p th:text="${message}"></p>
</body>
</html>
-
<p th:text="${message}"></p>とすることで、コントローラーから渡された値を表示することができます。
- 動作確認
それでは、動作確認してみましょう。
一度実行するとShift + F10で再実行できます。
ブラウザでhttp://localhost:8080/get-message?message=testです。にアクセスすると下のように表示されます。
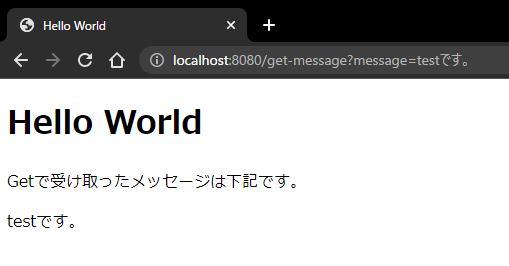
message=以降の文字を受け取って表示させることができました。
- 補足
ちなみにhttp://localhost:8080/get-messageにアクセスすると、下のようにエラーになります。
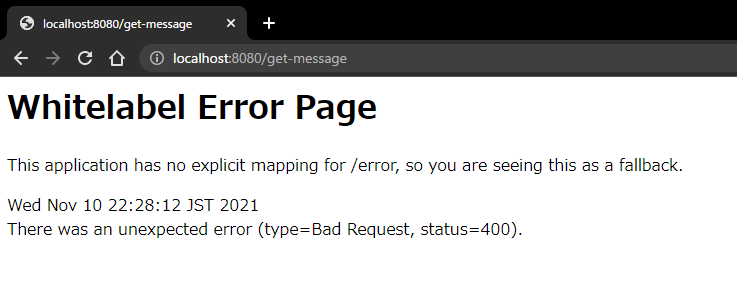
これを回避するには下のように修正します。
private String getMessage(@RequestParam("message") String message, Model model){
//↑を↓に変更する
private String getMessage(@RequestParam(required = false) String message, Model model){
-
("message")は変数が同一の場合は省略可能です。 -
required = falseとすることで、値がなくてもエラーにならなくなります。
■Postで値を渡してみる(PostMapping)
またまた同じプロジェクトで、Postの値を表示してみましょう。
- コントローラーを修正
HelloworldController.javaを修正します。
package com.example.helloworld.controller;

import org.springframework.stereotype.Controller;
import org.springframework.ui.Model;
import org.springframework.web.bind.annotation.GetMapping;
import org.springframework.web.bind.annotation.PostMapping;
import org.springframework.web.bind.annotation.RequestMapping;
import org.springframework.web.bind.annotation.RequestParam;

@Controller
public class HelloworldController {
  //省略

  @GetMapping("/post-message")
  private String postMessage(){
    return "post_message";
  }

  @PostMapping("/confirm-message")
  private String confirmMessage(@RequestParam String message, Model model){
    model.addAttribute("message", message);
    return "confirm_message";
  }
}
-
@PostMapping("/confirm-message")はPostリクエストを受け付けるためのアノテーションです。
- Thymeleaf(HTMLテンプレート)の作成
今回はform用と表示用の2つ作成します。
まずはform用のpost_message.htmlをsrc\main\resources\templatesに作成します。
<!DOCTYPE html>
<html xmlns:th="http://www.thymeleaf.org">
<head>
  <meta charset="UTF-8">
  <title>Hello World</title>
</head>
<body>
  <h1>Hello World</h1>
  <form th:action="@{/confirm-message}" method="post">
    <label>
      メッセージ:
      <input type="text" name="message">
    </label>
    <button type="submit">送信</button>
  </form>
</body>
</html>
-
<form th:action="@{/confirm-message}" method="post">でフォームのPost先を指定しています。
次に表示用のconfirm_message.htmlをsrc\main\resources\templatesに作成します。
<!DOCTYPE html>
<html xmlns:th="http://www.thymeleaf.org">
<head>
  <meta charset="UTF-8">
  <title>Hello World</title>
</head>
<body>
  <h1>Hello World</h1>
  <p>Postで受け取ったメッセージは下記です。</p>
  <p th:text="${message}"></p>
</body>
</html>
- 動作確認
それでは、動作確認してみましょう。
Shift + F10で再実行します。
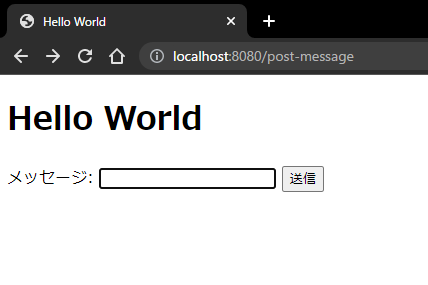
ブラウザでhttp://localhost:8080/post-messageにアクセスすると下のように表示されます。
メッセージフォームにテストです。と入力して送信を押すと下のように表示されます。
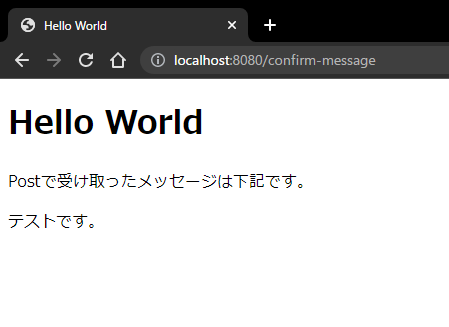
フォームで入力した文字を受け取って表示させることができました。
【まとめ】
今回はSpring Bootの準備からGetとPostでの値の受け渡しまでを試してみました。
次の記事ではSpring BootでDBの接続とCRUD処理を実装していきます。
ご興味のある方はこちらもご覧ください!
Spring Bootで簡単なWebアプリを作ってみたい!【CRUD処理を実装】