UICollectionViewを理解する第一歩として、UICollectionViewを使った画面を必要最低限のコードのみで実装してみたいと思います。
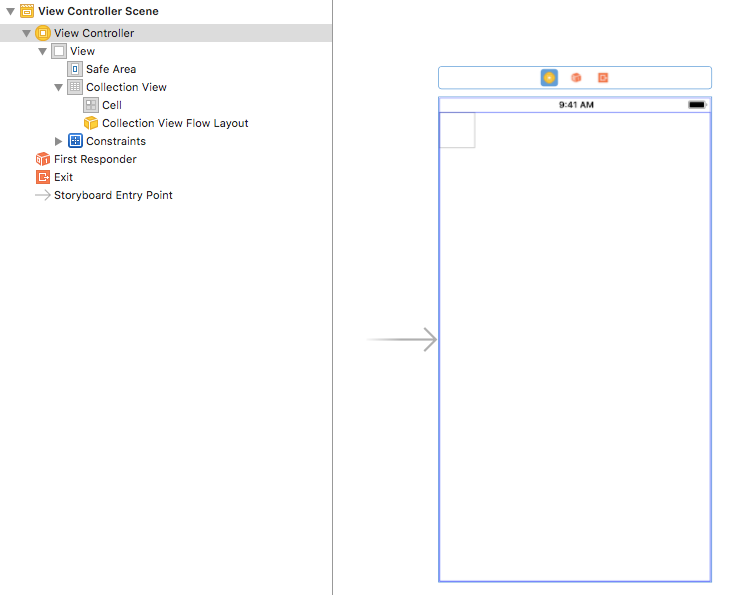
StoryBoardはこんな感じです。
UIViewController内にUICollectionViewを配置しているだけです。
UICollectionViewにはSafeAreaに対する制約のみ付与しています。
ViewControllerの実装は以下の通りです。
import UIKit

class ViewController: UIViewController {
    @IBOutlet weak var collectionView: UICollectionView!

    override func viewDidLoad() {
        super.viewDidLoad()

        collectionView.dataSource = self
    }
}

extension ViewController: UICollectionViewDataSource {
    func collectionView(_ collectionView: UICollectionView, numberOfItemsInSection section: Int) -> Int {
        return 10
    }

    func collectionView(_ collectionView: UICollectionView, cellForItemAt indexPath: IndexPath) -> UICollectionViewCell {
        let cell = collectionView.dequeueReusableCell(withReuseIdentifier: "Cell", for: indexPath)
        cell.backgroundColor = .red

        return cell
    }
}
画面に何か表示するために最低限必要なのは、UICollectionViewDataSourceの実装です。
実装が必須のメソッドはcollectionView:numberOfItemsInSection:とcollectionView:cellForItemAt:の2つです。
ここではcollectionView:numberOfItemsInSection:は10を返すようにしています。
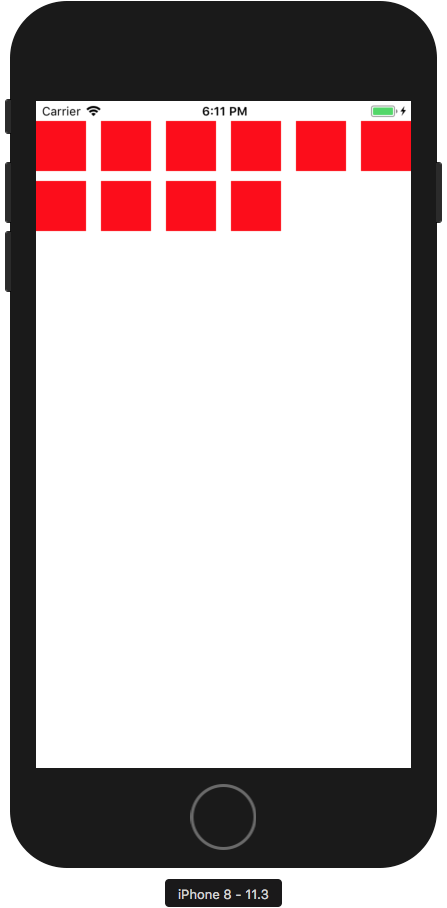
これで10個のセルが表示されるようになります。
collectionView:cellForItemAt:はセルの設定を行うためのメソッドです。
ここではセルに色をつけています。
上記内容でアプリを起動すると、以下のような画面が表示されます。

