Abstract
VSCodeでdrawio、つかってますか?
draw.ioというダイアグラム作成を行うツールの(非公式)VSCode拡張機能です。
VSCode上で図を作成できるので、非常に重宝しています。
本記事では、png画像で構成されたライブラリを作成・追加する方法を紹介します。
svg画像の場合はZennに記事がありましたが、png画像だとフォーマットが同じではないです。
https://zenn.dev/capybara_alt/articles/a3fc0f1eadeca1
環境
- Windows 10
- Python 3.11
- opencv-python==4.8.1.78
OpenCV, tqdmを利用します。
pip install opencv-python tqdm
ライブラリファイルの形式
png画像のライブラリを表すファイルは、下記のような形式になっています。
<mxlibrary>[
{
    "data": string,    // png画像のbase64エンコード。
//  "xml": string, svgの場合は data ではなくこっち。
    "w": number,       // width
    "h": number,       // height
    "title": string,   // 画像名
    "aspect": "fixed" | "variable"      // 縦横比を固定するか可変にするか
},
...
]</mxlibrary>
dataの値は、png画像の場合はdata:image/png;base64,...となっていて、いわゆるbase64エンコードで保存しています。
従ってpng画像をライブラリするためには:
- Base64エンコードして
- 画像のサイズを取得して
- 上記のライブラリ形式を作成
- 最後にライブラリファイルを書き込む
という手順が必要なことになります。
本記事ではPythonで実装しようと思います。
ライブラリファイルの生成
"""
対象となるフォルダのpng画像を基にしたdrawioのライブラリファイルを作成する。
NOTE: pngファイルのみをライブラリに入れる。
"""
from typing import Literal
import pathlib
import base64
import json
import sys

import cv2
from tqdm import tqdm

__dirname = pathlib.Path(__file__).parent

def to_base64_value(image_path):
    img = open(image_path, 'rb').read()
    base64_str = base64.b64encode(img).decode('utf-8')
    return "data:image/png;base64," + base64_str

def measure_image_size(image_path: str):
    img = cv2.imread(image_path, cv2.IMREAD_COLOR)
    height, width, _ = img.shape[:3]
    return height, width

# xmlの形式
# class DataDict:
#     data: str
#     w: int
#     h: int
#     title: str
#     aspect: str     # "fixed" | "variable"

def create_data_dict(img: pathlib.Path, aspect: Literal["fixed", "variable"]):
    data_value = to_base64_value(img)
    h, w = measure_image_size(str(img.absolute()))
    return json.dumps({
        "data": data_value,
        "w": w,
        "h": h,
        "title": img.stem,
        "aspect": aspect
    }, indent = 2)

class XmlFileWriter:
    lines: list[str]

    def __init__(self, file_path, initial_str = None) -> None:
        self.file_path = file_path
        self.lines = [initial_str] if initial_str else []

    def append(self, value: str):
        self.lines.append(value)

    def flush(self):
        with open(self.file_path, 'w', encoding='utf-8') as f:
            f.write('\n'.join(self.lines))

def main(target: pathlib.Path):
    lib_path = __dirname / f'lib/{target.stem}.gen.xml'    # 出力先です。お好みの場所・名前にしてください。
    writer = XmlFileWriter(lib_path)
    writer.append('<mxlibrary>[')

    elements = []
    for texture in tqdm(target.glob('*.png')):
        elements.append(create_data_dict(texture, "variable"))    # 縦横比を固定にしたい時は"fixed"に変えてください。

    writer.append(
        ",\n".join(elements)
    )

    writer.append(']</mxlibrary>')
    writer.flush()

if __name__ == '__main__':
    args = sys.argv[1:]
    if not args:
        raise ValueError("Set the target directory as a first argument.")
    target = pathlib.Path(args[0])

    main(target)
使い方
main.pyと同階層にassetsフォルダがあり、そのフォルダの中にライブラリにしたいpngファイルが存在すると仮定します。
python main.py ./assets/
生成された lib/assets.gen.xml がライブラリファイルです。
VSCode-drawio にライブラリファイルを追加する
ライブラリファイルの設定をsettings.jsonに追加します。
ライブラリファイルのパスは、絶対パスまたはワークスペースフォルダからのパスでないといけないようです。
The file path to the library. Must be absolute. You can use ${workspaceFolder}.
そのため、基本的にはワークスペースの設定に追記して利用するのが基本でしょう。
{
    "hediet.vscode-drawio.customLibraries": [
        {
            "entryId": "MyLibrary",      // 複数のライブラリファイルをまとめる際に使用するグループ名
            "libName": "MyLibrary - first",      // ライブラリ名
            "file": "${workspaceFolder}/lib/assets.gen.xml"    // ライブラリファイル本体へのパス
        },
        {
            "entryId": "MyLibrary",      // もし異なるライブラリファイルを、同じグループで使用するなら同じidを指定する。
            "libName": "MyLibrary - Second",
            "file": "${workspaceFolder}/lib/assets2.gen.xml"
        }
    ],
    ...
}
まとめ
本記事では vscode-drawio でpng画像ライブラリファイルを作成・追加する方法を紹介しました。
本家サービスのDraw.ioとは異なり、VSCode-drawioのライブラリについては日本語情報(どころか英語情報も)なかったので、備忘録的にまとめておきました。
誰かの役に立てば幸いです。
参考文献
- svgファイルをライブラリにする
- Pythonによるdrawioライブラリ操作パッケージ
- svgのみ想定っぽい。
- pngだと型が異なる
付録 - Mincraftのテキスチャーをdrawioライブラリにする
最近Minecraftを初めて、レッドストーン回路等の学習をしている時に、drawioで設計をまとめたりしたいと思い立ったので。
テキスチャー画像の取得
まずお手元のjarファイルを探します。
私は.minecraft\versions\1.20.2\1.20.2.jarでした。
jarファイルを 7zip で展開します。
すると展開したディレクトリの中に、テキスチャーのフォルダがあります。
例: .minecraft\versions\1.20.2\1.20.2\assets\minecraft\textures
block, itemのフォルダにpng画像が大量に入っているので、こちらのディレクトリの絶対パスをコピーして、本記事のコードでライブラリファイルを作成します。
aspectは"fixed"がおススメです。
ライブラリファイルを追加して、drawioファイルを作成して開いて、Gridのサイズを16pxにします。(注: 画像は16px × 16pxなので)
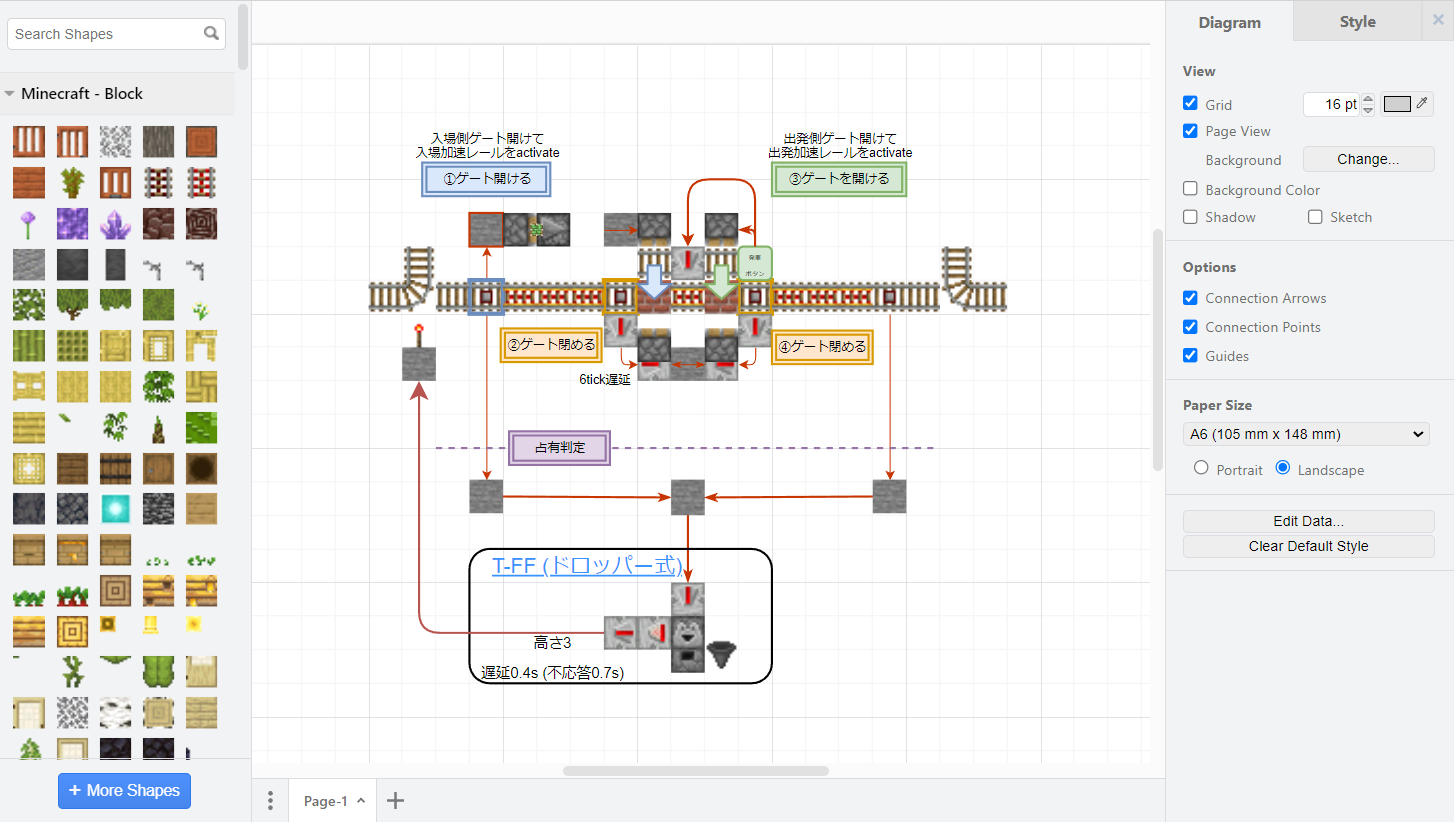
あら不思議!快適にdrawioでMinecraftのアイコンが使えます!
↑ これは先日作ったトロッコ駅のロジックの整理ファイル
