対象の方
cronを使ったことないけど、簡単に体験してみたい人向け
環境
macOS
ターミナル
できること
定期的に設定したコマンドを自動実行できる
※今回はローカル環境下なのでmac起動中のみ動作します
リモート環境で使えば、常時自動処理できるのでwebサービスではかなり重宝する機能です
手順
1.test.shの作成・編集
今回はホームディレクトリで作成していきます。
※絶対パスを調べて記載するので操作しやすい場所で問題ありません
touch test.sh
open test.sh
date >> testlog.txt
echo 'hello'
sh test.shでターミナル画面でシェルスクリプトを実行することができます
2.test.shの実行権限を変更
chmod 755 test.sh        //実行権限の変更
pwd                      //絶対パスの確認
3.crontab -eで実行コマンドを追加
crontab -e
cron編集画面では
i →編集モード
esc →編集モード終わり
:wq →設定保存
で編集できます
*/1 * * * * /pwdで確認した絶対パスを記載/test.sh
~
~
~
保存後に認証画面が表示されるのでOKを選択してください
crontab -l で設定を確認できます
実行間隔はいろいろと変更できますが今回は1分ごとに実行するように設定します
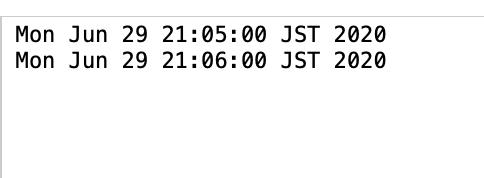
保存後一定時間経過後testlog.txtに時間が追記されていたら成功です

4.実行ログを残す方法
crontab -eで下のように編集します
*/1 * * * * /pwdで確認した絶対パスを記載/test.sh >> /pwdで確認した絶対パスを記載/test.log 2>&1
~
~
~
test.logにhelloが出力されれば成功です
※「>」はファイルの上書き、「>>」はファイルに追記の違いがあります
ログを残すことでエラーが出た時に対処しやすくなるので是非活用してみてください