はじめに
M5Stack Advent Calendar 2025に参加します。
ここで行うこと
TimerCameraXの環境構築と動作確認をしてみます。
また、Minivizに送信して、スマホから画像を見れるようにします。
Minivizとは
Minivizは、IoTデータを手軽に可視化できるサービスです。
IoTデータを送信するだけで、スマホから簡単に確認できます。
用意するもの
- ESP32 PSRAM Timer Camera X
- PlatformIO
minivizを使う場合は
- MinivizのプロジェクトIDとトークン
環境構築・接続確認
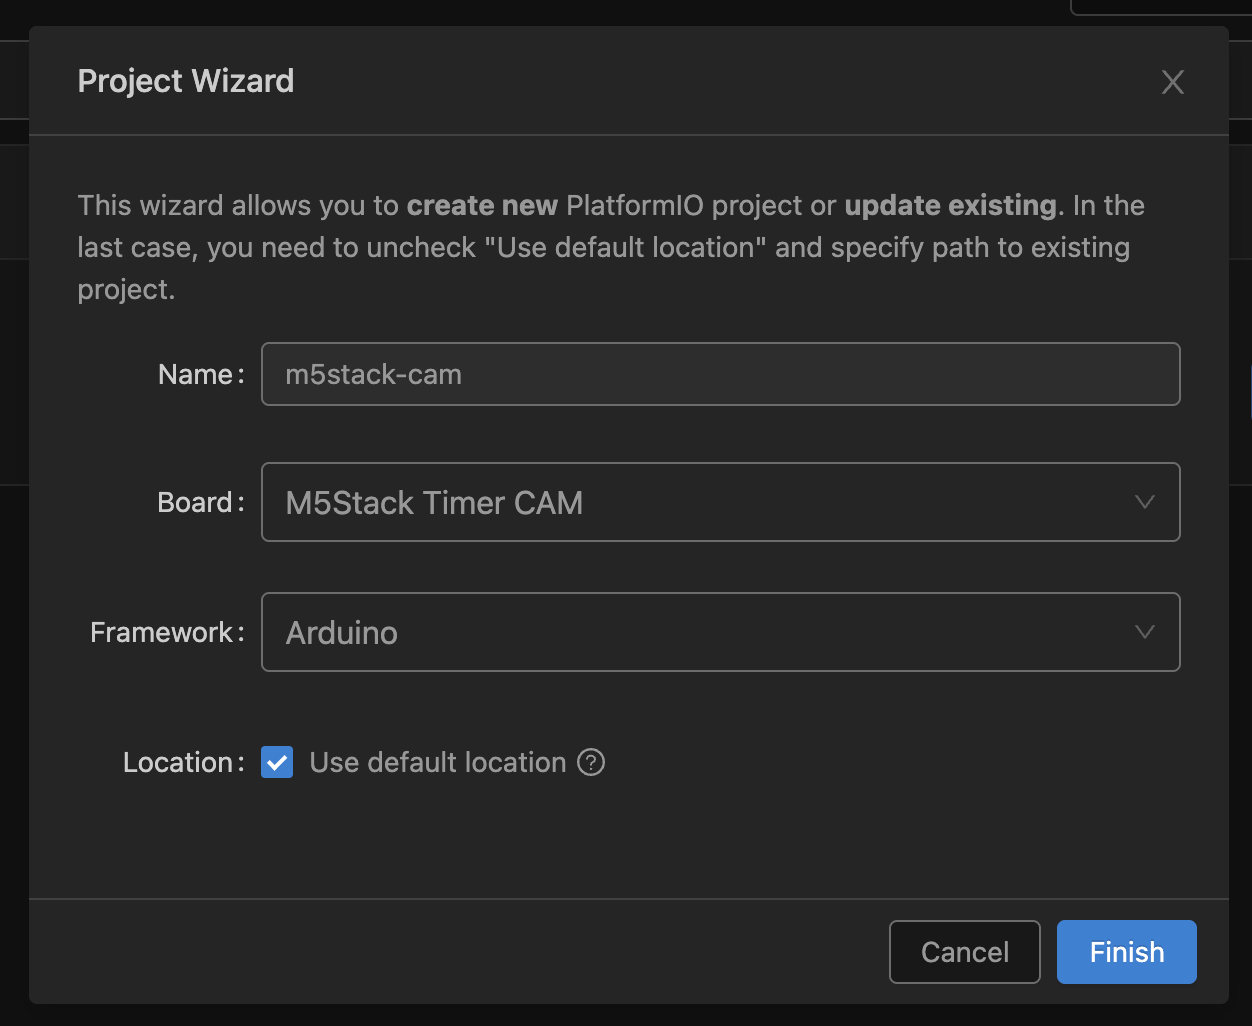
1. PlatformIOでプロジェクト作成
以下のようにプロジェクトを作成します。

2. ライブラリのサンプルコードを動かしてみる
以下の公式のサンプルコードをダウンロードしてsrc/にソースコードをコピーしましょう。
https://github.com/m5stack/TimerCam-arduino.git
platformio.iniでupload_speedを115200にするとアップロードが安定します。
[env:m5stack-timer-cam]
platform = espressif32
board = m5stack-timer-cam
framework = arduino
lib_deps =https://github.com/m5stack/TimerCam-arduino.git
upload_speed = 115200
monitor_speed = 115200
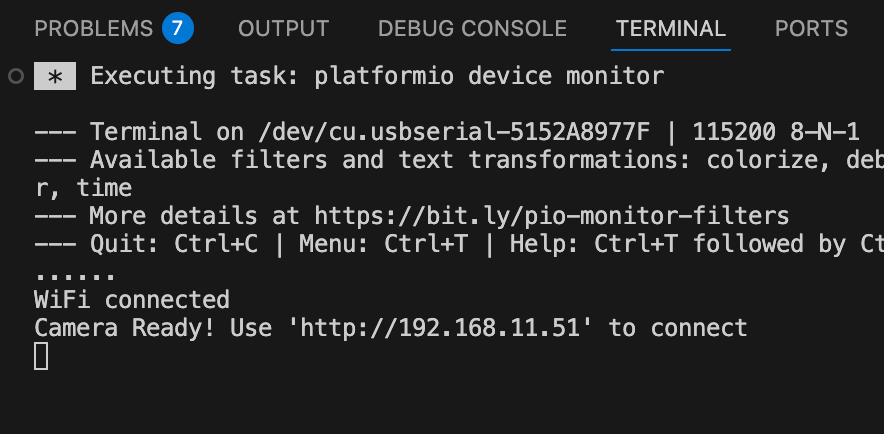
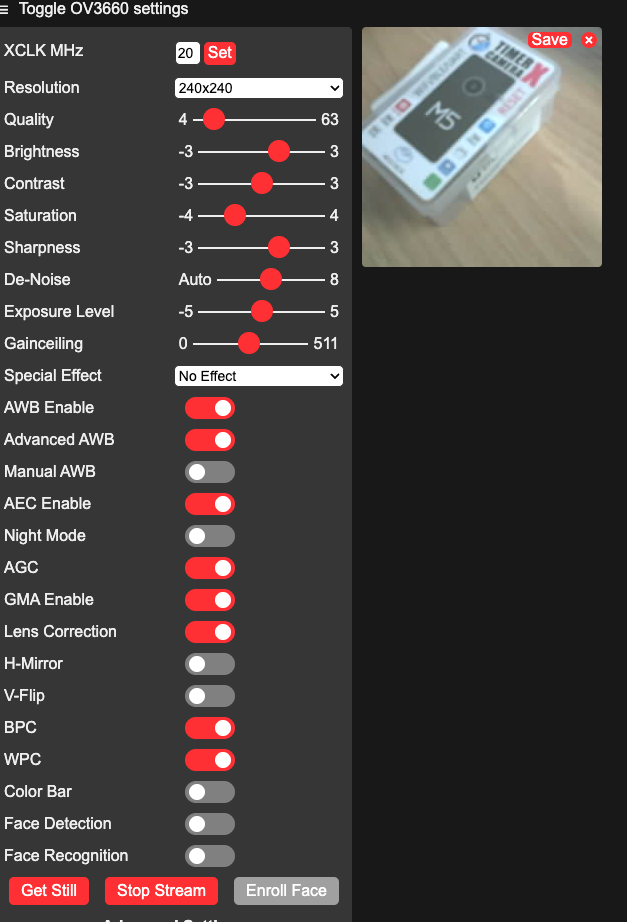
ローカルで確認してみる
アップロードして、ローカルIPにアクセスしてみましょう。
Minivizを使ってスマホでも確認する
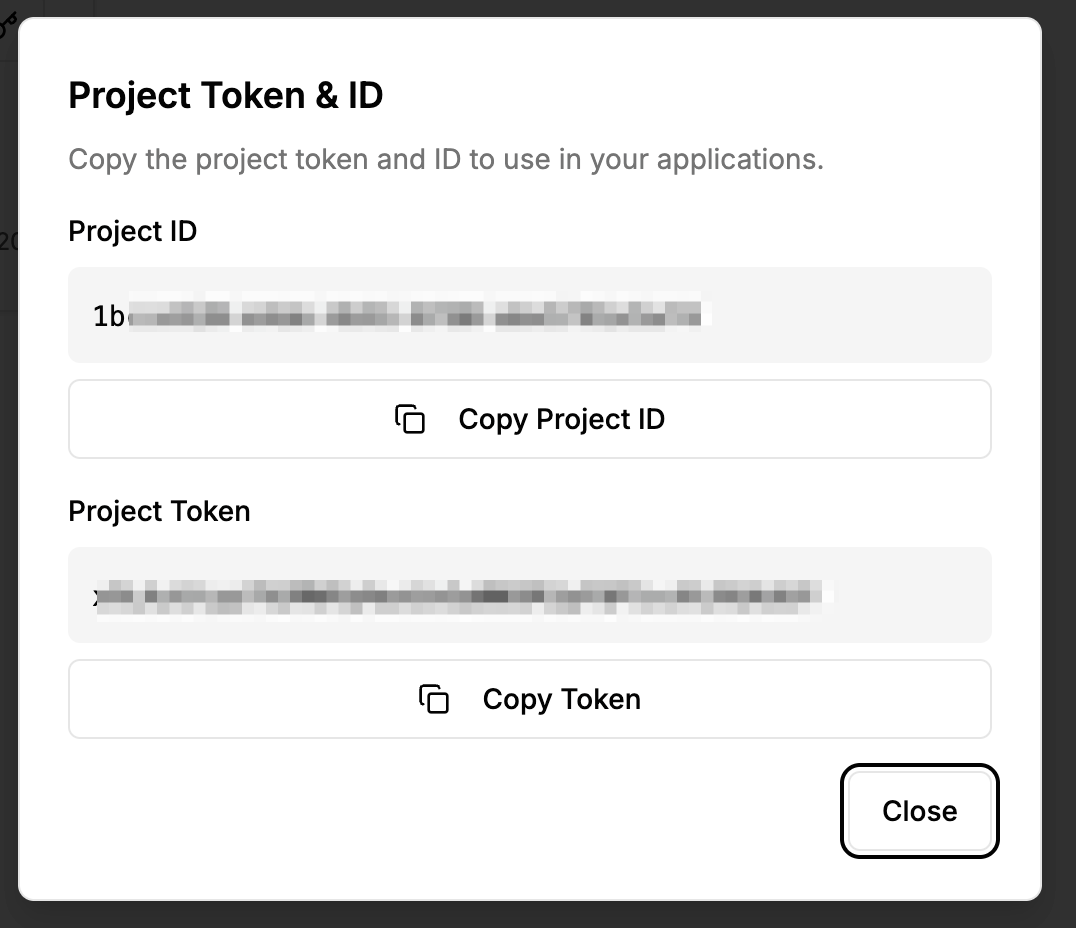
プロジェクトIDとトークンを取得
プロジェクトIDとトークンを取得します。
プロジェクト作成 -> プロジェクトIDとトークンを取得
Minivizに送信するサンプルコード
#include "battery.h"
#include "esp_camera.h"
#include <WiFi.h>
#include <HTTPClient.h>
#include <base64.h>
#include <time.h>
#include "soc/soc.h"
#include "soc/rtc_cntl_reg.h"
#include "camera_pins.h"

// WiFi設定
const char *ssid     = "SSID";
const char *password = "PASSWORD";

// Miniviz設定
const char* PROJECT_ID = "PROJECT_ID";
const char* TOKEN = "TOKEN";
const char* API_URL = "https://api.miniviz.net";
const char* LABEL_KEY = "m5stack_cam";

// 送信間隔(ミリ秒)
const unsigned long SEND_INTERVAL = 60000;  // 60秒

unsigned long lastSendTime = 0;

//----------------------------------------
// NTP Time Synchronization
//----------------------------------------
void syncTime()
{
    Serial.println("Syncing NTP...");
    configTime(0, 0, "ntp.nict.jp", "time.google.com");

    struct tm timeinfo;
    while (!getLocalTime(&timeinfo)) {
        delay(200);
        Serial.print("*");
    }
    Serial.println("\nTime synced");
}

//----------------------------------------
// UNIX Timestamp in Milliseconds
//----------------------------------------
uint64_t getTimestampMs()
{
    struct timeval tv;
    gettimeofday(&tv, NULL);
    return (uint64_t)tv.tv_sec * 1000ULL + (tv.tv_usec / 1000ULL);
}

void setup() {
    Serial.begin(115200);
    WRITE_PERI_REG(RTC_CNTL_BROWN_OUT_REG, 0);  // disable brownout detector

    bat_init();
    bat_hold_output();

    Serial.setDebugOutput(true);
    Serial.println();

    pinMode(2, OUTPUT);
    digitalWrite(2, HIGH);

    // カメラ設定
    camera_config_t config;
    config.ledc_channel = LEDC_CHANNEL_0;
    config.ledc_timer   = LEDC_TIMER_0;
    config.pin_d0       = Y2_GPIO_NUM;
    config.pin_d1       = Y3_GPIO_NUM;
    config.pin_d2       = Y4_GPIO_NUM;
    config.pin_d3       = Y5_GPIO_NUM;
    config.pin_d4       = Y6_GPIO_NUM;
    config.pin_d5       = Y7_GPIO_NUM;
    config.pin_d6       = Y8_GPIO_NUM;
    config.pin_d7       = Y9_GPIO_NUM;
    config.pin_xclk     = XCLK_GPIO_NUM;
    config.pin_pclk     = PCLK_GPIO_NUM;
    config.pin_vsync    = VSYNC_GPIO_NUM;
    config.pin_href     = HREF_GPIO_NUM;
    config.pin_sccb_sda = SIOD_GPIO_NUM;
    config.pin_sccb_scl = SIOC_GPIO_NUM;
    config.pin_pwdn     = PWDN_GPIO_NUM;
    config.pin_reset    = RESET_GPIO_NUM;
    config.xclk_freq_hz = 20000000;
    config.pixel_format = PIXFORMAT_JPEG;
    config.frame_size   = FRAMESIZE_UXGA;
    config.jpeg_quality = 10;
    config.fb_count     = 2;

    // カメラ初期化
    esp_err_t err = esp_camera_init(&config);
    if (err != ESP_OK) {
        Serial.printf("Camera init failed with error 0x%x", err);
        return;
    }

    sensor_t *s = esp_camera_sensor_get();
    s->set_vflip(s, 1);        // flip it back
    s->set_brightness(s, 1);   // up the brightness just a bit
    s->set_saturation(s, -2);  // lower the saturation
    s->set_framesize(s, FRAMESIZE_QVGA);

    // WiFi接続
    Serial.printf("Connect to %s, %s\r\n", ssid, password);
    WiFi.begin(ssid, password);
    while (WiFi.status() != WL_CONNECTED) {
        delay(500);
        Serial.print(".");
    }
    Serial.println("");
    Serial.println("WiFi connected");
    Serial.print("IP address: ");
    Serial.println(WiFi.localIP());

    // NTP同期
    syncTime();

    lastSendTime = millis();
}

String encodeBase64(const uint8_t* data, size_t length) {
    return base64::encode(data, length);
}

bool sendImageToMiniviz(camera_fb_t* fb) {
    if (fb == NULL) {
        Serial.println("[Error] Camera capture failed");
        return false;
    }

    Serial.println("[Info] Encoding image to base64...");
    String imageBase64 = encodeBase64(fb->buf, fb->len);

    Serial.println("[Info] Sending image to Miniviz...");

    HTTPClient http;
    String url = String(API_URL) + "/api/project/" + String(PROJECT_ID) + "/image?token=" + String(TOKEN);

    http.begin(url);
    http.addHeader("Content-Type", "application/json");

    // タイムスタンプを生成(ミリ秒)
    uint64_t timestamp = getTimestampMs();

    // JSONペイロードを作成
    String payload = "{";
    payload += "\"timestamp\":" + String(timestamp) + ",";
    payload += "\"label_key\":\"" + String(LABEL_KEY) + "\",";
    payload += "\"image_name\":\"image.jpg\",";
    payload += "\"image_base64\":\"" + imageBase64 + "\"";
    payload += "}";

    int httpResponseCode = http.POST(payload);

    if (httpResponseCode > 0) {
        Serial.printf("[Info] HTTP Response code: %d\n", httpResponseCode);
        String response = http.getString();
        Serial.println("[Info] Response: " + response);
        http.end();
        return true;
    } else {
        Serial.printf("[Error] HTTP Error: %s\n", http.errorToString(httpResponseCode).c_str());
        http.end();
        return false;
    }
}

void loop() {
    unsigned long currentTime = millis();

    // LED点滅(動作確認用)
    digitalWrite(2, HIGH);
    delay(100);
    digitalWrite(2, LOW);
    delay(100);

    // 60秒ごとに画像を送信
    if (currentTime - lastSendTime >= SEND_INTERVAL) {
        Serial.println("[Info] Capturing image...");
        camera_fb_t* fb = esp_camera_fb_get();

        if (fb != NULL) {
            bool success = sendImageToMiniviz(fb);
            if (success) {
                Serial.println("[Info] Image sent successfully");
            } else {
                Serial.println("[Error] Failed to send image");
            }
            esp_camera_fb_return(fb);
        } else {
            Serial.println("[Error] Camera capture failed");
        }

        lastSendTime = currentTime;
    }
}
アップロードデータの確認
minivizのデータベースメニューからデータを確認します。

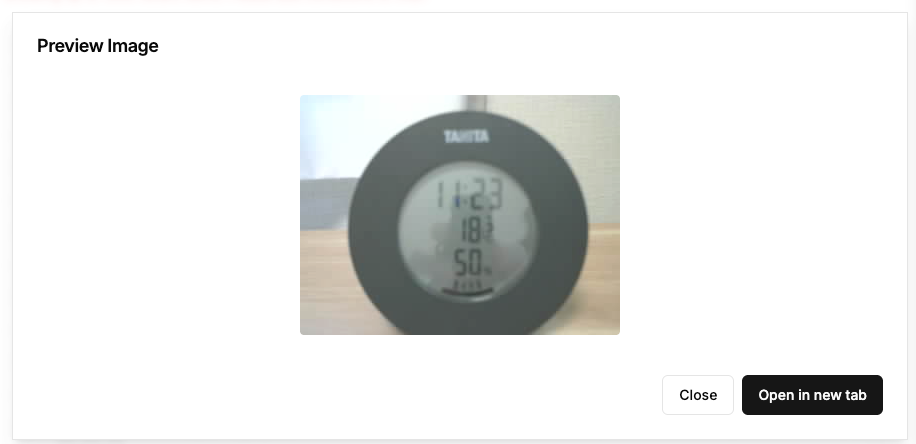
プレビュー
minivizのプレビューメニューからデータを確認します。

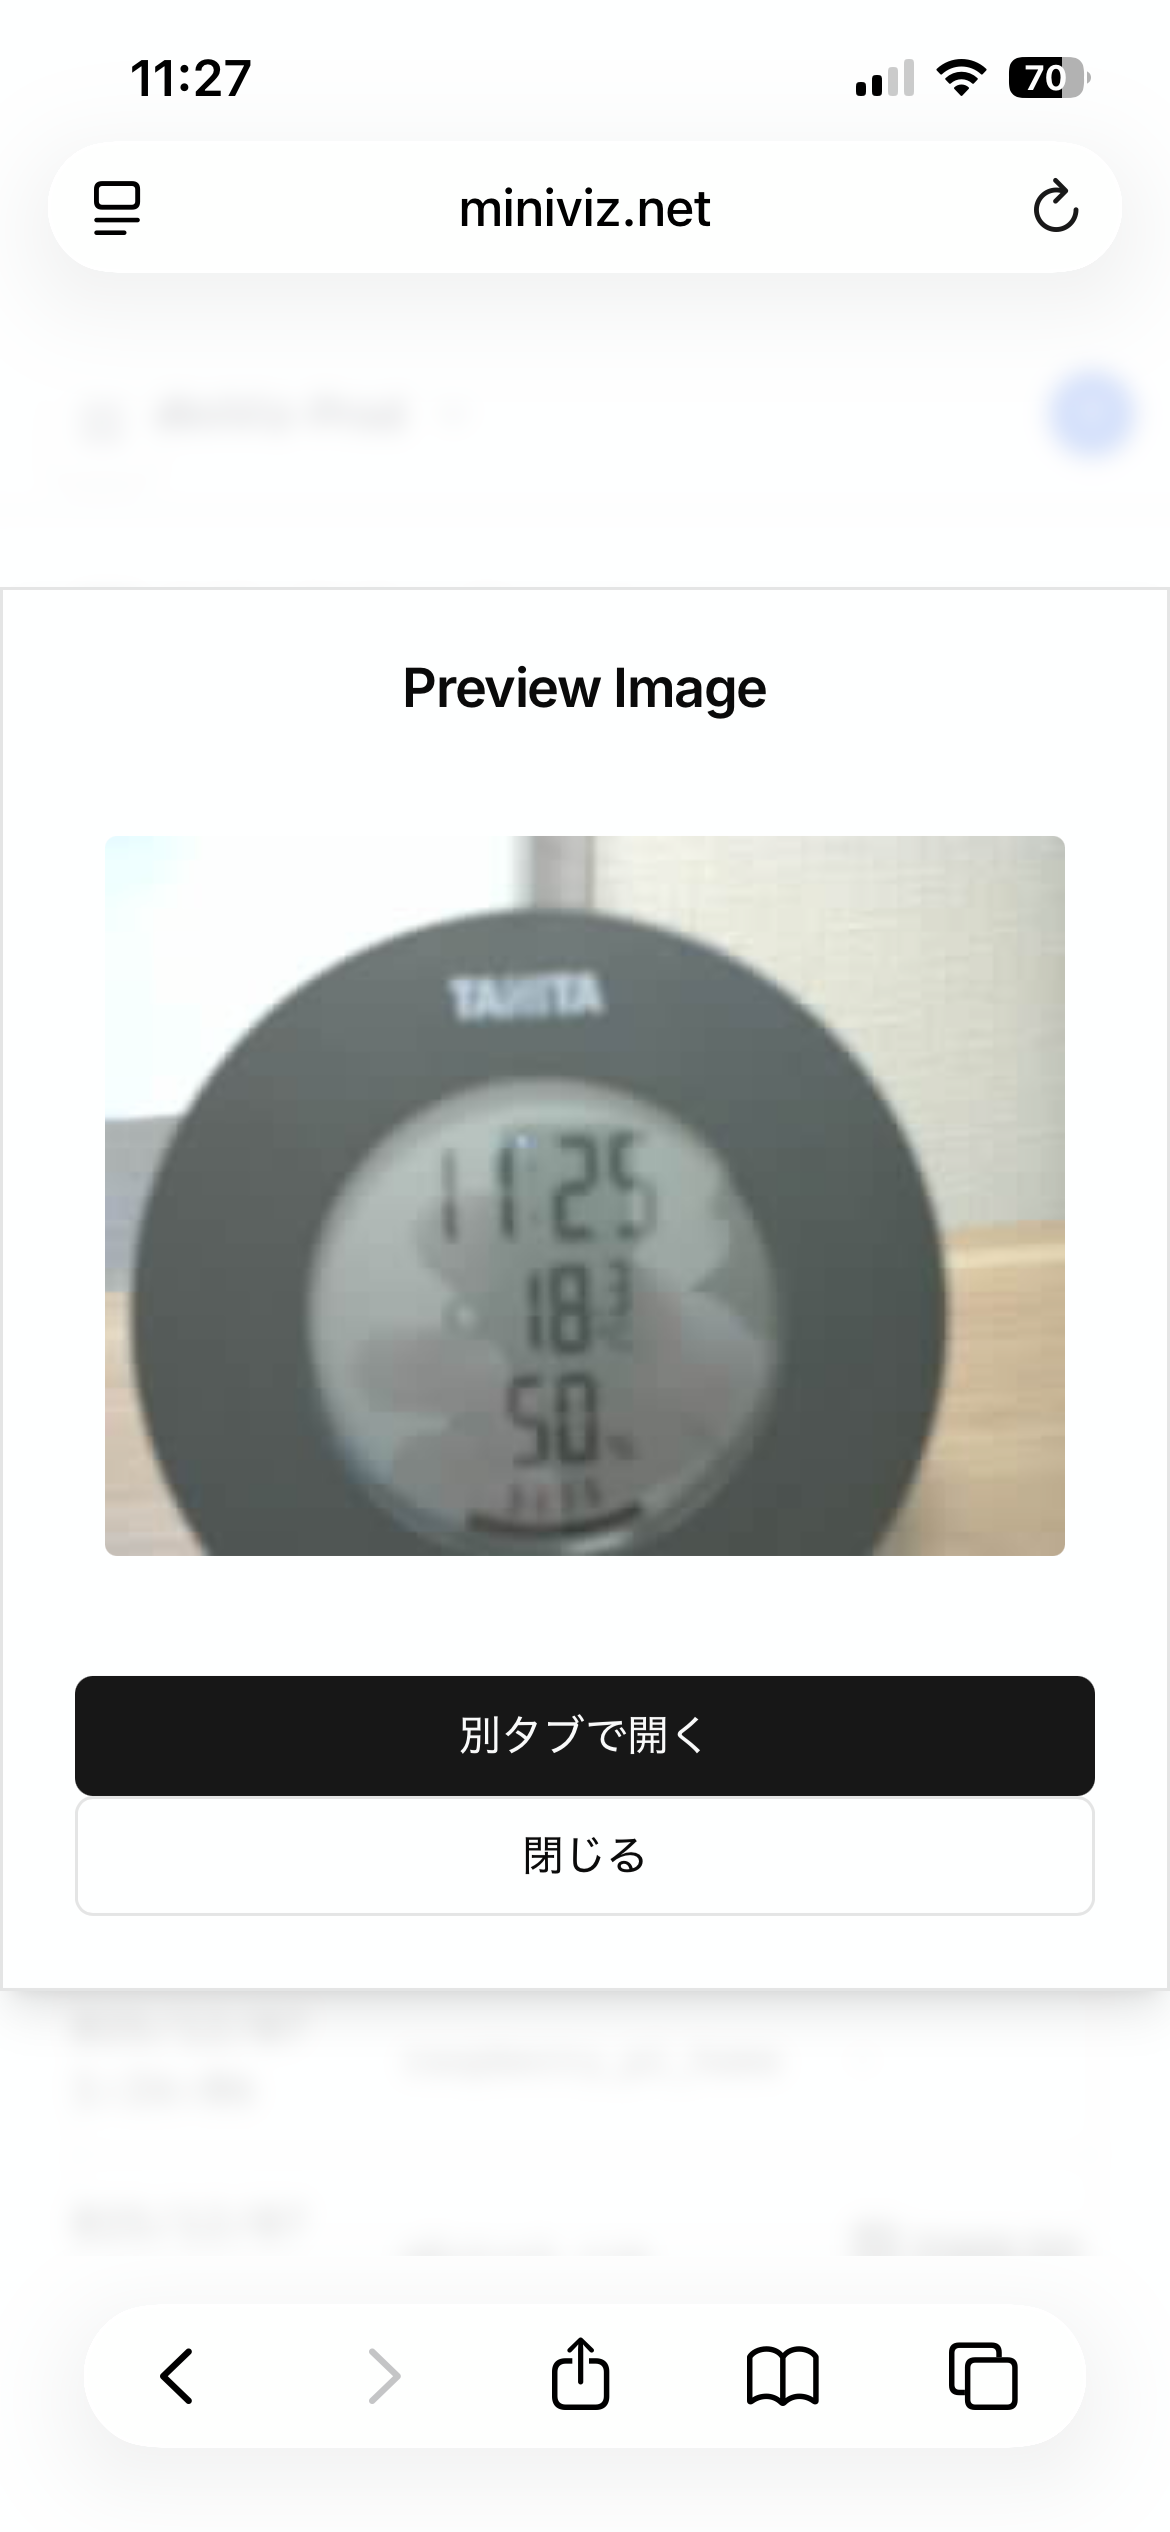
スマホだとこんな感じ

まとめ
今回はとりあえず環境構築して、動作確認するところまでやってみました。
できれば特徴的な機能である定期実行をトライしたかったのですが、それはまた次回にします。