はじめに
Windowsに慣れ親しんでいる人にとってはLinux系のCLIはなかなかとっつきにくいですよね。
Windows版の Docker Desktop に搭載されているWSL2統合機能を使えば、WindowsのGUIでコンテナの管理ができるのでいくらか扱いやすくなったので紹介します。
前提
- Windows 10 Pro バージョン2004
- CentOS7
手順
大まかな手順は以下の通り。
- WSL2 に CentOS7 をインストール
- CentOS7 に Docker をインストール
- Windows10 に Docker Desktop をインストール
- Docker Desktop で WSL2 統合設定
1. WSL2 に CentOS7 をインストール
CentOS7 の入手
GitHubからCentOS7.zipをダウンロードする。
https://github.com/wsldl-pg/CentWSL/releases/tag/7.0.1907.3
CentOS7 のインストール
ダウンロードしたファイルを以下の場所に解凍する。
C:\Users\username\AppData\Local\Packages
結果、以下のフォルダが作成され、フォルダに CentOS.exe が出力される。
C:\Users\username\AppData\Local\Packages\CentOS7
解凍されたCentOS7.exeを実行するとインストールされる。
Windows Terminal をインストール
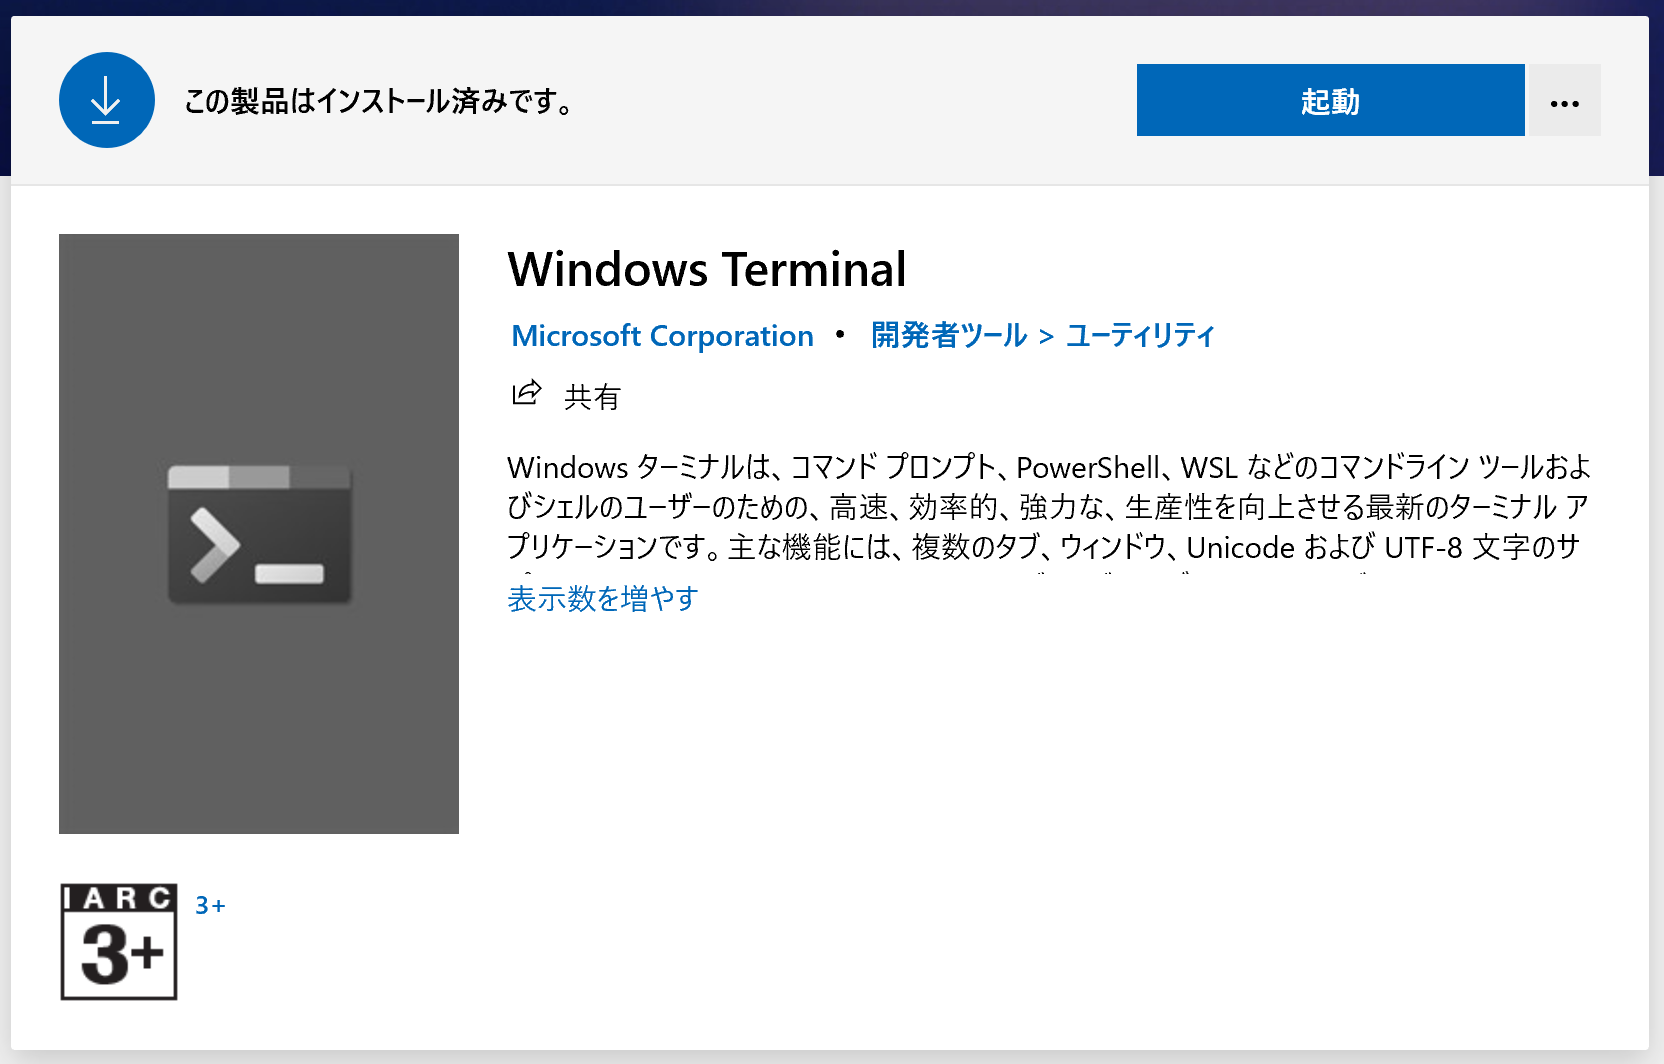
CentOS7 の操作用として、Windows Store からインストールする。

Windows Terminalから起動する
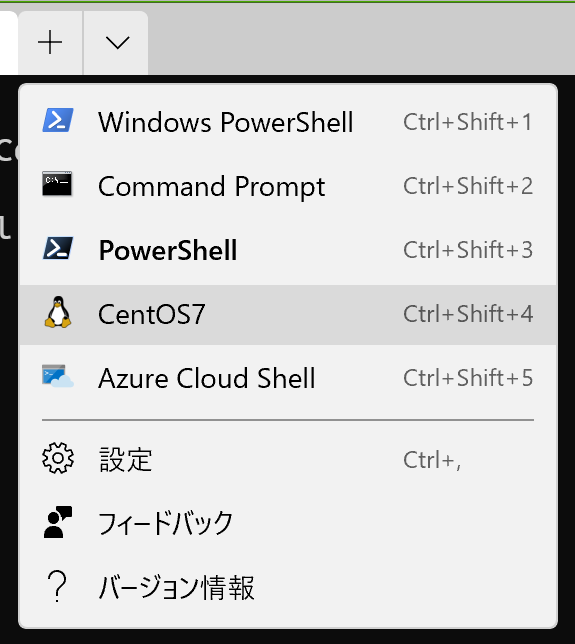
Windows Terminal を起動して新しいタブを開くと、リストに CentOS7 が追加されているのでクリックして起動することを確認する。

起動時のディレクトリをrootのホームディレクトリに変更する
CentOS7 起動時のカレントディレクトリがWindows上のユーザのホームディレクトリになっていて不便なので、設定を開きrootのホームディレクトリに変更する。

setting.json を任意のエディタで開き、CentOS7の設定箇所に startingDirectory の設定を追加する。
{
 "guid": "{a8202b0e-781a-5dab-98e2-e9d469a63619}",
 "hidden": false,
 "name": "CentOS7",
 "source": "Windows.Terminal.Wsl",
 "startingDirectory" : "//wsl$/CentOS7/root"
}
CentOS7を起動しなおして設定が反映されていることを確認。

rootのパスワード設定は割愛。
2. CentOS7 に Docker をインストール
ここからは CentOS7 をCLIで操作する。
コマンドは4つだけなので頑張る。
各コマンドの詳細は Docker公式サイト「Docker CE の入手(CentOS 向け)」 を参照。
まず以下のコマンドで Software Collections を導入。
$ yum install -y centos-release-scl-rh
次に必要なパッケージをインストールする。
$ sudo yum install -y yum-utils device-mapper-persistent-data lvm2
Dockerのレポジトリを追加する。
$ sudo yum-config-manager --add-repo https://download.docker.com/linux/centos/docker-ce.repo
yumのパッケージインデックスを更新しておく。
$ sudo yum makecache fast
そして、CentOS用のDockerをインストールする。
(バージョン指定なしだとDockerが起動しなかったため、"centos"付バージョンをインストール)
$ sudo yum install -y docker-ce-18.03.1.ce-1.el7.centos
この状態でDockerを起動しようとしてもエラーになるが気にしないこと。
# 今はまだ動かない
$ sudo systemctl start docker
Failed to get D-Bus connection: Operation not permitted
3. Windows10 に Docker Desktop をインストール
Docker公式を参照。
4. Docker Desktop でWSL2統合設定
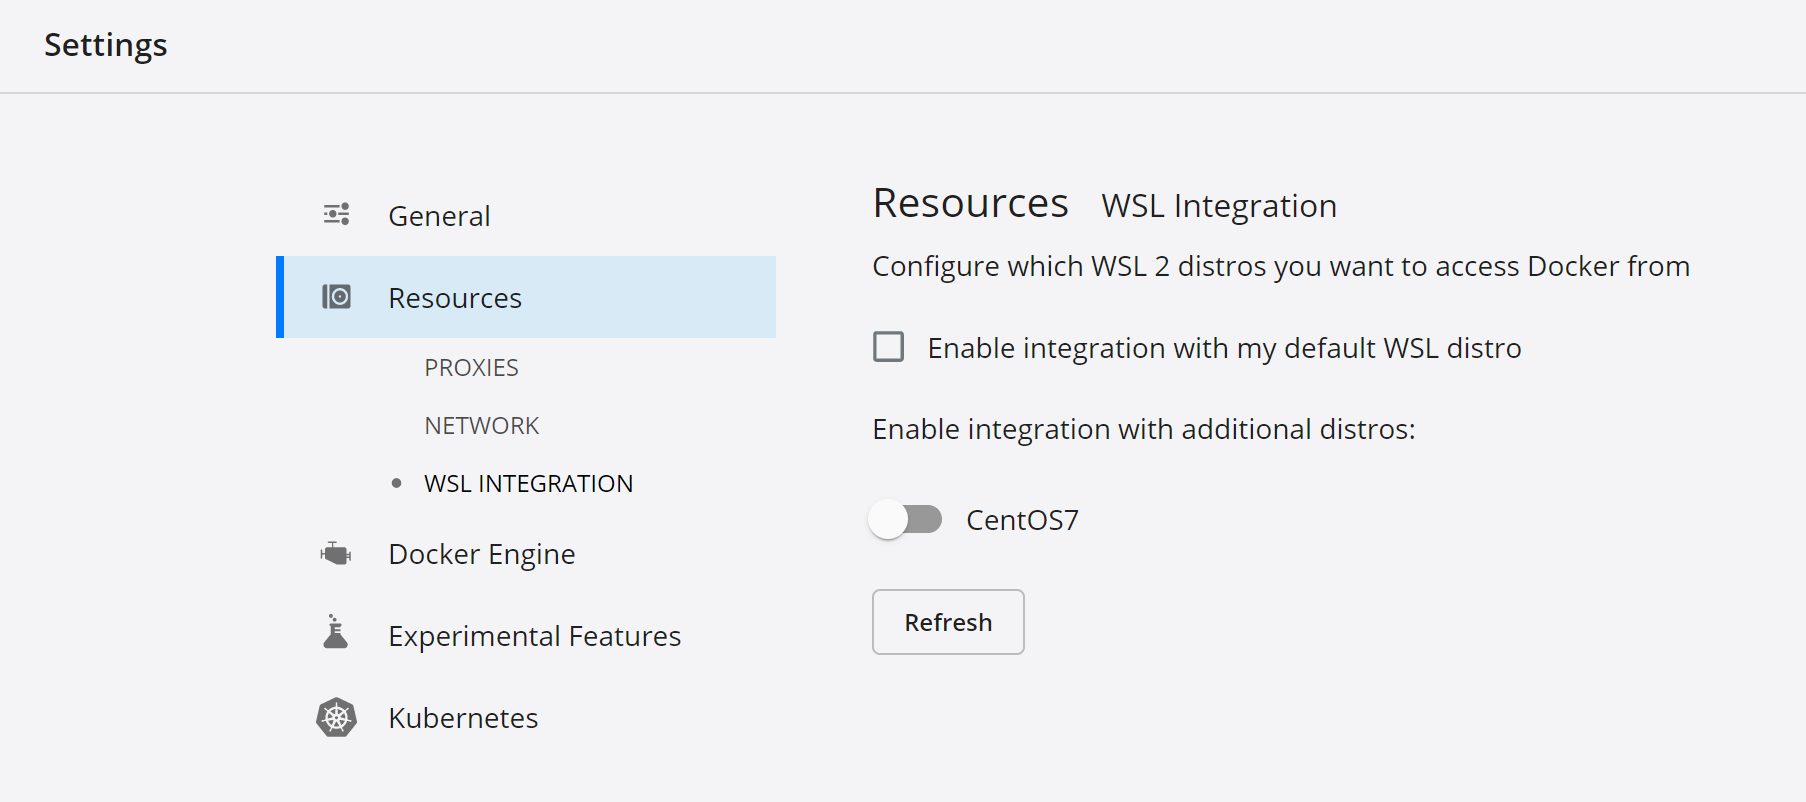
Docker Desktopの設定画面を開き、 Resources -> WSL INTEGRATION と進む。

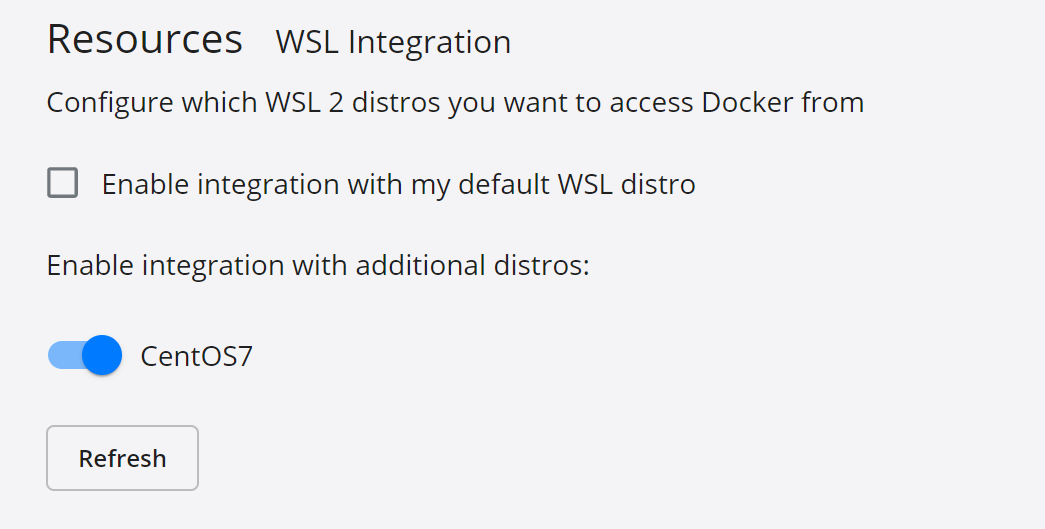
Enable integration with additional distros のところにある CentOS7 のトグルをONにする。
Apply & Restart ボタンを押す。

動作確認
CentOS7 から以下のコマンドを実行する。
$ docker run hello-world
hello-world のコンテナイメージがPullされてコンテナが起動し、"Hello form Docker!"と表示されていれば動作確認成功。
Unable to find image 'hello-world:latest' locally
latest: Pulling from library/hello-world
0e03bdcc26d7: Pull complete
Digest: sha256:31b9c7d48790f0d8c50ab433d9c3b7e17666d6993084c002c2ff1ca09b96391d
Status: Downloaded newer image for hello-world:latest

Hello from Docker!
This message shows that your installation appears to be working correctly.

To generate this message, Docker took the following steps:
 1. The Docker client contacted the Docker daemon.
 2. The Docker daemon pulled the "hello-world" image from the Docker Hub.
    (amd64)
 3. The Docker daemon created a new container from that image which runs the
    executable that produces the output you are currently reading.
 4. The Docker daemon streamed that output to the Docker client, which sent it
    to your terminal.

To try something more ambitious, you can run an Ubuntu container with:
 $ docker run -it ubuntu bash

Share images, automate workflows, and more with a free Docker ID:
 https://hub.docker.com/
Docker Desktopで確認
imageの一覧に"hello-world"が追加されており、CentOSと連動していることがわかる。

CentOS7から確認
もちろんCentOS上からも同じものが確認できる。
$ docker images
REPOSITORY          TAG                 IMAGE ID            CREATED             SIZE
httpd               2.4                 dd85cdbb9987        5 weeks ago         138MB
alpine/git          latest              94f8849864da        3 months ago        28.4MB
hello-world         latest              bf756fb1ae65        12 months ago       13.3kB
以上で終わり。
Docker Desktopからコンテナ状態をみたりRUNしたりコンソールにアクセスしたりしてください。
どこかの誰かのお役に立てれば幸いです。