VOICEVOXの結果をブラウザで再生をしたいという希望があります
なので作りました
Macで検証してますが理論上他のOSでもいけます
検証環境
- M4 Mac mini 16GB
- macOS Tahoe 26.1
- Elixir 1.17.3-otp-27
- Erlang 27.1.2
- VOICEVOX Ver 0.25.0
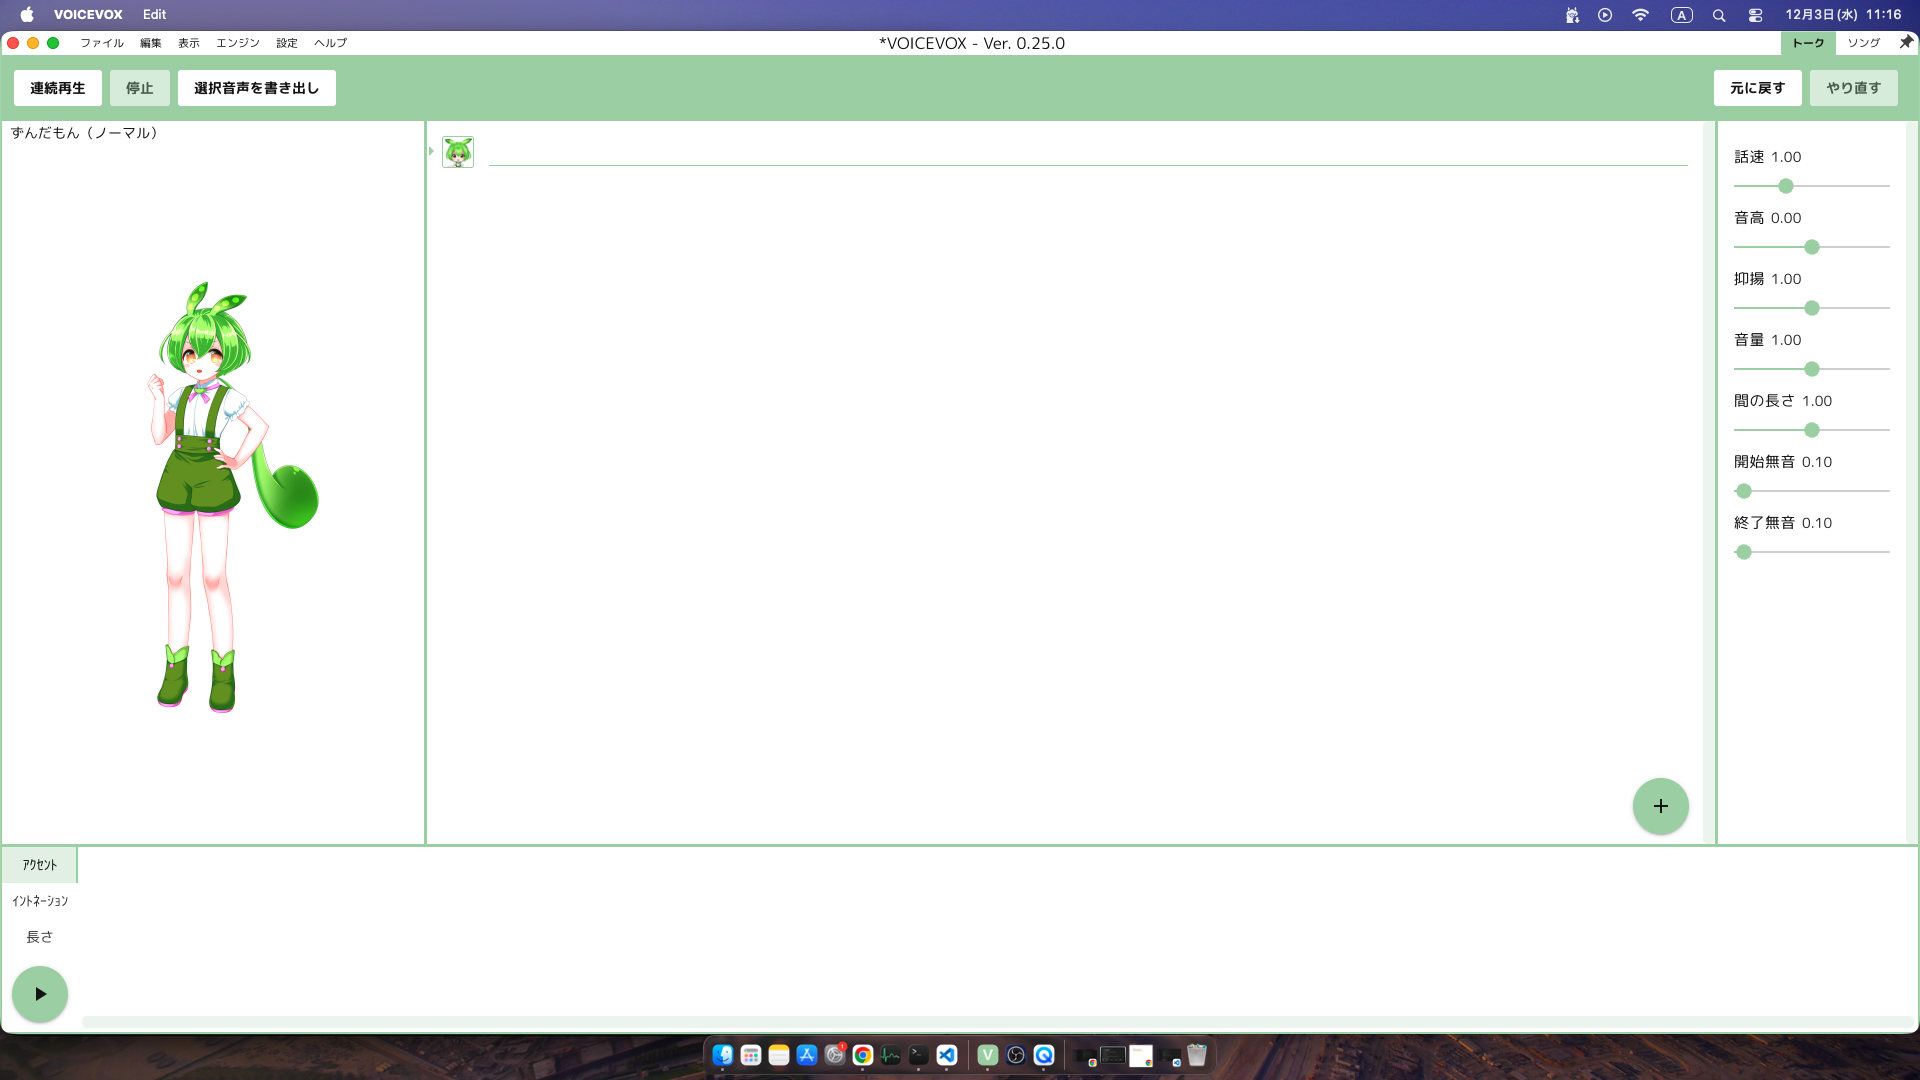
実行イメージ
環境構築
前提 VOICEVOXを使ったことある人
参考までに軽く書きます
ここからダウンロードしてください
Macの場合いは権限問題でハマります
ここをヒントに自力で解決してください
ぶっちゃけ他のOSの方がハマらない
Ubuntuはあっさりでした
プログラムを書く
前提 mix phx.newでプロジェクトを作成ずみ
ルータを書き換える
lib/voicex_web/router.ex
defmodule VoicexWeb.Router do
  use VoicexWeb, :router
# 省略 #
  scope "/", VoicexWeb do
    pipe_through :browser

-   get "/", PageController, :home
+   live "/", Voice, :index
  end
# 省略 #
end
hookを作成
この部分がVOICEVOXの通信制御コアです
jsで作成します
assets/js/hooks/voicex.js
// VOICEVOX EngineのURL
const VOICEVOX_URL = "http://localhost:50021";

Voicex = {
    // ライフサイクルコールバック (要素がDOMに追加され、LiveViewと接続された時に実行)
    mounted() {
        // Elixirサーバー側から送信されるイベントをリッスン
        // イベント名: "synthesize_and_play"
        // ペイロード: { text: "...", speaker_id: N }
        this.handleEvent("synthesize_and_play", ({ text, speaker_id }) => {
            this.speakText(text, speaker_id);
        });
    },

    // --- 1. VOICEVOX API通信関数 (Hook内部関数として定義) ---

    /**
     * 1. VOICEVOX APIを使って音声合成クエリを取得します (audio_query)。
     */
    async fetchAudioQuery(text, speakerId) {
        const queryParams = new URLSearchParams({ text: text, speaker: speakerId });
        const queryUrl = `${VOICEVOX_URL}/audio_query?${queryParams}`;

        const queryResponse = await fetch(queryUrl, {
            method: 'POST',
            headers: { 'Content-Type': 'application/json' }
        });

        if (!queryResponse.ok) {
            throw new Error(`audio_query failed with status ${queryResponse.status}`);
        }
        return await queryResponse.json();
    },

    /**
     * 2. VOICEVOX APIを使って音声合成を実行し、WAV形式のBlobを取得します (synthesis)。
     */
    async fetchSynthesis(audioQuery, speakerId) {
        const synthesisParams = new URLSearchParams({ speaker: speakerId });
        const synthesisUrl = `${VOICEVOX_URL}/synthesis?${synthesisParams}`;

        const synthesisResponse = await fetch(synthesisUrl, {
            method: 'POST',
            headers: { 'Content-Type': 'application/json' },
            body: JSON.stringify(audioQuery)
        });

        if (!synthesisResponse.ok) {
            throw new Error(`synthesis failed with status ${synthesisResponse.status}`);
        }
        return await synthesisResponse.blob();
    },

    // --- 2. コアロジック関数 (Hook内部関数として定義) ---

    /**
     * VOICEVOX APIを使って音声データ(Blob)を取得する純粋なロジック関数。
     */
    async synthesizeTextToBlob(text, speakerId) {
        const trimmedText = text.trim();
        if (!trimmedText) {
            throw new Error("Text input is empty.");
        }

        // 1. クエリ取得 (Hook内部関数を呼び出し)
        const audioQuery = await this.fetchAudioQuery(trimmedText, speakerId);

        // 2. 音声合成 (Hook内部関数を呼び出し)
        const wavBlob = await this.fetchSynthesis(audioQuery, speakerId);

        return wavBlob;
    },

    // --- 3. メインアプリケーション関数 (Hookの主要ロジック) ---

    /**
     * 音声合成と再生を実行するメイン関数。
     */
    async speakText(text, speakerId) {
        try {
            // 1. コアロジックを呼び出し、Blobを取得 (Hook内部関数を呼び出し)
            const wavBlob = await this.synthesizeTextToBlob(text, speakerId);

            // 2. JavaScript側で <audio> 要素を生成
            const audioPlayer = new Audio();

            // 3. 再生ロジック
            const audioUrl = URL.createObjectURL(wavBlob);
            audioPlayer.src = audioUrl;

            // 4. 再生開始
            await audioPlayer.play();

            // 5. 再生終了後のクリーンアップ
            audioPlayer.onended = () => {
                URL.revokeObjectURL(audioUrl);
            };
            audioPlayer.onerror = () => {
                 URL.revokeObjectURL(audioUrl);
            };

        } catch (error) {
            console.error("致命的なエラーが発生しました:", error.message, error);

            // エラーロギング
            if (error.message.includes("Text input is empty")) {
                console.error("エラー: テキストが入力されていません。");
            } else if (error.name === "NotAllowedError") {
                console.warn("警告: 再生がブラウザによってブロックされました。");
            } else {
                console.error(`VOICEVOX Engine 接続エラー: ポート (${VOICEVOX_URL}) を確認してください。`);
            }
        }
    }
};

export default Voicex
上記のファイルを追加します
assets/js/hooks/index.js
import Voicex from "./voicex.js";

export const Hooks = {
  Voicex: Voicex,
};
hookを登録します
assets/js/app.js
// 省略 //
+ import { Hooks } from "./hooks";

let csrfToken = document.querySelector("meta[name='csrf-token']").getAttribute("content")

let liveSocket = new LiveSocket("/live", Socket, {
  longPollFallbackMs: 2500,
+ hooks: Hooks,
  params: {_csrf_token: csrfToken}
})

// 省略 //
使う側
lib/voicex_web/live/voice.ex
# my_live_view.ex

defmodule VoicexWeb.Voice do
  use VoicexWeb, :live_view

  def mount(_params, _session, socket) do
    {:ok, assign(socket, text: "")}
  end

  def handle_event("update_text", %{"text" => new_text}, socket) do
    {:noreply, assign(socket, text: new_text)}
  end

  def handle_event("speak", %{"text" => text, "speaker-id" => speaker_id}, socket) do
    {:noreply,
     push_event(socket, "synthesize_and_play", %{
       "text" => text,
       "speaker_id" => String.to_integer(speaker_id)
     })}
  end
end
解説
しゃべらせるには
push_event(socket, "synthesize_and_play" を呼びます
     push_event(socket, "synthesize_and_play", %{
       "text" => "話す文章",
       "speaker_id" => 1 #キャラクターの番号1の場合はずんだもん
       })
lib/voicex_web/live/voice.html.heex
<div id="voicevox-player" phx-hook="Voicex" class="flex flex-col">
  <label for="text_input">話すテキスト</label>
  <form>
    <textarea id="text_input" name="text" phx-change="update_text" class="w-[400px]"></textarea>
  </form>
  <button
    class="bg-b text-brand rounded-full px-2 font-medium leading-6 w-[400px] bg-orange-200 hover:bg-orange-300"
    phx-click="speak"
    phx-value-text={@text}
    phx-value-speaker-id="1"
  >
    話す
  </button>
</div>
ポイント
<div id="voicevox-player" phx-hook="Voicex" class="flex flex-col">
のphx-hook="Voicex"
を書くとhookが使えます
結果jsの部分と連携します
これで使えるようになりました
ソース
ここら必要なソースを取得して使ってください
余談
このソースのほとんどはAIを使って書きました
- htmlのみでAIに作ってもらう
- 僕が動作確認をする
- jsとhtmlをAIで分割する
- jsのソースをAIを使ってリファクタリングする
- 不要なソースを消してもらう
- 意味が通じる単位に分割してもらう
- 僕が動作確認をする
- jsをAIを使ってhook化する
- 動かない部分は僕が修正する
こんな感じで作りました
僕はhookは使ったことがあった&VOICEVOXを使ったとこがあるので
完成の想像がつくのでAIにコードを書いてもらいました