Pillowの作業フロー(その3)
- Image.open で画像を読み込む
- 画像をグレースケールに変換する
- 画像をゴニョゴニョする
- Image.save で編集した画像を保存する
%pylab inline
from PIL import Image,ImageDraw,ImageFont
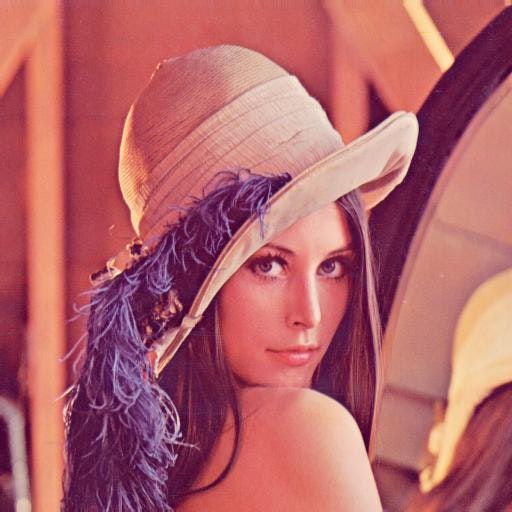
img = Image.open('work-image/lena.jpg')
pl_img = np.array(img) ; plt.imshow( pl_img ) # 表示
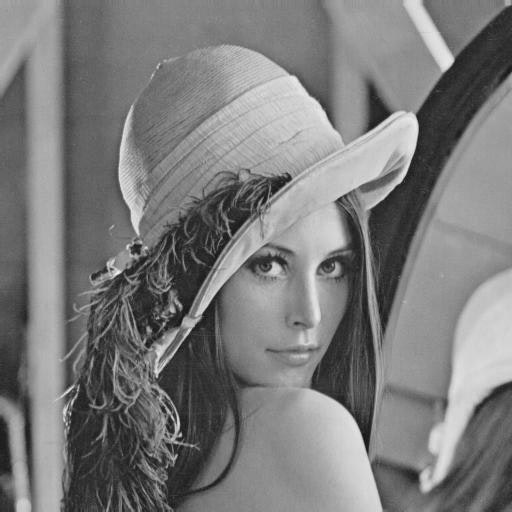
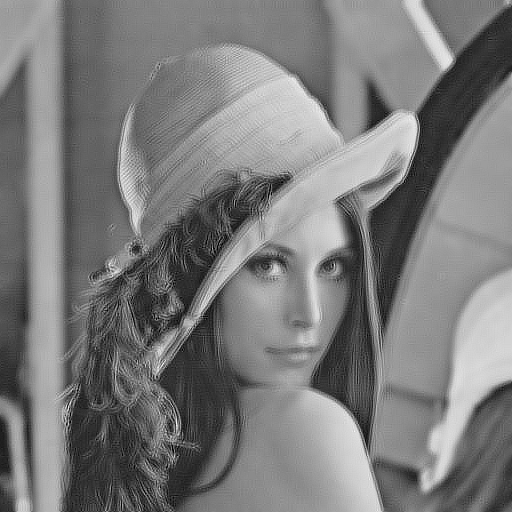
# グレースケールに変換
gray_img = img.convert("L")

# 意図した表示にならない
pl_img = np.array(gray_img) ; plt.imshow( pl_img ) # 表示

# ファイルの情報表示
print('size    : ', gray_img.size)
print('format  : ', gray_img.format)
print('mode    : ', gray_img.mode)
print('palette : ', gray_img.palette)
print('info    : ', gray_img.info)

# こうしなければならんらしい
import matplotlib.cm as cm
plt.imshow(pl_img, cmap = cm.Greys_r)
さて、今回はフィルタ処理です
組み込みフィルタ
はじめは組み込みフィルタから
from PIL import ImageFilter, ImageOps
# ぼかし
pl_img = np.array(gray_img.filter(ImageFilter.BLUR)); plt.imshow(pl_img, cmap = cm.Greys_r)

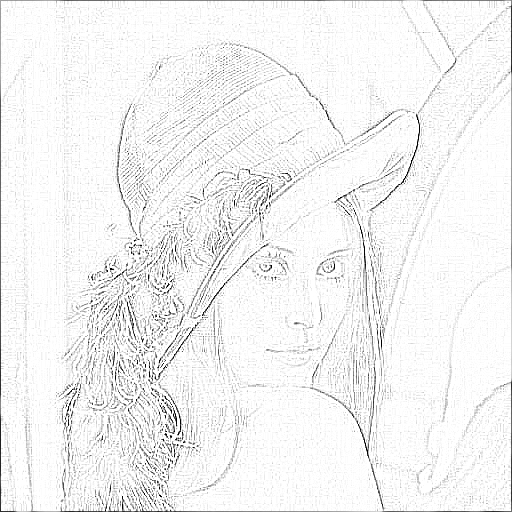
# 輪郭抽出
pl_img = np.array(gray_img.filter(ImageFilter.CONTOUR)); plt.imshow(pl_img, cmap = cm.Greys_r)
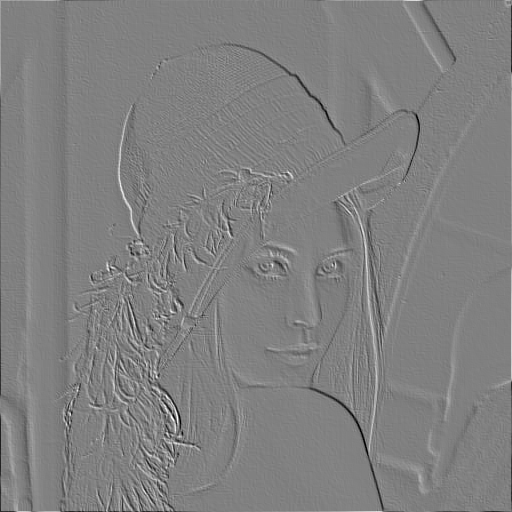
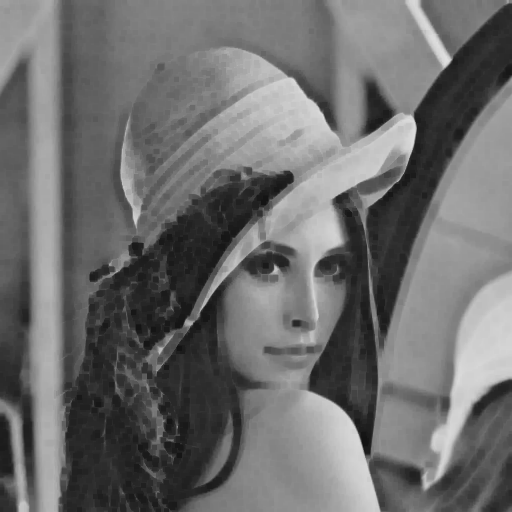
# エンボス加工
pl_img = np.array(filter_img = gray_img.filter(ImageFilter.EMBOSS)); plt.imshow(pl_img, cmap = cm.Greys_r)
# 最小値フィルタ
pl_img = np.array(gray_img.filter(ImageFilter.MinFilter(5))); plt.imshow(pl_img, cmap = cm.Greys_r)
自前のフィルタ
理論的なことは後で書く(本当に書くのか?)
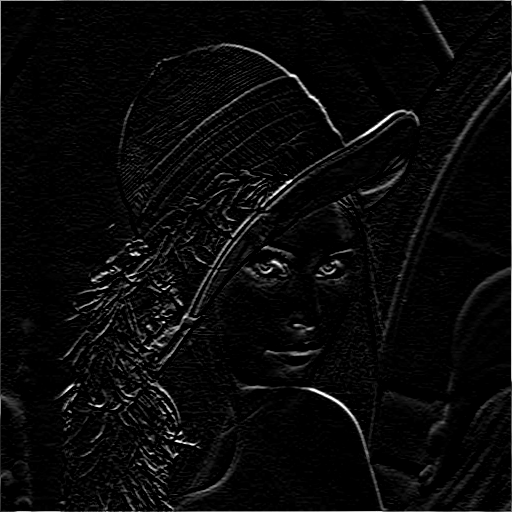
# 縦方向のエッジを検出
flist =  [1,   1,  1,
          0,   0,  0,
         -1,  -1, -1]

flt = ImageFilter.Kernel((3, 3), flist, scale=1)
filter_img = gray_img.filter(flt)

pl_img = np.array(filter_img) ; plt.imshow(pl_img, cmap = cm.Greys_r)
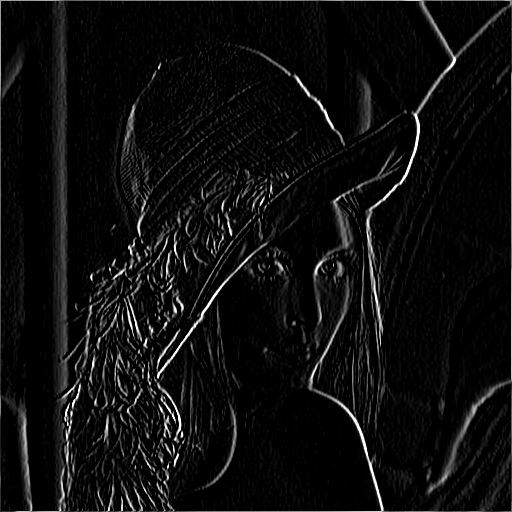
# 横方向のエッジを検出
flist =  [1,   0, -1,
          1,   0, -1,
          1,   0, -1]
flt = ImageFilter.Kernel((3, 3), flist, scale=1)
filter_img = gray_img.filter(flt)

pl_img = np.array(filter_img) ; plt.imshow(pl_img, cmap = cm.Greys_r)
# 4傍近接ラプラシアン
flist = [0,  1, 0,
         1, -4, 1,
         0,  1, 0]
flt = ImageFilter.Kernel((3, 3), flist, scale=1)
filter_img = gray_img.filter(flt)

pl_img = np.array(filter_img) ; plt.imshow(pl_img, cmap = cm.Greys_r)
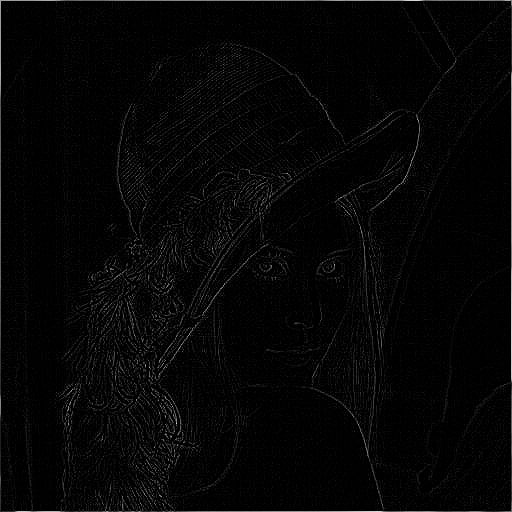
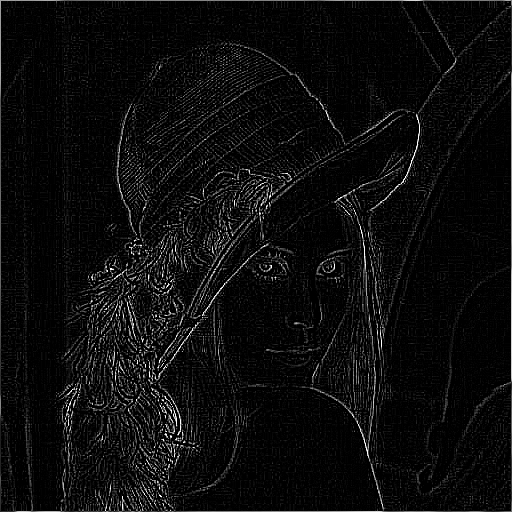
# 8傍近接ラプラシアン
flist = [1,  1, 1,
         1, -8, 1,
         1,  1, 1]
flt = ImageFilter.Kernel((3, 3), flist, scale=1)
filter_img = gray_img.filter(flt)

pl_img = np.array(filter_img) ; plt.imshow(pl_img, cmap = cm.Greys_r)

filter_img.save('work-image/filter05-lena.png')
# 8傍近接ラプラシアンの利用例
flist = [0.4,  0.4, 0.4,
         0.4, -2.2, 0.4,
         0.4,  0.4, 0.4]
flt = ImageFilter.Kernel((3, 3), flist, scale=1)
filter_img = gray_img.filter(flt)

pl_img = np.array(filter_img) ; plt.imshow(pl_img, cmap = cm.Greys_r)
↓nbviewerにノートブックをあげてみました(こっちがメイン)
nbviewer.ipython.org/github/suto3/git-public/blob/master/python/notebook/Pillow-workflow03.ipynb
↓作業環境については、こちら
Pillow環境構築 -- virtualenvによる仮想環境、iPythonによるインタラクティブ環境 - Qiita