最終更新日
2020年7月8日
検証を行ったOS/Dockerのバージョンは下記です。
- Windows 10 Home 64bit 2004 19041.329
- macOS Catalina 10.15.5
- Docker Desktop for Mac 2.3.0.3
インストールするもののバージョンは下記です。
- RabbitMQ 3.8.5
この記事が古くなった場合、下記の手順は最新のインストール手順とは異なっている可能性があります。その場合は公式ドキュメントをご確認ください。
Windowsの場合
Erlangのインストール
(1) https://erlang.org/download/otp_versions_tree.html からEralngのインストーラーをダウンロードしてください。

(2) インストーラーをダブルクリックしてください。
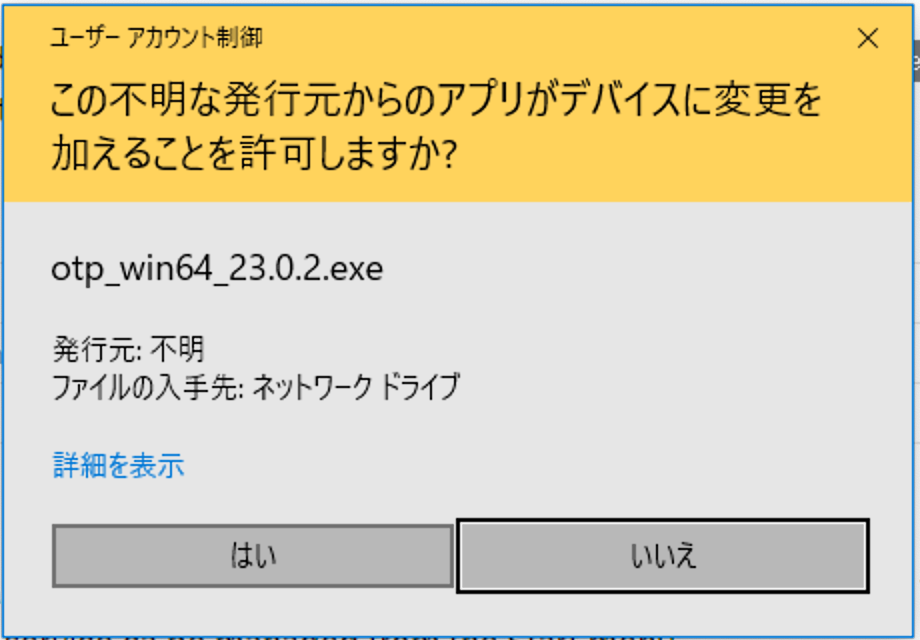
(3) [はい]をクリックしてください。
(4) [Next]をクリックしてください。

(5) [Next]をクリックしてください。

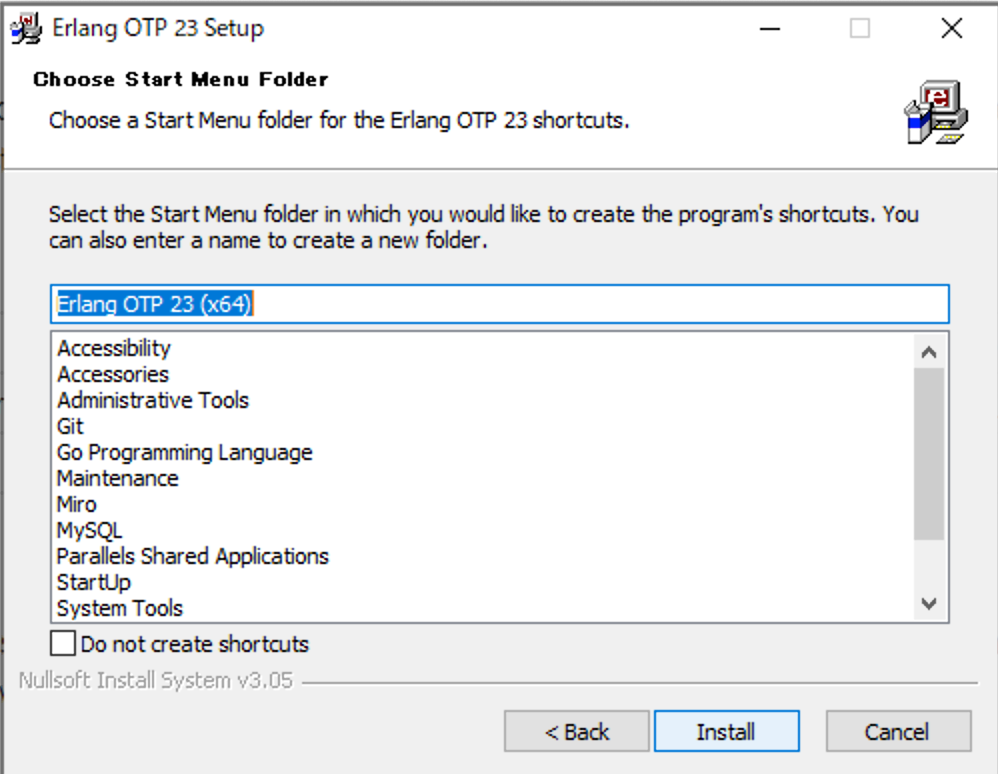
(6) [Install]をクリックしてください。
(7) [Close]をクリックしてください。

RabbitMQのインストール
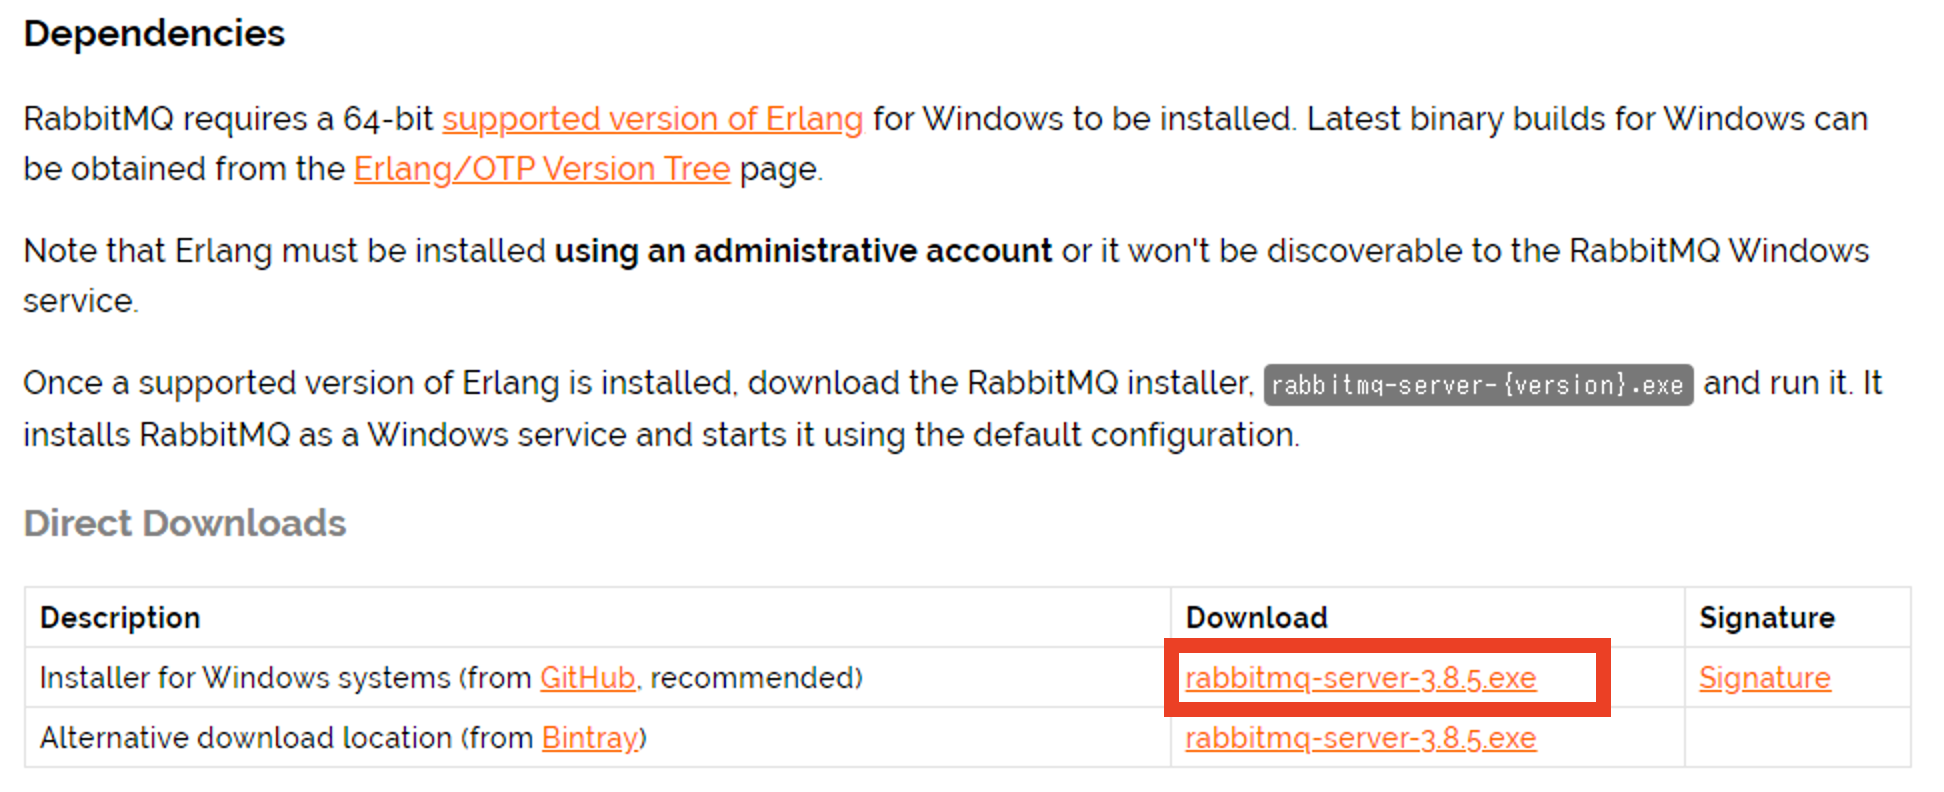
(1) https://www.rabbitmq.com/install-windows.html#installer からRabbitMQのインストーラーをダウンロードしてください。
(2) インストーラーをダブルクリックしてください。
(3) [はい]をクリックしてください。

(4) [Next]をクリックしてください。

(5) [Install]をクリックしてください。

(6) [Windows セキュリティの重要な警告]が表示されたら[アクセスを許可する]をクリックしてください。
(7) [Next]をクリックしてください。

(8) [Finish]をクリックしてください。

(9) 環境変数 PATH に、 RabbitMQがインストールされたフォルダ\sbin (例: C:\Program Files\RabbitMQ Server\rabbitmq_server-3.8.5\sbin )を追加してください。
RabbitMQの設定(必要に応じて)
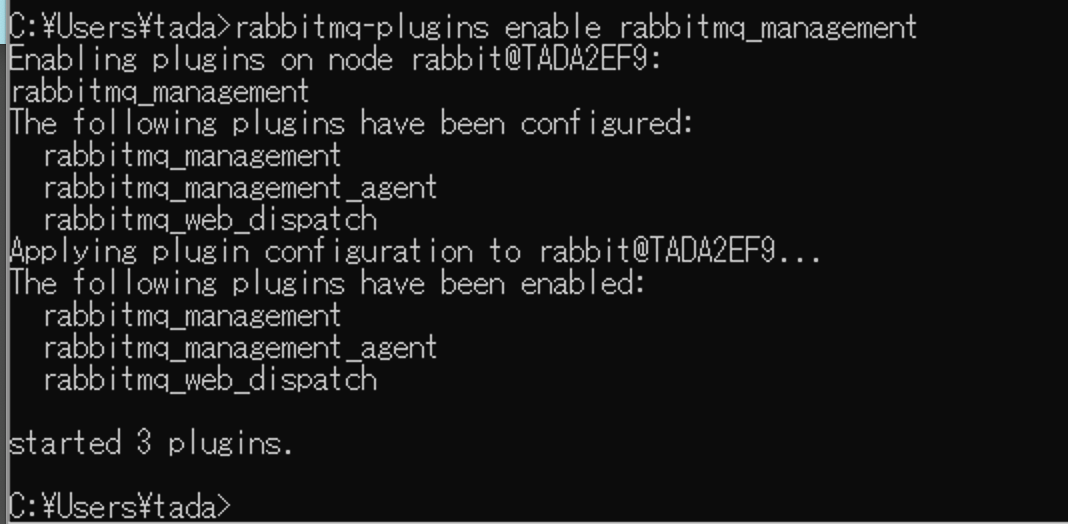
(1) コマンドプロンプトで rabbitmq-plugins enable rabbitmq_management を実行してください。
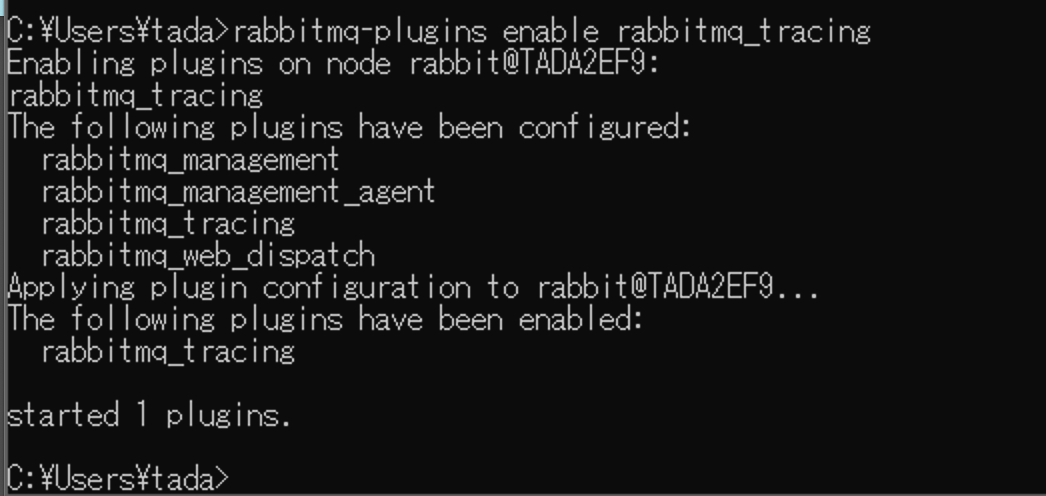
(2) コマンドプロンプトで rabbitmq-plugins enable rabbitmq_tracing を実行してください。
macOSの場合
RabbitMQのインストール
(1) ターミナルで brew install rabbitmq を実行してください。
Homebrewがインストールされていない場合は、公式サイトを参考にインストールしてください。
(2) 環境変数 PATH に /usr/local/sbin を追加してください。
(3) ターミナルで rabbitmq-server を実行してください。これでRabbitMQが起動します。

Ctrl + Cで停止します。
RabbitMQの設定(必要に応じて)
(1) ターミナルで rabbitmq-plugins enable rabbitmq_management を実行してください。
(2) ターミナルで rabbitmq-plugins enable rabbitmq_tracing を実行してください。
Dockerの場合
Dockerのインストール方法は別記事にて紹介しています(Windows 10 Proの場合 、 macOSの場合)
(1) 次のようなDockerfileを作成してください。
FROM rabbitmq:3.8.5-management-alpine

RUN rabbitmq-plugins enable rabbitmq_tracing

EXPOSE 5672 15672
(2) ターミナル(orコマンドプロンプト)でDockerfileを作成したフォルダに移動して、 docker image build -t rabbitmq-scd . を実行してください。
$ docker image build -t rabbitmq-scd .
Sending build context to Docker daemon  2.048kB
Step 1/3 : FROM rabbitmq:3.8.5-management-alpine
3.8.5-management-alpine: Pulling from library/rabbitmq
df20fa9351a1: Pull complete
6a4ed0140701: Pull complete
d144d94e32f5: Pull complete
4d0a1f15085c: Pull complete
3efe37eb67c8: Pull complete
21fb2255fd06: Pull complete
8d1fc732c7d2: Pull complete
ebf280fe3644: Pull complete
947f27a4fe95: Pull complete
Digest: sha256:7bb012930d5fa185ad5a52e0693096eb4628fba48b9ad7303edb09b80c47ad0c
Status: Downloaded newer image for rabbitmq:3.8.5-management-alpine
 ---> 4e6d459e4748
Step 2/3 : RUN rabbitmq-plugins enable rabbitmq_tracing
 ---> Running in beba71787921
Enabling plugins on node rabbit@beba71787921:
rabbitmq_tracing
The following plugins have been configured:
  rabbitmq_management
  rabbitmq_management_agent
  rabbitmq_tracing
  rabbitmq_web_dispatch
Applying plugin configuration to rabbit@beba71787921...
The following plugins have been enabled:
  rabbitmq_tracing

set 4 plugins.
Offline change; changes will take effect at broker restart.
Removing intermediate container beba71787921
 ---> 8aacc20abf9a
Step 3/3 : EXPOSE 5672 15672
 ---> Running in f84d57362063
Removing intermediate container f84d57362063
 ---> 0ab7f38dc713
Successfully built 0ab7f38dc713
Successfully tagged rabbitmq-scd:latest
(3) ターミナル(orコマンドプロンプト)で docker container create -p 5672:5672 -p 15672:15672 --name rabbitmq-scd rabbitmq-scd を実行してください。
$ docker container create -p 5672:5672 -p 15672:15672 --name rabbitmq-scd rabbitmq-scd
67473dcbed40bee46c5f9b3531763ed71fd6cd5b6a6cb1364b90da21d621ce59
(4) ターミナル(orコマンドプロンプト)で docker container start rabbitmq-scd を実行してください。これでRabbitMQが起動します。
$ docker container start rabbitmq-scd
rabbitmq-scd
docker container stop rabbitmq-scdで停止します。