はじめに
CloudBerry Drive というソフトウェアを使用して、Oracle Cloud Infrastructure(以下OCIと略) の Object Storage を、Windows Server 上に ファイルシステムとしてマウントする方法を検証します。
Object Storage を疑似的に ファイルシステムとしてマウントするため、性能が求められるユースケースでは使用できません。ファイルの読み書きに多少時間が掛かってもよいユースケースで使用するのが良いです。
制限事項
CloudBerry Drive と Object Storage が提供する S3 互換 API の組み合わせで、以下の制限事項があることが分かりました
- CloudBerry Drive としてマウント可能なのは、OCI の HomeRegion のみ
Home Region というのは、OCI のアカウントを作成する時に指定する Region です。作成したアカウントで Home Region は変更することは出来ないため、日本のユーザーは基本的には Home Region をTokyo で作成するのが良いと思います。
OCI Compute Instance 作成
- OS : Windows Server 2016 Standard
で適当に作成します
Customer Secret Keys 生成
Object Storage を S3 API でアクセスするためには、OCI IAM ユーザー上で、Customer Secret Key を生成する必要があります。Customer Secret Key を生成することで、Access Key と Secret Key が生成されます。この2種類の Key が必要です。
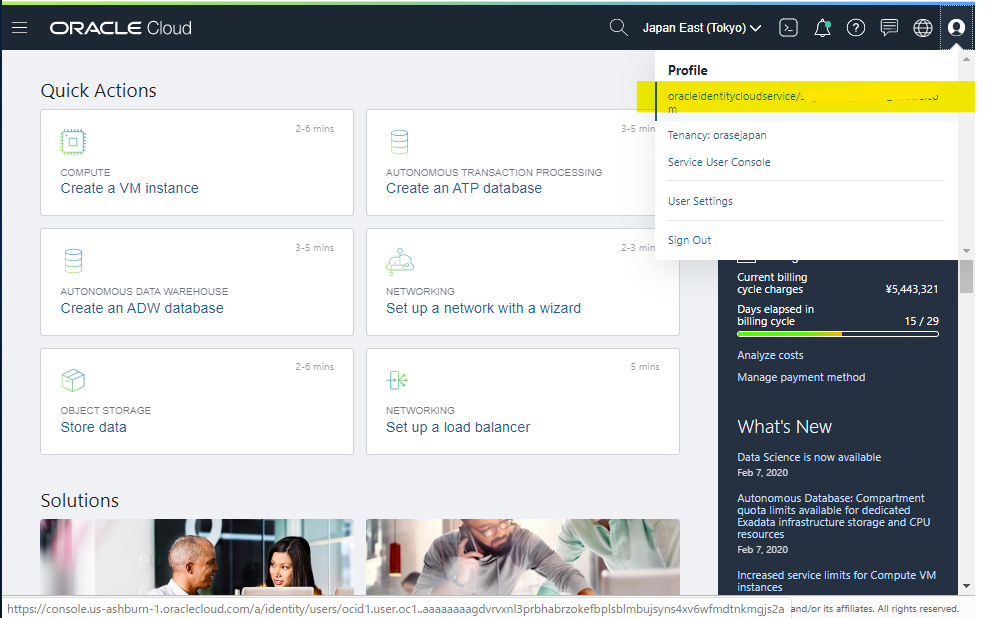
OCI Console の右上のユーザー名を選択して、ユーザーの詳細画面へ移動します。
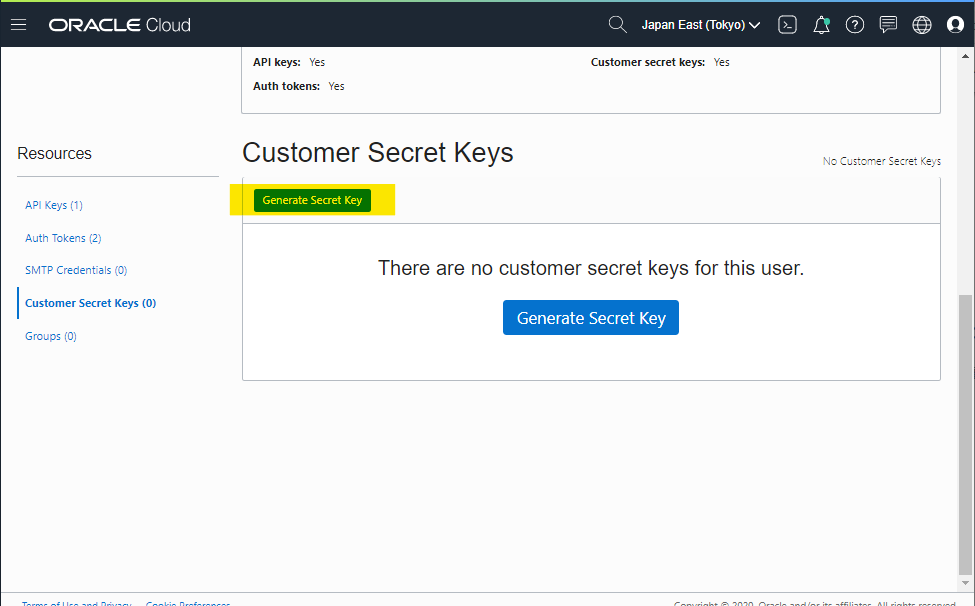
Customer Secret Keys のメニューに移動して、Generate Secret Key を押します
適当に NAME を指定して、Generate Secret Key を押します。
- NAME :
s3 compat
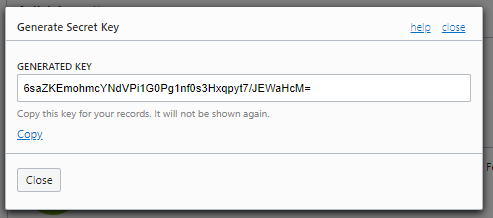
Key が表示されます。これは Secret Key です (画像のものは、現在無効化しています)
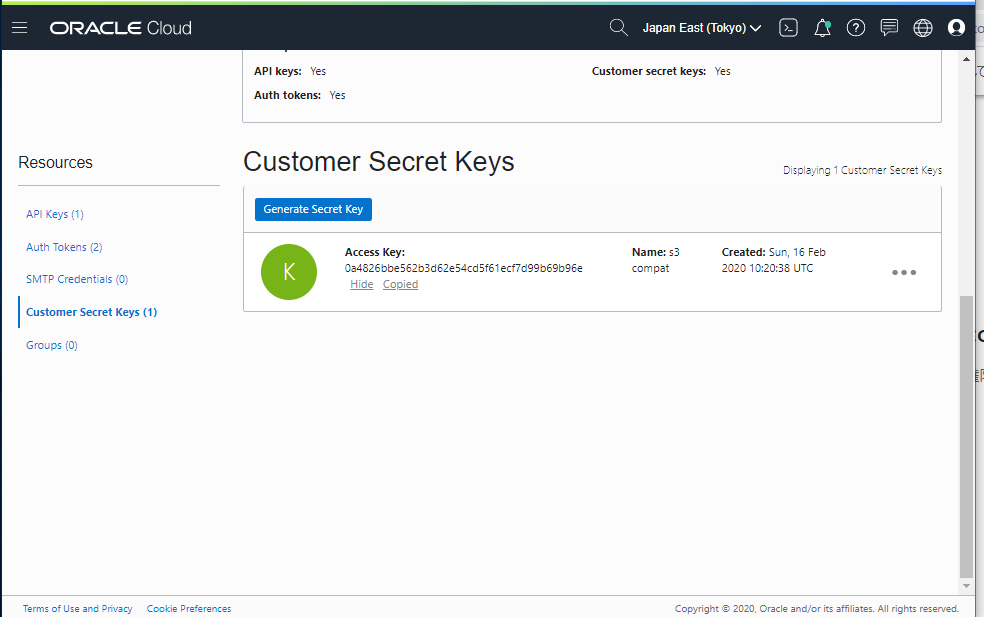
画面を戻すと、Access Key が表示されています。
CloudBerry Drive Install
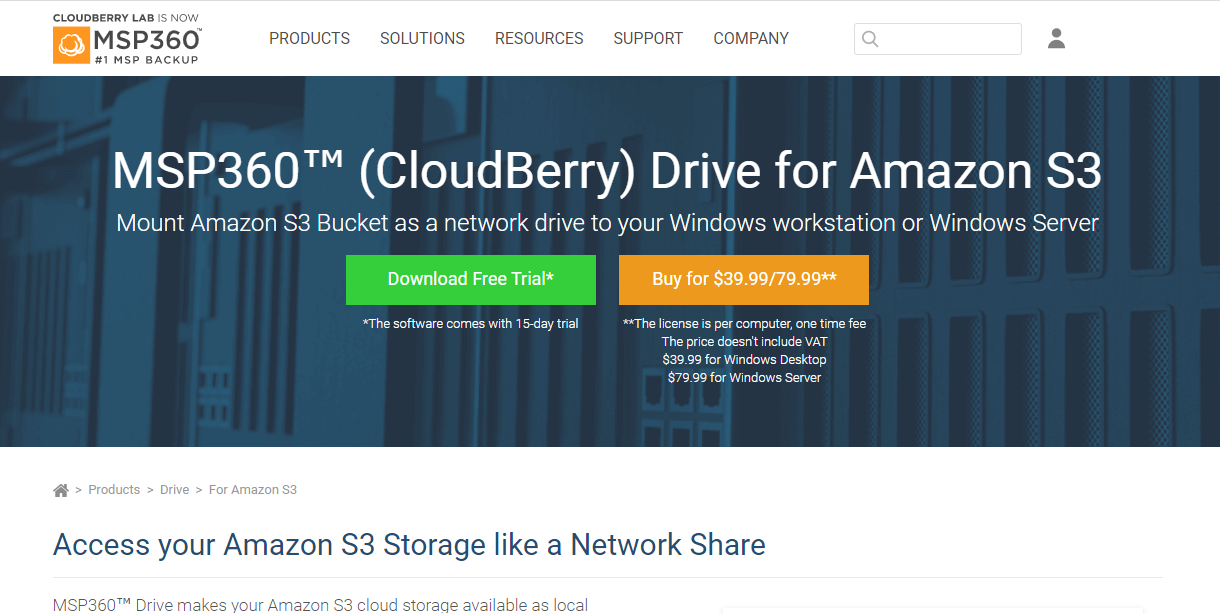
以下の URL を開いて、インストーラーを Download します。今回は検証目的なので、Free Trial を選びます。
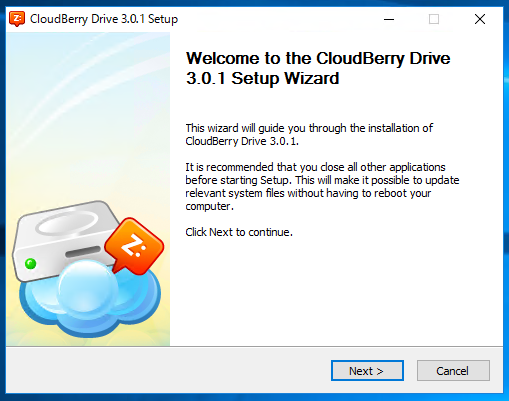
CloudBerryDriveSetup_v3.0.1.5_c760034.exe がダウンロードされます。OCI Compute Instance で作成した Windows Server 上で exe を実行します。
Next
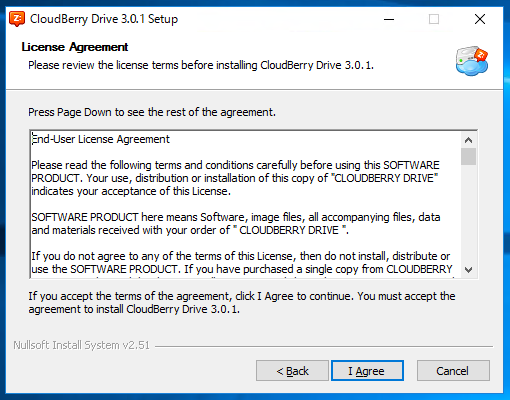
I Agree
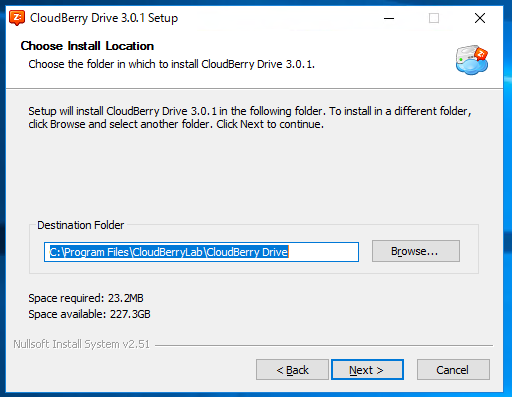
Next
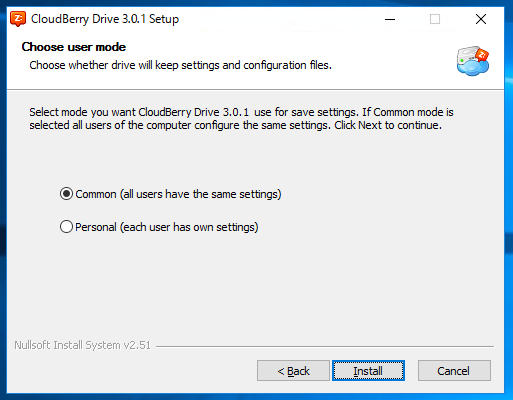
Common で Install
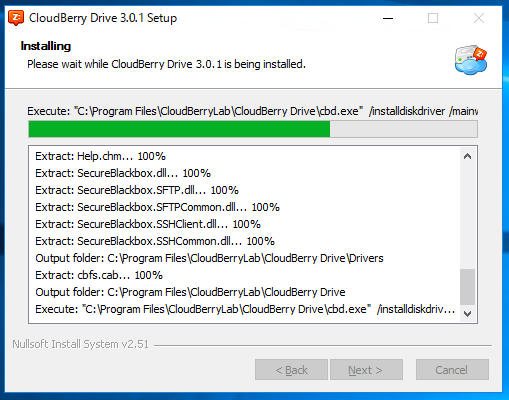
Install 中
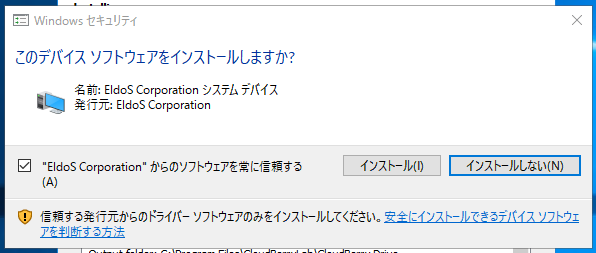
インストールを押します
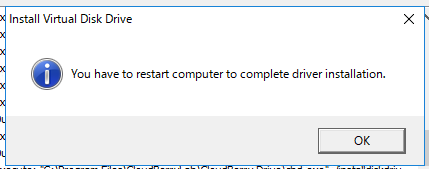
OK
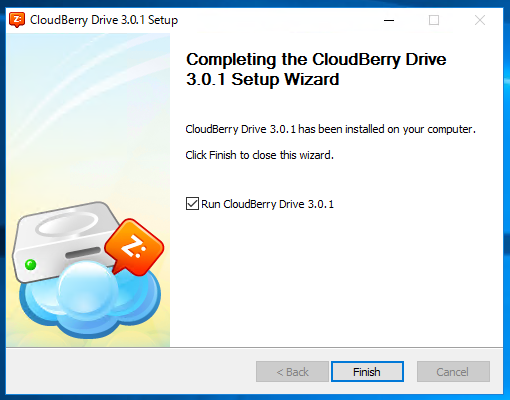
Finish
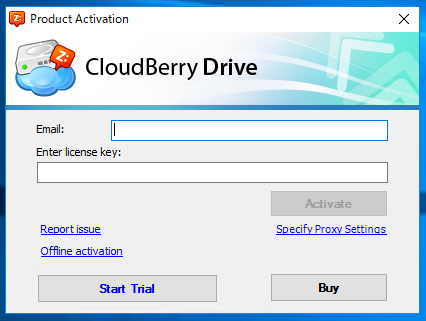
Email アドレスを入力して、Start Trial を押します
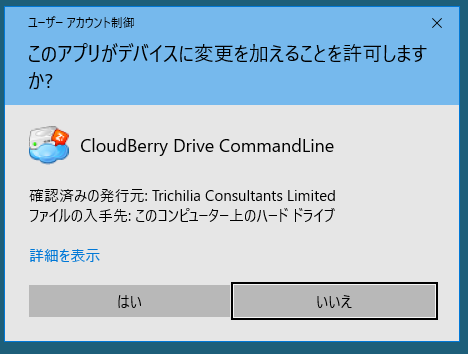
はい
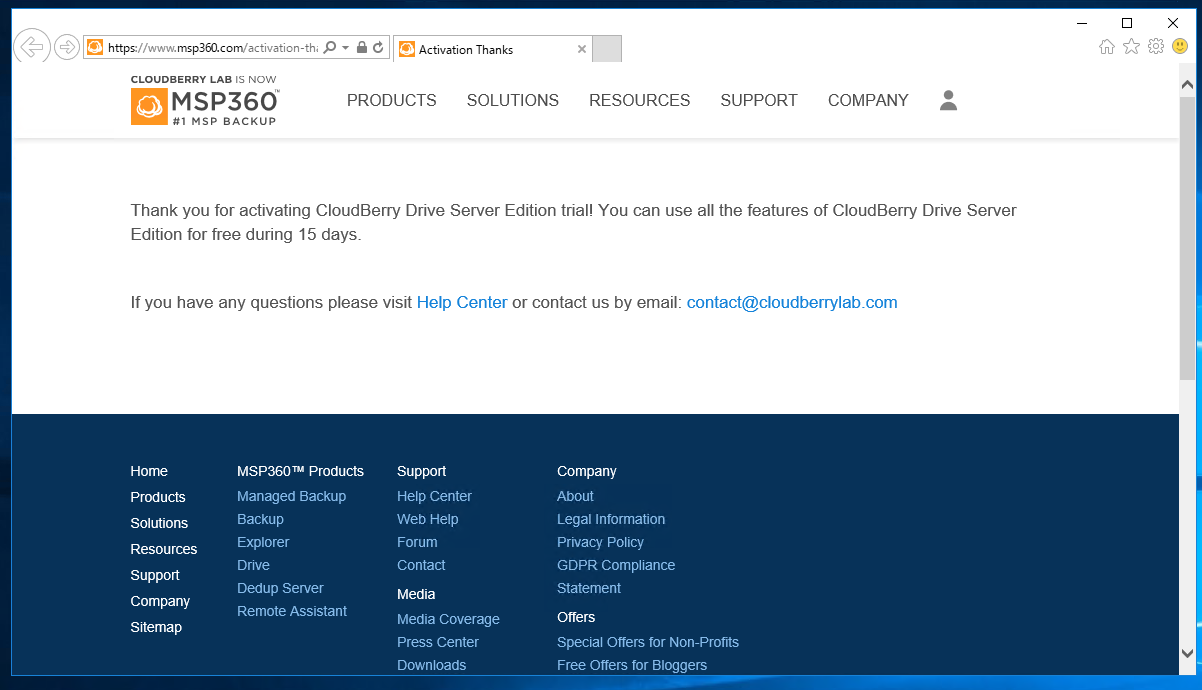
ブラウザが自動的に立ち上がり、以下のページが表示されます
タスクバー上で、CloudBerry Drive が稼働しています
Restart してね って表示されたので、Windows Server の再起動を行います
Configure Storage Account
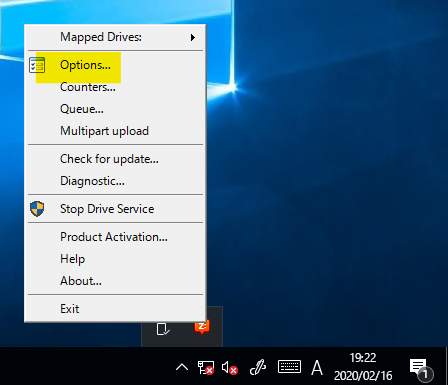
タスクバーの CloudBerry Drive から、Options を選択します
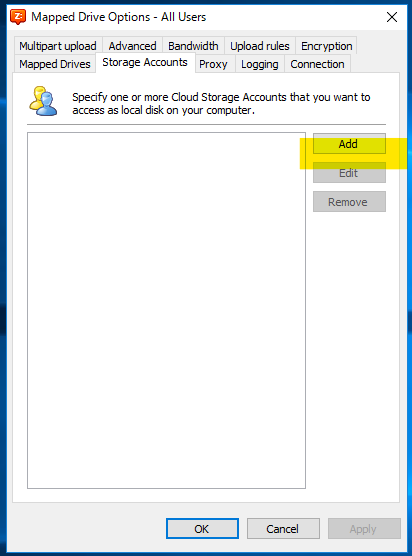
Storage Accounts から Add を押します
以下のパラメータを入力します
- Storage Provider : S3 Compatible
- Display Name : 好きな名前をいれる
- Service Point :
https://<namespace>.compat.objectstorage.ap-tokyo-1.oraclecloud.com※東京の場合 - Access key :
0a4826bbe562b3d62e54cd5f61ecf7d99b69b96e - Secret key :
6saZKEmohmcYNdVPi1G0Pg1nf0s3Hxqpyt7/JEWaHcM= - Signature version : 4
Service Point の書式は、以下のURLに書かれております
https://<namespace>.compat.objectstorage.<region>.oraclecloud.com

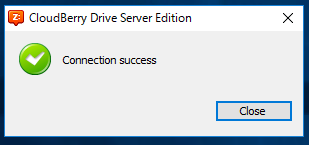
Test Connection を選択すると以下のように OK 表示されます。Closeで閉じます。
OKで、Account の編集画面を閉じます。
Configure Mapped Drives
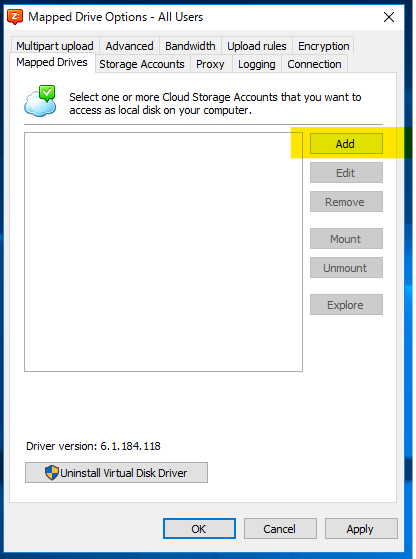
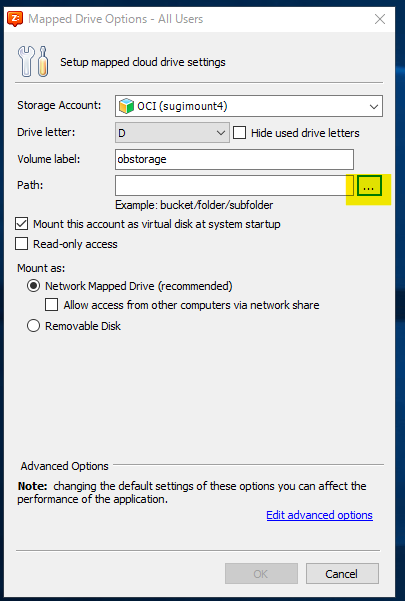
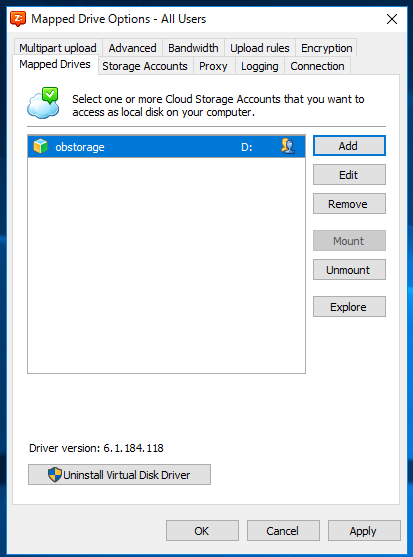
Mapped Drives メニューで、Addを押します
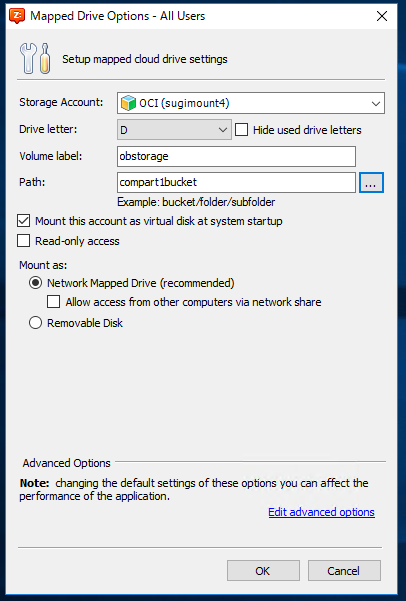
volume label : 好きな名前
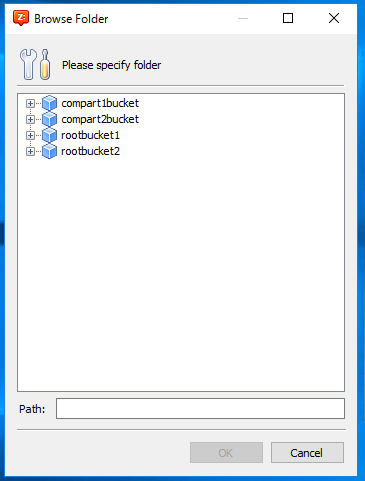
Path : 参照を押す
Browser Folder が開かれます。ここで見えているものは、Object Storage のバケット名が見えています
OK を押します
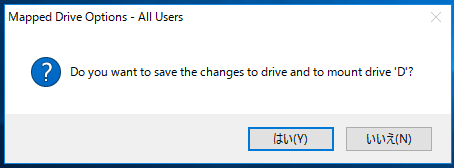
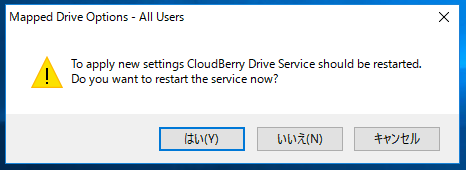
はい
OK
はい
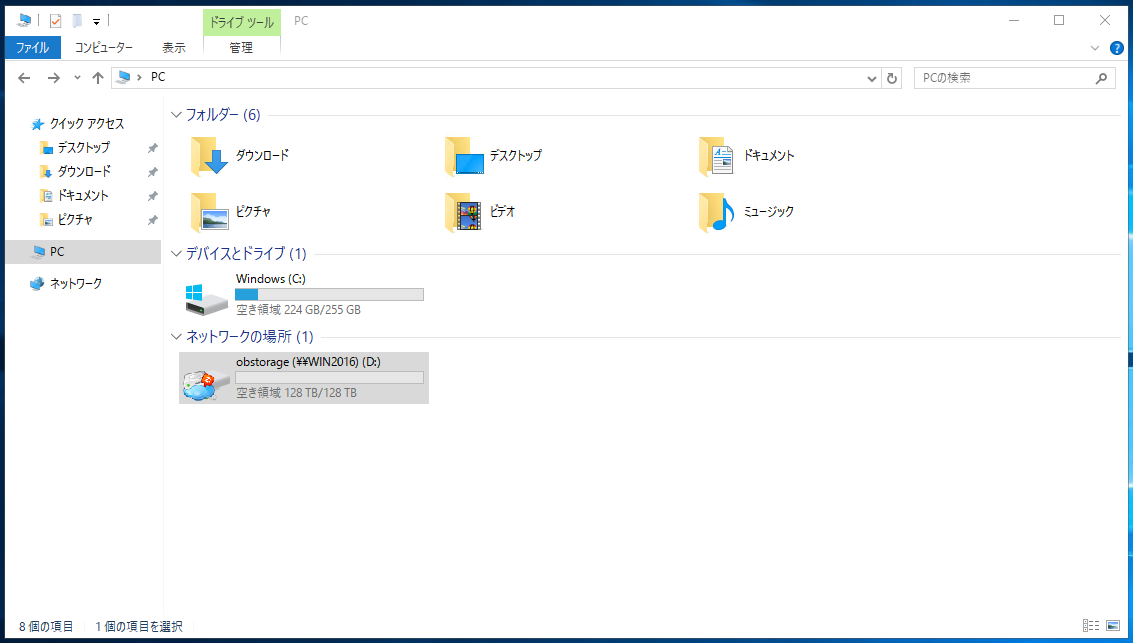
マウント確認
Dドライブに、ラベル obstorage でマウントされています
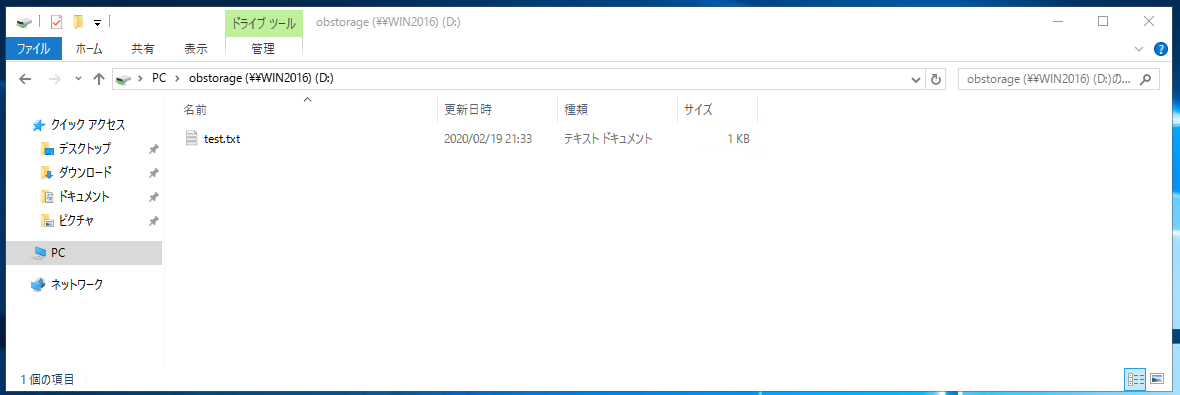
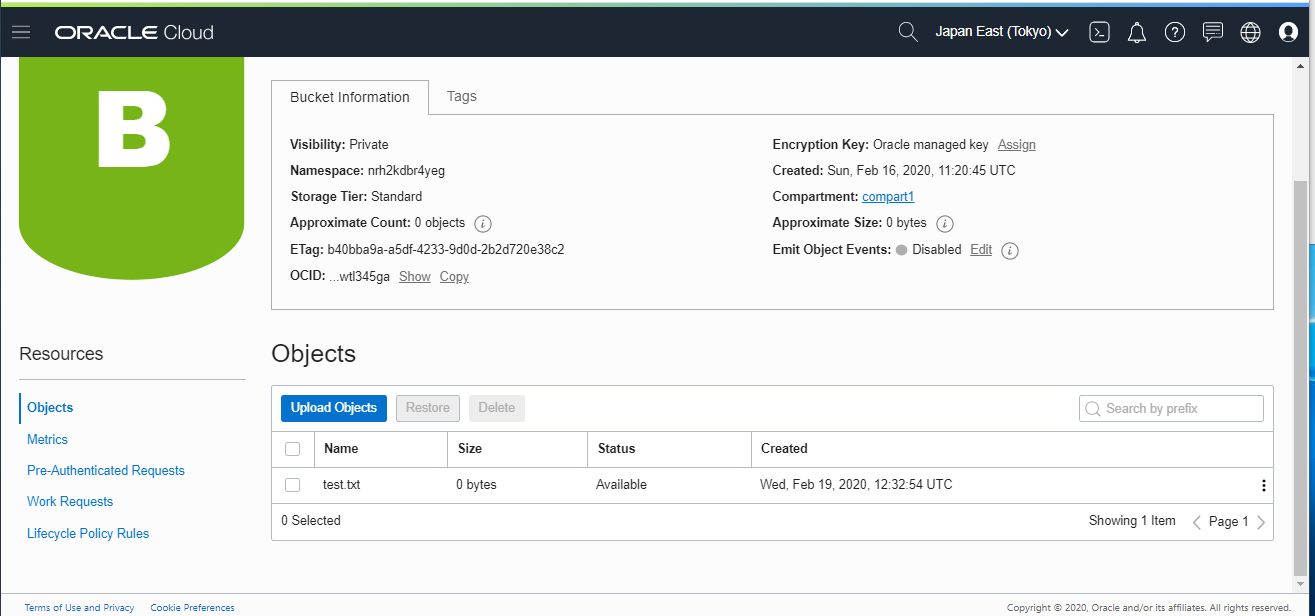
ドライブを開いて、test.txt を作成してみます
そのあとに、Object Storage のページをみると、以下のファイルが自動的に生成されています
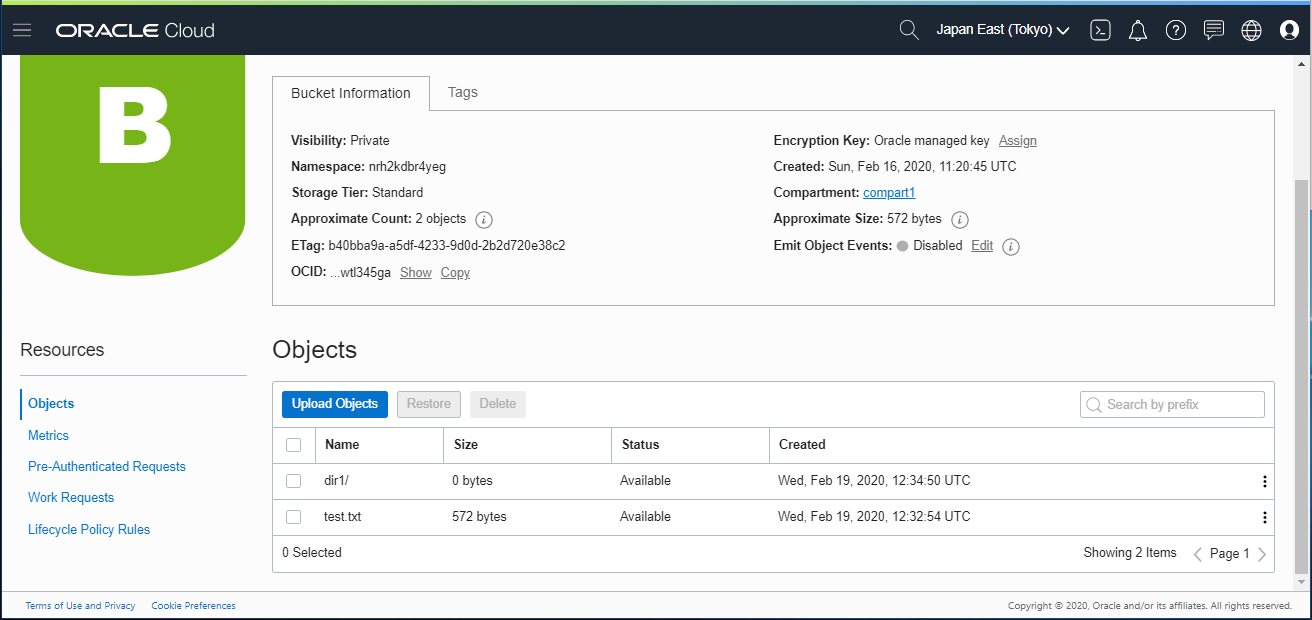
空のディレクトリ dir1 作成します
Object Storage では、dir/ が作成されている
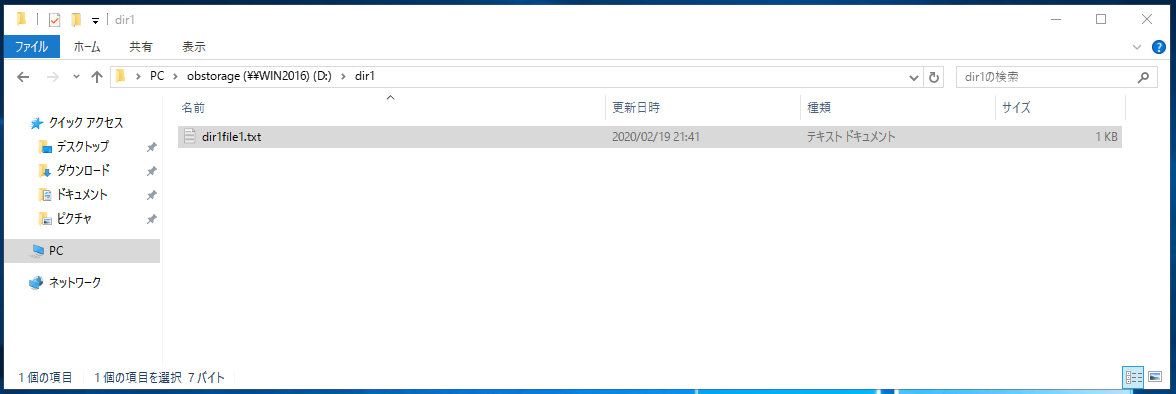
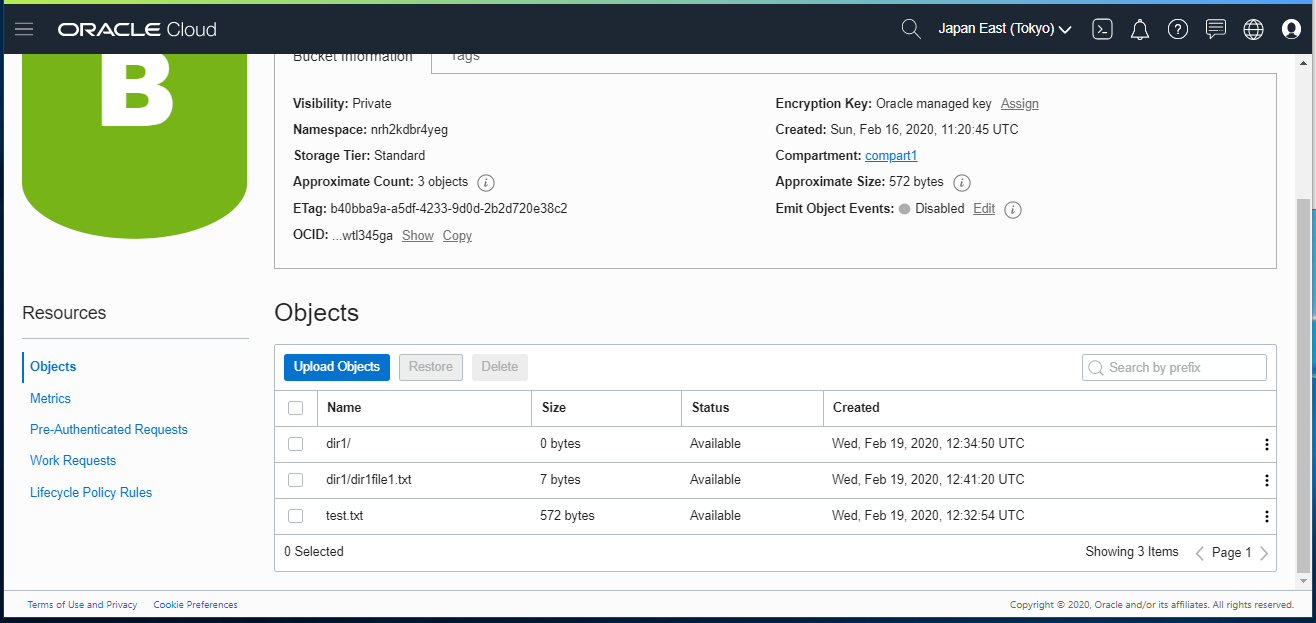
dir1 のなかでファイル作成します
Object Storage で以下のように生成されています
付録 : 参照可能な範囲
CloudBerry Drive で参照可能な範囲は、以下の挙動となっていることを確認しました
- Region : OCI アカウントの Home Region のみ
- Home Region 内で参照可能なバケット
- ユーザーに紐づく IAM Policy の範囲で参照可能。そのユーザーが Administrators グループのように、フル権限を持っていたら、Home Region の全Bucket が参照可能
参考URL
