IBM iでpythonやNode.js、Rなど、オープンソースを試したいけど、サーバーであるIBM iの環境で開発を試すのは気が引ける。。と思ったのでchrootを導入、活用してみたいと思います。
事前にこちらの手順でyumまで導入済みの環境で試します。
chrootの導入
IBM i用に用意されているchrootのパッケージをyumで導入します。
bash-4.4$ yum install -y ibmichroot
試した環境では、他に4つのパッケージも合わせてインストールされました。
==================================================================================================
 Package                     Arch                 Version                 Repository         Size
==================================================================================================
Installing:
 ibmichroot                  noarch               2.1.3-0                 ibm                20 k
Installing for dependencies:
 coreutils-gnu               ppc64                8.25-2                  ibm                27 M
 findutils                   ppc64                4.6.0-4                 ibm               1.8 M
 tar-gnu                     ppc64                1.29-1                  ibm               1.1 M
 unzip                       ppc64                6.0-3                   ibm               249 k

Transaction Summary
==================================================================================================
Install       5 Packages
chroot環境のセットアップ
chrootで/QOpenSys配下の任意のディレクトリを仮想環境のルートにする機能です。これによってオリジナル環境に影響を与えずにオープンソースが導入できます。
ここでは、/QOpenSys/chroot_test というディレクトリをルートにします。ディレクトリは事前に作成しなくて大丈夫でした。
bash-4.4$ chroot_setup /QOpenSys/chroot_test minimal nls
セットアップは数分かかります。進捗ログを見ていると、/QOpenSys配下の環境を指定したディレクトリに複製しているようなイメージです。
  #####  #     # ######  ####### ####### #######
 #     # #     # #     # #     # #     #    #
 #       #     # #     # #     # #     #    #
 #       ####### ######  #     # #     #    #
 #       #     # #   #   #     # #     #    #
 #     # #     # #    #  #     # #     #    #
  #####  #     # #     # ####### #######    #

  #####  ####### ####### #     # ######
 #     # #          #    #     # #     #
 #       #          #    #     # #     #
  #####  #####      #    #     # ######
       # #          #    #     # #
 #     # #          #    #     # #
  #####  #######    #     #####  #


**********************
Live IBM i session (changes made).
**********************
/QOpenSys/chroot_test
/QOpenSys/chroot_test Does not Exist
+++/QOpenSys/chroot_test creation was successful!+++
Chroot type is: minimal
Chroot type is: nls
=====================================
setting up based on /QOpenSys/pkgs/lib/ibmichroot/config/chroot_minimal.lst
=====================================
action = :file
action = :mkdir
mkdir -p /QOpenSys/chroot_test/QOpenSys/usr/sbin

(中略)

Extracting the tar file  /QOpenSys/pkgs/lib/ibmichroot/config/icu4c.tar

To enter Your Chroot
RUN: chroot /QOpenSys/chroot_test /QOpenSys/usr/bin/sh

DONE!
作成したchroot環境はクリーンな状態なので、yumを使ってバッケージを導入していきます。まずはbashとyumを入れます。
bash-4.4$ yum --installroot=/QOpenSys/chroot_test install -y bash yum
chroot環境にyumのrepolistを用意します。
bash-4.4$ mkdir /QOpenSys/chroot_test/QOpenSys/etc/yum/repos.d/
bash-4.4$ cp /QOpenSys/etc/yum/repos.d/ibm.repo /QOpenSys/chroot_test/QOpenSys/etc/yum/repos.d/ibm.repo
chroot環境に入る
セットアップ済みの環境に入ります。
セッションを区別するためにbashプロンプトを変更します。
bash-4.4$ chroot /QOpenSys/chroot_test /QOpenSys/usr/bin/bash
bash-4.4$ export PS1='chroot_test \$ '
chroot_test $
chroot環境でJupyter notebookを動かす
yumでpythonと必要パッケージ等を入れていきます。
chroot_test $ yum install -y python3 python3-pip python3-pyzmq yum-utils vim
pipでJupyterを入れます。
chroot_test $ pip3 install --upgrade pip
chroot_test $ pip3 install jupyter
Jupyter notebookの設定ファイルを生成します。
chroot_test $ jupyter notebook --generate-config
chroot_test $ vim /home/DEMO/.jupyter/jupyter_notebook_config.py
パラメーターを編集します。
xxx.xxx.xxx.xxxは接続元PCのアドレスを入れる(0.0.0.0だと全許可)
#c.NotebookApp.ip = 'localhost'
c.NotebookApp.ip = 'xxx.xxx.xxx.xxx'

#c.NotebookApp.open_browser = True
c.NotebookApp.open_browser = False
Jupyter notebookを起動します。
chroot_test $ jupyter notebook
[I 13:12:16.529 NotebookApp] Writing notebook server cookie secret to /home/DEMO/.local/share/jupyter/runtime/notebook_cookie_secret
[I 13:12:16.952 NotebookApp] Serving notebooks from local directory: /
[I 13:12:16.952 NotebookApp] The Jupyter Notebook is running at:
[I 13:12:16.952 NotebookApp] http://xxx.xxx.xxx.xxx:8888/?token=xxxxxxxxxxxxxxxxxxxxxxxxxxxxxxxxxxxxxxxxxxxxxxxx
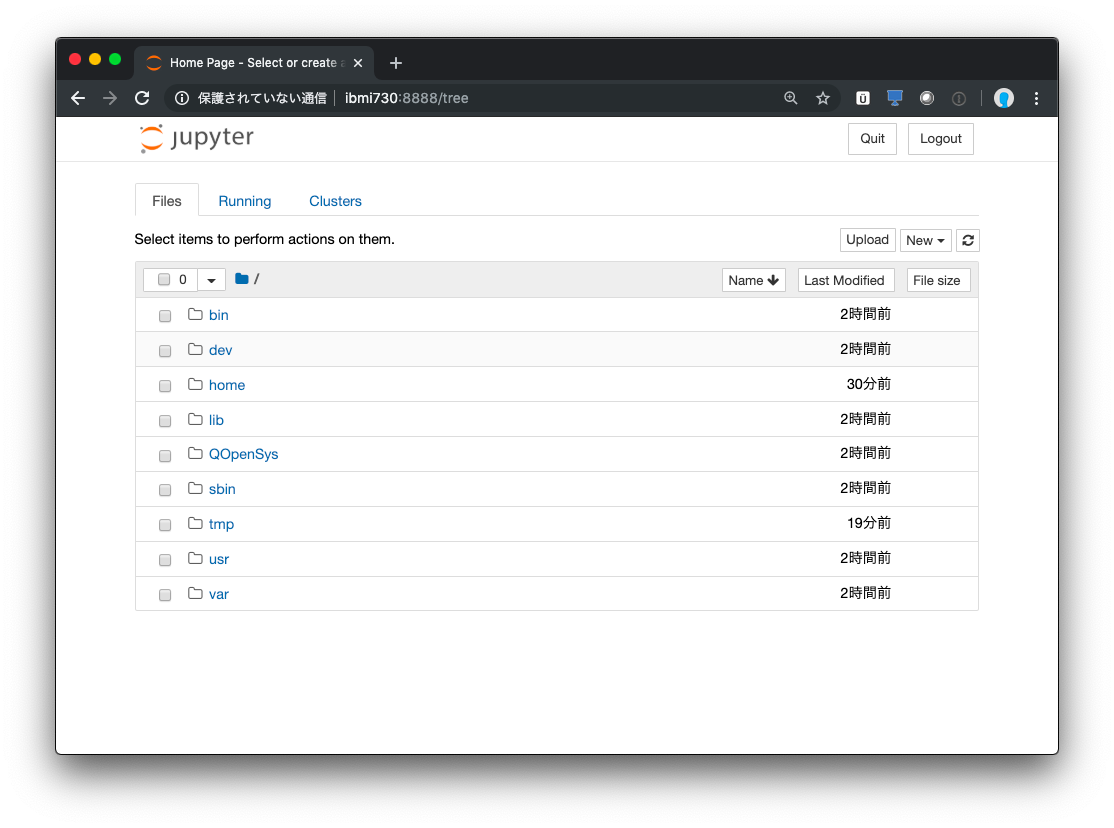
ブラウザでアクセスして確認します。
chroot環境でセットアップしたJupyter Notebookが使えるようになりました。
jupyter notebook on IBM i のセットアップはこちらの記事も参考にさせていただきました!
