以下の続きになります。
3GIM > Arduino UNO R3 から3G通信 - Qiita
Lチカ
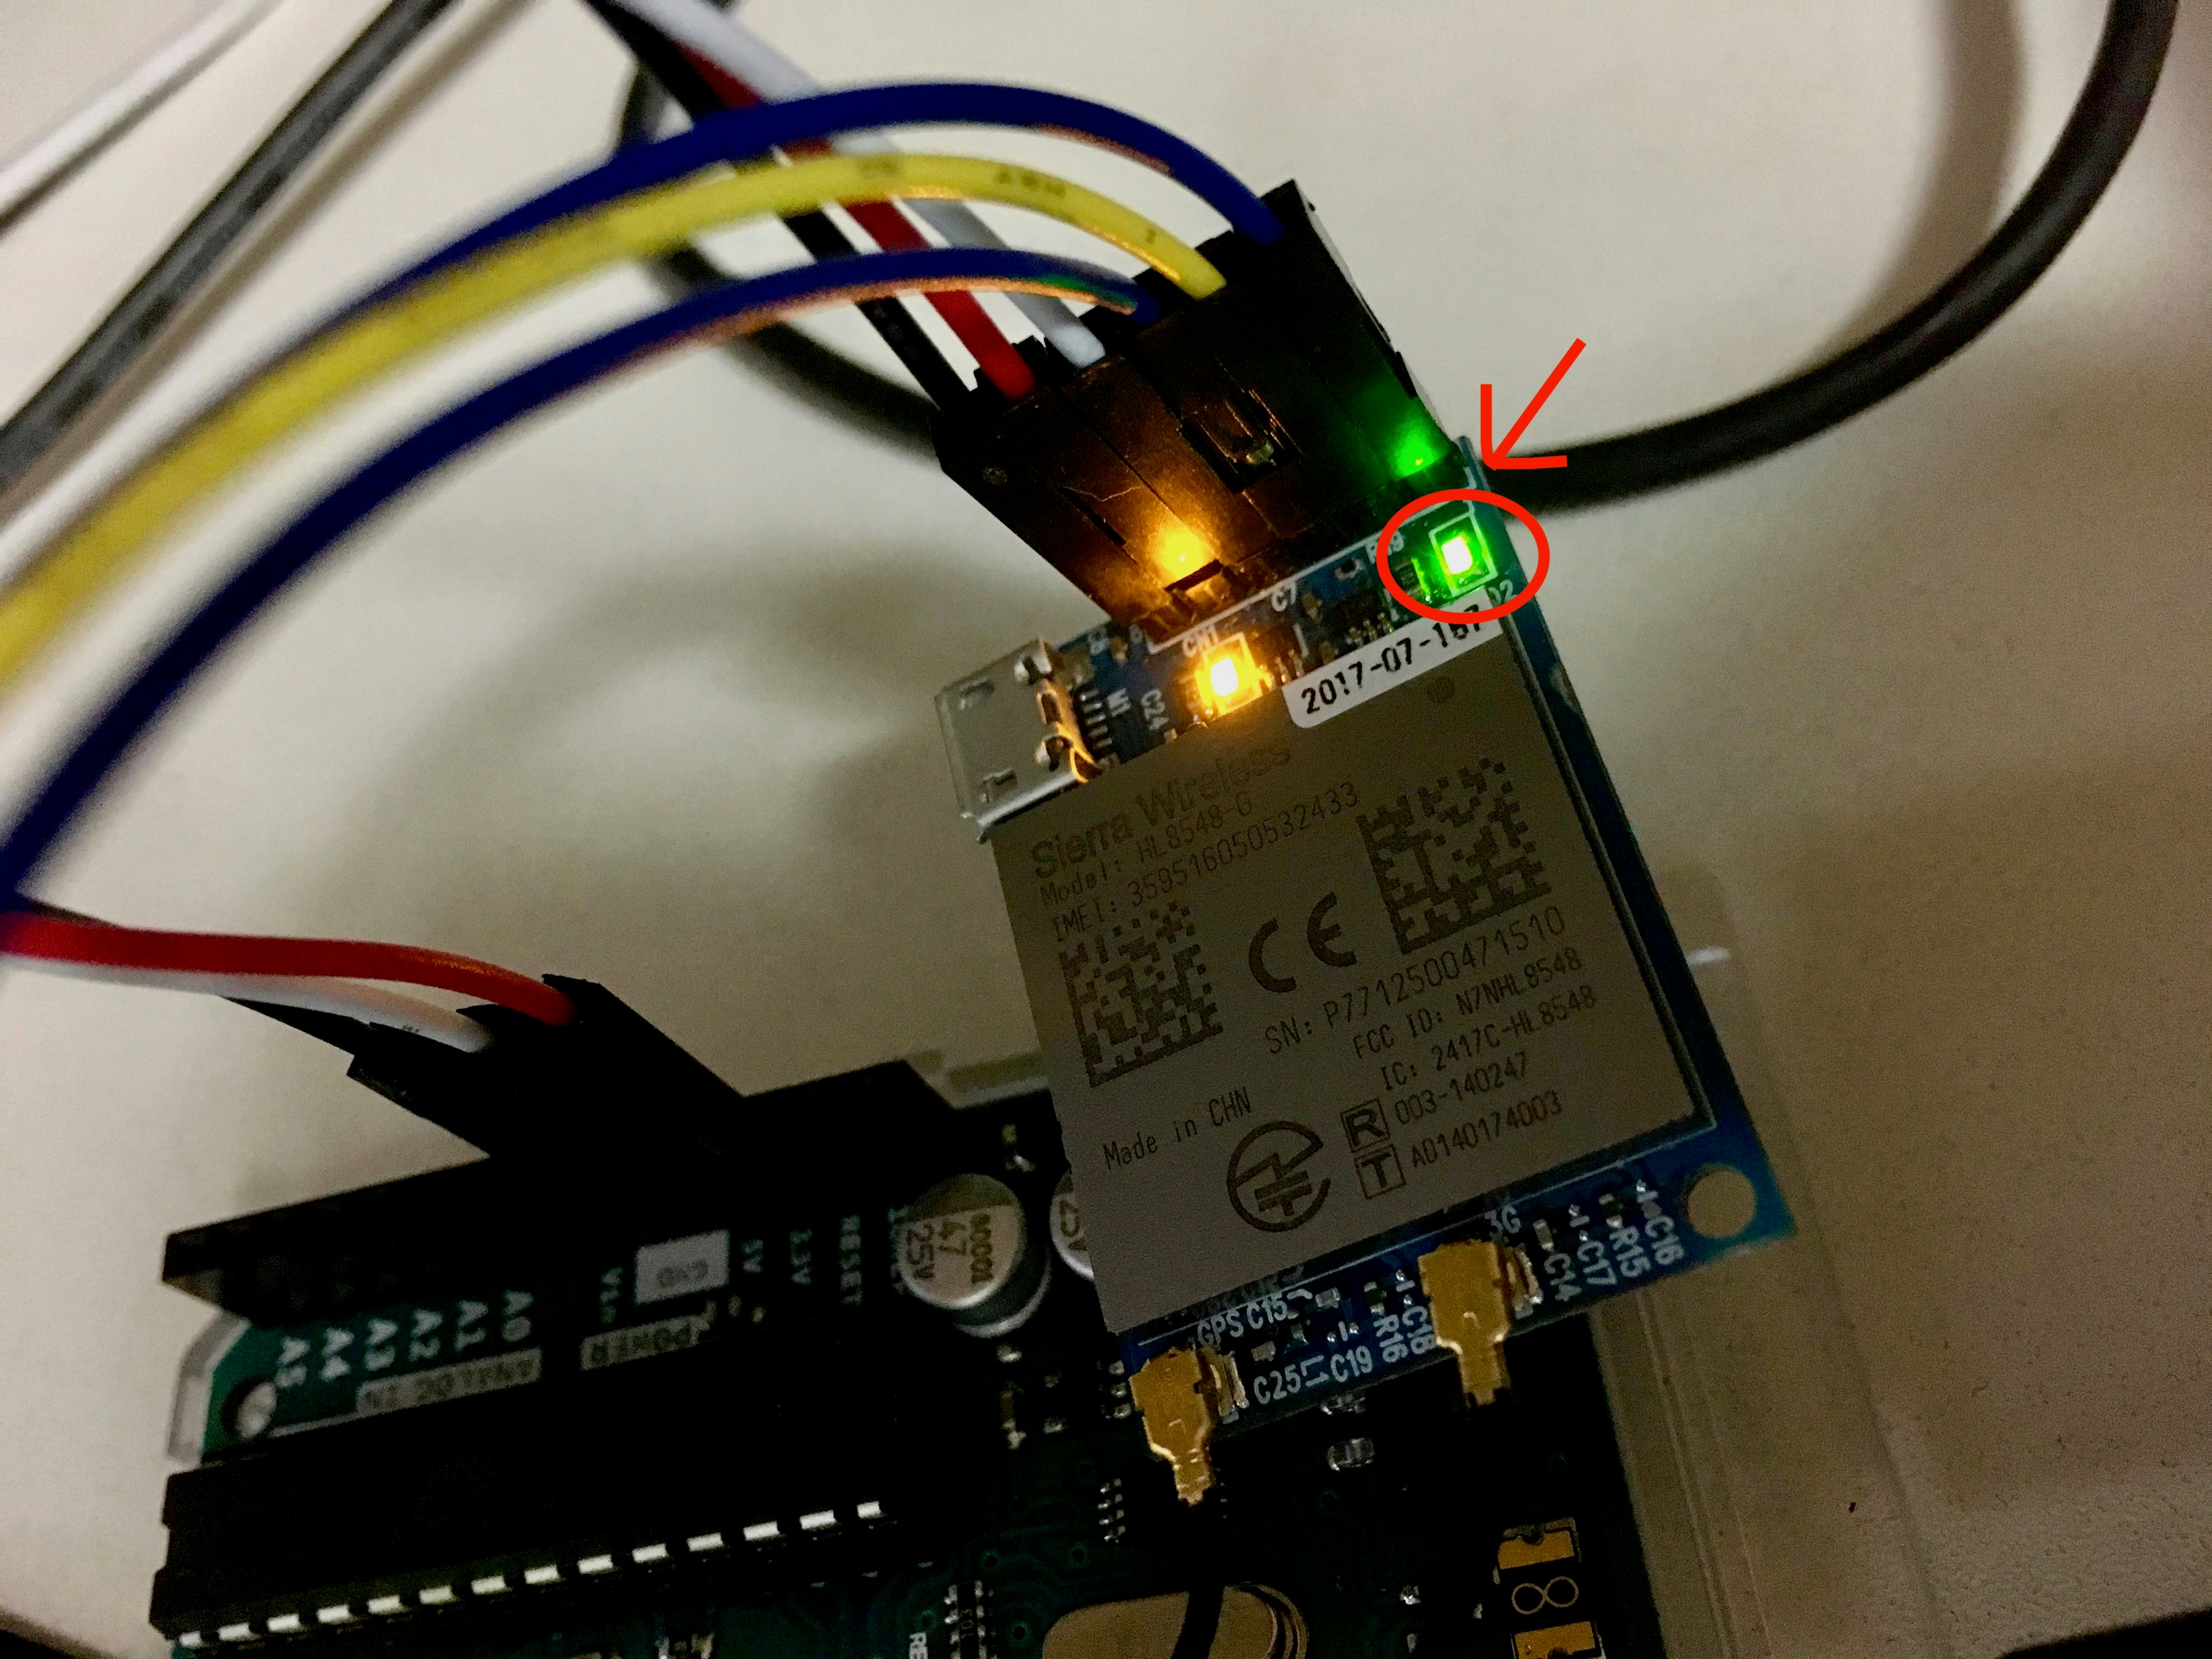
3G通信用モジュールですが、基板上のLEDライトの制御コマンドもあります。
まずは3GIMに慣れるためにLチカから始めます。
対象のバージョン(2018/1/2現在)
- 3GIM Ver 2.2
- Arduino UNO R3
Arduino UNOと3GIMとの接続
ピン配列
| 3GIMのPIN番号(上面から見て右側から) | 説明 | Arduino | 補足 |
|---|---|---|---|
| 1 | 3GIM ON/OFF | D6 | ライブラリのデフォルトはD6。任意番号で指定可能 |
| 2 | RX (for Arduino TX) | D5 | ライブラリのデフォルトはD5。任意番号に変更可能(IEM_RXD_PIN) |
| 3 | TX (for Arduino RX) | D4 | ライブラリのデフォルトはD4。任意番号に変更可能(IEM_TXD_PIN) |
| 4 | 5v | 5vピンに刺す。 | IOREF PWR_ON,RX,TXのロジック電圧。(3GIMにIO電圧を供給用) |
| 5 | 3.3v | 3.3v | 5vピンに刺してはいけない! |
| 6 | GND | GNDピン | GNDであればどこでも |
通信速度
Arduino UNOと3GIMの通信はSoftwareSirialで行います。
その際のボーレートは9600bpsあたりを軸に調整する事がよいようです。
57600, 115200 bps に設定した場合は文字化けが起きるようです。
Arduino だけで ESP8266 を設定する方法。 | macsbug
ESP-WROOM-02(ESP8266) とArduino UNO のシリアル(UART)通信で注意すること。
3GIMのライブラリ
以下のページ最下部あたりにライブラリのDLリンクがあります。
Arduino UNO用は2018.1.2現在、R4(最終更新2016.5.15)
- CPUアーキテクチャに依存しないライブラリですが、SoftwareSerialが必要です。
- RAMサイズが2KB以上のマイコン対象。
サンプルスケッチ
ライブラリ同梱のExampleからLチカ
サンプルのLチカでは電源ON/OFFがD7ピンに指定してあるので注意。
ピン配列
|3GIMのPIN番号|Arduino|
|---|---|---|---|
|1|D7|
|2|D4|
|3|D5|
|4|5v|
|5|3.3v|
|6|GND|
スケッチ
Exampleとの変更点はbaudrate_3gimで3GIMとの通信スピードを9600から変更している点です。お使いの3GIMの設定に合わせたスピードに変更してください。
// 3GIM(V2) sample sketch -- setLED

# include <SoftwareSerial.h>
# include <a3gim.h>

# define  INTERVAL  1000  // Blink interval
# define baudrate 	9600UL
# define baudrate_3gim   115200

const int powerPin = 7;     // 3gim power pinIf not using power control, 0 is set.

void setup()
{
  Serial.begin(baudrate);
  delay(3000);  // Wait for Start Serial Monitor
  Serial.println("Ready.");

 _retry:
  Serial.print("Initializing.. ");
  if (a3gs.start(powerPin) == 0 && a3gs.begin(0, baudrate_3gim) == 0)
    Serial.println("Succeeded.");
  else {
    Serial.println("Failed.");
    Serial.println("Shutdown..");
    a3gs.end();
    a3gs.shutdown();
    delay(30000);
    goto _retry;  // Repeat
  }
  Serial.println("Blinking..");
}

void loop()
{
  a3gs.setLED(true);
  delay(INTERVAL);
  a3gs.setLED(false);
  delay(INTERVAL);
}

// END

