リクエストを投げて結果を画面を表示(thymeleaf)
(ゴール) htmlのフォームでPOSTされた値(姓名)を埋め込んで画面に表示
Project Root
└─src
    └─ main
        └─ java
            └─ com.example
                └─ demo
                    └─trySpring
                       └─HelloController.java
Project Root
└─src
    └─ main
        └─ resources
            └─templates
                 └─hello.html

                 └─helloResponse.html
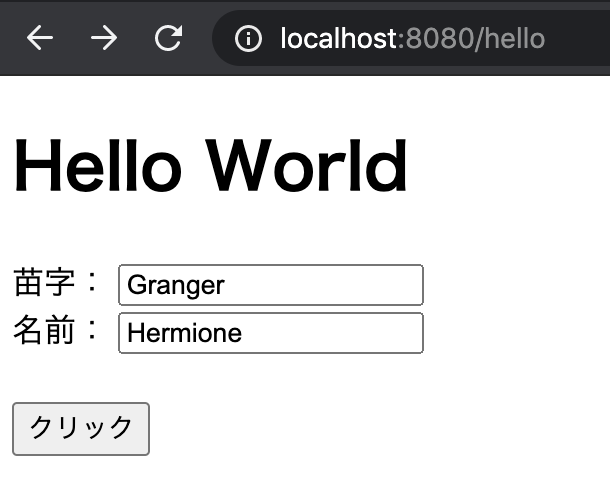
GETでhello.htmlに画面遷移する
- 入力フォーム作成
hello.html
<!DOCTYPE html>
<html xmlns:th="http://www.thymeleaf.org" lang="en">
<head>
    <meta charset="UTF-8">
    <title>Hello World</title>
</head>
<body>
    <h1>Hello World</h1>
    <form method="post" action="/hello">
        苗字:
        <input type="text" name="text1" th:value="${text1_value}"/>
        <br>
        名前:
        <input type="text" name="text2" th:value="${text2_value}"/>
        <br><br>
        <input type="submit" value="クリック"/>
        <br>
    </form>
</body>
</html>

POSTするコントローラークラス(HelloController)作成
- POST先のplaceholderへは
model.addAttributeで一個の文字列として繋げて渡してあげる - GET/POSTは同じエンドポイント(URL)でOK
- devtoolのネットワークで確認したらGET/POSTリクエストが投げられていることが確認できる
HelloController.java
import lombok.Getter;
import org.springframework.stereotype.Controller;
import org.springframework.ui.Model;
import org.springframework.web.bind.annotation.GetMapping;
import org.springframework.web.bind.annotation.PostMapping;
import org.springframework.web.bind.annotation.RequestParam;

@Controller
public class HelloController {
    @GetMapping("/hello")
    private String getHello() {
        return "hello";
    }
    @PostMapping("/hello")
    public String postRequest(@RequestParam("text1")String text1,@RequestParam("text2")String text2, Model model){
        //HTMLの画面から受け取った文字列をModelに登録
        model.addAttribute("userName","私は"+ text1 +" "+ text2+"です。");
        return "helloResponse"; //helloResponse.htmlに画面遷移
    }
}
POST先のhelloResponse.html作成
- テンプレートとモデルの値(入力された姓名)をマージした結果を返す
helloResponse.html
<!DOCTYPE html>
<html xmlns:th="http://www.thymeleaf.org">
<head>
    <meta charset="UTF8"></meta>
    <title>Response Sample</title>
</head>
<body>
<h1>Hello Response</h1>
<!--
 Modelからの値を受け取り受け取った文字を表示
 プレースホルダに指定したvalue(userName)をいれる
-->
<p th:text="${userName}"></p><body>
</html>
URLにアクセスして確認!
URL:http://localhost:8080/hello