はじめに
前回はLaravelの環境構築を行いました。今回はこちらの環境にReactを導入していきたいと思います。
Reactの導入
前置き
前回構築した環境でhttp://localhost/へアクセスした際に表示されるページの内容はどこに記載されているのでしょうか?
プロジェクトの中を探してみるとページの内容は/resources/views/welcome.blade.phpに記載されており、/routes/web.phpから呼び出されています。
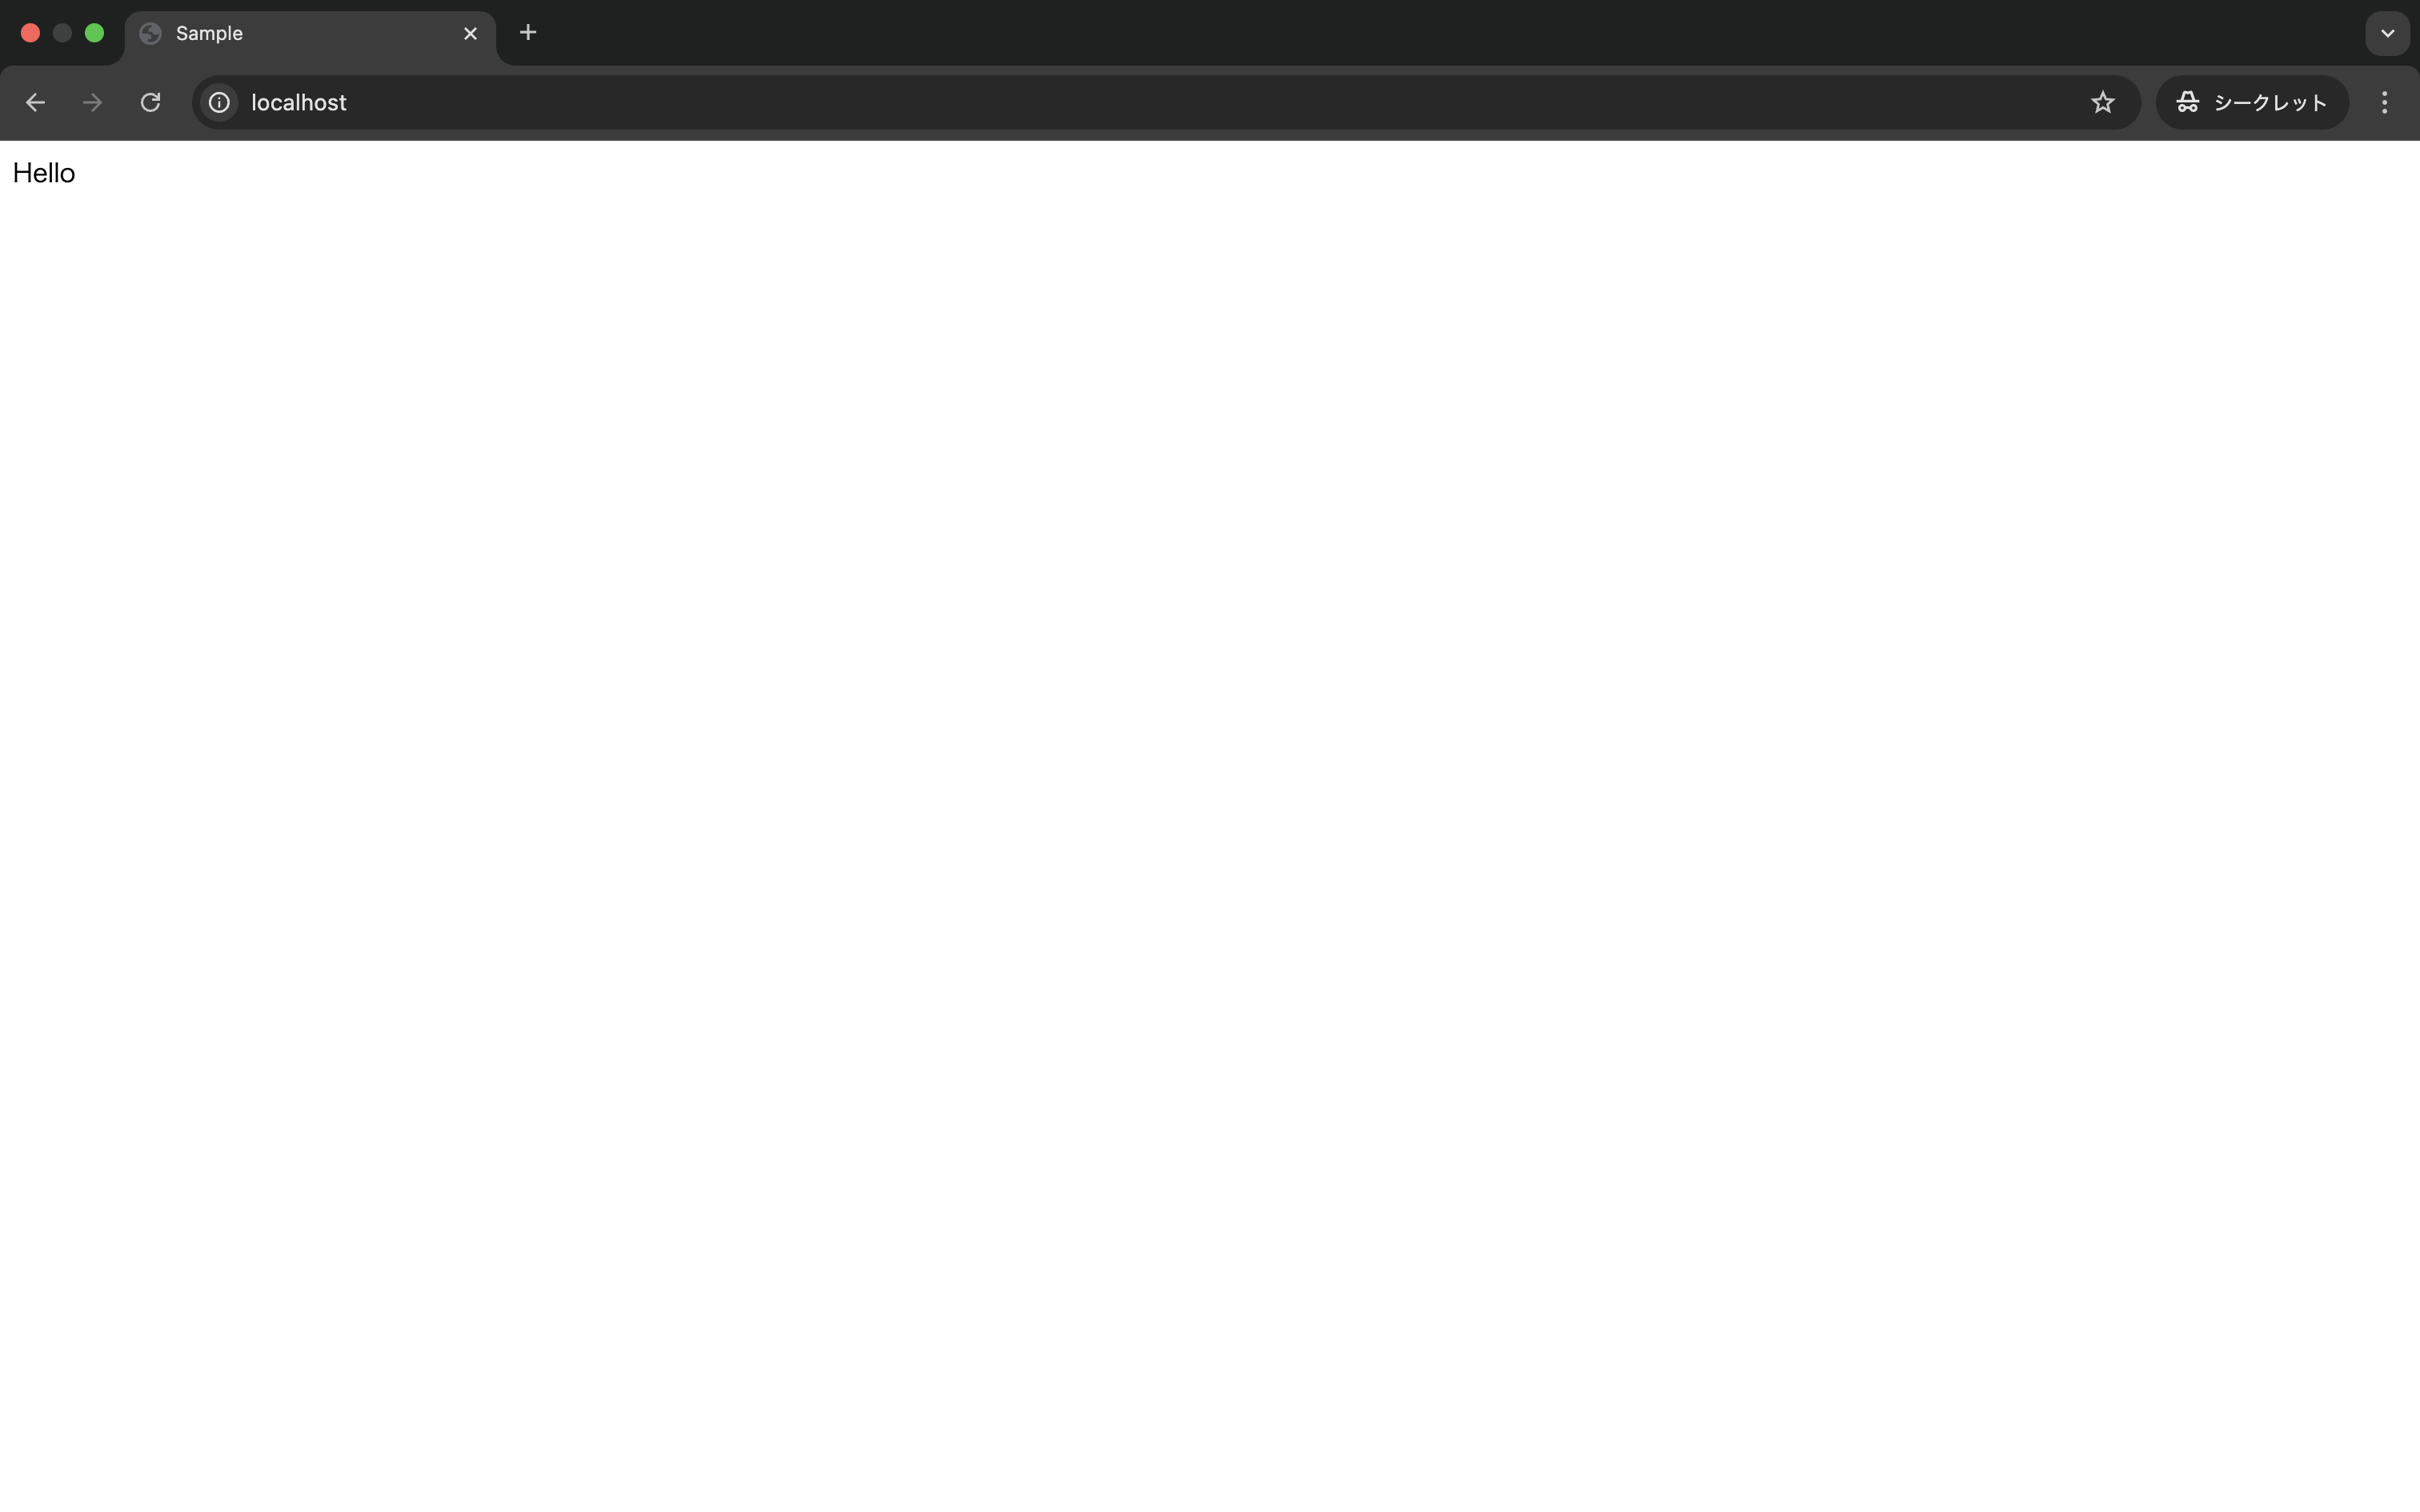
試しに以下のようなindex.blade.phpファイルを作成して、/resources/viewsへ配置みましょう。
<!DOCTYPE html>
<html lang="{{ str_replace('_', '-', app()->getLocale()) }}">
    <head>
        <meta charset="utf-8">
        <meta name="viewport" content="width=device-width, initial-scale=1">

        <title>Sample</title>
    </head>
    <body>
        Hello
    </body>
</html>
また、/routes/web.phpのreturn view('welcome');をreturn view('index');へ書き換えてください。その状態でhttp://localhost/へアクセスすると以下のようなページが表示されると思います。このindex.blade.phpファイルが後ほど登場するので覚えておいてください。
パッケージのインストール
一度PCを閉じた方もいるかもしれませんので、まずは以下のコマンドを実行してコンテナを起動しましょう。既に実行済みの方は不要です。
$ cd example-app
$ ./vendor/bin/sail up -d
次にReactの導入に必要なパッケージをインストールしましょう(まとめてインストールしてもらっても問題ありません)。
typescriptのインストールは必須ではありませんが、最近はよく使いますのでこのタイミングでインストールしておきます。
./vendor/bin/sail npm i
./vendor/bin/sail npm i react
./vendor/bin/sail npm i react-dom
./vendor/bin/sail npm i typescript
./vendor/bin/sail npm i @types/react
./vendor/bin/sail npm i @types/react-dom
./vendor/bin/sail npm i @vitejs/plugin-react
また、以下のコマンドも実行してtsconfig.jsonファイルを作成しておきます。
./vendor/bin/sail npx tsc --init
ファイルの作成、書き換え
まずは、/resources/scriptに以下のようなIndex.tsxを配置します。
import { createRoot } from 'react-dom/client';

const Index = () => {
    return <p>Hello React</p>;
};

const container = document.getElementById('app');
const root = createRoot(container!);
root.render(<Index />);
次に前置きでご紹介した/resources/views/index.blade.phpを以下のように書き換えます。WebページにReactを導入する際に起点となる.htmlファイルがあると思いますがそれに相当するのがこちらのファイルになります。
<!DOCTYPE html>
<html lang="{{ str_replace('_', '-', app()->getLocale()) }}">
    <head>
        <meta charset="utf-8">
        <meta name="viewport" content="width=device-width, initial-scale=1">

        <title>Sample</title>

        @viteReactRefresh
        @vite('resources/script/Index.tsx')
    </head>
    <body>
        <div id="app"></div>
    </body>
</html>
最後にvite.config.jsを以下のように書き換えます。これでReactの導入は完了です。
import { defineConfig } from 'vite';
import laravel from 'laravel-vite-plugin';
import react from '@vitejs/plugin-react'; // 追記

export default defineConfig({
    plugins: [
        laravel({
            input: ['resources/js/Index.jsx'],
        }),
        react({
            fastRefresh: false,
        }),
    ],
});
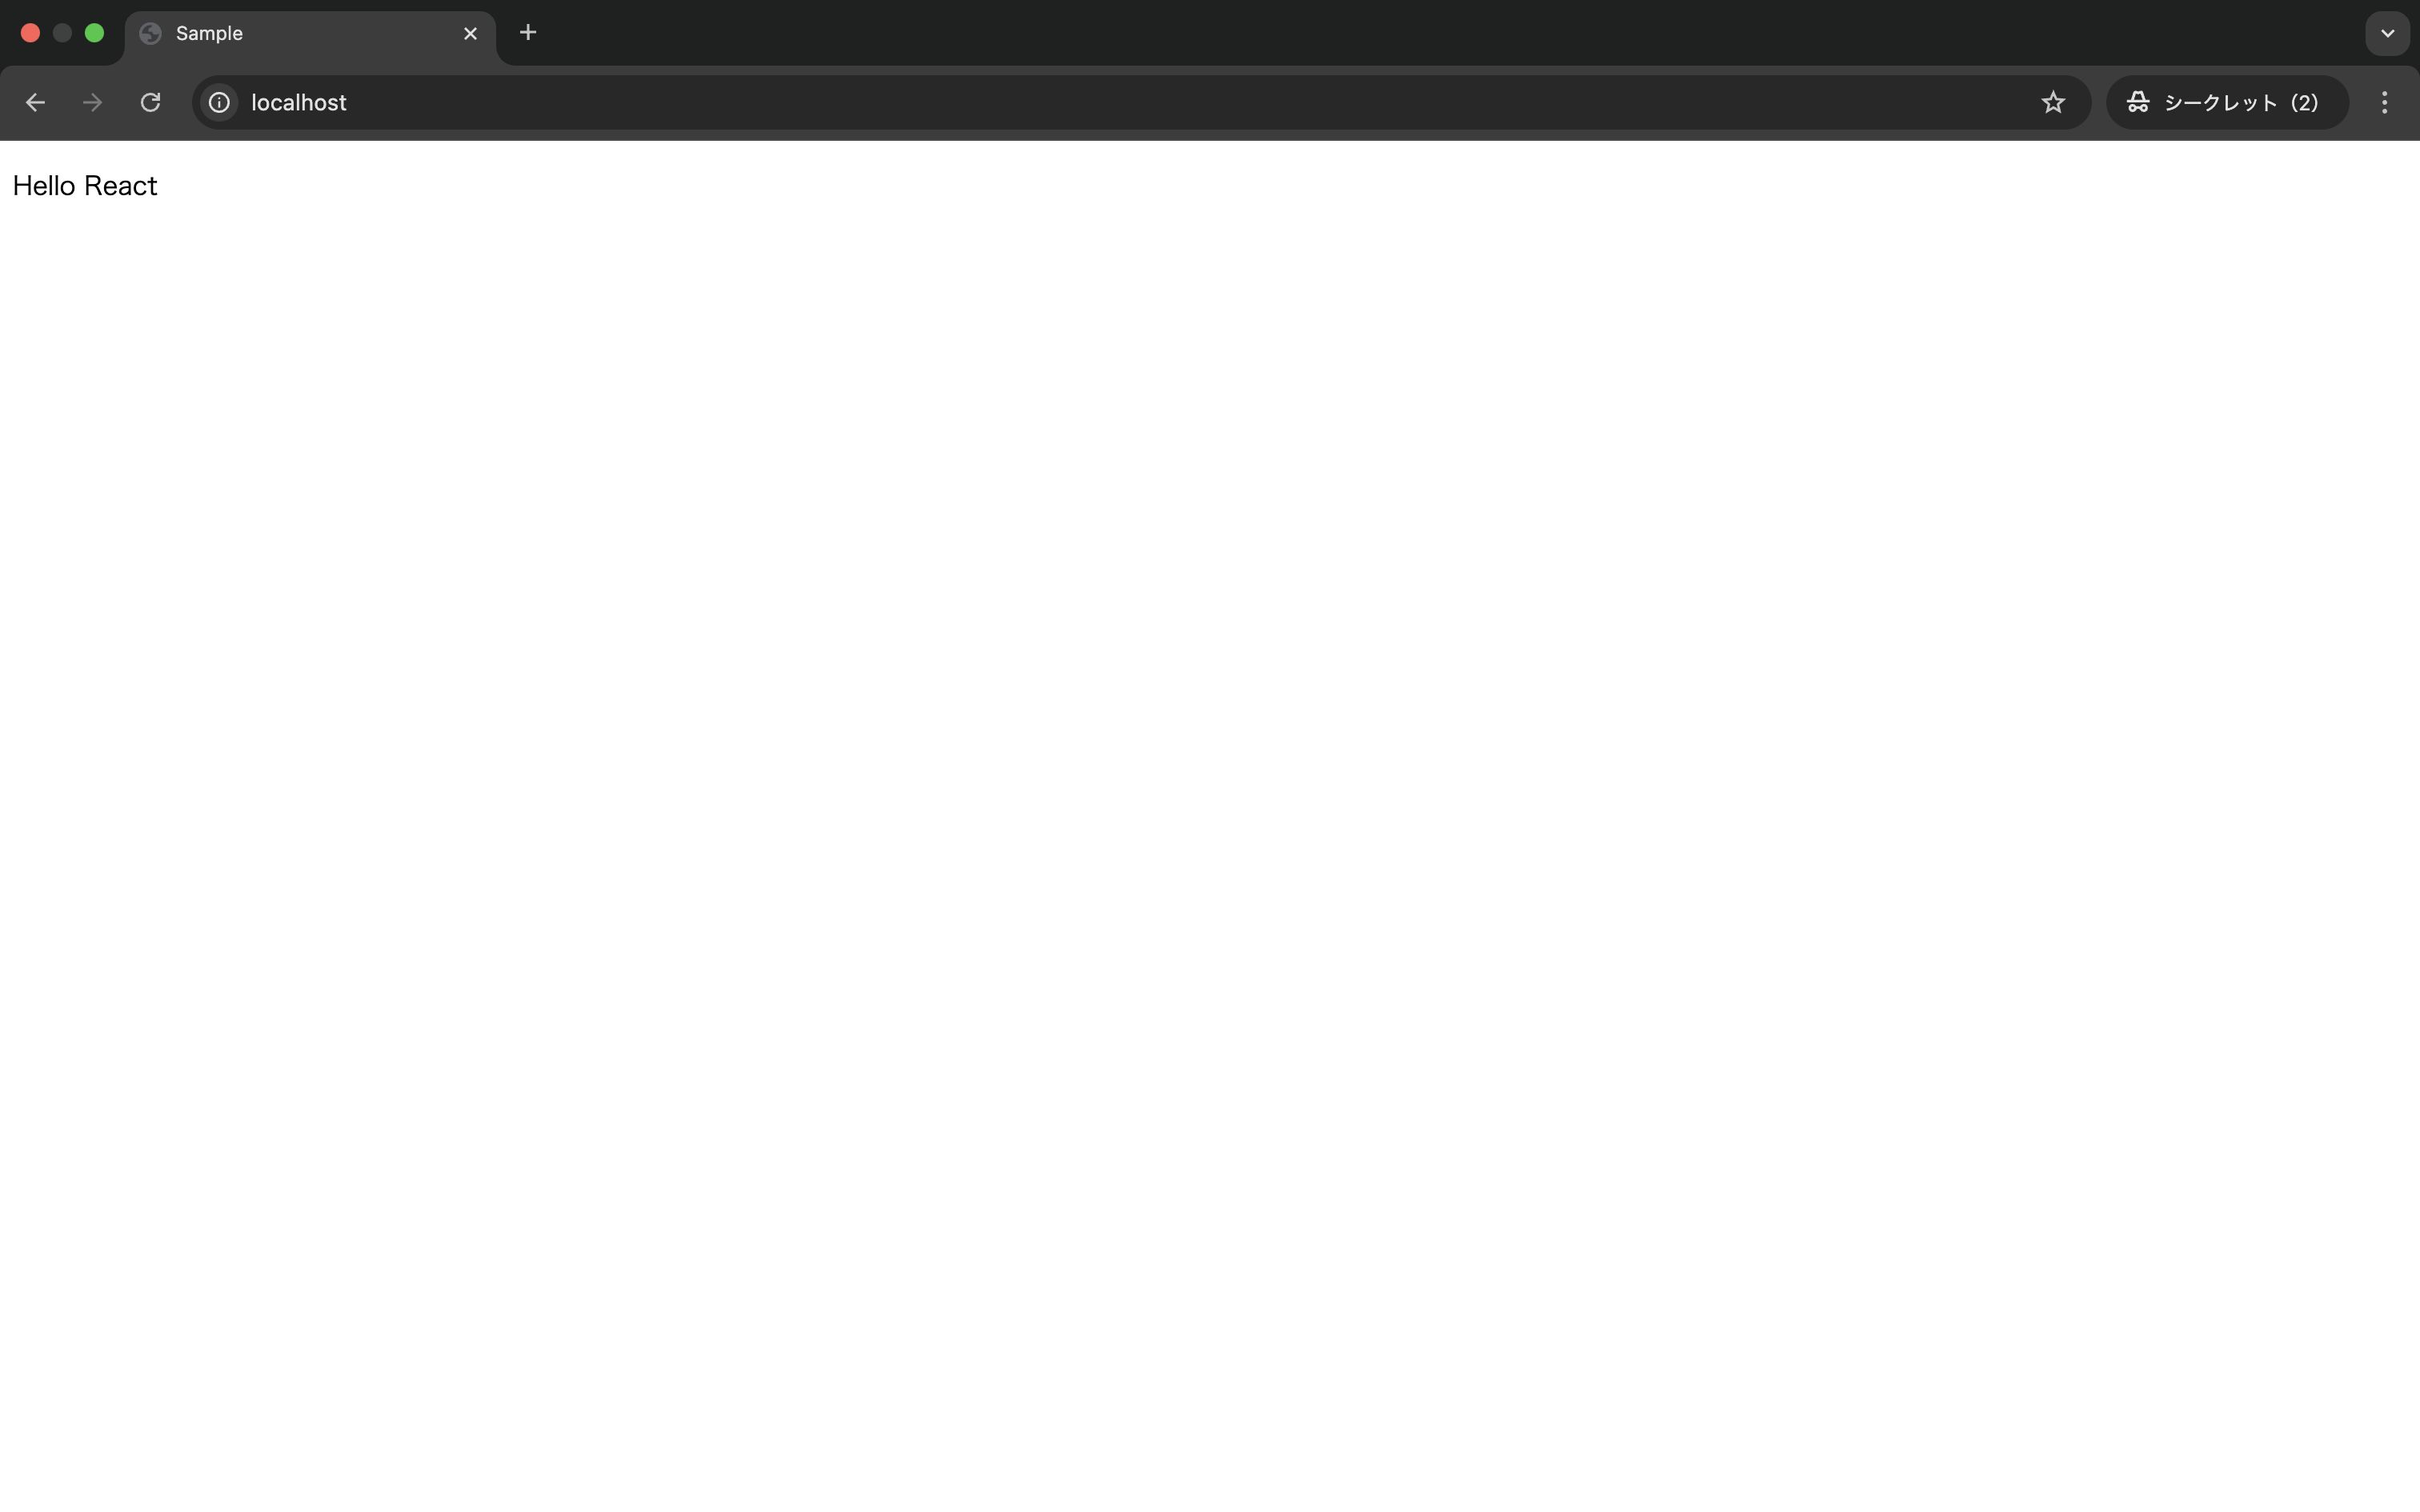
以下のコマンドを実行後にhttp://localhost/へアクセスすると画像のようなページが表示されると思います。
./vendor/bin/sail npm run dev
まとめ
今回はLaravel Sailを使用したLaravelの環境にReactを導入しました。今回の内容もそれほど難しくなかったのではないかと思います。次回は具体的なアプリの中身を作っていきます。