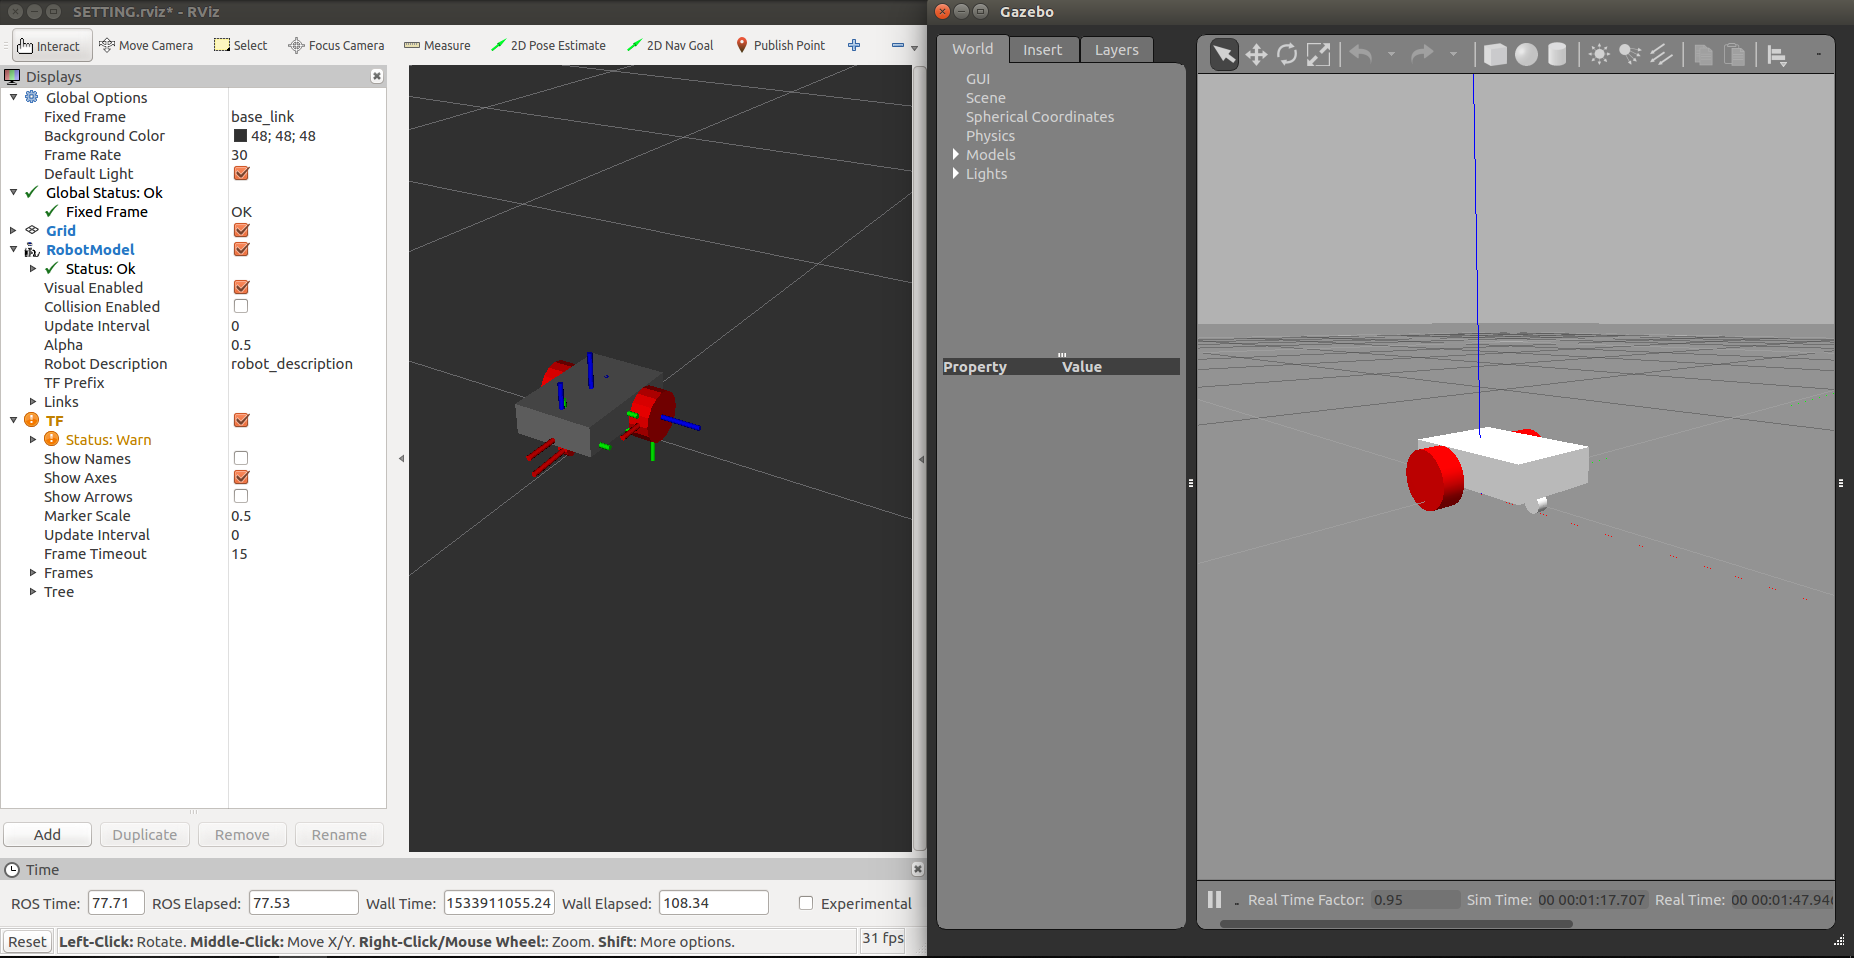
環境
この記事は以下の環境で動いています。
| 項目 | 値 |
|---|---|
| CPU | Core i5-8250U |
| Ubuntu | 20.04 |
| ROS | Noetic |
| Gazebo | 11.9.0 |
インストールについてはROS講座02 インストールを参照してください。
またこの記事のプログラムはgithubにアップロードされています。ROS講座11 gitリポジトリを参照してください。
概要
urdfで記述した差動2輪ロボットのモデルに記述を追加して動かします。まずURDFに記述を加えてロボットの各軸の動軸、自由軸の設定をします。そこにros_controlというgazeboプラグインを使ってROSからの指令でシミュレーター上で動くようにします。
2つの動輪がROSからTwistを受け取って動くようにします。そのためには以下の図のように.urdfに記述を加えてHardwareInterfaceを記述することとLaunchでControllerManagerの設定をすることが必要です。
gazeboプラグイン
GazeboはROSとは別々のソフトでROSからGazeboを動かすためにはROSとgazeboを接続するGazeboプラグインを使います。今回使うros_controlもGazeboプラグインの1つです。controller_managerはros_controlと接続するコントローラーを起動するもので、今回はdiff_drive_controller/DiffDriveControllerを起動します。
ソースコード
urdf
ロボットのurdfに実際にgazebo上で動かすための設定を足していきます。
<?xml version="1.0"?>
<robot name="dtw_robot" xmlns:xacro="http://ros.org/wiki/xacro">
  <material name="gray">
    <color rgba="0.5 0.5 0.5 2.5"/>
  </material>
  <material name="red">
    <color rgba="1.0 0.0 0.0 2.5"/>
  </material>

  <xacro:macro name="wheel_macro" params="parent prefix xyz">
    <joint name="${prefix}_joint" type="continuous">
      <origin xyz="${xyz}" rpy="${radians(-90)} 0 0"/>
      <parent link="${parent}"/>
      <child  link="${prefix}_link"/>
      <axis xyz="0 0 1" />
    </joint>
    <transmission name="${prefix}_trans" type="SimpleTransmission">
      <type>transmission_interface/SimpleTransmission</type>
        <actuator name="${prefix}_motor">
          <mechanicalReduction>1</mechanicalReduction>
        </actuator>
      <joint name="${prefix}_joint">
        <hardwareInterface>hardware_interface/VelocityJointInterface</hardwareInterface>
      </joint>
    </transmission>
    <link name="${prefix}_link">
      <inertial>
        <origin xyz="0 0 0" rpy="0 0 0"/>
        <mass value="0.1"/>
        <inertia ixx="0.0001" ixy="0.0" ixz="0.0" iyy="0.0001" iyz="0.0" izz="0.0001"/>
      </inertial>
      <visual>
        <geometry>
          <cylinder radius="0.05" length="0.02" />
        </geometry>
        <material name="red"/>
      </visual>
      <collision>
        <geometry>
          <cylinder radius="0.05" length="0.02" />
        </geometry>
      </collision>
    </link>
    <gazebo reference="${prefix}_link">
      <material>Gazebo/Red</material>
      <mu1 value="2.5" />
      <mu2 value="2.5" />
      <kp value="50000" />
      <kd value="10" />
    </gazebo>
  </xacro:macro>

  <link name="base_link"/>

  <joint name="body_joint" type="fixed">
    <parent link="base_link"/>
    <child  link="body_link"/>
    <origin xyz="-0.07 0 0.07" rpy="0 0 0"/>
  </joint>
  <link name="body_link">
    <inertial>
      <origin xyz="0 0 0" rpy="0 0 0"/>
      <mass value="1.0"/>
      <inertia ixx="0.001" ixy="0.0" ixz="0.0" iyy="0.001" iyz="0.0" izz="0.001"/>
    </inertial>
    <visual>
      <origin xyz="0 0 0" rpy="0 0 0" />
      <geometry>
        <box size="0.24 0.18 0.06" />
      </geometry>
      <material name="gray" />
    </visual>
    <collision>
      <origin xyz="0 0 0" rpy="0 0 0" />
      <geometry>
        <box size="0.24 0.178 0.06" />
      </geometry>
    </collision>
  </link>
  <gazebo reference="body_link">
    <material>Gazebo/Gray</material>
  </gazebo>

  <xacro:wheel_macro prefix="left_wheel"  parent="base_link" xyz="0 0.1 0.05"/>
  <xacro:wheel_macro prefix="right_wheel" parent="base_link" xyz="0 -0.1 0.05"/>

  <joint name="ball_joint" type="fixed">
    <parent link="base_link"/>
    <child  link="ball_link"/>
    <origin xyz="-0.14 0 0.04" rpy="0 0 0"/>
  </joint>
  <link name="ball_link">
    <visual>
      <origin xyz="0 0 0" rpy="0 0 0" />
      <geometry>
        <sphere radius="0.04" />
      </geometry>
      <material name="gray" />
    </visual>
    <collision>
      <origin xyz="0 0 0" rpy="0 0 0" />
      <geometry>
        <sphere radius="0.04" />
      </geometry>
      <material name="gray" />
    </collision>
  </link>
  <gazebo reference="ball_link">
    <material>Gazebo/Gray</material>
    <mu1 value="0.5" />
    <mu2 value="0.5" />
  </gazebo>

  <gazebo>
    <plugin name="gazebo_ros_control" filename="libgazebo_ros_control.so">
      <robotNamespace>/dtw_robot</robotNamespace>
    </plugin>
  </gazebo>
</robot>
ここから細かく解説します。今回のポイントとして
- link関連の
<gazebo>要素の追加 -
<transmisiion>要素の追加 -
<joint>要素中での<limit>と<dynamic>要素の追加 - ros_controllの追加
を行います。
link関連の<gazebo>要素の追加
ここでは摩擦係数の設定とgazebo上での色の設定をします。摩擦係数ですが、クーロン摩擦モデルというものを使います。mu1とmu2の2つのパラメーターがありますが、基本的に同じものを入れておけばよいでしょう。ちなみに摩擦係数は0.1(よく滑る)~1.0以下(普通の物)程度の値を設定します。動摩擦と静止摩擦を別々に設定することはできません。
rviz上での表示の色とは別にgazebo上での色を設定する必要があります。これは数値で指定するのではなく下の例のようにあらかじめ決められた色名から指定します。色名の一覧は参考のリンクから。
以下のようにgazeboタグの属性でlink名を指定してlinkごとに設定をします。
  <gazebo reference="ball_link">
    <material>Gazebo/Gray</material>
    <mu1 value="0.5" />
    <mu2 value="0.5" />
  </gazebo>
<transmisiion>要素の追加
記述は長いですが、重要な点は1つで指定したjointをどのの指令値で操作するかだけです。jointの指令のタイプには以下の3種類があります。
- hardware_interface/EffortJointInterface 力指令で動く
- hardware_interface/VelocityJointInterface 速度指令で動く
- hardware_interface/PositionJointInterface 位置指令で動く
基本的にはEffortJointInterfaceが一番gazeboと相性が良いですが、今回使う差動2輪用のドライバでは右輪と左輪の両方ともにVelocityJointInterfaceを使う必要があります。
    <transmission name="${prefix}_trans">
      <type>transmission_interface/SimpleTransmission</type>
      <joint name="${prefix}_joint">
          <hardwareInterface>hardware_interface/VelocityJointInterface</hardwareInterface>
      </joint>
      <actuator name="${prefix}_motor">
        <hardwareInterface>hardware_interface/VelocityJointInterface</hardwareInterface>
        <mechanismReduction>1</mechanismReduction>
      </actuator>
    </transmission>
<joint>要素中での<limit>と<dynamic>要素の追加
ここでは粘性係数と出力の制限を行います。<dynamics damping="0.1"/>は粘性係数で、速度に応じた抵抗が軸にかかります。シミュレーションが適切にされるためにも0.1程度の値を入れておくとよいでしょう。<limit velocity="12.0" effort="0.4" />は出力の制限で、必須の要素です。特にeffortの設定は重要で、モーターの出力が高すぎるとロボットがウィリー状態になってしまいます。そうならないためには以下のような式を満たす必要があります。括弧内は今回のロボットでの値です。
モーター出力 \le \frac{重心位置(0.05) \times 本体重さ(2.0) \times g(9.8)}{タイヤの数(2)}=(4.9)
  <joint name="left_wheel_joint" type="continuous">
    <parent link="base_link"/>
    <child  link="left_wheel_link"/>
    <origin xyz="0 0.1 0.05" rpy="-1.5708 0 0"/>
    <axis xyz="0 0 1" />
    <limit velocity="12.0" effort="0.4" /> # 追加
    <dynamics damping="0.1"/>               # 追加
  </joint>
ros_controllの追加
おまじないです。rosコントロールを使うときには必ず書きます。ここでロボット名を指定します。
  <gazebo>
    <plugin name="gazebo_ros_control" filename="libgazebo_ros_control.so">
      <robotNamespace>/dtw_robot</robotNamespace>
      <robotSimType>gazebo_ros_control/DefaultRobotHWSim</robotSimType>
      <legacyModeNS>true</legacyModeNS>
    </plugin>
  </gazebo>
launch
今回のメインはdiff_drive_controllerを起動する部分です。
<?xml version="1.0" encoding="UTF-8"?>
<launch>
  <arg name="model" default="$(find gazebo_urdf_lecture)/xacro/dtw_robot.xacro" />
  <param name="robot_description" command="$(find xacro)/xacro $(arg model) --inorder"/>

  <include file="$(find gazebo_ros)/launch/empty_world.launch">
    <arg name="paused" value="false"/>
    <arg name="use_sim_time" value="true"/>
    <arg name="gui" value="true"/>
    <arg name="headless" value="false"/>
    <arg name="debug" value="false"/>
  </include>

  <node name="spawn_urdf" pkg="gazebo_ros" type="spawn_model" args="-param robot_description -urdf -model dtw_robot" />

  <rosparam command="load" file="$(find gazebo_urdf_lecture)/config/diff_drive_controller.yaml" ns="/dtw_robot" />
  <node name="controller_spawner" pkg="controller_manager" type="spawner" respawn="false" output="screen" ns="/dtw_robot"
      args="diff_drive_controller" />
</launch>
<rosparam command="load" file="$(find gazebo_urdf_lecture)/config/diff_drive_controller.yaml" ns="/dtw_robot" />ではdiff_drive_control用の設定を書いた設定ファイルを読み込んでます。roslaunchに書き込むこともできるのですが、長くなるので別ファイルにして呼んでいます。 <node name="controller_spawner"....../>でdiff_drive_controllerというros_controlを起動しています。
diff_drive_controllerのパラメーター
diff_drive_controller:
  type        : "diff_drive_controller/DiffDriveController"
  left_wheel  : 'left_wheel_joint'
  right_wheel : 'right_wheel_joint'

  publish_rate: 20.0
  cmd_vel_timeout: 1.0
  wheel_separation : 0.20
  wheel_radius : 0.05
  pose_covariance_diagonal : [0.001, 0.001, 1000000.0, 1000000.0, 1000000.0, 1000.0]
  twist_covariance_diagonal: [0.001, 0.001, 1000000.0, 1000000.0, 1000000.0, 1000.0]

  # tf
  #enable_odom_tf: true
  base_frame_id: base_link
  odom_frame_id: odom

  # limits
  linear:
    x:
      has_velocity_limits    : true
      max_velocity           :  0.55 # m/s
      min_velocity           : -0.55 # m/s
      has_acceleration_limits: true
      max_acceleration       :  1.0 # m/s^2
      min_acceleration       : -1.0 # m/s^2
  angular:
    z:
      has_velocity_limits    : true
      max_velocity           :  1.5 # rad/s
      min_velocity           : -1.5 # rad/s
      has_acceleration_limits: true
      max_acceleration       :  1.0  # rad/s^2
      min_acceleration       : -1.0 # rad/s^2
上から基本的なパラメーター、tf関連のパラメーター、出力制限のパラメーターがあります。
-
left_wheel : 'left_wheel_joint' right_wheel : 'right_wheel_joint'ではそれぞれ左右輪に相当するjointを指定します。ここで注意すべきは左右の両輪とも前進時にそのjointの回転軸の正方向(z軸回転ならx軸がy軸に向かう方向)に回転する必要があります。逆の方向にするオプションはないので、urdfを作るときに気を付ける必要があります。 -
wheel_separation : 0.20 wheel_radius : 0.05ではタイヤの半径と2つのタイヤの間の距離を設定しています。
実行
launch
各ターミナルごとに実行前にsource ~/catkin_ws/devel/setup.bashを実行する必要があります。
roslaunch gazebo_urdf_lecture dtw_gazebo.launch
twistの送信
別のターミナルで以下のように送信しますとロボットへ移動の指示を与えることができます。
 rostopic pub -r 10 /dtw_robot/diff_drive_controller/cmd_vel geometry_msgs/Twist "linear:
  x: 0.4
  y: 0.0
  z: 0.0
angular:
  x: 0.0
  y: 0.0
  z: 0.0"
また以下のようにしますとロボットの現在の速さを見ることができます。
rostopic echo /dtw_robot/diff_drive_controller/odom
参考
roswiki ros_controlについて
diff_drive_controllerのdocument
Gazebo + ROS で自分だけのロボットをつくる 6. ros_controlについて
摩擦の設定について
gazeboで使える色一覧


