削除できないDestinationをNerdGraphで解決する方法
経緯・目的
不要なDestinationを削除する
読者が得られること: ゾンビ化したNotification Channelの削除方法
前提
Destinationを削除するには、紐づくWorkflowを全て解除する必要があります。
※「No Workflows」になっていること

Notification Channelとは
画像の「Notify」の部分のことです。
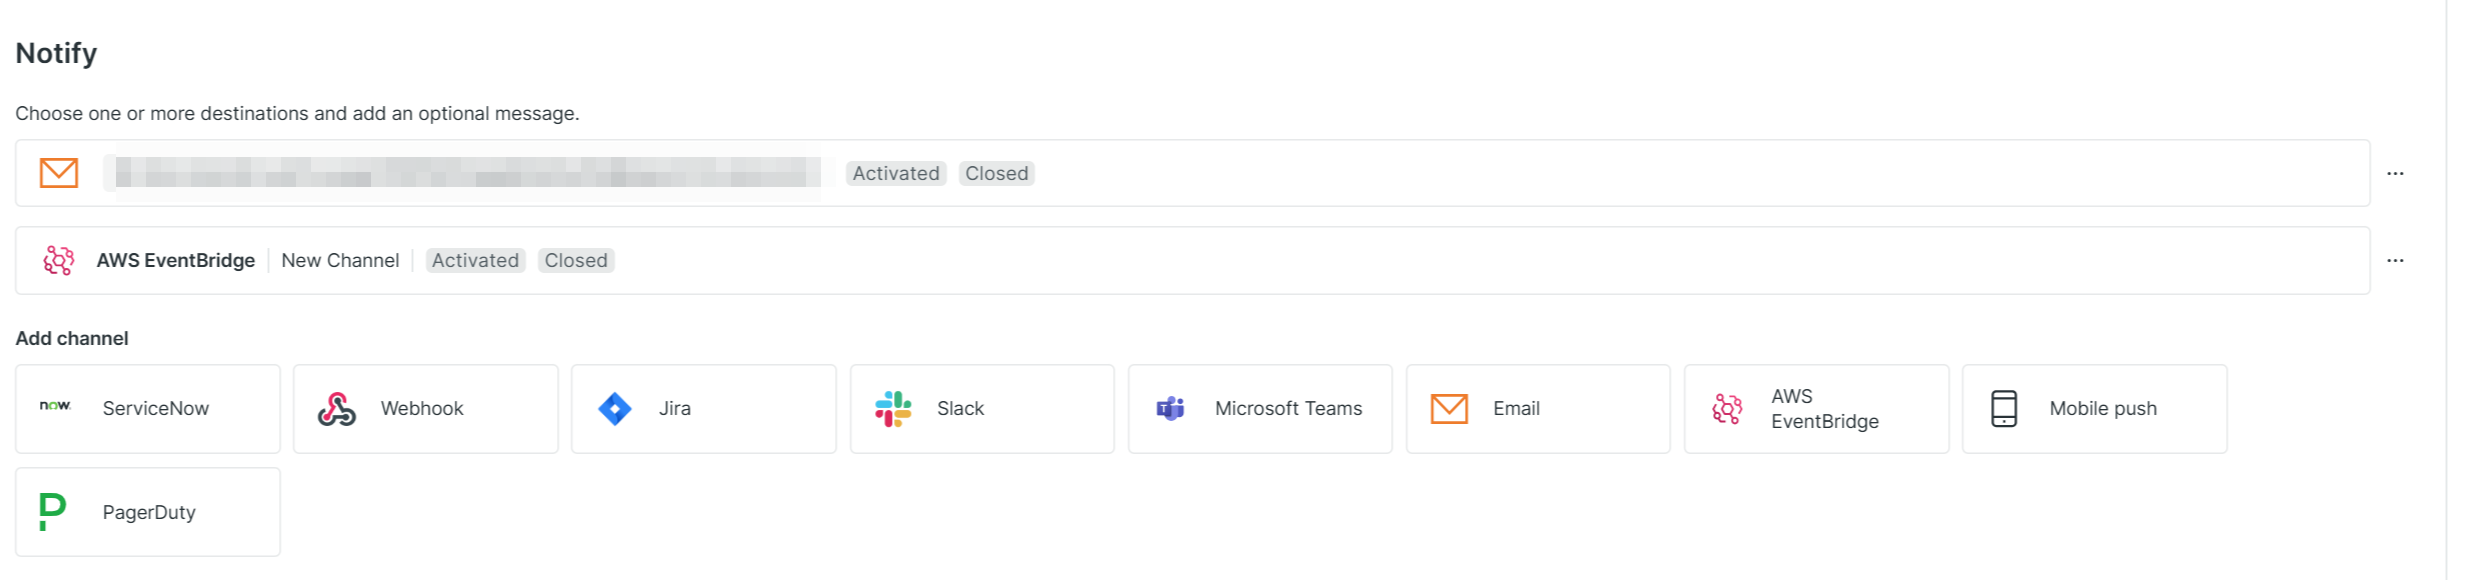
Terraformで作成する場合など、Workflowの中で定義すると思いきや、独立して作成するイメージの方が強いかもしれません。
Resource: newrelic_notification_channel
詳細:https://registry.terraform.io/providers/newrelic/newrelic/latest/docs/resources/notification_channel
問題
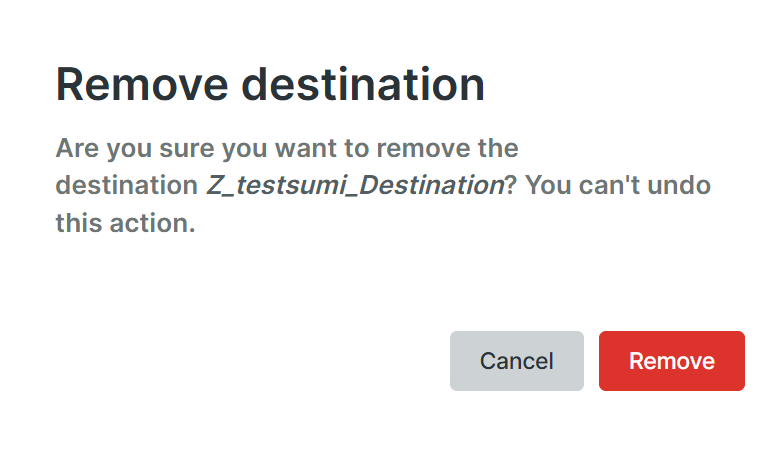
Destinationを削除しようとすると、以下のエラーが発生しました。
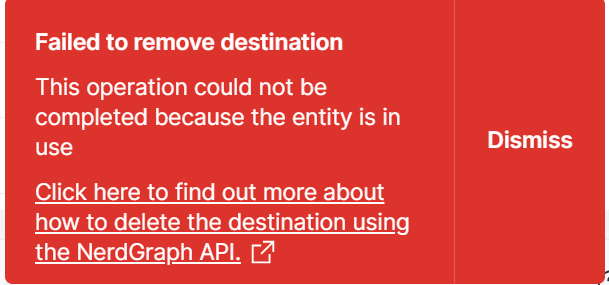
公式ドキュメントで以下を確認することができました。
どうやら、エラーの状況として、「channel(チャンネル)というエンティティタイプが使用中です」というエラーが出た場合の対処法を説明しているようです。
Important
If you receive a failure message stating Entity type channel is in use, you will need to identify the channels used by the destination and delete them before proceeding. To accomplish this, first find all the channels associated with the destination, then delete each channel individually.
原因
削除対象のDestinationがどこかのNotification Channelで宙ぶらりんになっている。
要はゾンビのNotification ChannelがあってそこにDestinationが紐づいたままになっていて消せなかったみたいです。
状況の整理:
- DestinationはWorkflowからは外れている(削除要件はクリア)
- おそらくゾンビ化した架空のNotification Channelに紐づいている可能性
- ただし、GUI上では確認できない
対処策
公式ドキュメントを確認したところ、NerdGraphから削除できることがわかりました。
Destinationに紐づいているすべてのChannelを見つけて、各Channelを1つずつ削除可能です。
必要な情報:
- Destination ID(Notification Channel ID特定のため)
- Notification Channel ID(削除対象)
- Account ID(ご自身の環境のIDに変更してください)
手順
1. NerdGraphAPI操作環境準備
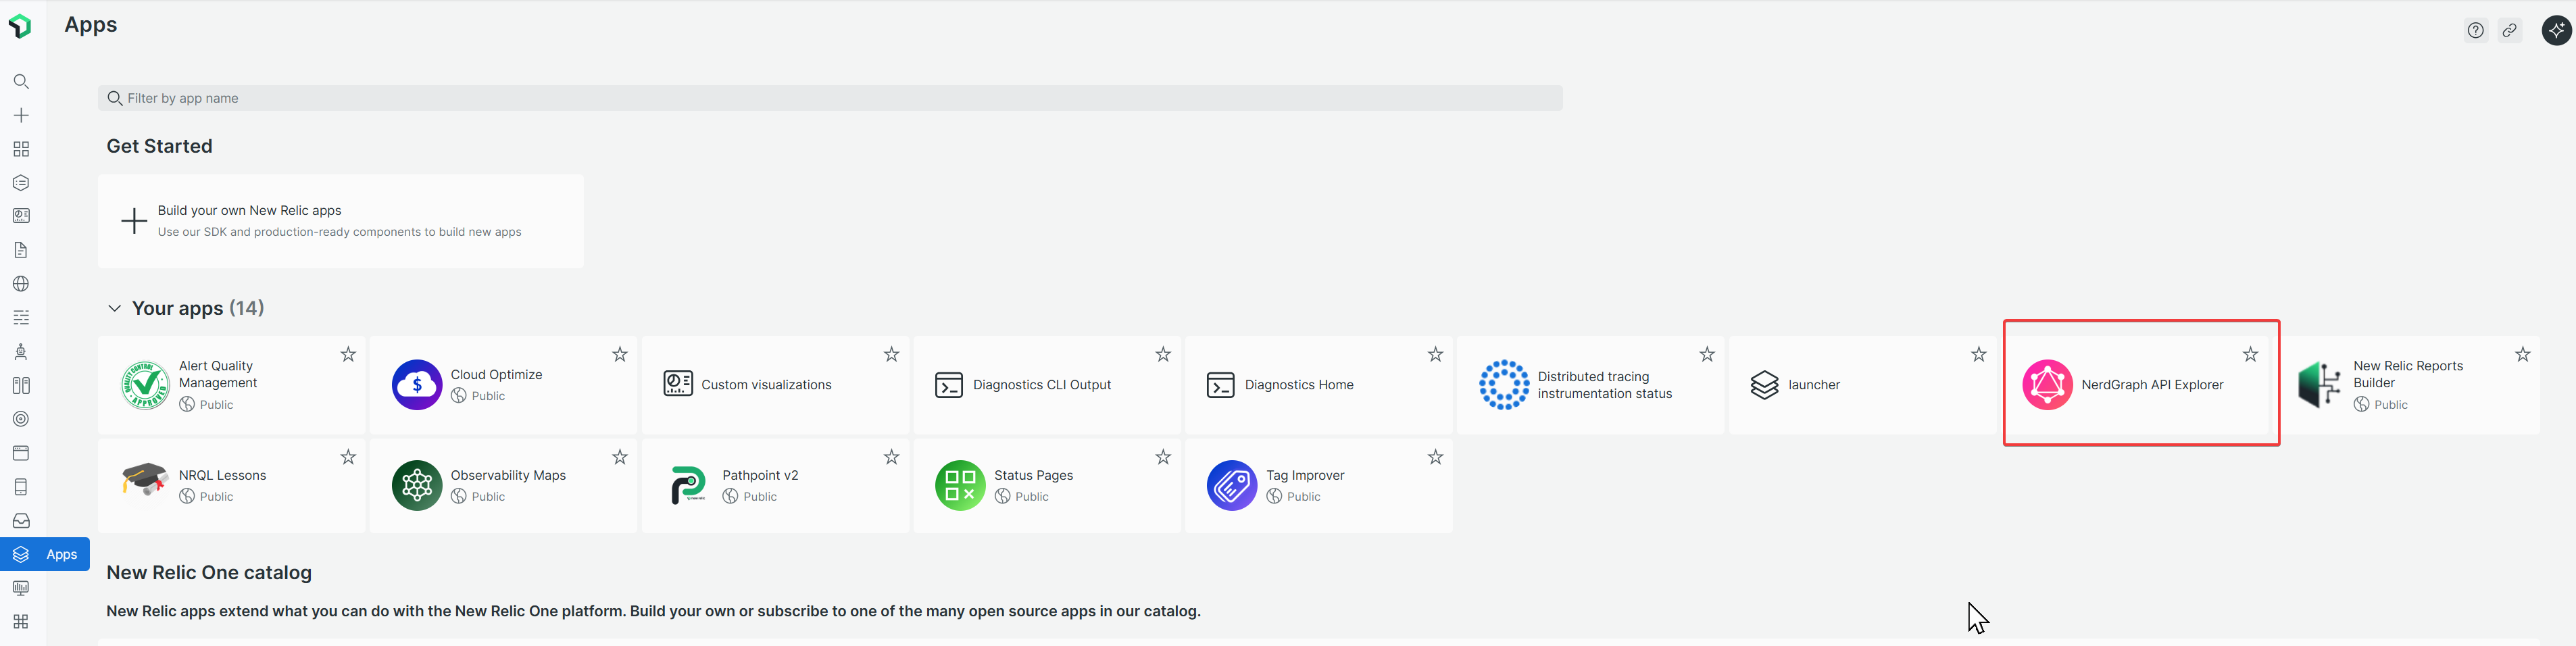
1-1. 画面左ペインの「Apps」を押下

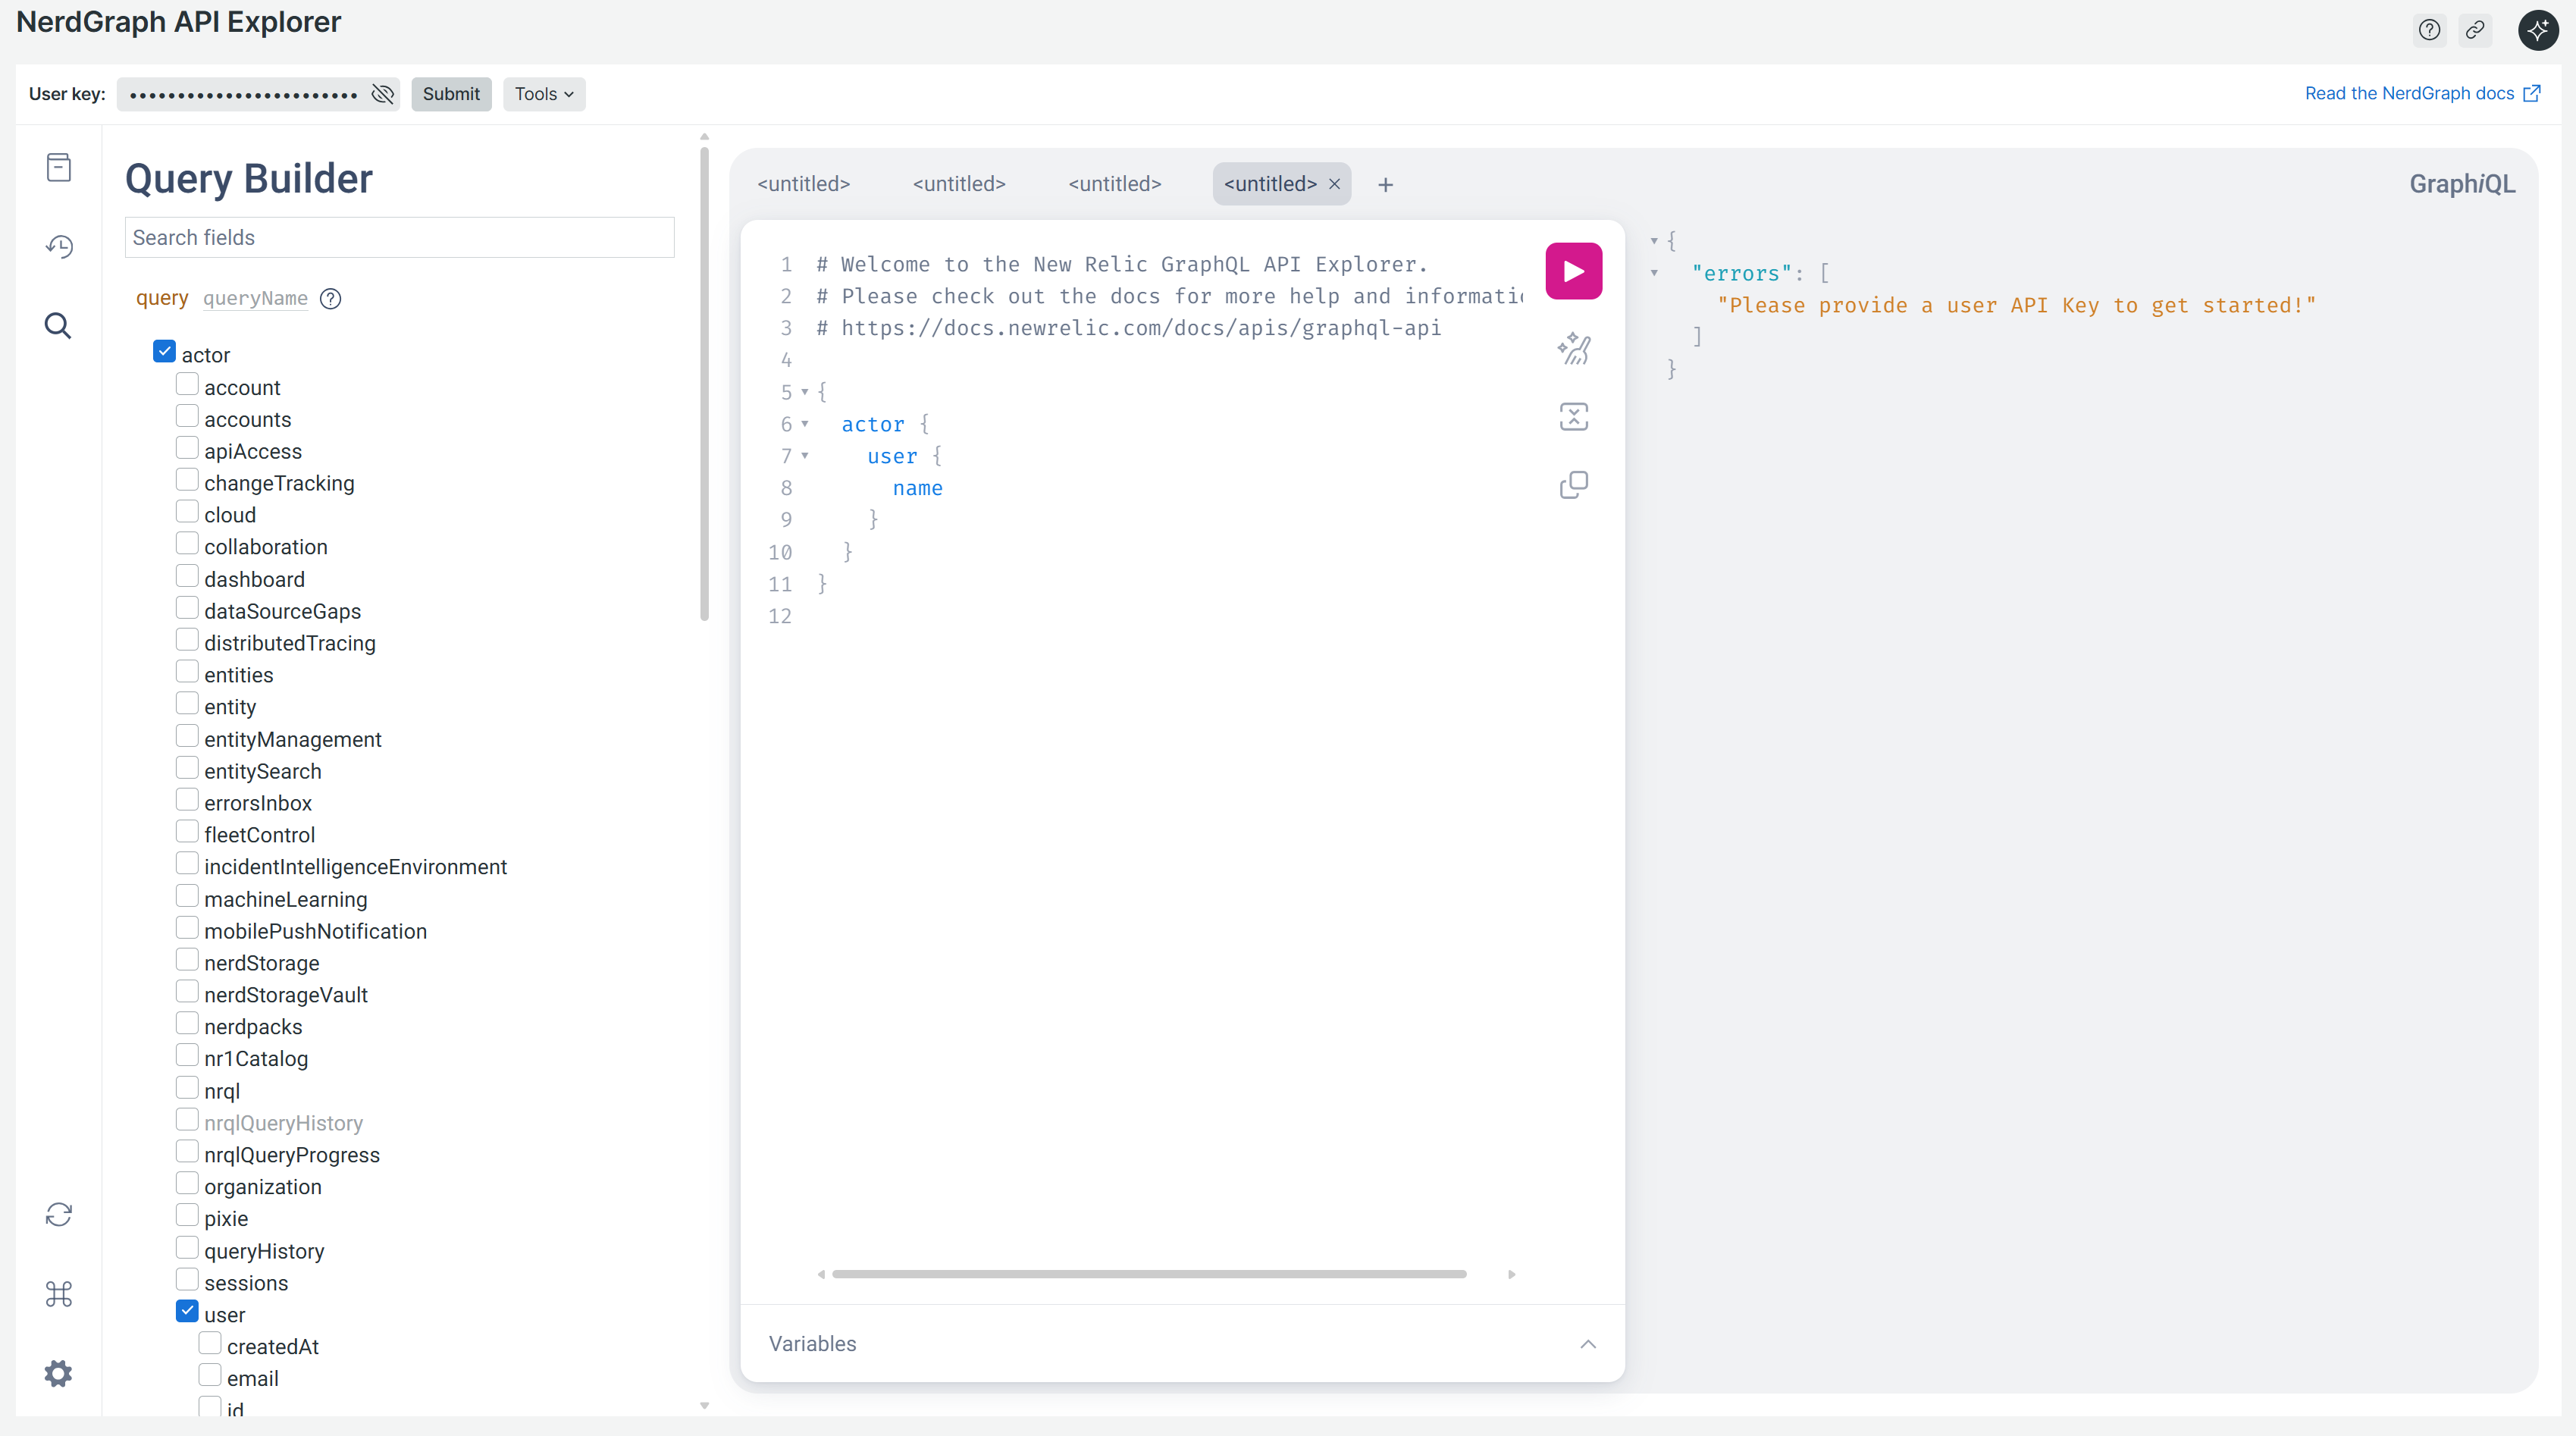
1-2. NerdGraph API Explorer を押下
1-3. 「User key」を入力して、「Submit」を押下
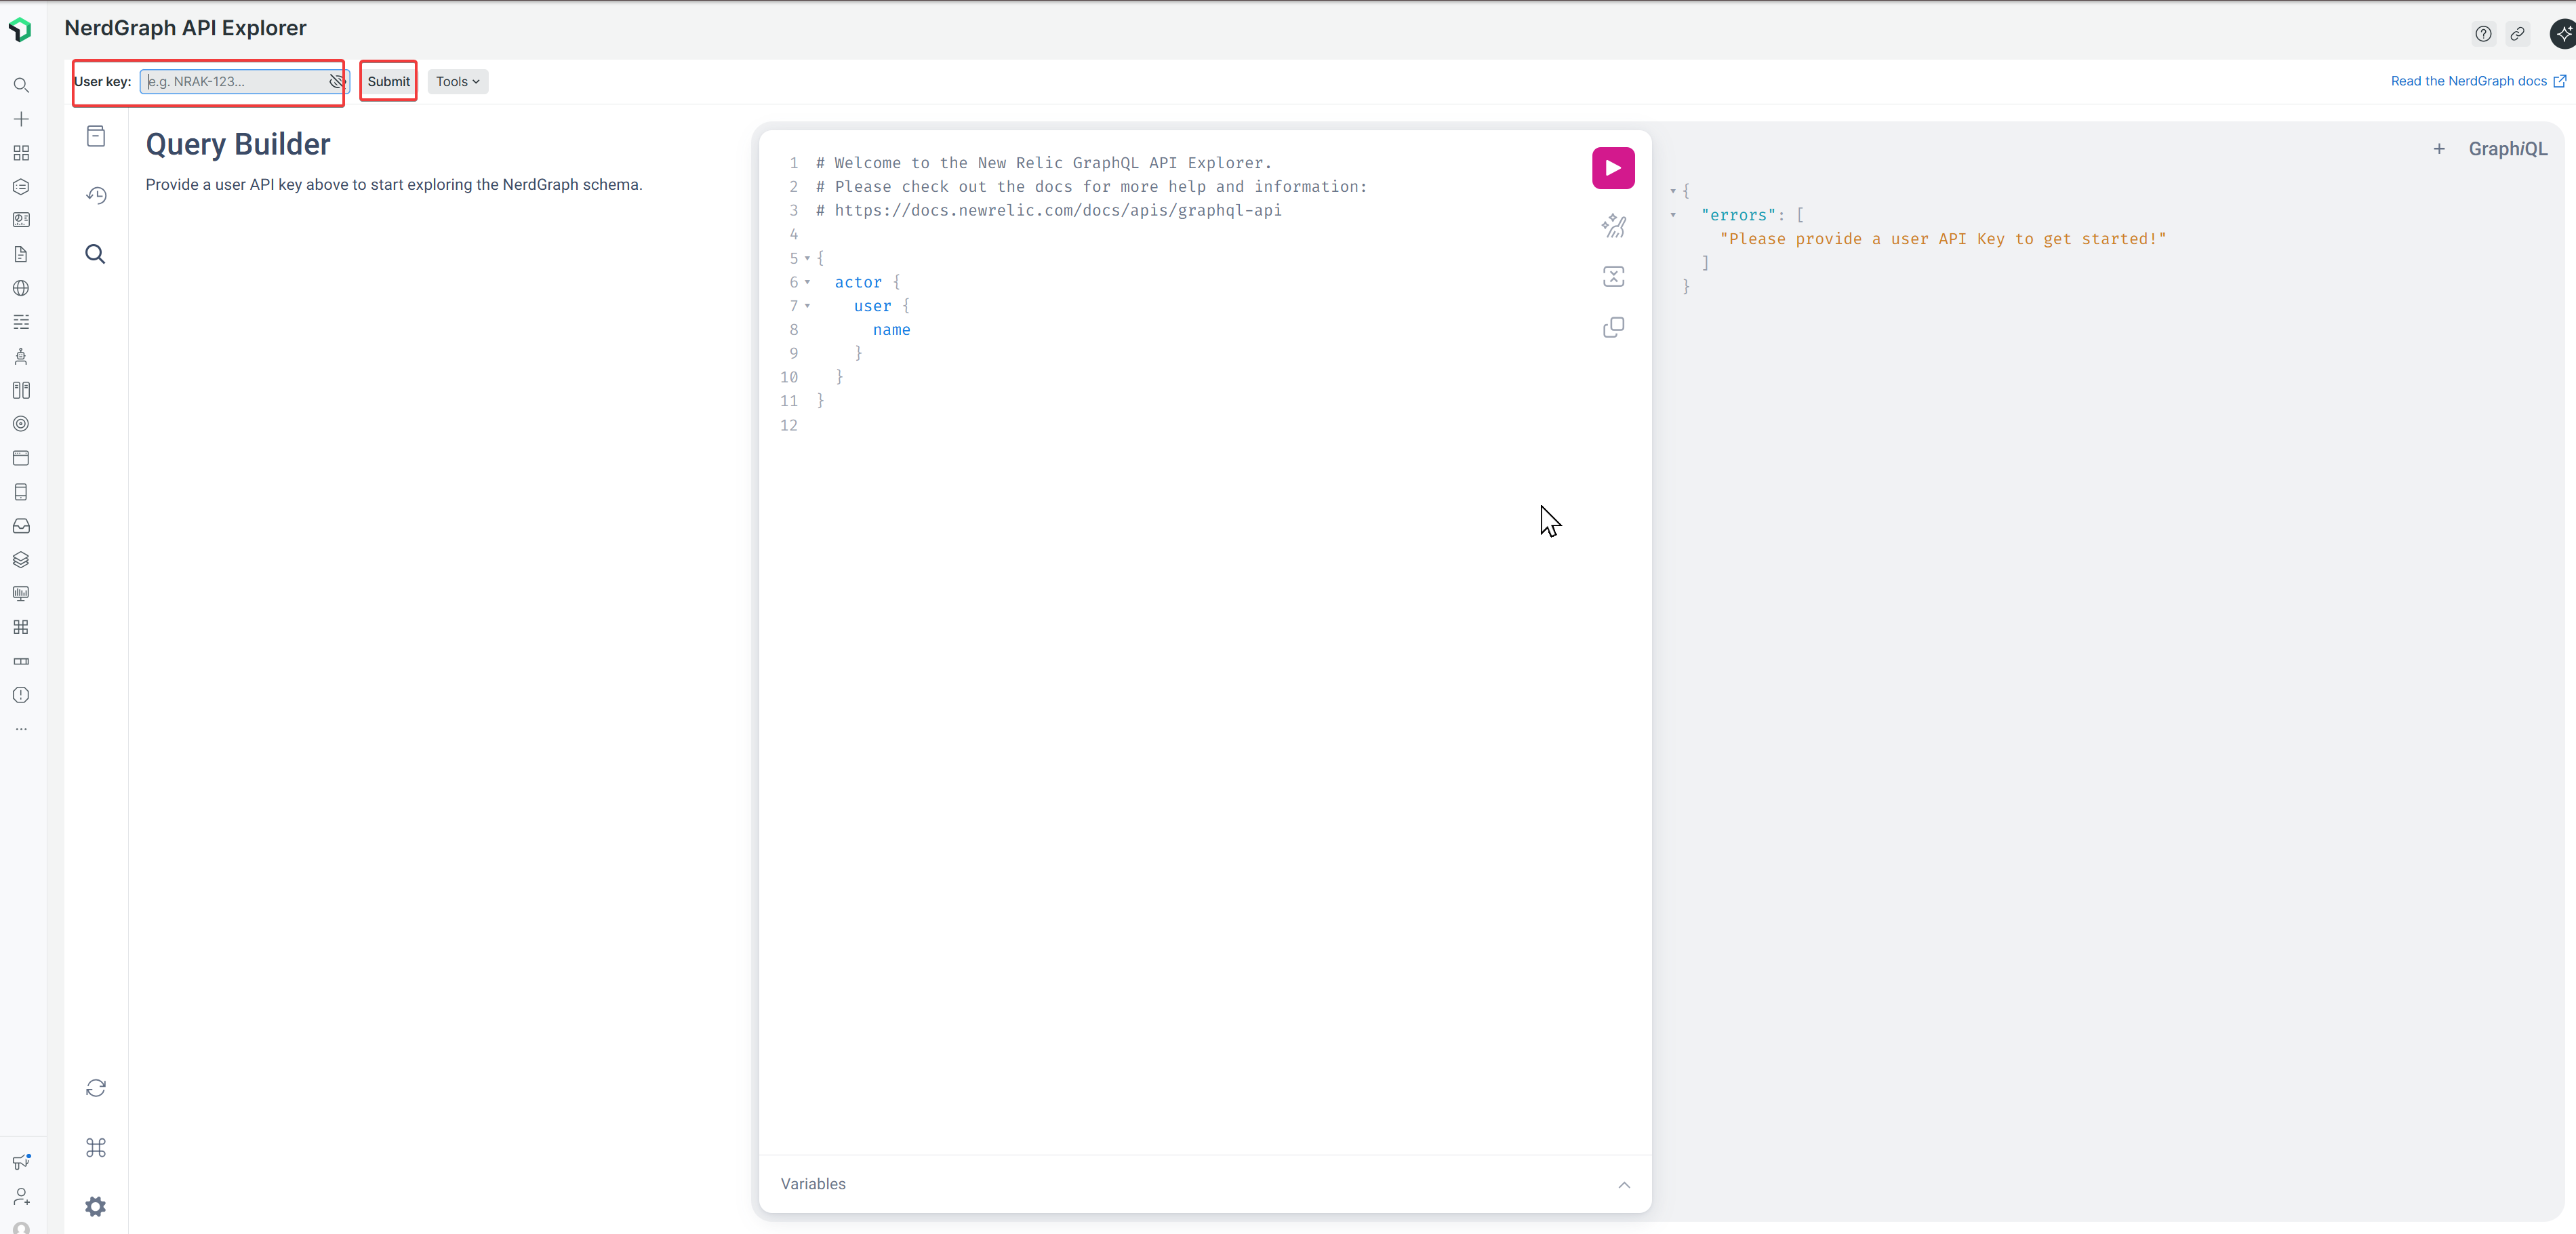
問題なければ、Query Builderが表示されます。
💡 User Keyの取得方法 ※既に取得している人はスキップ
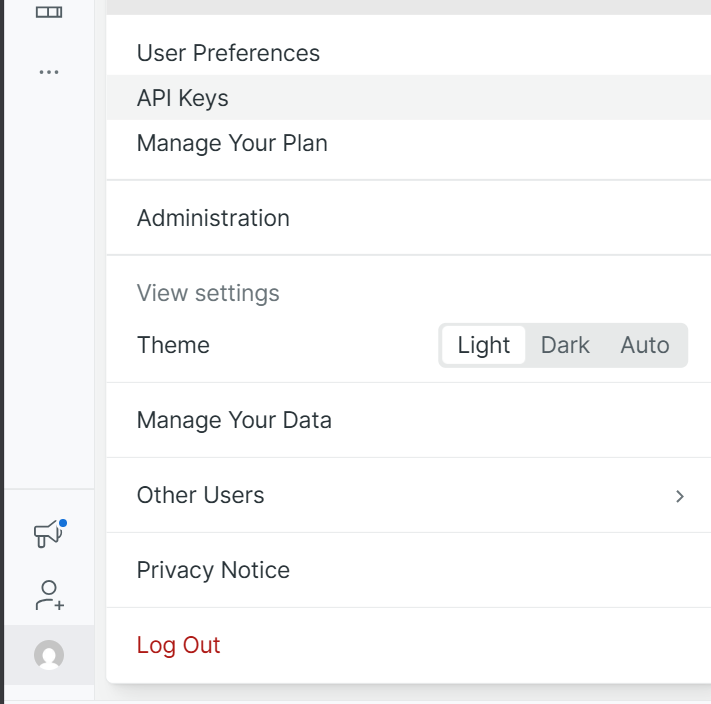
「User Key」 ですが、画面左下のユーザーアイコン(グレーの人型マーク)を押下すると、メニューが表示されます。その中から「API Keys」を選択してください。
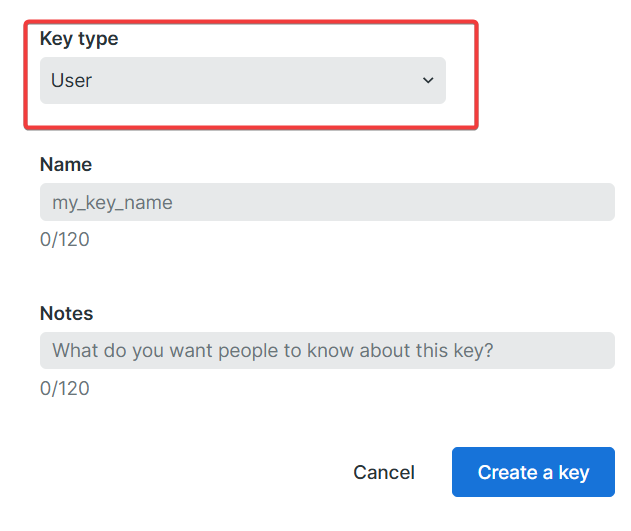
「API Keys」画面より、「Create a key」を押下し、指示通り作成する。このとき、「Key type」を 「User」に選択して作成完了します。

2. 特定方法と具体的な削除の仕方
2-1. Destination IDを特定
以下のクエリで、アカウント内のすべてのDestinationを取得します。
{
  actor {
    account(id: xxxxxxx) { # 任意のアカウントIDに変更
      aiNotifications {
        destinations {
          entities {
            id
            guid
            name
          }
        }
      }
    }
  }
}
{
                "guid": "xxxxxxxxxx...(長いため省略)",
                "id": "12345678-1234-1234-1234-123456789abc",
                "name": "Z_testsumi_Destination"
              }
アカウント内のすべてのDestinationが表示されます(本来は複数表示されます)。
削除したいDestination名("name")に対応するidが「Destination ID」です。
2-2. Notification Channel IDを特定
2-1.で特定した「Destination ID」を用いて、指定のDestination に紐づく「Notification Channel ID」を特定します。
{
  actor {
    account(id: xxxxxxx) { # 任意のアカウントIDに変更
      aiNotifications {
        channels(filters: { destinationId: "12345678-1234-1234-1234-123456789abc"}) {
          entities {
            id
            name
          }
        }
      }
    }
  }
}
{
  "data": {
    "actor": {
      "account": {
        "aiNotifications": {
          "channels": {
            "entities": [
              {
                "id": "7c8e2b4a-93f1-4d6e-b2a5-9e1f8c3d7a6b",
                "name": "Email"
              }
            ]
          }
        }
      }
    }
  }
}
2-3. ゾンビChannelを削除
2-2で特定した「Notification Channel ID」をchannelIdに指定して実行します。
mutation {
  aiNotificationsDeleteChannel(
    accountId: xxxxxx
    channelId: "7c8e2b4a-93f1-4d6e-b2a5-9e1f8c3d7a6b"
  ) {
    error {
      description
      details
      type
    }
    ids
  }
}
{
  "data": {
    "aiNotificationsDeleteChannel": {
      "error": null,
      "ids": [
        "7c8e2b4a-93f1-4d6e-b2a5-9e1f8c3d7a6b"
      ]
    }
  }
}
2-4. Destinationを削除
今度こそDestinationを削除します!
結果は、上手くいきました!!!
まとめ
今回、ゾンビ化したNotification Channelを削除することで、無事Destinationを削除できました。
Terraformでの運用における注意点
TerraformでDestinationの名称変更や削除を行う際も、同様のエラーが発生する可能性があります。
対処方法:
- Notification Channelを直接操作することは可能
- ただし、既存リソースの名称変更時にエラーが発生する可能性がある
- リソースを一新する方が無難
重要: GUIでは直感的な操作も、Terraformでは複雑になることに注意してください。
トラブルシューティング
Destinationが削除できない場合は、以下を確認してください:
✅ ゾンビ化したNotification Channelが存在していないか
✅ 本記事の手順でゾンビChannelを特定・削除
この方法で解決できるはずなので、ぜひご活用ください!
参考リンク: