PIC開発課環境構築
PIC開発のための環境構築を行います
ダウンロードファイル
-
MPLAB X IDE v3.50(2016/12/30現在)
[Downloads]タブ内にリンクがあります -
MLAB X16 Compiler v1.30(2016/12/30現在)
[Downloads]タブ内にリンクがあります -
PIC24/dsPIC Peripheral Libraries v2.00(2016/12/30現在)
コンパイラと同じ[Downloads]タブ内の下のほうにリンクがあります
インストール
ダウンロードした各ファイルを実行し、インストールしていきます。
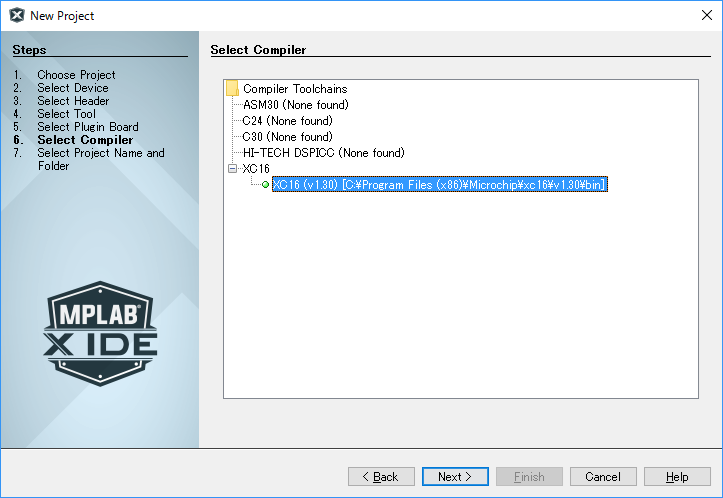
Peripheral Librariesについては、Compilerよりも後からインストールする必要があり、インストール時にコンパイラのインストールフォルダの指定が求められますので、コンパイラのバージョンと同じ名前のフォルダを指定します。
(上記バージョンであれば、「C:\Program Files (x86)\Microchip\xc16\v1.30」となります)
動作確認
-
MPLAB X IDEを起動します。
-
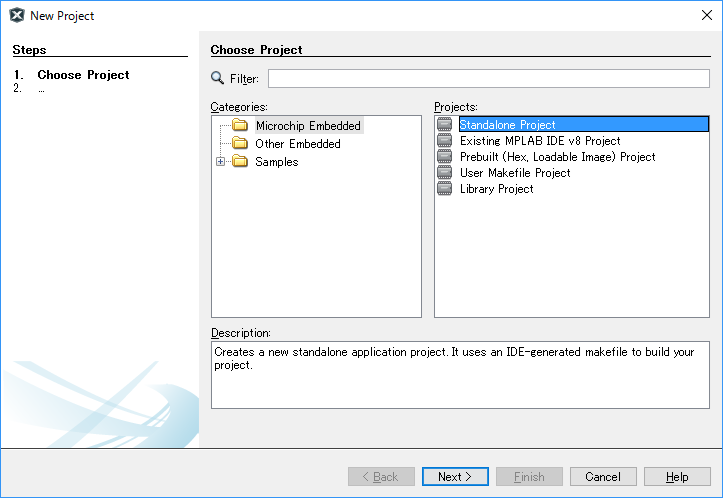
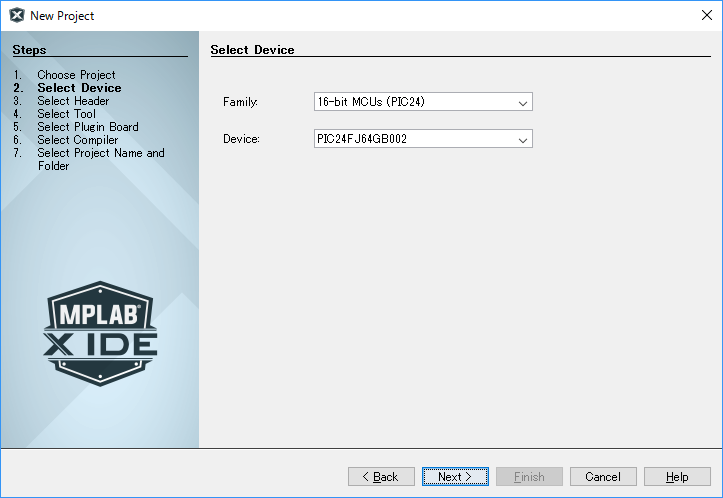
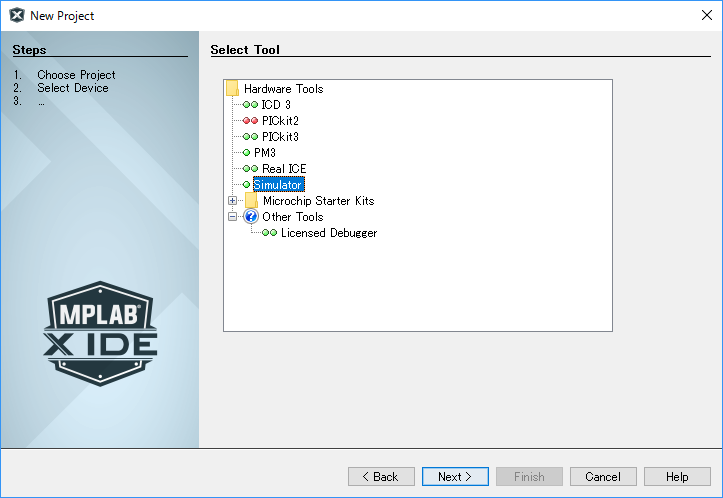
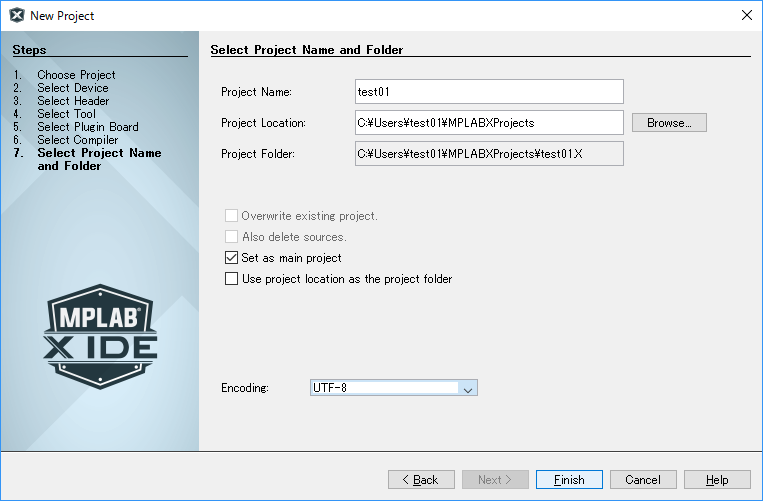
メニューバーの「File」-「New Project」を実行します
-
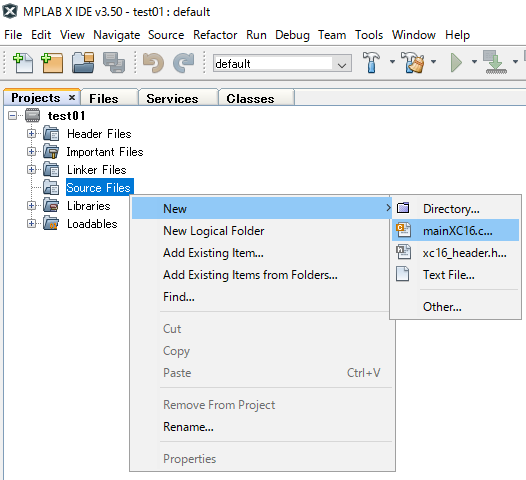
プロジェクト内の「Source File」を右クリックし、「new」-「mainXC16.c」を実行して、そのまま「newmainXC16.c」を作成します
-
「newmainXC16.c」が開かれるので、下記の通り編集します。
newmainXC16.c
# include "xc.h"
# include<ports.h>                       /*ポートbit操作マクロの定義*/

void delay(int i){
    while(i--);
}

int main(void) {
  AD1PCFG = 0xffff;                     /*全てのポートをデジタルI/O */
  CLKDIV  = 0x0000;                     /*クロック周波数 32MHz*/
  mPORTBOutputConfig(IOPORT_BIT_15);    /*PORTB RB15を出力設定*/
  mPORTBWrite(0);                       /*PORTB Low出力*/
  while (1) {
    mPORTBSetBits(IOPORT_BIT_15);
    delay(10000);
    mPORTBClearBits(IOPORT_BIT_15);
    delay(60000);
  }
  return 0;
}
- メニューバーの「Debug」-「Debug Main Project」を実行します
環境に問題がなければ、デバッグモードでコードが実行されます。
参考にさせていただいたサイトについて
- Peripheral Librariesの必要性について
PIC24FのPeripheral Libraryを個別インストールする方法 - コードサンプル
PIC24Fで基本のLED点滅
