はじめに
ローカルでブランチを作成し、リモートに登録するまでの手順を紹介します。
リモートにプロジェクトを登録する手順は下記を参考にしてください。
gitの使い方(git init 〜git push)
今回はmasterブランチから新しくdevelopブランチを作成してリモートに登録してみたいと思います。
1.ローカルでdevelopブランチを作成(git checkout)
まず現在のブランチを確認します。
$ git branch  //ブランチを確認
* master      //現在のブランチに*がついている。他にもブランチがあると一覧として表示されます。
$ git checkout -b develop master  //masterブランチからdevelopブランチを作成
($ git checkout -b develop) //今いるブランチから作成する場合はmasterを省略可能

Branch 'develop' set up to track remote branch 'develop' from 'origin'.
Switched to a new branch 'develop'
再度ブランチを確認します。
$ git branch  //ブランチを確認
* develop     //developブランチが作成されると同時にブランチが切り替わっています。
  master
もしブランチを切り替えたい場合は下記で切り替えられます。
$ git branch [切り替えたいブランチ名]
($ git checkout master)  //developからmasterに切り替わります。
2.リモートへの登録(git push -u origin)
ローカルでブランチを作成したので、このブランチをリモートに登録します。
$ git push -u origin develop //リモートに登録
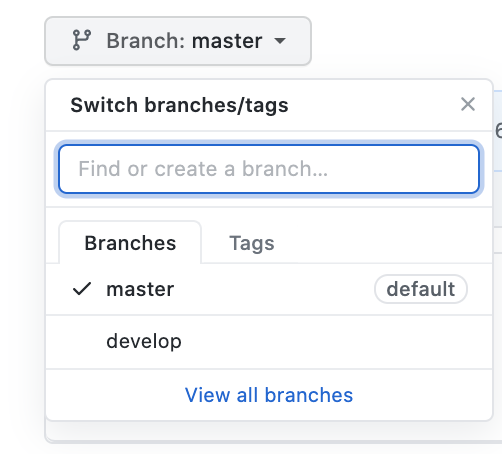
githubで確認するとdevelopがちゃんと登録されています。

この後、developブランチに変更があった場合は下記の手順でpushできます。
$ git add -A                       //変更を追加
$ git commit -m "コミットメッセージ"  //コミット
$ git push                         //一度登録した後はpushだけで大丈夫です。
終わりに
次はチームでの開発を意識したgitの使い方(merge, pullなど)を紹介したいと思います。
独学で勉強していたときは、いろいろなgitコマンドを使う機会がありませんでしたが、エンジニアに転職してからはブランチをどんどん切り替えて作業をするので、理解するのに最初はかなり苦労しました。
初心者の方でも理解しやすいようにまとめたいと思います。