はじめに
この記事では Angular の画面部品の基本である component (コンポーネント)について記述します。
component は、HTML, TypeScript, CSS の3ファイルで構成されます。
開発者はこれらのセットを使って、画面全体や画面要素の一部を作成します。
ここでは、新しく component を作成し、Hello, world! という文字を表示してみましょう。
なお、開発環境については、環境準備編を参照してください。
1. component の作成
-
プロンプトを開く
プロンプトを開き、前章で作成したmy-appに移動します。プロンプトcd C:\node\project\my-app -
component 作成コマンド
プロンプトから下記コマンドを実行します。
ここでは、component の名前として、hello-worldとしておきましょう。プロンプトng g component hello-world -
ファイル確認
下記のようなメッセージが表示されれば成功です。
hello-worldというフォルダは自動で作成されます。プロンプトCREATE src/app/hello-world/hello-world.component.html (25 bytes) CREATE src/app/hello-world/hello-world.component.spec.ts (648 bytes) CREATE src/app/hello-world/hello-world.component.ts (291 bytes) CREATE src/app/hello-world/hello-world.component.scss (0 bytes) UPDATE src/app/app.module.ts (489 bytes)
2. Hello, world! を表示する
-
既存のhtml削除
src/app/hello-world/hello-world.component.htmlを開くと、下記のような記述があります。
Angular が自動で生成する内容なので、すべて削除しましょう。app.component.html<p>hello-world works!</p> -
Hello-world 記述
hello-world.component.htmlに表示したい内容を記述します。
ここでは、「Hello, world!」と記述しましょう。app.component.htmlHello, world! -
app.component.html の編集
src/app/app.component.htmlファイルの内容を、下記コードに書き換えます。app.component.html<app-hello-world></app-hello-world> -
ローカル実行
環境準備編にもあるように、下記コマンドを実行しましょう。プロンプトng serve -
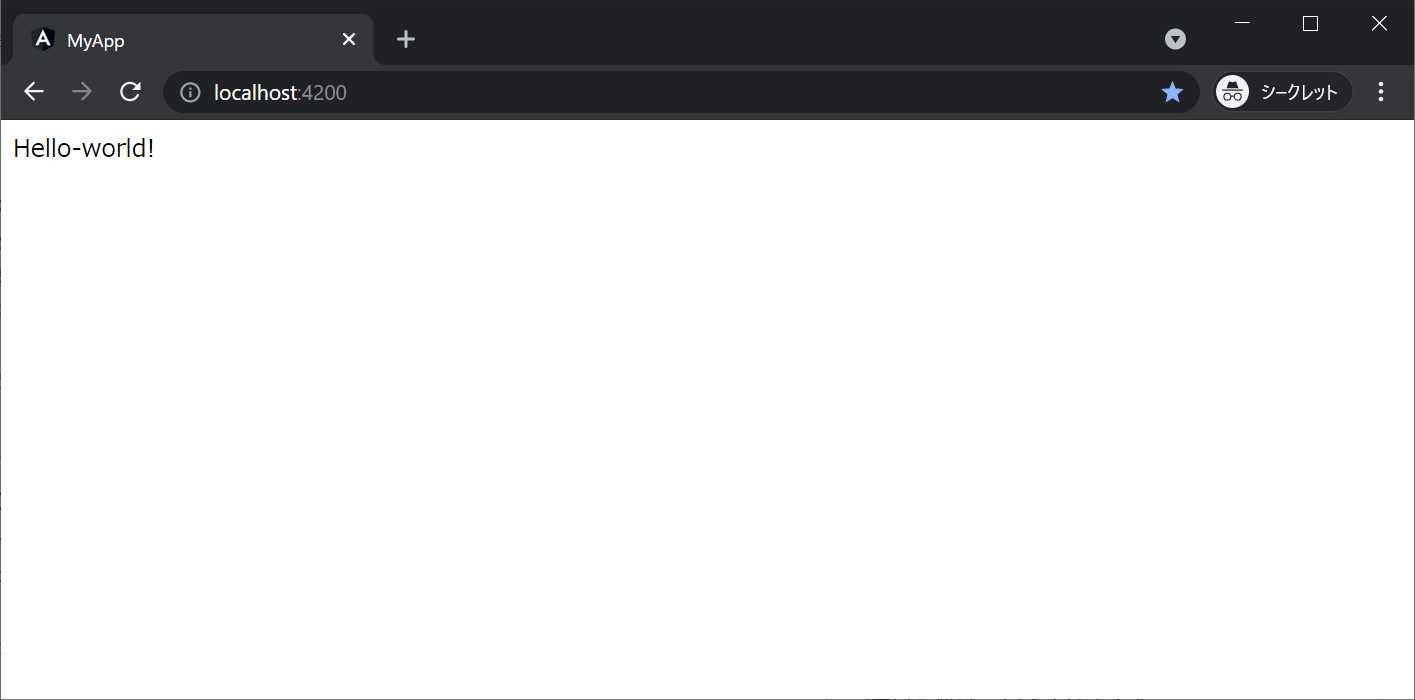
表示確認
下記URLにアクセスします。
画面に「Hello, world!」と表示されれば、成功です。http://localhost:4200
3. 解説
-
各ファイルの名称
component の作成コマンドで生成される下記4ファイルは、下記のような名称で呼ばれています。ファイル名 Angular内の名称 hello-world.component.html テンプレートファイル hello-world.component.spec.ts テスト仕様ファイル hello-world.component.ts コンポーネントファイル hello-world.component.scss CSSファイル (本プロジェクト上はSCSSなのでSCSSファイル) -
コンポーネントファイルの解説
コンポーネントファイルを開くと、下記のような記述があります。hello-world.component.ts@Component({ selector: 'app-hello-world', templateUrl: './hello-world.component.html', styleUrls: ['./hello-world.component.scss'] })ここに、app.component.html に記述した「app-hello-world」があることが分かります。
また、テンプレートファイルへのパスが、templateUrl に記載されていることも分かります。
つまり、component を画面に表示する要点としては、下記の2点が分かります。- component を表示したい他ファイルに、selector に記載された文字列をタグとして記述する
- component に表示したい内容を、templateUrl が示すファイルに記述する
-
テンプレートを使わない component
公式HPのサンプルにおいて、しばしばテンプレートを使わない component の記述があります。
今回作成したコンポーネントファイルを下記のように書き換えてみましょう。
注目点はtemplate: '<h1>hello, world!</h1>'です。hello-world.component.tsimport { Component, OnInit } from '@angular/core'; @Component({ selector: 'app-hello-world', template: '<h1>hello, world!</h1>', styleUrls: ['./hello-world.component.scss'] }) export class HelloWorldComponent implements OnInit { constructor() { } ngOnInit(): void { } }大きな「hello, world!」が表示されましたね。
このように、テンプレートファイルを作成しなくても、template に HTML を記述することで画面部品を作成することができます。
ただ、経験上このようなテンプレートを作成することは業務上無いです。
責任の分解や可読性という意味で、HTMLはテンプレートファイルに記述しましょう。