テーマ
- RubyonRailsでお問い合わせ機能を実装する方法
はじめに
-
お問い合わせ内容をGmailアドレスで受け取る方法を記載しています
-
ローカル環境でお問い合わせ機能を実装するための記載になります(後日、本番環境追記します)
-
環境変数の設定とGoogleセキュリティ設定が必要が必要です。こちらに関しては、URLを参照願います。
環境
- Ruby 2.6.5
- Rails 6.0.3.6
- Visual Studio Code
- ターミナル
- ローカル環境
実装の流れを把握する
- モデル作成
- コントローラー作成
- ルーティング
- viewファイル作成
- ActionMailer作成
- メール本文のレイアウト作成後、previewする
- Gmailアドレスへ送信するための設定
- 実際に送信してみる
モデル作成
以下を順番に実行します
% rails g model inquiry name:string message:string
% rails db:migrate
コントローラー作成
以下を実行します
% rails g controller inquiries
色々なファイルが生成されたと思いますが「inquiries_controller.rb」に以下を記述します。
class InquiriesController < ApplicationController
  before_action :authenticate_user!, only: [:new, :create]

  def new
    @inquiry = Inquiry.new
  end

  def create
    @inquiry = Inquiry.new(inquiry_params)
    if @inquiry.save #保存処理
      InquiryMailer.send_mail(@inquiry).deliver_now #メール送信処理
      redirect_to root_path
    else
      render :new
    end
  end

  private

  def inquiry_params
    params.require(:inquiry).permit(:name, :message)
  end
end
ルーティング
以下を記述します
Rails.application.routes.draw do
  devise_for :users
  root to: "tweets#index"
  resources :inquiries, only: [:new, :create] #この行を追記する
  resources :users,     only:  :show
  resources :tweets,    only: [:new, :create, :edit, :update, :destroy] do
    member do
      get 'search'
    end
  end
end
viewファイルを作成します
app/views/inquiries/へnew.html.erbを作成します
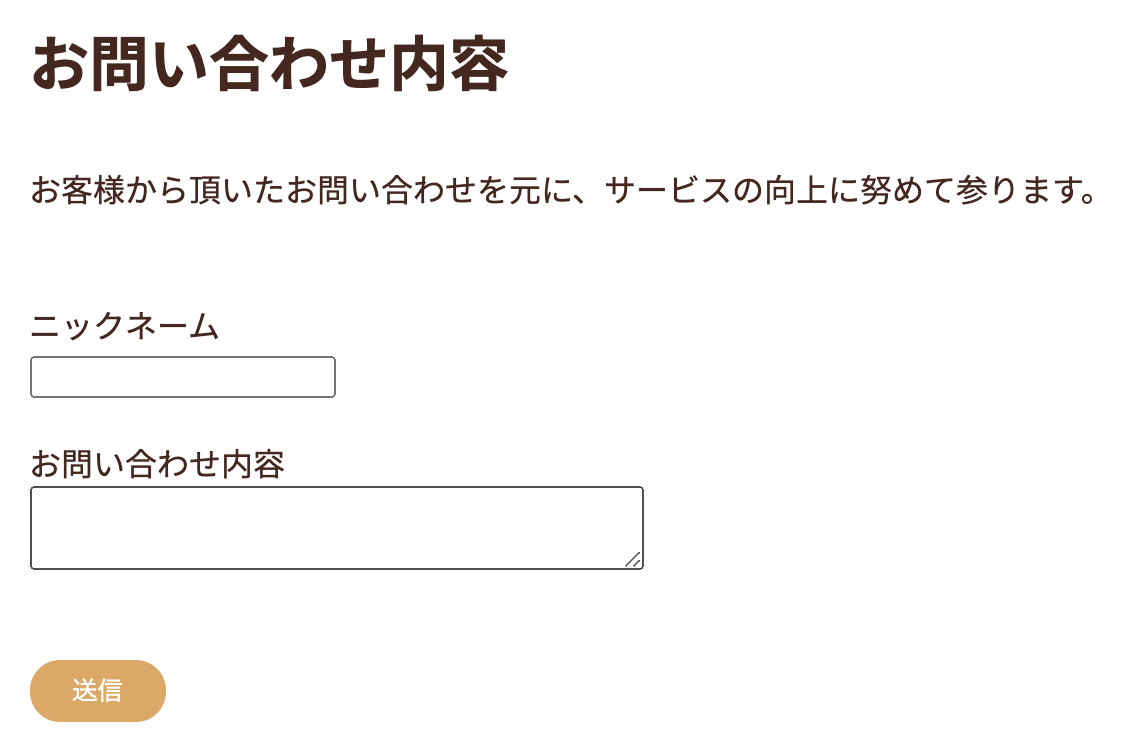
      <h2 class="page-heading">お問い合わせ内容</h2>


      <%= form_with model: @inquiry, local: true do |f| %>

        <div class="field">
          <%= f.label :name, "ニックネーム"%><br />
          <%= f.text_field :name%>
        </div>

        <div class="field">
          <%= f.label :message, "お問い合わせ内容"%><br />
          <%= f.text_area :message, class: :form__text %>
        </div>

        <div class ="actions">
          <%= f.submit "送信", class: :form__btn %>
        </div>

      <%end%>
※class名とcssはご自身で設定お願いします。
ActionMailerを作成
以下を実行します
% rails g mailer inquiry
色々なファイルが生成されたかと思います。
次に、「app/mailers/inquiry_mailer.rb」を編集します。
class InquiryMailer < ApplicationMailer
  def send_mail(inquiry)
    @inquiry = inquiry
    mail to: system@example.com, subject: 'お問い合わせ通知'
  end
end
メール本文のレイアウトを作成後、previewする
メール本文のレイアウトを作成するためは、以下の命名規則にしたがってerbファイルを作成します。
app/views/{メイラー名}_mailer/{メイラークラスのメソッド名}.text.erb
よって、「app/views/inquiry_mailer/send_mail.text.erb」を作成しましょう。
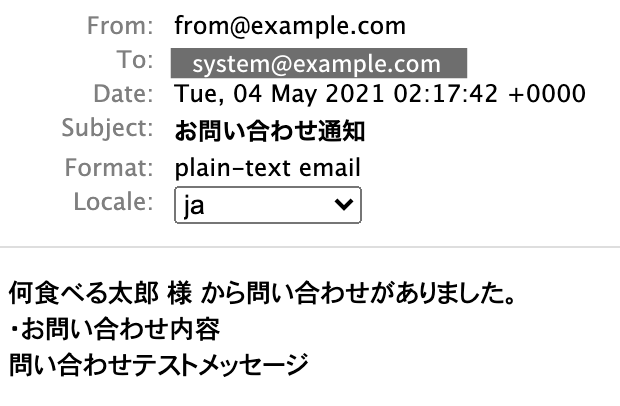
<%= @inquiry.name %> 様 から問い合わせがありました。
・お問い合わせ内容
<%= @inquiry.message %>
とはいえ、現段階で受信することはできないので、preview機能を使って確認してみる。
以下のファイルに記述していく。
# Preview all emails at http://localhost:3000/rails/mailers/inquiry
class InquiryPreview < ActionMailer::Preview
  def inquiry
    @inquiry = Inquiry.new(name: "何食べる太郎", message: "問い合わせテストメッセージ")

    InquiryMailer.send_mail(@inquiry)
  end
end
実際にpreviewしてみます
% rails s
サーバー起動後、inquiry_mailer_preview.rbに元から記載されているURLをコピペしアクセスします。
http://localhost:3000/rails/mailers/inquiry
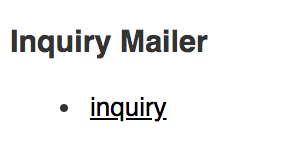
inquiryをクリックします。

以上で、無事メール本文を作成し、previewで確認することができました。
Gmailアドレスへ送信するための設定
メールサーバーを設定していきます
以下のファイル、こちらを追記しましょう
# メールサーバーの設定
config.action_mailer.delivery_method = :smtp
config.action_mailer.smtp_settings = {
 address:              'smtp.gmail.com',
 port:                  587,
 domain:               'gmail.com',
 user_name:            'お問い合わせを受信したいgmailメールアドレス',
 password:             'gmailアドレスに対するパスワード',
 authentication:       'plain',
 enable_starttls_auto:  true
}
そして、以下を修正します
class InquiryMailer < ApplicationMailer
  def send_mail(inquiry)
    @inquiry = inquiry
    mail to: 'お問い合わせを受信したいgmailメールアドレス', subject: 'お問い合わせ通知'
  end
end
実際に送信してみる
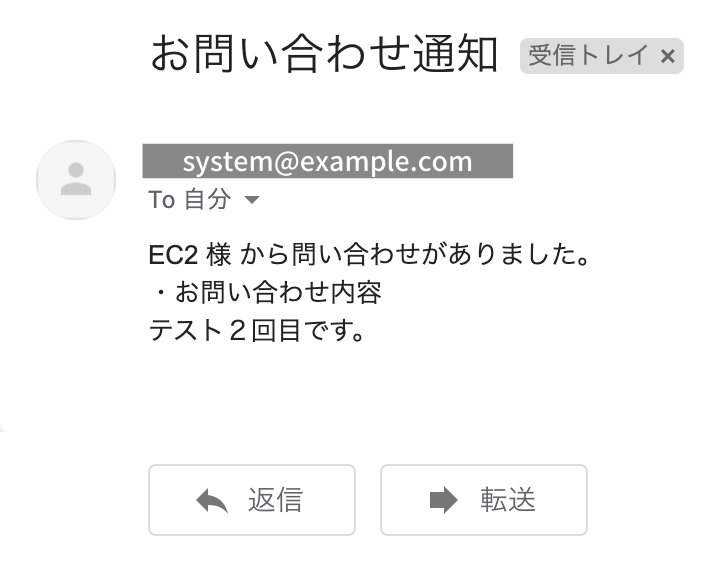
http://localhost:3000/inquiries/newこちらにアクセスして実際にフォームを送信してみましょう。

実際に送信できたかと思います…が、
Googleアカウントにアクセスすると警告文が表示されると思います。
要因としてはセキュリティの甘さが考えられます。
対策として
- 自分のGmailアドレスを環境変数に設定すること
- Googleアカウントのセキュリティを強化すること
こちらの記事を参考にさせていただいた所、問題解決できましたので試してみてください。

