※2022/07/14 追記
コンポーネントで作る記事になっていますが、コンポーネントの代わりにコンテナでも作れることが分かりました。
下記のような Excel を用意して、これを Power Apps で表現していきます。
Excel テンプレートは下記からダウンロードして、適当なデータを3件入力しています。
https://www.microsoft.com/ja-jp/office/pipc/template/result.aspx?id=14487&th=31

このデータを表現するため下記のような SharePoint リストを作って、データを入れます。

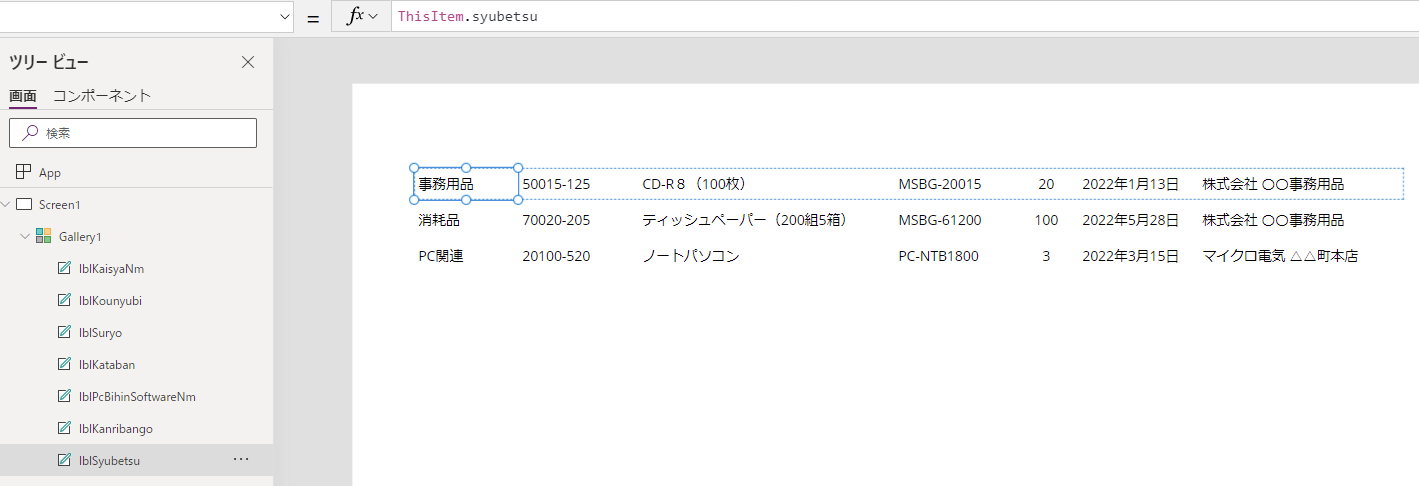
Power Apps でキャンバスアプリを作って、データの追加で SharePointリストを追加し、縦の空 Gallery の Items に設定します。

一つ一つ対応する項目を追加します。今回はラベルで追加しました。入力したい場合はテキスト入力でもいいと思います。

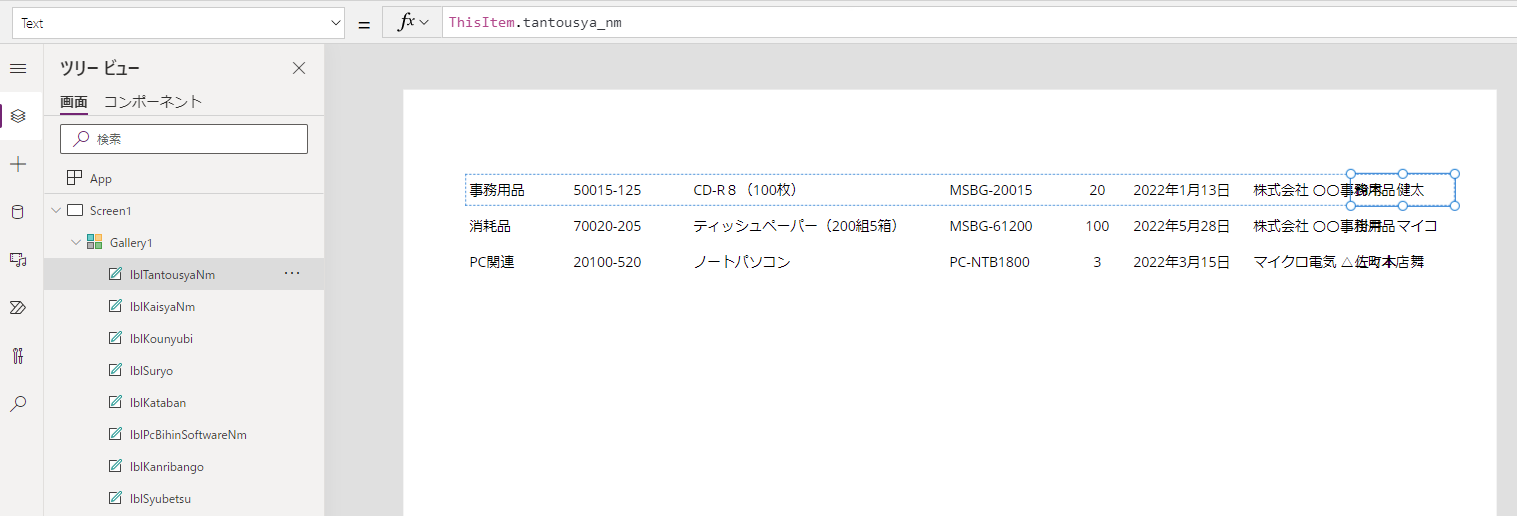
Gallery の端までくるとドラッグアンドドロップで移動できないので x値を入力して調整します。

項目が多いので見切れる項目が出てきます。そのままだと横スクロールバーが出ないので一度コンポーネント化してから水平コンテナにいれていきます。

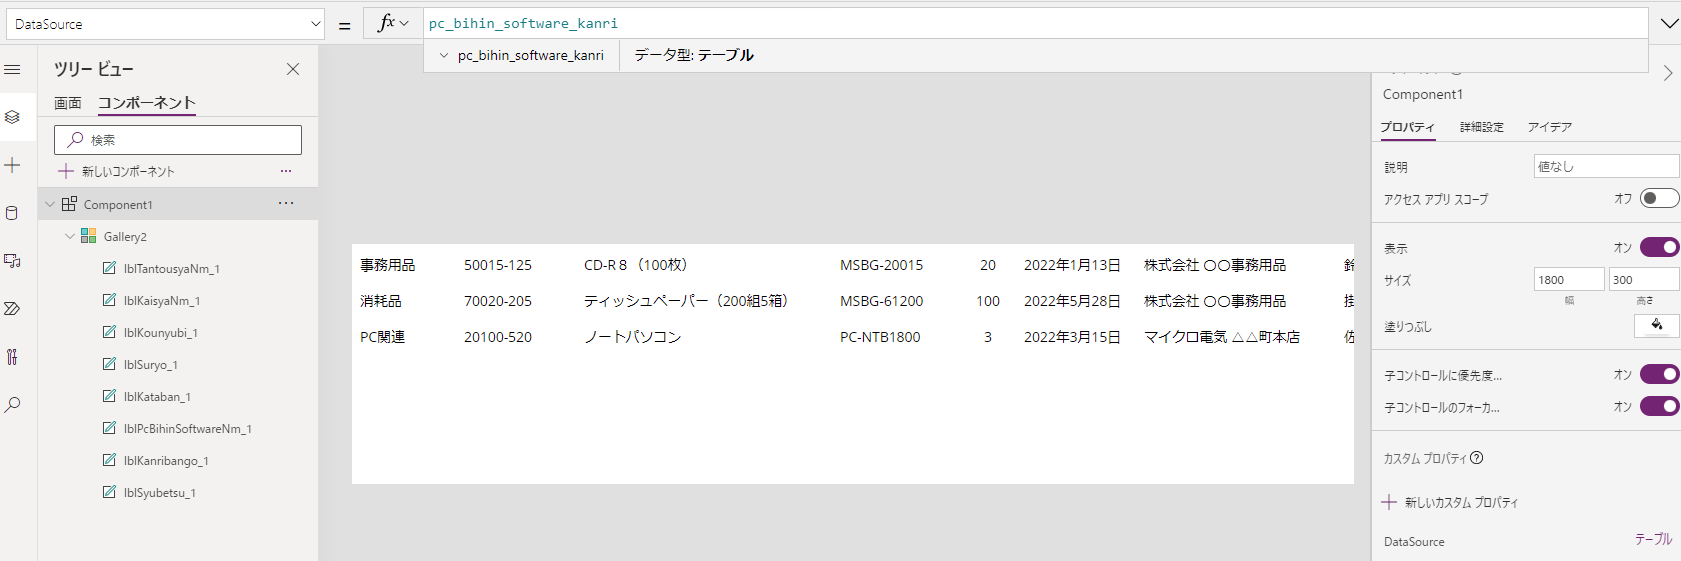
Component の下に作った Gallery を移植していきます。外部からテーブルを設定できるようにカスタムプロパティで DataSource を作成し、SharePointリストを設定し、Gallery の Items に DataSource を設定します。 Componet のサイズは何でも構いませんがここでは 1800 × 300 にします。

Gallery のサイズは Parent.Height、Parent.Width にしてコンポーネントのサイズに合わせます。スクロールバーの表示をONにします。

Gallery のテンプレートパディングを0にして詰めて、各項目の罫線を1にしてセルを表現します。

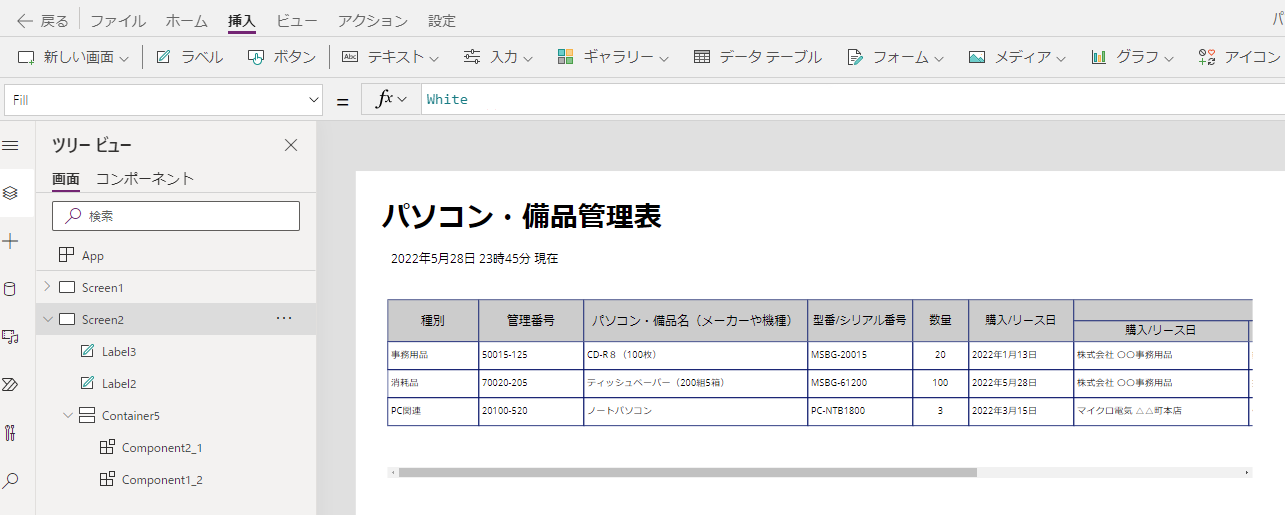
作成したコンポーネントを水平コンテナに入れて、水平方向のオーバーフローをスクロールにすることで項目が多くても横スクロールで見ることが出来ます。

同様にヘッダーをコンポーネントで作成します。

コンポーネントを水平コンテナに入れるとヘッダずれを起こさない表が出来ます。

あとはタイトルと現在日時を表示するラベルを追加すれば完成です。
